
Monthly Archives: maj 2018
Closed loop transfer – Nästan syrefri flytt av öl till fat
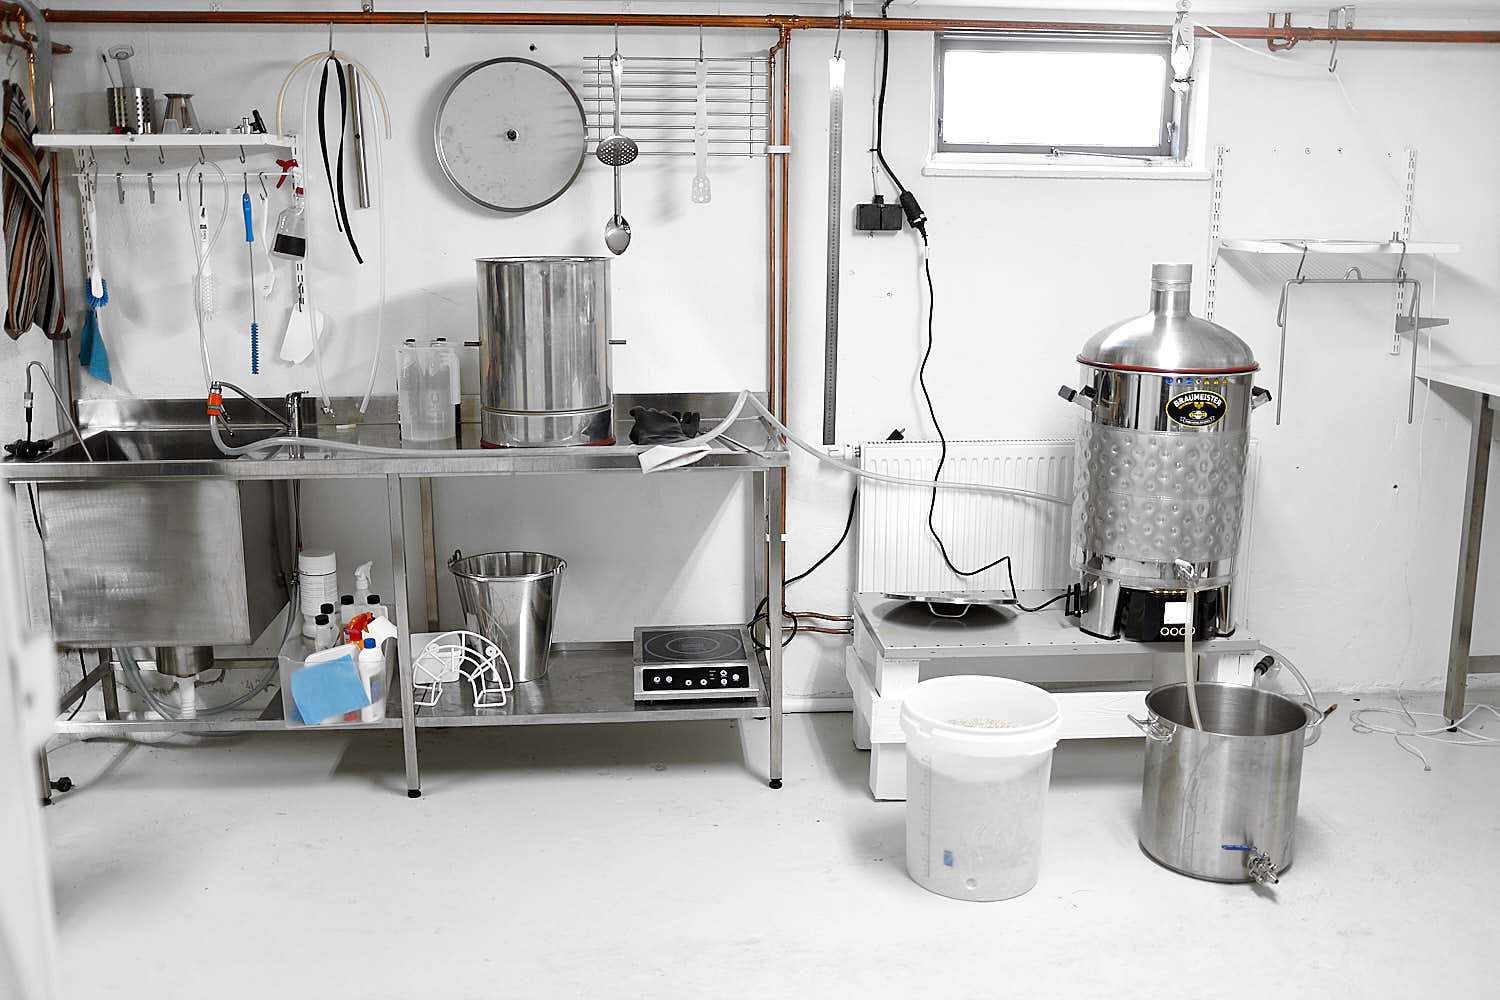
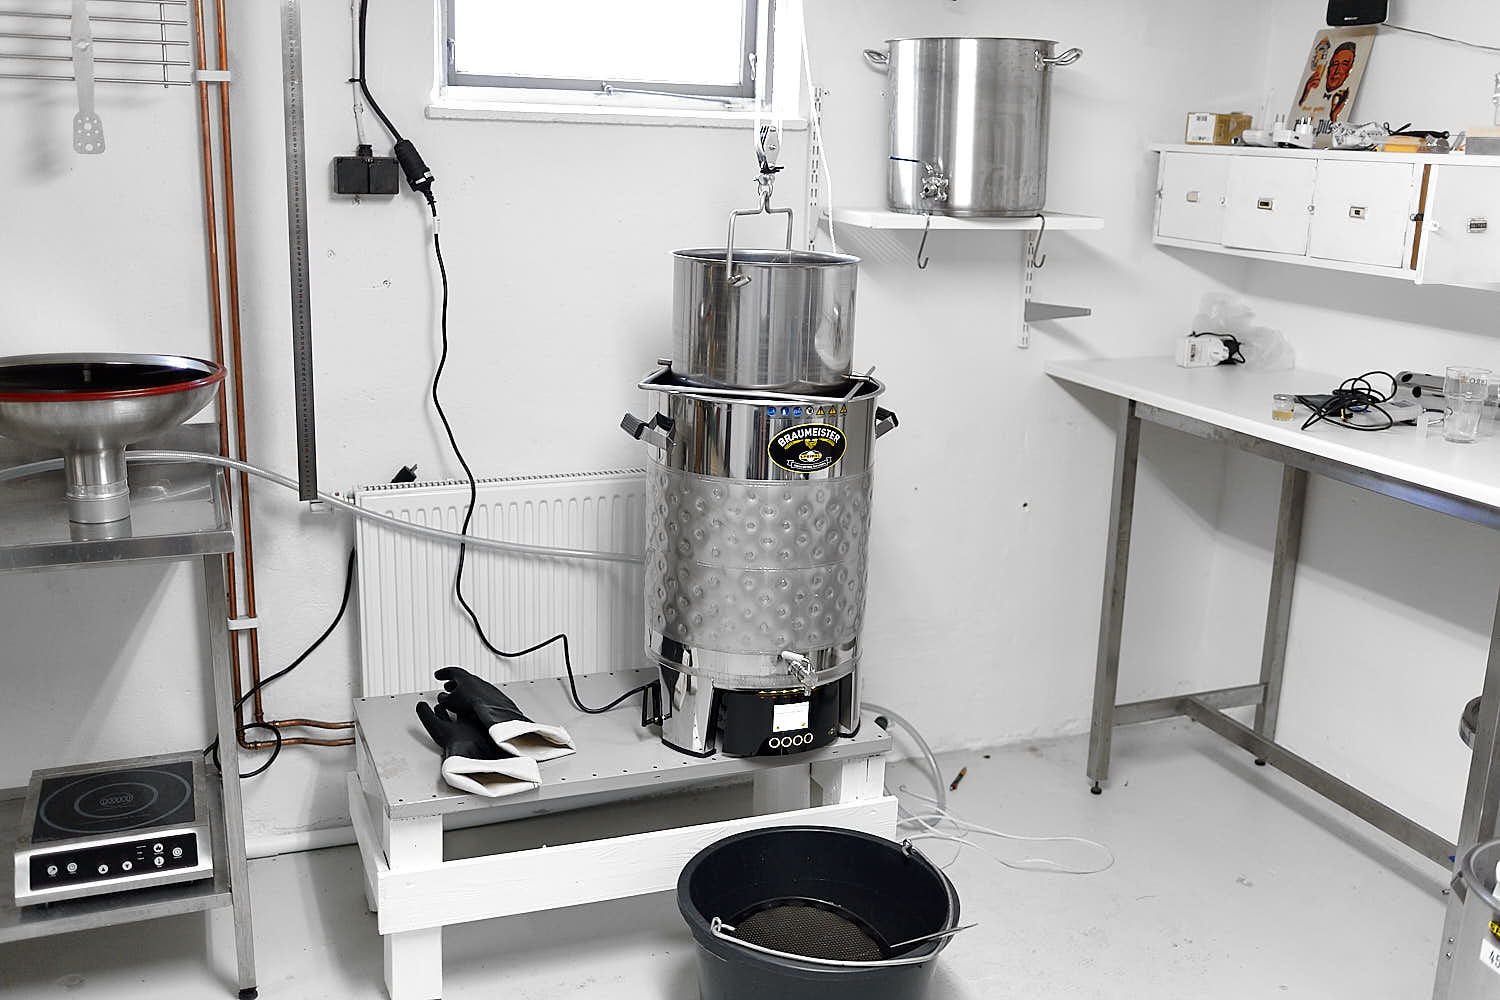
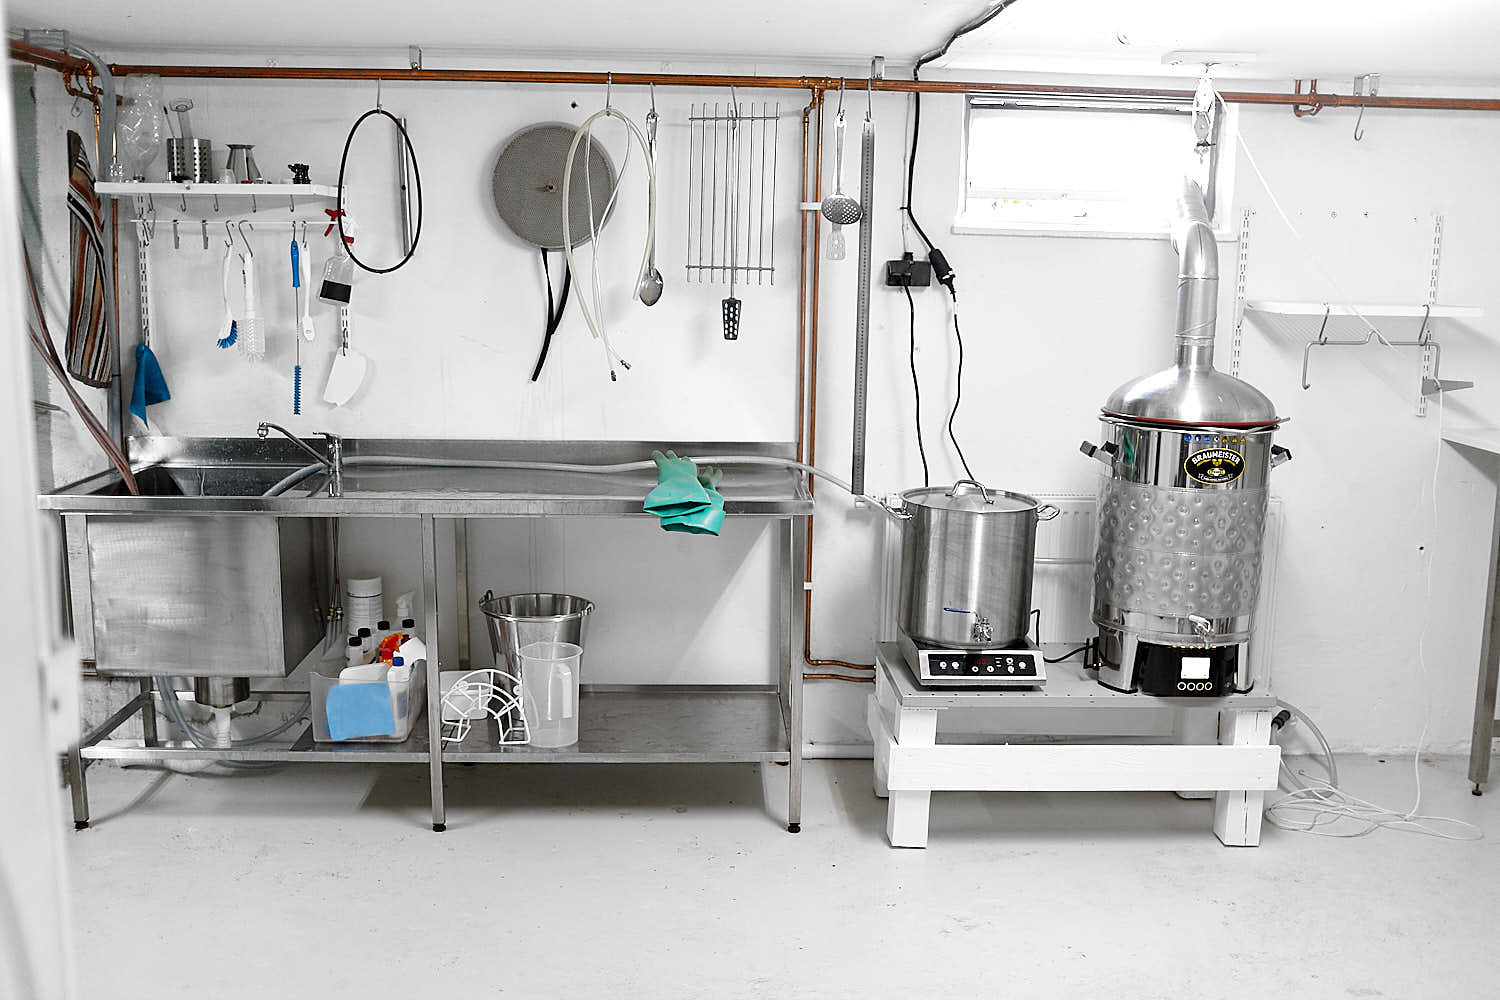
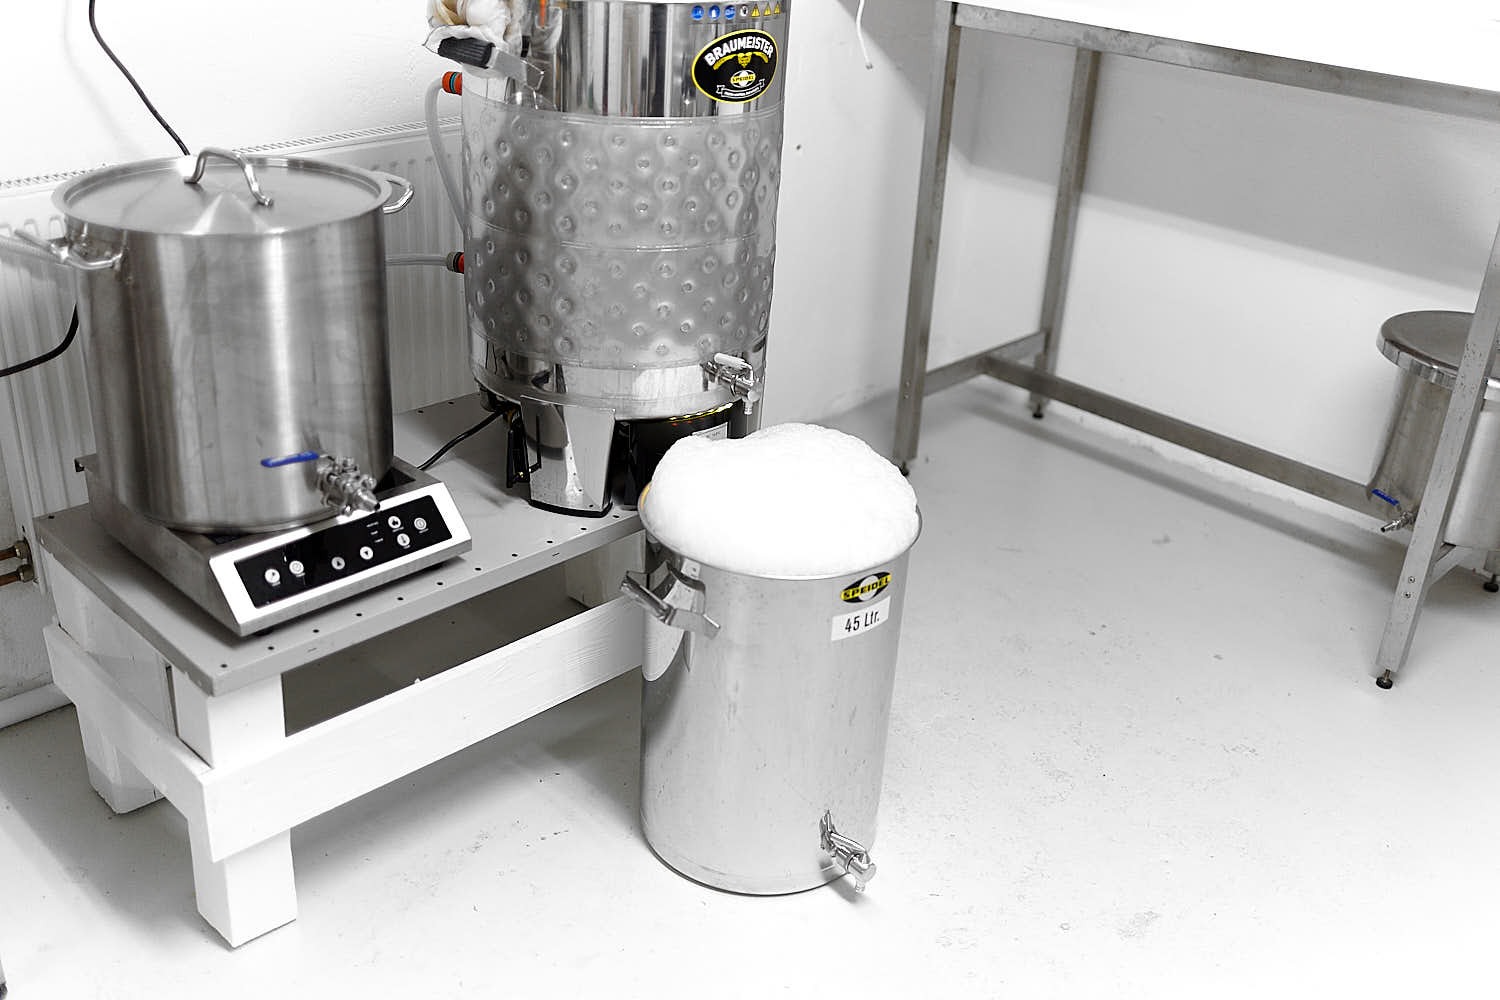
![]() Som ni alla har märkt har jag fokuserat mycket energi på att minska syre och oxidering i mina öl. Som en ”low oxygen brewer” kanske man kan tro att det primära ligger i att hålla borta syre från mäskningen men en av de största bovarna är tiden från det att jäsningen slutat tills dess ölet finns i ett glas i näven. Så fort den aktiva jäsningen avstannat, och jästen därmed slutat uppta syre, börjar kampen mot klockan. All öl är oxiderad (läs det en gång till), det handlar bara om var man befinnes sig på tidslinjen. Vårt mål är att dra ut den här tidslinjen och förhala processen så mycket som möjligt och därmed bevara våra fina smaker och stävja oxidering. Som hembryggare har vi inte skalan på vår sida och vår relativt stora exponeringsyta genom ”square inch law” ger snabbt syreupptagning både i mäsktunnan, koket, jäshinken och i fat. I det här inlägget tänker jag beskriva en metod som på svenska skulle kunna få heta ”sluten överföring”, men det låter med som något som kräver BankID så istället kör jag med ”Closed Loop Transfer” vilket jag beskrivit i min bok men inte på bloggen tidigare. Metoden går ut på att flytta ölet från jäshinkens kran, via en silikonslang direkt på öl-ut-kopplingen på fatet vilket skickar ner ölet till fatets botten utan att behöva ha fatet öppet. Det är dock några till steg som behöver tas för att detta ska bli en ”closed loop”. För det första utgår vi från rengjort och desinficerat fat även om processen kommer desinficera fatet ordentligt beroende på vilken delmetod man väljer. Det vi vill göra är först att byta all luft i fatet till CO2 innan ölet kommer vilket vi inte kan göra genom att purge:a fatet varken före eller efter ölet kommit i för den metoden blandar bara gaser och kräver enormt mycket CO2 för att ge resultat. För det andra vill vi flytta CO2n från fatet till jäshinken så de byter plats så inte luft sugs ner i hinken när ölet lämnar.
Som ni alla har märkt har jag fokuserat mycket energi på att minska syre och oxidering i mina öl. Som en ”low oxygen brewer” kanske man kan tro att det primära ligger i att hålla borta syre från mäskningen men en av de största bovarna är tiden från det att jäsningen slutat tills dess ölet finns i ett glas i näven. Så fort den aktiva jäsningen avstannat, och jästen därmed slutat uppta syre, börjar kampen mot klockan. All öl är oxiderad (läs det en gång till), det handlar bara om var man befinnes sig på tidslinjen. Vårt mål är att dra ut den här tidslinjen och förhala processen så mycket som möjligt och därmed bevara våra fina smaker och stävja oxidering. Som hembryggare har vi inte skalan på vår sida och vår relativt stora exponeringsyta genom ”square inch law” ger snabbt syreupptagning både i mäsktunnan, koket, jäshinken och i fat. I det här inlägget tänker jag beskriva en metod som på svenska skulle kunna få heta ”sluten överföring”, men det låter med som något som kräver BankID så istället kör jag med ”Closed Loop Transfer” vilket jag beskrivit i min bok men inte på bloggen tidigare. Metoden går ut på att flytta ölet från jäshinkens kran, via en silikonslang direkt på öl-ut-kopplingen på fatet vilket skickar ner ölet till fatets botten utan att behöva ha fatet öppet. Det är dock några till steg som behöver tas för att detta ska bli en ”closed loop”. För det första utgår vi från rengjort och desinficerat fat även om processen kommer desinficera fatet ordentligt beroende på vilken delmetod man väljer. Det vi vill göra är först att byta all luft i fatet till CO2 innan ölet kommer vilket vi inte kan göra genom att purge:a fatet varken före eller efter ölet kommit i för den metoden blandar bara gaser och kräver enormt mycket CO2 för att ge resultat. För det andra vill vi flytta CO2n från fatet till jäshinken så de byter plats så inte luft sugs ner i hinken när ölet lämnar.
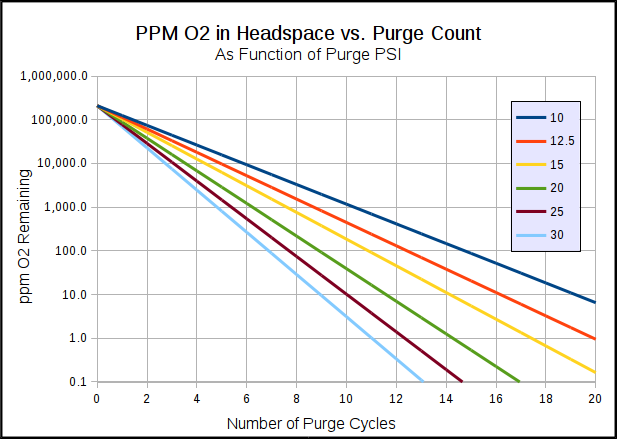
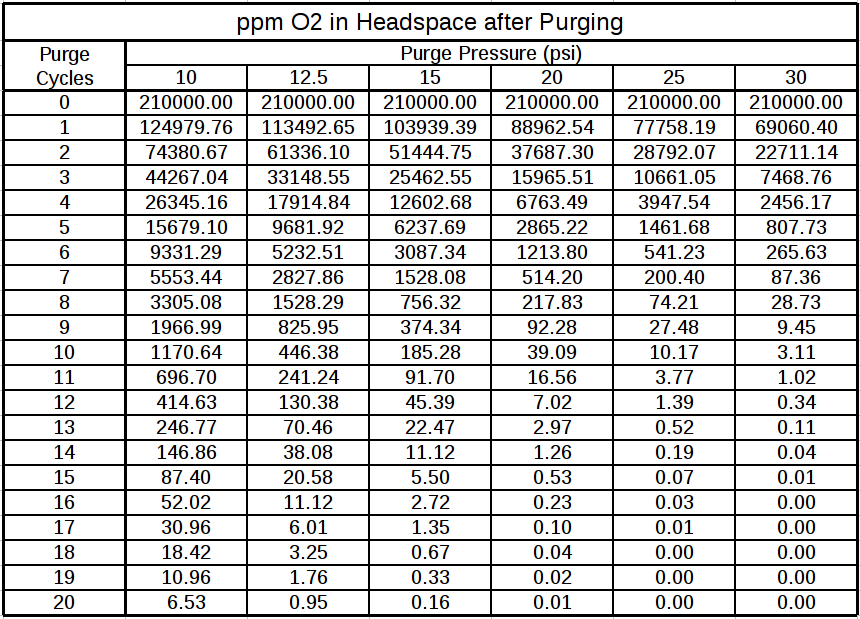
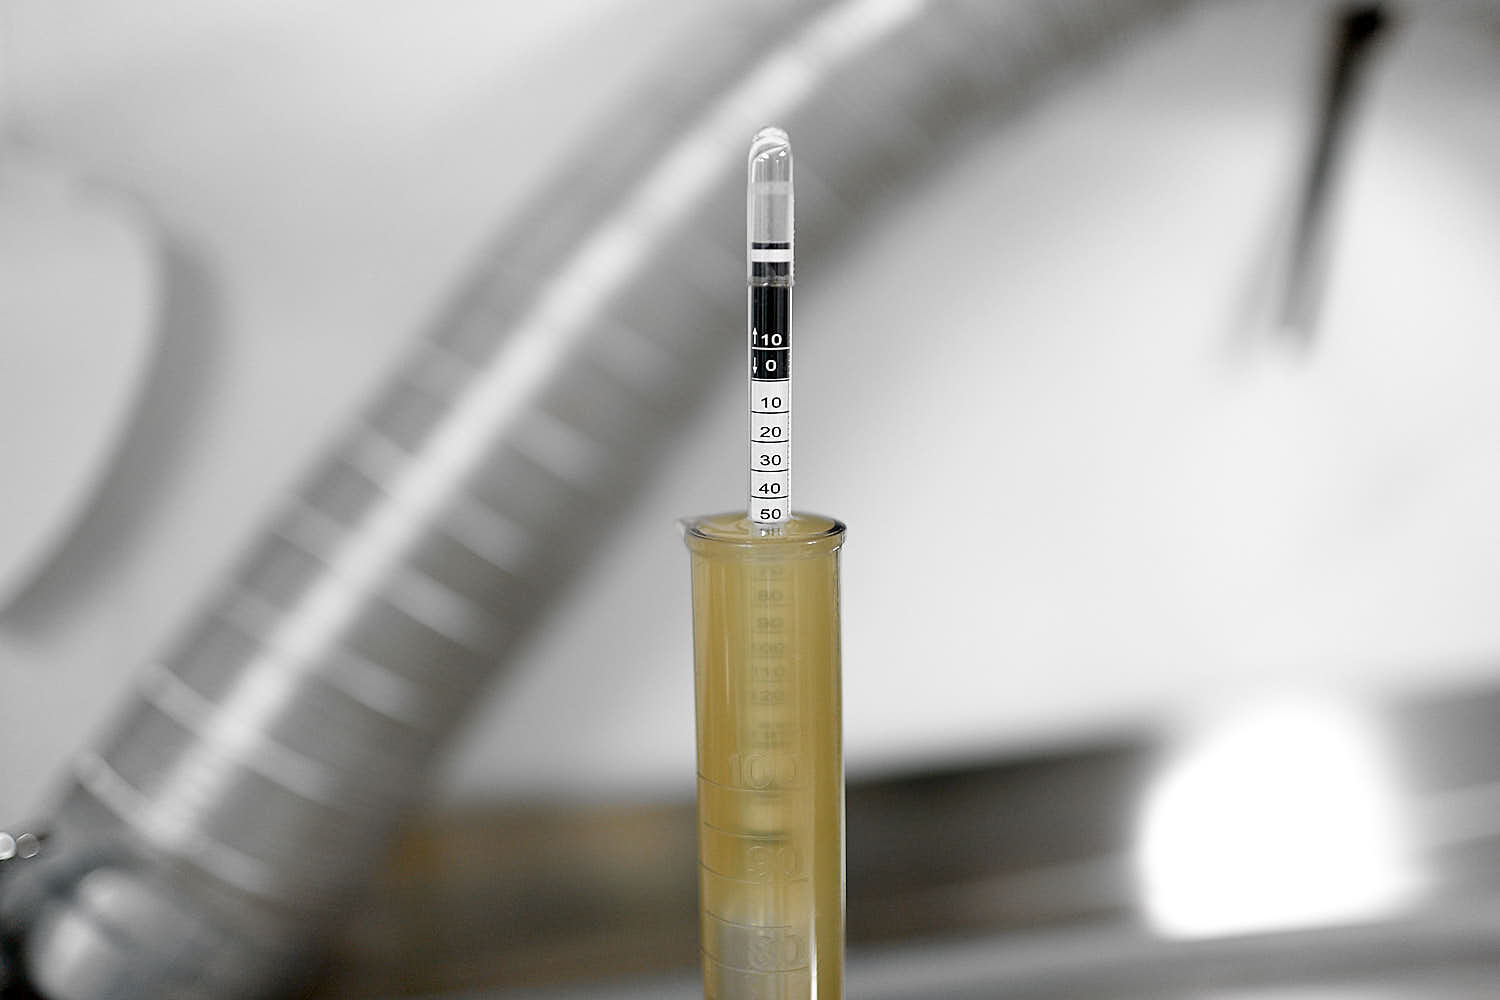
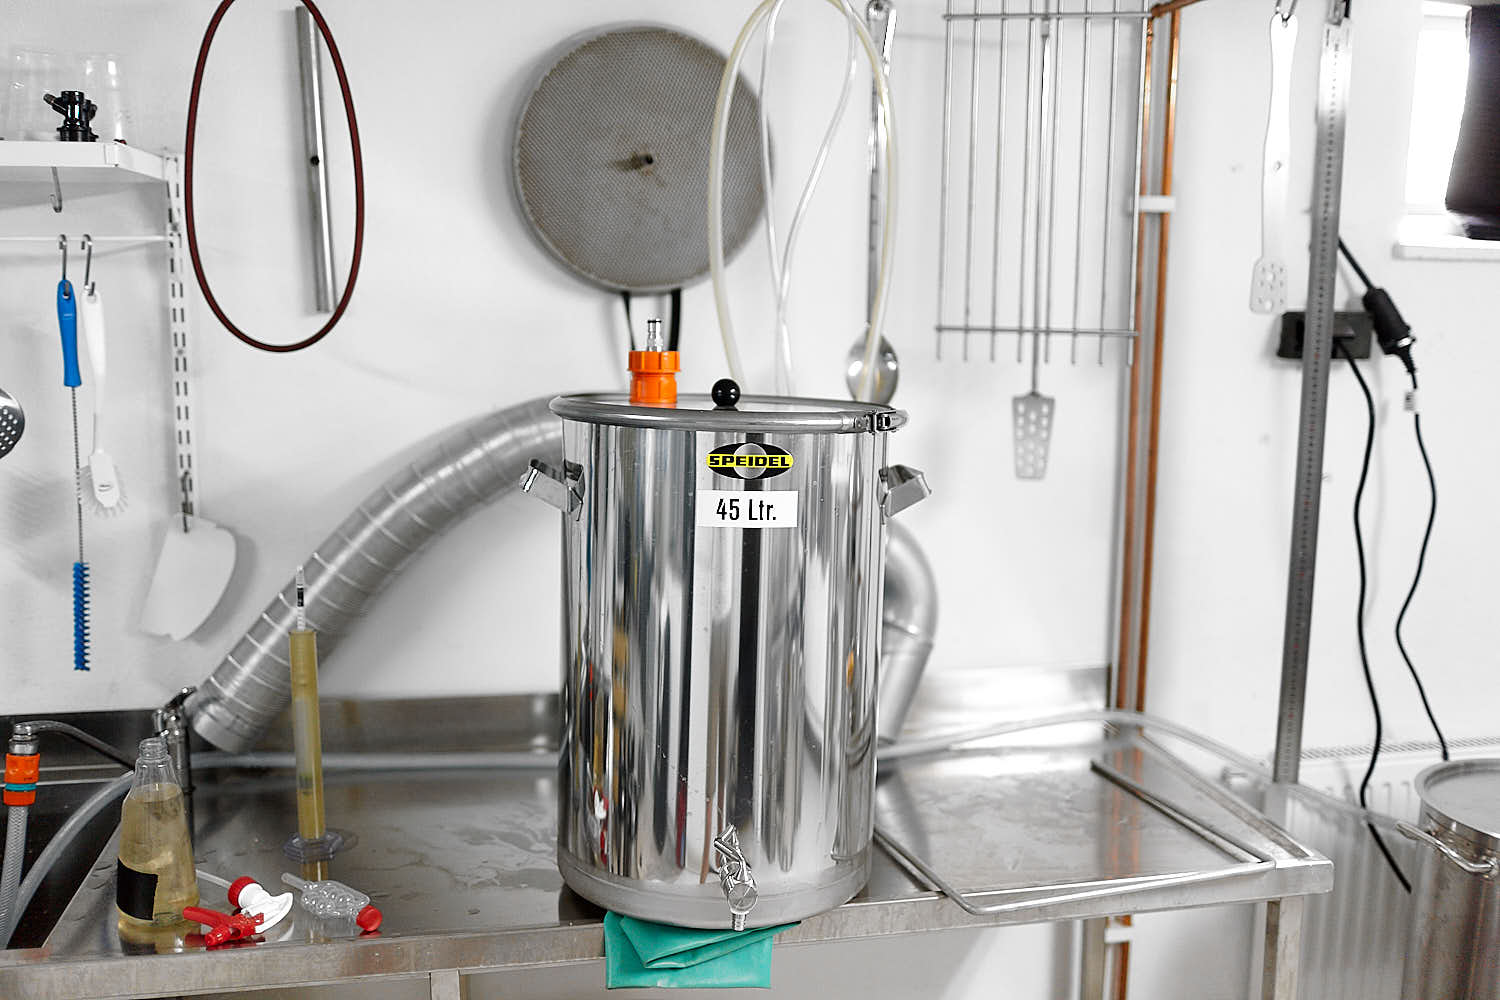
Steg ett: Fyll ditt fat med ett lågsyre-desincificeringsmedel. Eftersom skum betyder luft så är Saniclean definitivt att föredra före det djävulskt skummande SatanSan (oj, jag menar Starsan). När fatet är fyllt ända till toppen (kapa CO2-stigarröret till ett minimum om du inte redan gjort det), koppla på kolsyreslangen och tryck ut all vätska vilket ersätter vätskan med CO2. Ja det går åt mycket Saniclean (kokt vatten går att använda istället) och CO2 men jag brukar seriekoppla 5-10 fat och flytta samma vätska från fat till fat. Det vi har nu är fat som innehåller 99.9% CO2 eftersom det är den högsta renhet vi konsumenter kan få tag på i Sverige, endast laboratorier och företag kan få renare men också betydligt dyrare CO2. Resterande .1% är syre vilket tyvärr är tillräckligt mycket för att påskynda oxidering vilket gör det ännu viktigare att fylla fatet ända upp både med Saniclean men även med öl senare. Kolsyresätter man med hjälp av CO2-tank (forced carbonation) tvingar man in ännu mer syre i ölet vilket är en bra anledning till att spunda istället. Vill man fylla fatet med helt ren CO2 kan man istället göra en ”fermenter purge”:
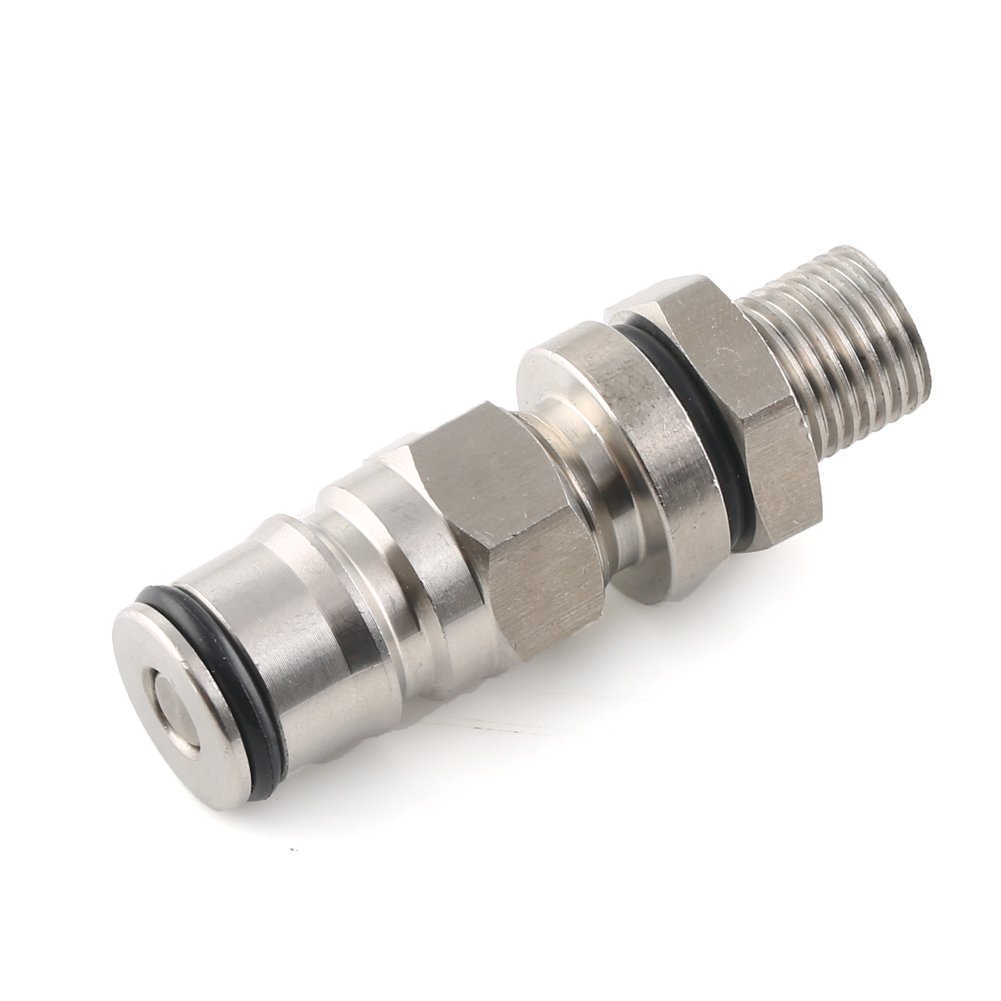
Ta en slang från toppen av jäshinken, inkopplat antingen via en lös fatventil (jag fick tag på den via Ebay och hos en hembryggarbutik i Australien, tyvärr har jag inte sett de i någon hembryggarbutik här hemma) eller genom att köra slangen via gummipackningen/bussningen som då måste täta helt. Det finns även en JG-koppling som passar bra till detta. Slangen, som kan vara CO2-slang, plast eller silikon, kopplar du på öl-ut-posten på fatet. Koppla gas-in-porten till ett till fat om du vill seriekoppla flera fat samtidigt eller så lägger du slangen i en flaska med Saniclean. Sakteliga kommer jäsningens CO2 att ersätta all luft i fatet eftersom en jäsningen producerar 25 gånger sin egen vätskevolym i CO2. Overkill? Kanske det men vi låter ju ändå bara all CO2 försvinna ut i bryggeriet så varför inte använda den? CO2 är ju ganska dyrt dessutom…
Steg två; tillbaka till fatningen. Nu har du ett fat fyllt med CO2 och det är dags för ölet att äntra fatet. Koppla en silikonslang från jäshinkens tappkran till öl-ut-porten på fatet vilket kommer blåsa ur slangen med CO2 från fatet. Koppla den gråa gas-in-kopplingen till jäshinkens topp via en slang, helst samtidigt så bägge blåses ur. Nu är systemet slutet och det är dags att öppna kranen så ölet kan vandra ner i fatet och CO2 från fatet ersätter ölets plats i jäshinken. Detta blir en hermetiskt sluten process så om det tar 10-15 minuter spelar det mindre roll, det kommer inte in några bakterier i varken fat eller hink och du kan göra något annat undertiden. När ölen är på plats, koppla ifrån alla kopplingar och pressa i lite CO2 i fatet om du har lock som inte sluter helt tätt. Nu är fatet redo för tvångskolsyrning eller spundning, så syrefritt vi bara kan få det!
As you’ve all been noticing, I’ve focused a lot of my energy to fighting oxidation in my beer. As a low oxygen brewer one might think that all the action is in the mash tun but no, the second largest source of oxidation is post fermentation. As soon as the yeast has stopped fermenting and therefore quit scavenging oxygen, the race against the clock begins. All beer is oxidating, it’s just about where you are on the timeline. Our struggle is to drag the process out as much as possible, conserving the flavours and slowing down the oxidation process. As a homebrewer, we really don’t have scale on our side. The cubic square inch law is brutal and much emphasis is put on getting as low surface oxygen exposure as possible. One area where both low oxygen brewers and regular brewers can really gain is in the kegging process. This post will focus on the closed loop transfer technique which I have described in my book but not really on the blog before. The main thing is to transfer from the fermenter via a low tap thru a silicone hose and to the beer out post on the keg to minimise splashing, but there are a few more steps to take to get maximum benefit of the process. First of all, you don’t want to start with having oxygen in your keg. A clean and sanitised keg is assumed but what you really want to do is to replace air with CO2. This is not done with the “CO2 purge”, fill and bleed method since that is just not getting rid of the oxygen, it just blend gasses but the O2 already involved is enough to accelerate oxidation and it would take up to 15 high pressure purges to get even close to what I’m suggesting instead:
Step one, fill your keg with a low oxygen santitiser. We all know that foam equals air so Saniclean is absolutely preferred over the foamy SatanSan (oh sorry, I mean Starsan). Once the keg is filled to the absolute brim (cut your CO2-tube in the CO2 post to a minimum), push put the Saniclean out thru the beer post with help of a CO2-tank, effectively replacing the liquid with CO2 instead. Yes, you do waste a lot of Saniclean in the process but I like to do this rutine with 5-10 kegs at a time so then I just daisy chain them together and reuse the sanitiser, letting the Saniclean jump from keg to keg. What we end up with is a keg with 99.9% CO2 depending on your CO2 supplier but here in Sweden, the 99.9 seems to be standard. The remaining .1% mostly air, is sadly enough to start the oxidation and that’s why you want to fill the keg all the way up with beer. The 99.9% pure CO2 is sadly enough oxygen for accelerated staling when we force carbonate, which is why we spund instead and if you really whant to go the extra mile and use pure CO2 for the empty keg instead of 99.9%, you can do a “fermenter purge”:
Take a tube from the top of your fermenter and connect it either thru a loose kegpost (I bought one online and one in Australia but haven’t seen them in Europe in any hombrew shop). There are also a JG plastic tube that fits the regular gasket instead of a airlock. Use a hose, CO2, plastic or silicone doesn’t matter, and run it to the beer out post of your keg. Connect a hose from the co2-post to another keg if you want to fermenter purge more than one or put the hose in a bottle of Saniclean/Starsan. Slowly the gasses in the keg will be blended with 100% pure CO2 but since a fermentation is producing about 25 times the amount of CO2 as the liquid, it will bleed out all air effecively and also for free! Overkill? Maybe, but since you’re just letting the CO2 out in the brewery anyway, you might as well get som use of it. CO2 is not cheap either.
Step two: Back to the kegging. Once you have CO2 in the keg, connect a silicone hose the you’ve attached to a black Cornelius type connector to the keg to release pressure and at the same time blow out air from the hose. Connect the hose to the fermenter. Now take another hose with a grey CO2 Cornelius connector and run that hose to the top of the fermenter. Now you’re ready for your transfer. Open the tap on the fermenter and let beer slowly fill the keg from the bottom. The beer in the keg will push CO2 from the keg to replace the beer in the fermenter and no air will be allowed to enter the fermenter nor the keg. When all beer has been transferred (did I forget to mention it’s hermetically sealed and you could do other things while the transfer is happening?), remove the posts and seal the lid with a little CO2 pressure so it is tight. Now your keg is ready for spunding or force carbonation from a CO2 tube with the least amount of oxygen possible to this day!
![]() This is the daisychaining. From right; the white CO2 tube is connected to a keg with Saniclean. That keg is connected to another keg which I keep in a bucket since some Saniclean will spill when the process is done, otherwise you could connect even another keg like I’ve done here. When the first keg is empty, remove it and move the chain one step down.
This is the daisychaining. From right; the white CO2 tube is connected to a keg with Saniclean. That keg is connected to another keg which I keep in a bucket since some Saniclean will spill when the process is done, otherwise you could connect even another keg like I’ve done here. When the first keg is empty, remove it and move the chain one step down.
![]() Different angle if anything was unclear.
Different angle if anything was unclear.
![]() A couple of transfer hoses is really useful in any brewery.
A couple of transfer hoses is really useful in any brewery.
![]() This is the fermenter purge. The bucket has a CO2-post instead of an airlock. A hose is connected thru the fermentation frige wall to the CO2-post and on the other side to the first keg to be purged. The second keg has a airlock in this picture.
This is the fermenter purge. The bucket has a CO2-post instead of an airlock. A hose is connected thru the fermentation frige wall to the CO2-post and on the other side to the first keg to be purged. The second keg has a airlock in this picture.
![]() The connection to the bucket.
The connection to the bucket.
![]() Homemade corneliustype airlock.
Homemade corneliustype airlock.
![]() Or you can have a hose bubbling down in a liquid.
Or you can have a hose bubbling down in a liquid.
![]() Now it’s time to transfer to the CO2-filled keg. A silicone hose from the bucket tap to the beer out post. Another hose from the CO2 post to the top of the bucket.
Now it’s time to transfer to the CO2-filled keg. A silicone hose from the bucket tap to the beer out post. Another hose from the CO2 post to the top of the bucket.
![]() Just open the tap and let beer and CO2 switch places…
Just open the tap and let beer and CO2 switch places…
 Source: http://www.lowoxygenbrewing.com
 Source: http://www.lowoxygenbrewing.com
 Du har väl inte missat min bok om ölbryggning? Köp den hos Humlegården!

Lindhs Helles (9) – Braumeister Low Oxygen Brewing Prototype Parts V2
 (For english, scroll down). Jag tänkte att det dags för mig att brygga en törstsläckande Helles såhär i sommartider. Eftersom jag även skulle till München dagen efter tyckte jag dessutom att det var lite extra passande. Skillnaden mellan en mild Pils och en Helles är inte speciellt enorma (beroende på recept) utan det är framförallt beska, humlesmak och maltsötma som är de skiljande huvudfaktorerna. Det är sällan någon större sen humlegiva i en Helles och huvudfokus är istället inställt på att framhäva och behålla de finare och elegantare maltsmakerna hela vägen till glaset. Receptet till just det här ölet är taget från min bok och den viktigaste faktorn är maltnotans sammansättning med 96% pilsnermalt (Barke) och 4 % Carahell vilket gör ölet mer likt Paulaners Helles jämfört med Weihenstephaner Original. Med lågsyrebryggning (LoDO) kan man komma undan med lite mer karmellmalt utan att smakerna blir besvärande men generellt är 10% för ljus öl mitt absoluta maximum. Humleschemat är snarlikt det i boken men med en annan humlesort på grund av mitt humleförråd i frysen. Så länge man använder nobel humle i en låghumlad tysk stil kan man experimentera med olika humlesorter och ändå få ett snarlikt slutresultat.
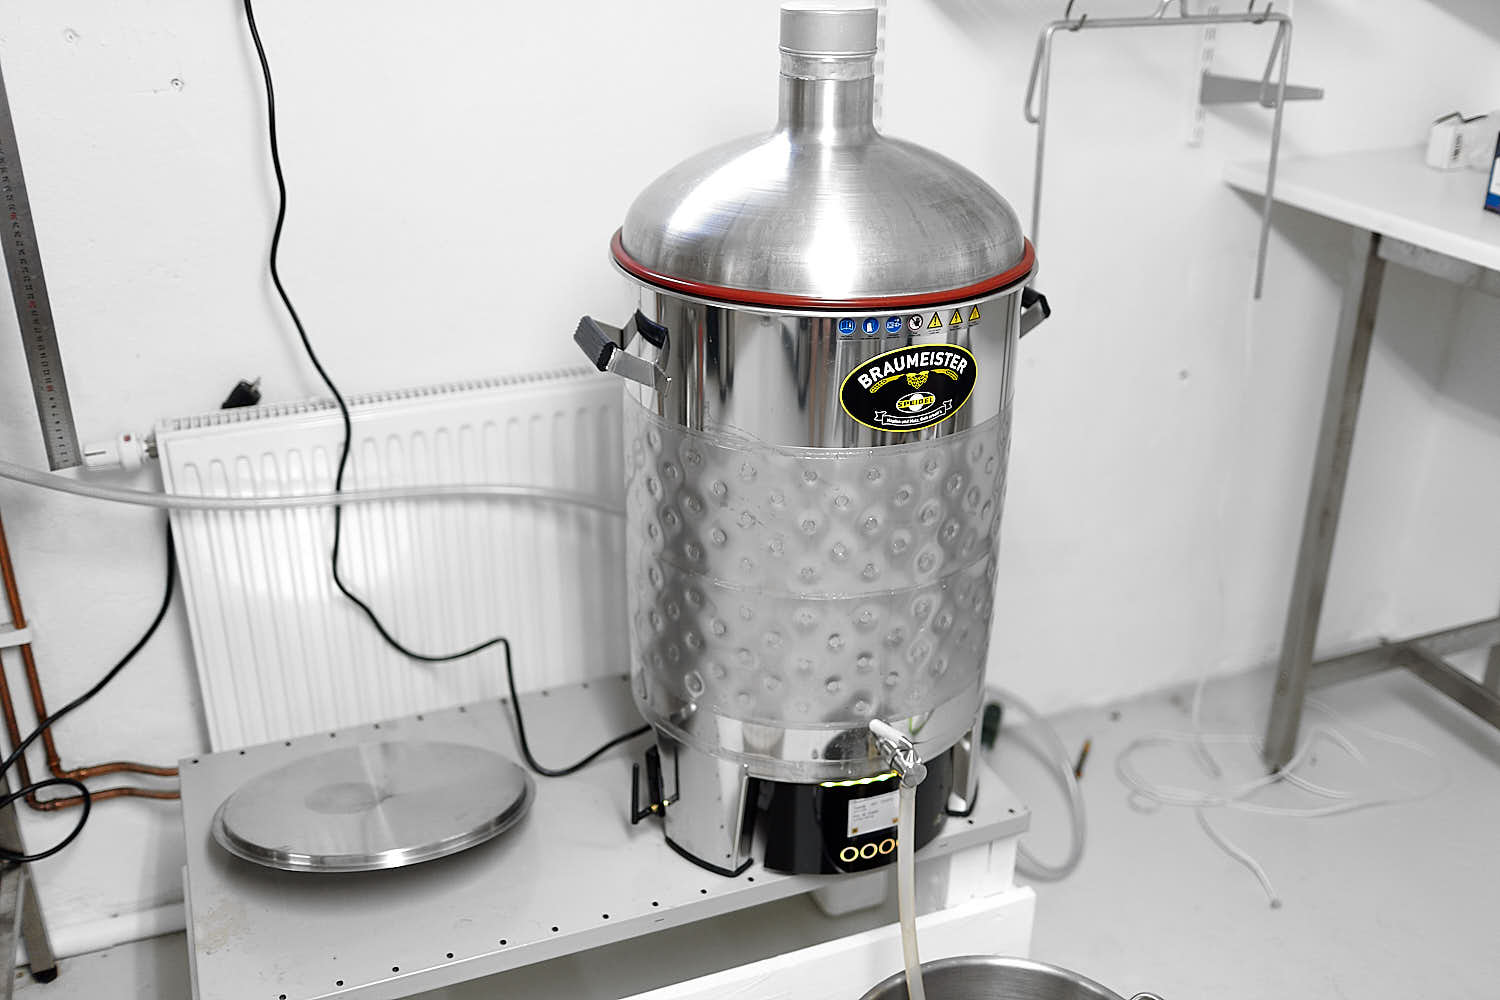
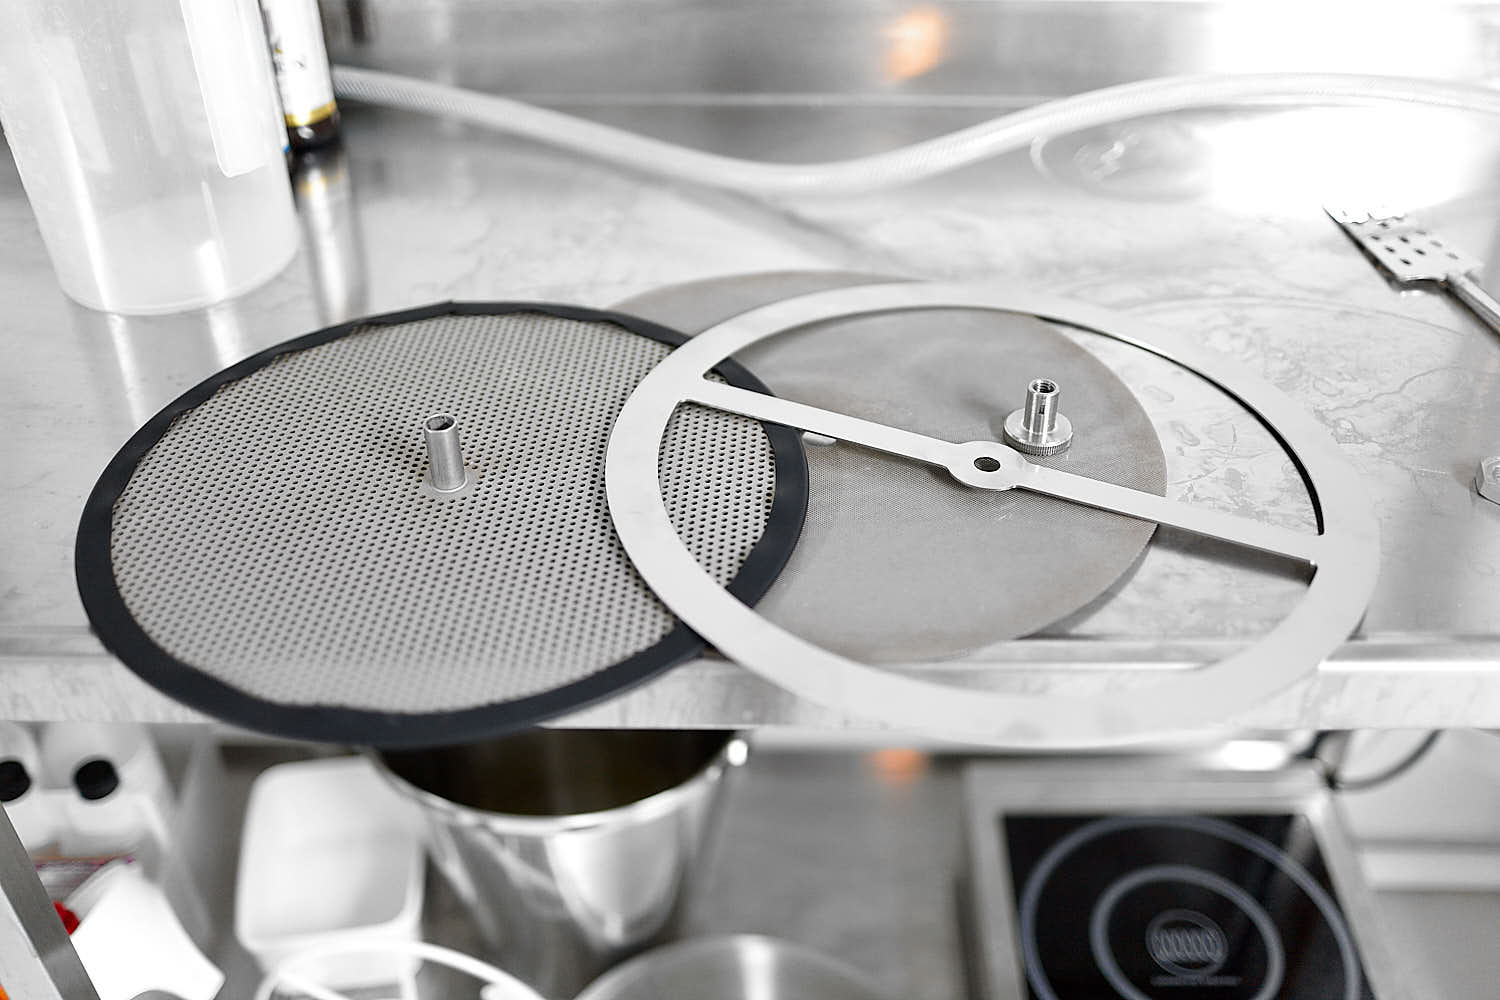
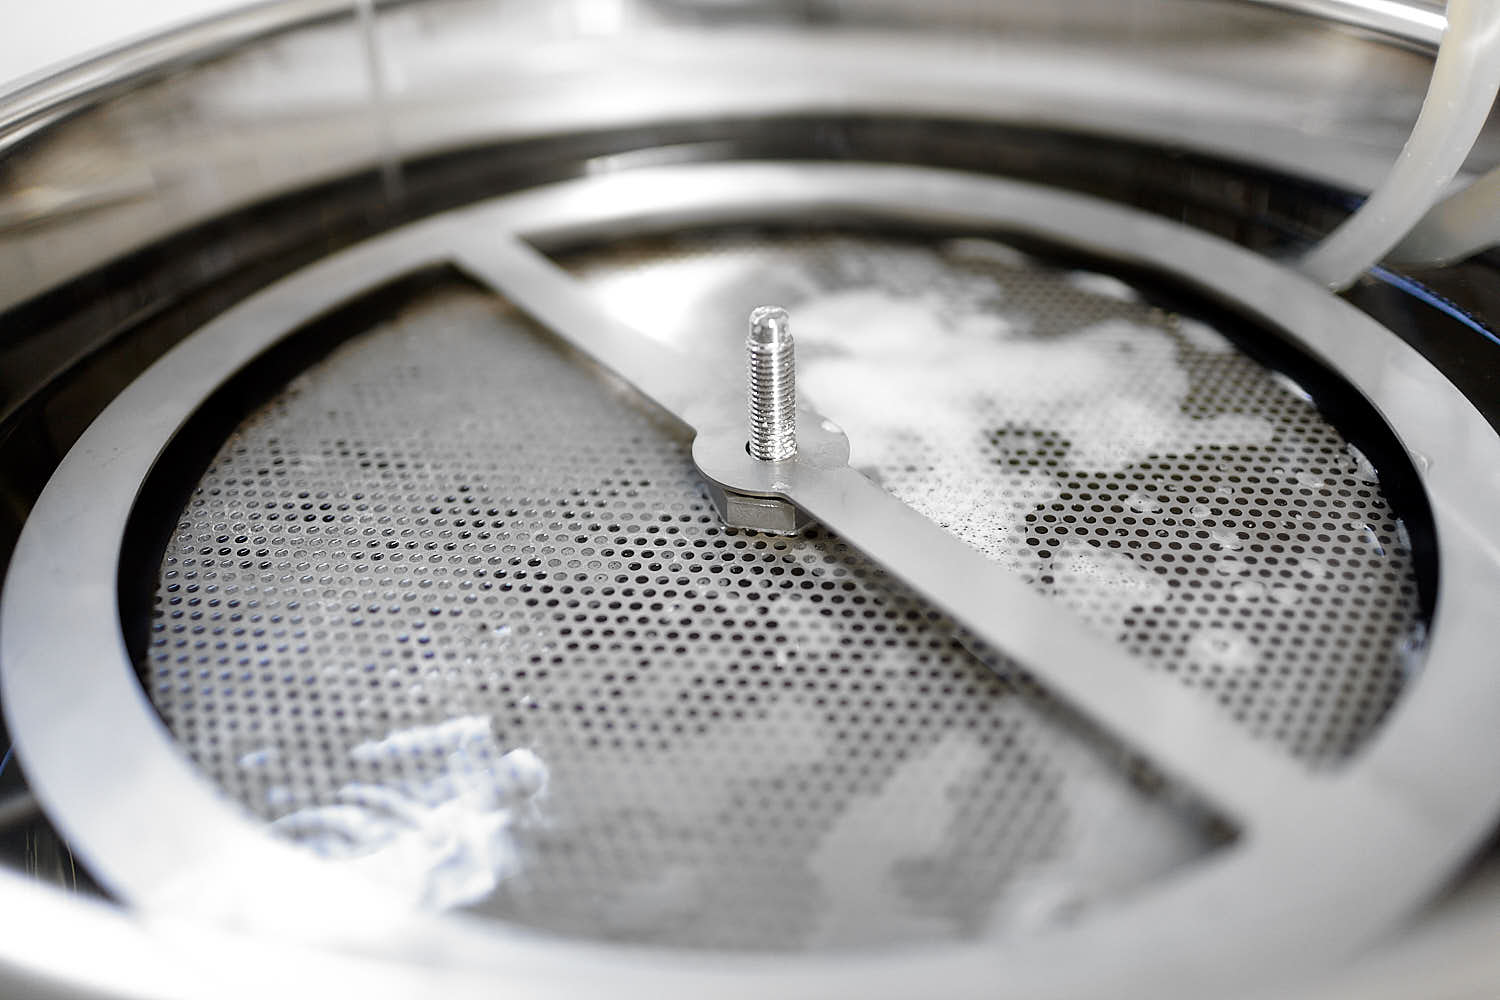
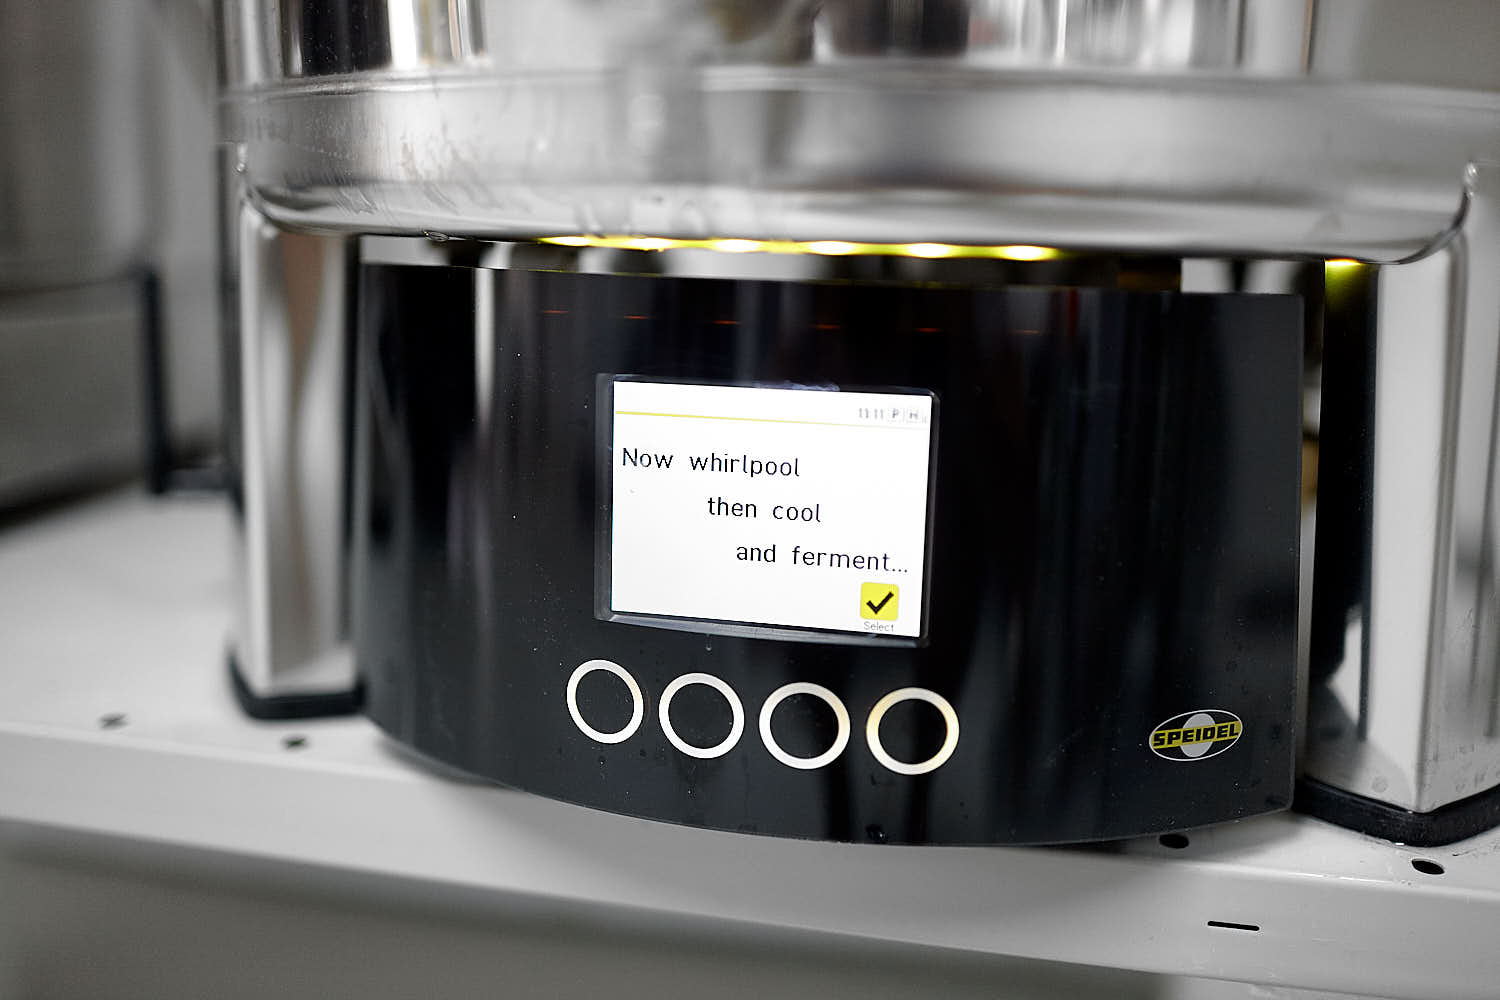
Detta bryggning handlade främst om att testa nya prototypdelar jag utvärderar åt Speidel; en ny maltrörshållare (låsplatta/skiva istället för originalröret) som är mer som Bacbrewings Yield increase disc, en ny mutter med lite annorlunda design och slutligen ett nytt flytande lock (mash cap) med ett mindre hål i mitten. Låsplattan var såklart den stora skillnaden från V1-prototypen och eftersom det är möjligt att använda den på två olika sätt måste jag brygga en gång till innan jag kan utvärdera V2-delarna ordentligt. De två sätten att addera alla delar är:
maltrör, tjockt filter, tunnt filter, mäsk, tunnt filter, tjockt filter, låsplatta, mutter, mashcap
maltrör, tjockt filter, tunnt filter, mäsk, låsplatta, tunnt filter, tjockt filter, mutter, mashcap
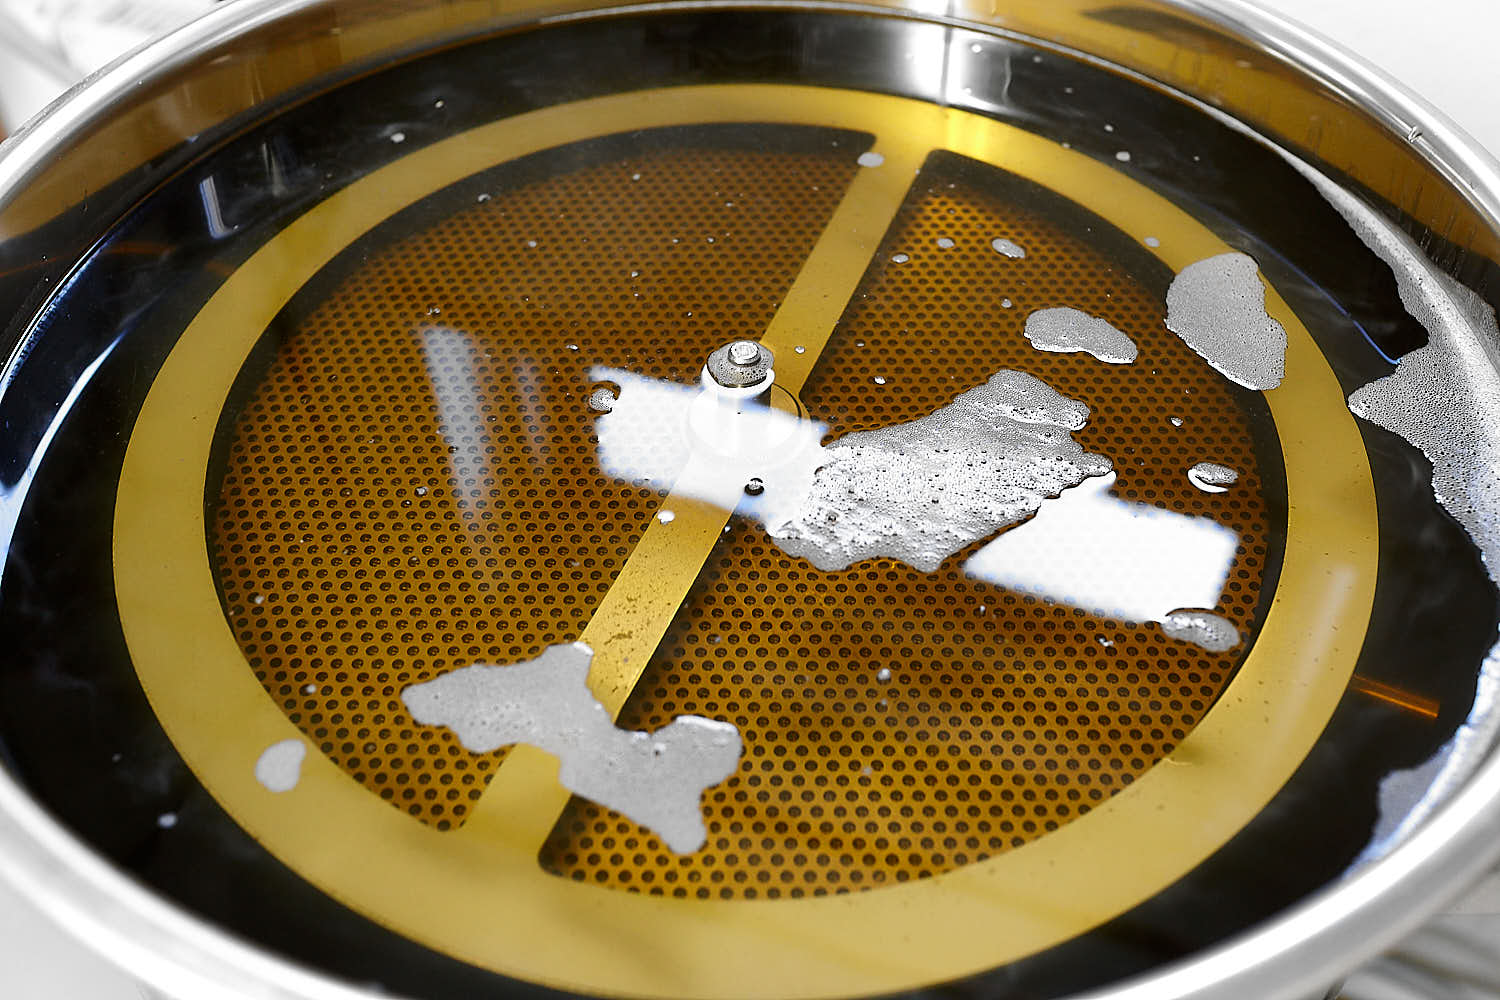
Som ni kan se låser den andra metoden alla filter på plats jämfört medan den första metoden är mer designad som originalmetoden metoden med filter som kan flyta upp och ner under mäskningen. Denna bryggning testade jag den första metoden eftersom det är en logisk fortsättning på mitt senaste test av prototypdelar. Låsplattan har den extra funktionen, jämfört med alla tidigare lösningar, att den förhindrar att maltdelar kan fly från maltröret och det ger även maltröret ett jämnt fördelat tryck mot botten av Braumeistern.
Precis som med nästan alla mina bryggningar började denna dagen före genom att sätta en timer för uppvärmning av mäskvatten så jag kan börja brygga så tidigt som möjligt morgonen därpå. Braumeisterns senaste firmware har en inbyggd timer för att ställa in en försenad start och min plan var att testa detta denna gång. Men när jag programmerade BM upptäckte jag att 85° C är den maximala temperaturen som går att ställa in och jag skulle vilja att det var närmre 95-98° C (mindre än 100 av säkerhetsskäl). Lite besviken på att jag inte undersökt detta tidigare använde jag min gamla metod med Speidels doppvärmare och en vanlig julgranstimer (16A-kompatibel) utan att tänka på att vattnet vanligtvis ändå hamnar omkring 85-90° C på morgonen med den metoden. Jag kunde alltså ha provat den nya timerfunktionen trots allt, så det får bli nästa gång istället.
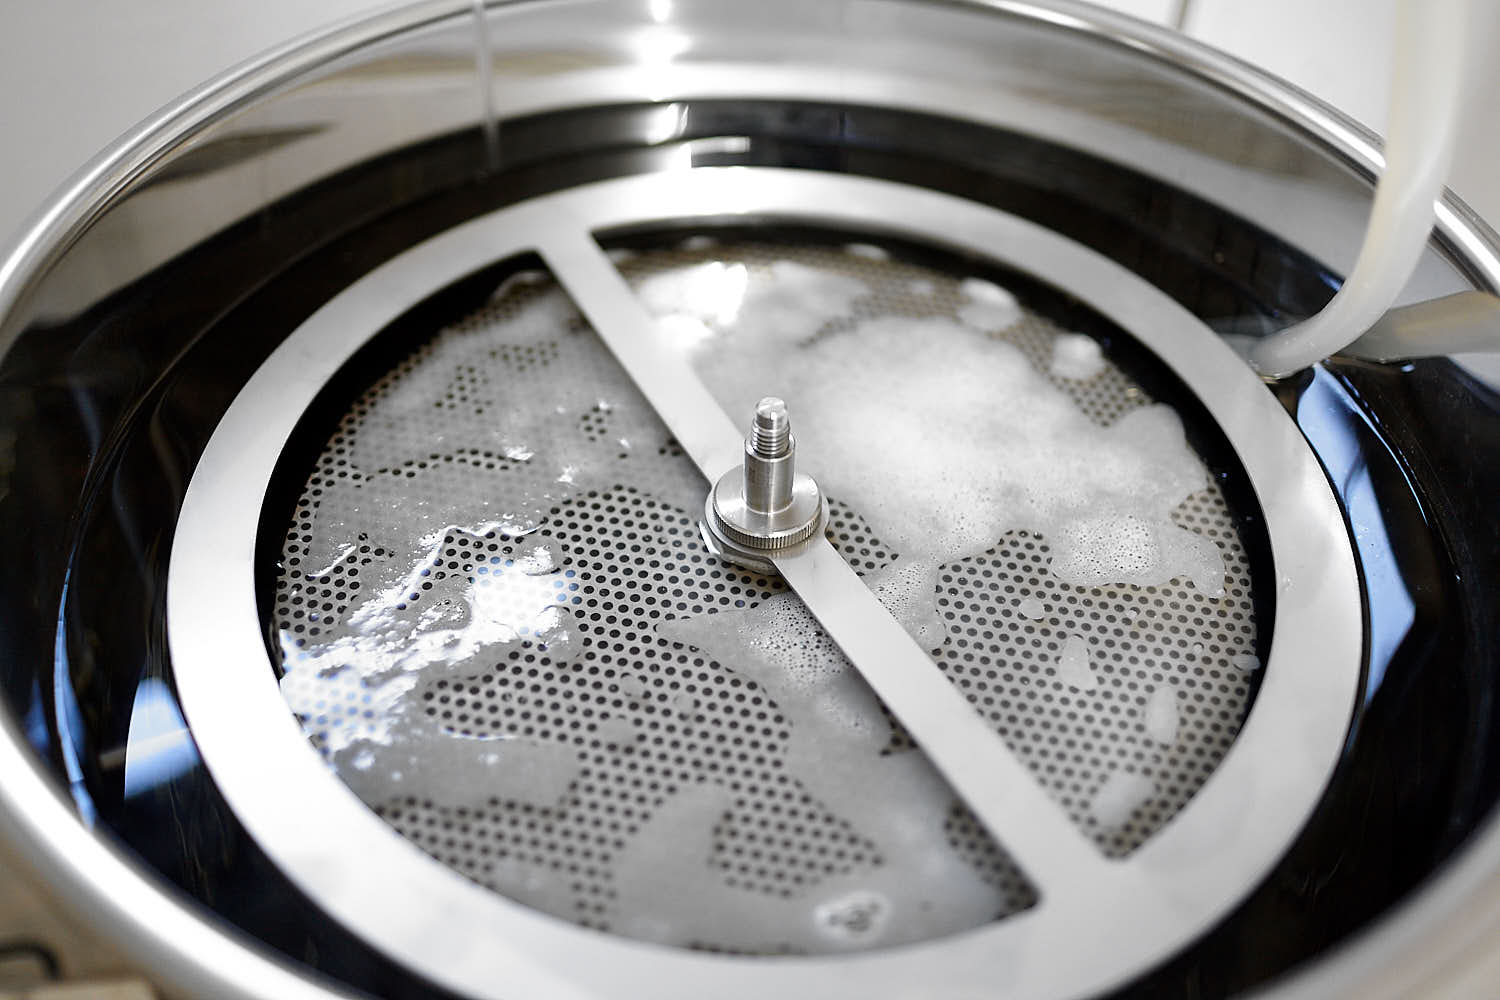
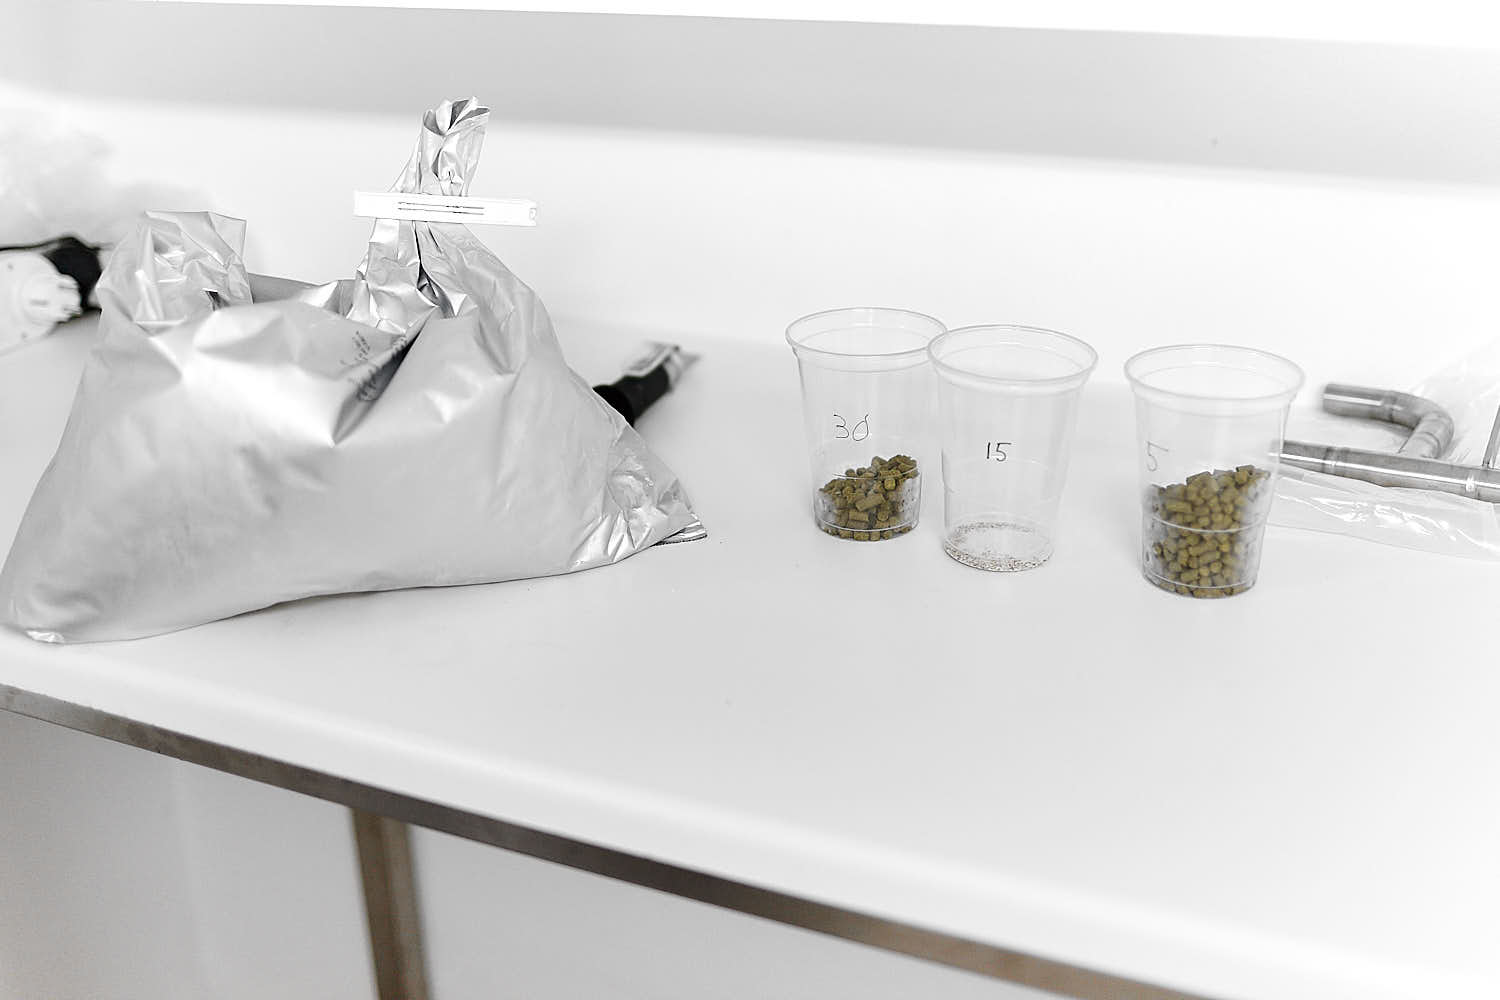
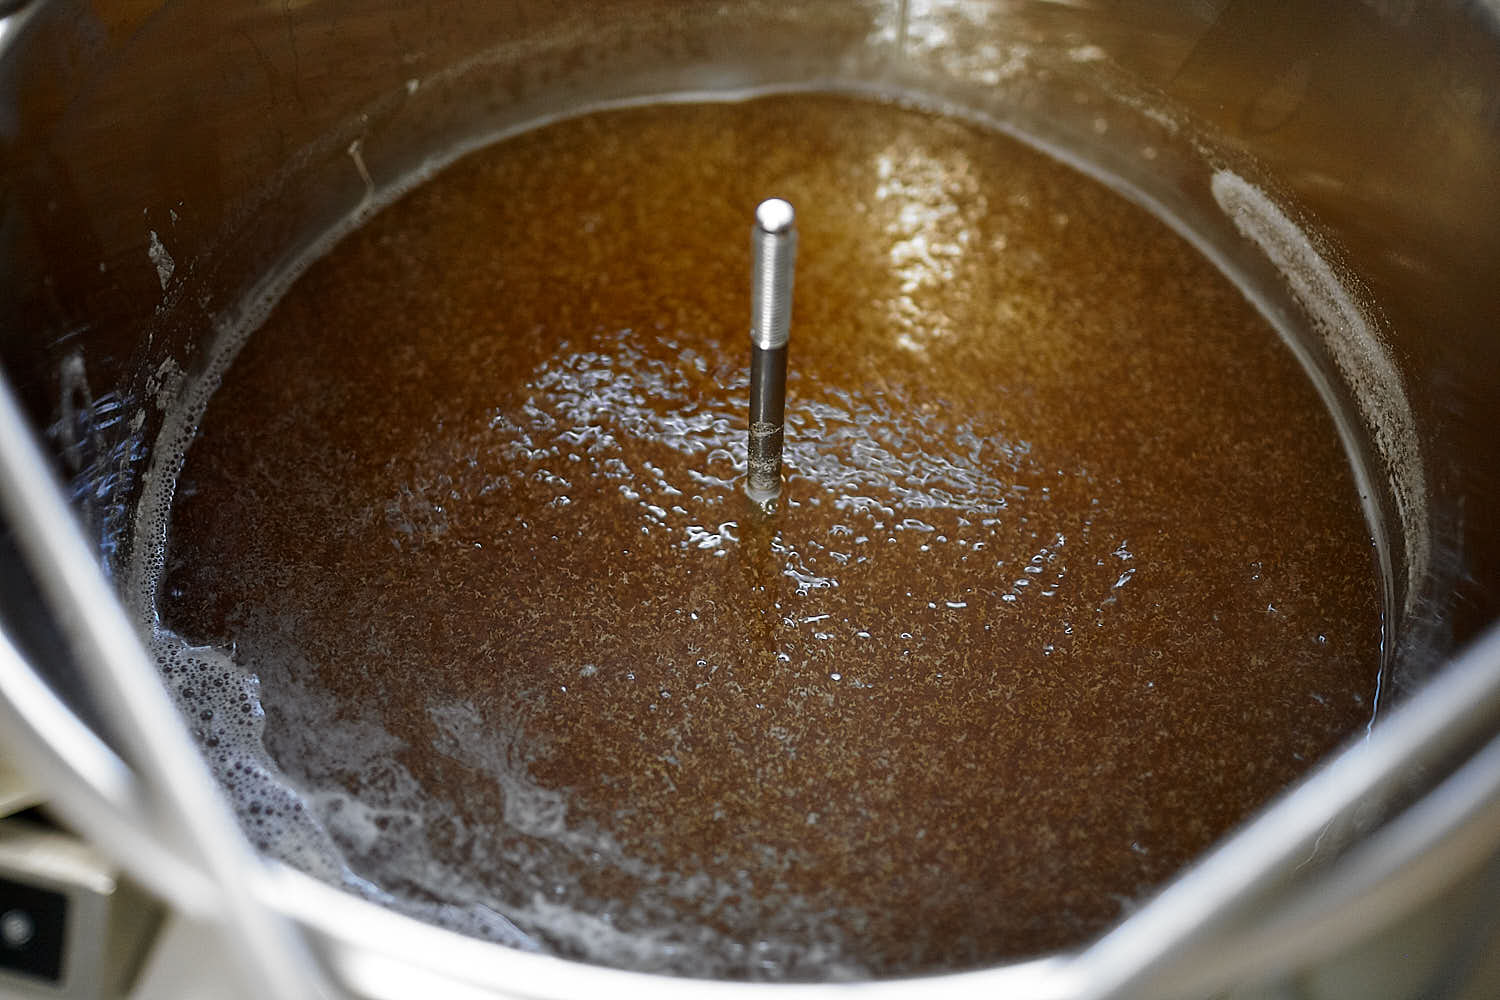
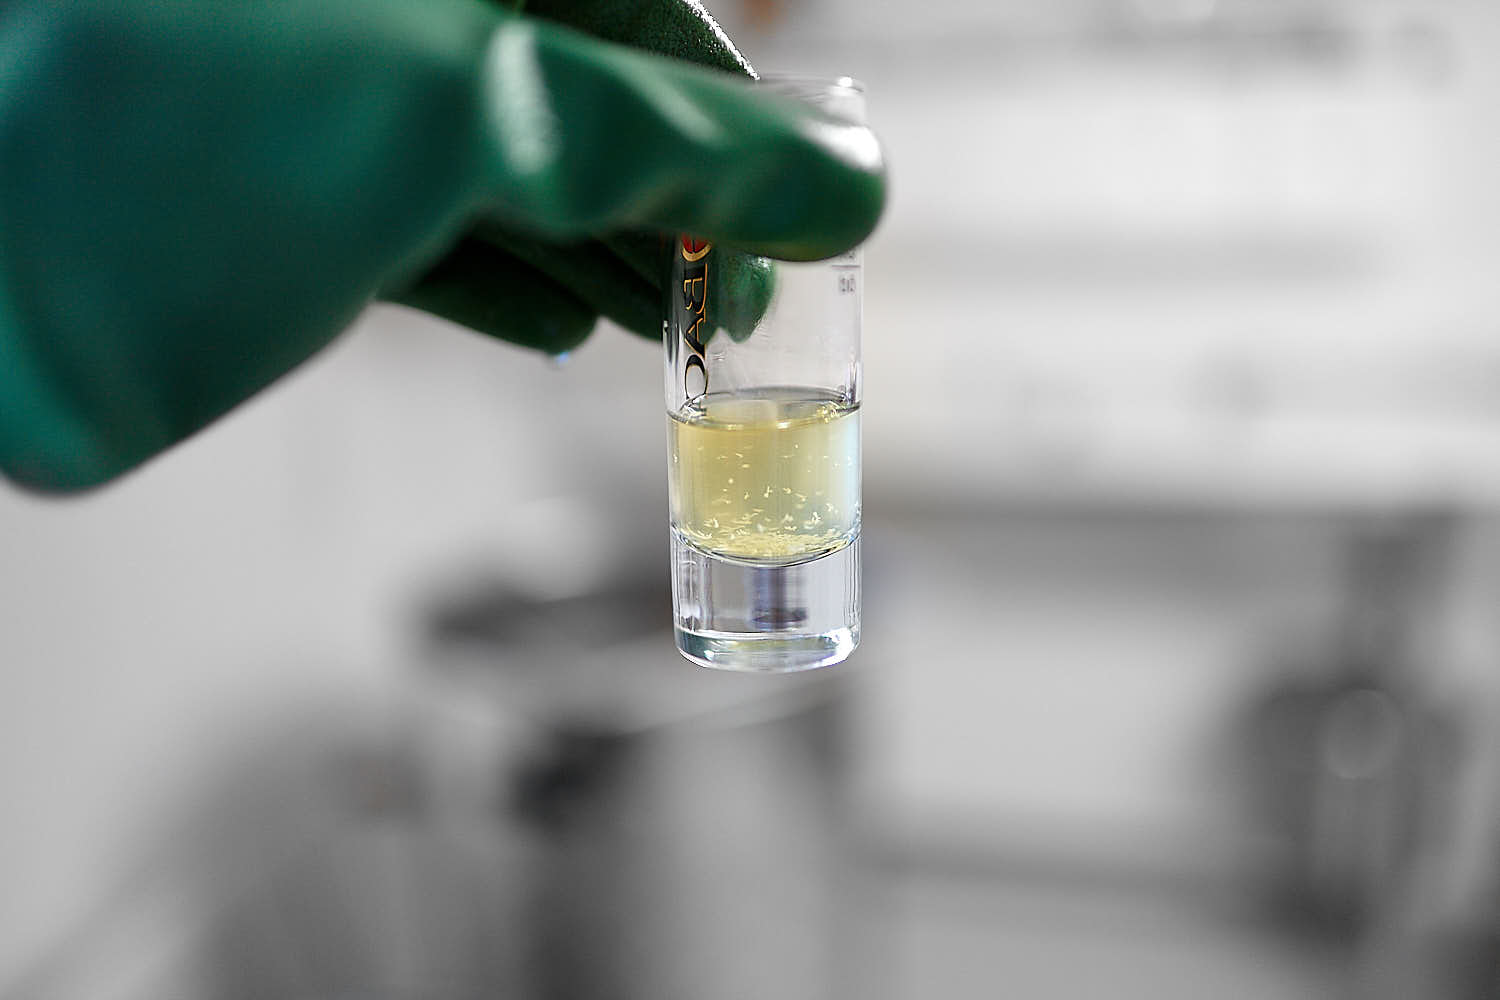
Inmäskningen och stegmäskningsschemat gick smidigt utan avvikelser. Vörten efter utmäskningen såg ytterligare lite bättre ut än förra gången och även om det är en konstant mindre förbättring för varje gång jag brygger, kan jag inte riktigt säga exakt vad det beror på. Visst var mittenhålet i mashcap:en lite mindre än tidigare version och jag var extra försiktig när jag sänkte maltröret som simulerade en “underlet” men ger det mig verkligen mer genomskinlig vört med mindre skum i slutändan? Förmodligen spelade det senare mer roll än det första och ja, det är min arbetshypotes såhär långt. Noggrannhet i varje steg spelar roll i slutändan. Uppmätta syrehalter höll sig runt 0,9 ppm men som jag sagt tidigare är det svårt att noggrant mäta DO under mäskningen på grund av naturligt förekommande antioxidanter (AAO) i malten vilket reducerar syre med minskade maltsmaker som resultat men även att det är svårt att ta ett mätprov utan att tillför syre till mäsken eller mätprovet. Utöver förbättringarna ovan ägnade jag lite extra uppmärksamhet åt upphissandet av maltröret och med det menar jag att jag långsamt höjde upp det under cirka fem minuters tid så inget skräp skulle hastigt byta riktning och hamna i bryggverket. Resultatet var inte synligt förrän kokstart då vörten såg extra genomskinlig ut med fria proteinpartiklar som simmade omkring. När jag insåg att denna sats skulle bli lite speciell bestämde jag mig för att koka humlen i en humlekokpåse för lättare separation efter koket med eventuellt lite extra genomskinlig vört som resultat. Till min stora förvåning blev det inte riktigt så och min teori är att de, förvisso koagulerade proteinerna, slogs sönder i koket trots min medvetet låga kokintensitet. Precis som med ett ägg kan inte proteiner lösas upp igen men visst går det att att mosa ett ägg till småbitar… En sedimenteringspaus efter/under kylningen är fortfarande min bästa metod för att separera allt druv eftersom whirlpool inte fungerar så bra för mig med alla element som finns i botten på BM. I början av kylningen körde jag en lite (för stilen) okonventionell hopstand på en halvtimme då lite extra humlearom kan passa bra såhär i grilltider med en maß i handen. Jag lyckades bara kyla till 15°C innan mitt samvete tog emot. Kranvattnet är lite för varmt nu när sommaren gick till spontanattack. Det blev väldigt mycket skum vid syresättningen så min nya rostfria jästank var lite för liten denna gång. Jag fick ihop 15 liter extravört från en separat lakning och ihop med resterna från bryggverket. Den vörten fick en påse ickehydrerad US05 och lämnades åt dess icketemperaturstyrda öde i det svala bryggeriet. Rengöringen av bryggverket gick smidigare än någonsin och det hade nog räckt med enbart vatten och lite gnuggande med handen längs sidorna men eftersom jag har min pump med sprayboll så körde jag en vända med Enzybrew iallafall, vare sig det behövdes eller inte…
I thought it was time to brew some thirst quenching Helles for the summertime. Since I was going to Munich the day after, it seemed really fitting aswell. The difference from a mild pils to a Helles is not enormous depending on recipe but generally the bitterness, hop presence and malt sweetness are the key factors. There are rarely any bigger late hopping in Helles and the focus is on keeping the finer malt nuances all the way to the glass. The recipe for this Helles is taken from my book and the most important part is the malt ratio with 96% pilsnermalt (Barke) and 4% Carahell which makes it more like a Paulaner Helles and less sweet than Weihenstephaner Original. With low oxygen brewing you can get away with a bit more caramel malts without the taste becoming cloying but generally 10% for a light beer is still absolute maximum for me. The hoping schedule is the same as in the book but with a different hop due to my inventory. As long as you use noble hops in a low hopped german style you can experiment with different hops and still get a similar end result.
This brew session was primarily about new prototype parts I was evaluating for Speidel; a new malt pipe holder (locking plate instead of the original pipe) that is more like Bac brewings Yield increase disc, a new nut with a little bit different design and finally a new floating lid (mash cap) with a smaller size of the middle hole. The malt pipe locking plate was of course the big difference from the V1 prototype and since it’s possible to use it in two different ways I need to brew with it one more time before I can evaluate it properly. The two ways to add all parts is:
maltpipe, thick filter, thinn filter, mash, thinn filter, thick filter, locking disc, nut, mashcap
maltpipe, thick filter, thinn filter, mash, locking disc, thinn filter, thick filter, nut, mashcap
As you can see, the second method locks all filters in place compared to the first method which is more designed like the original method with filters being able to float up and down during the mash. This brew session I tried the first method since it’s a logical progression from my last test of prototype parts. The locking disc has the extra feature compared to all earlier solutions that it prevents stray malt to escape from the malt pipe and it gives the malt pipe even pressure towards the bottom of the Braumeister.
As with nearly all my brew sessions nowadays, this one started the day before by setting a timer for heating so I can get started with preboiling my mash water as early as possible. The latest firmware of the Braumeister has the built in ability to set a delayed start, or timer, for starting a brew session and my plan was to try it out this time. But when I was programming the BM I found out that 85°C is the maximum temperature and I would like it to be more like 95-98°C (less than 100 for saftey reasons). A bit disappointed that I hadn’t tried this before the actual brewday, I used my old setup once agan with the external Speidel heat source (3200w) and a regular Christmas tree-style timer (16A ready) without thinking about that the water usually is around 85-90°C in the morning anyway so I could have tried the new timer function. It’ll have to wait until next time…
Mash-in and the mashing program went smooth and with and deviations nor news. The wort after mashout looked even better than the last time and even if it’s a small progression every time I brew I can’t really say what’s improving from time to time. Sure the center whole in the mash cap is bit smaller and I was extra careful when lowering the malt pipe simulating an underlet but is that really giving me clearer wort with less foam in the end? Probably the latter more than the former but yes, that is my best suggestion this far. Dissolved oxygen levels stayed around 0,9 PPM but as I said before, it’s hard to accurately measure DO in the mash due to both naturally occurring antioxidants in the malt that reacts with oxygen but also due to the way we are able to take samples without adding more oxygen to the mash (removing the mashcap and taking a sample below the surface). I also paid extra attention to the removing of the malt pipe so no extra gunk would reverse from the lautering and ending up in the kettle. By extra attention I mean raising it over a period of maybe 5 minutes. The result wasn’t visible until the boil just got started when the wort looked better than I ever had before with brilliantly clear wort with dissolved protein bits floating around in it. When I realised that this batch was going to be a bit special I decided to boil the hops in a bag for easier separation and perhaps even more clear wort going into the fermenter. To my big surprise, it didn’t really turn out better than my usual clarity. My guess is that the boil, even though it is gentle, is breaking down proteins into smaller parts and just like an egg, coagulated proteins won’t dissolve again but it can be chopped up into small pieces. A prolonged rest after or during the chilling is my currently best option for removing these compounds since I failed with a big number of whirlpools in the Braumeister due to all it’s elements in the bottom and it worked pretty well this time as usual. In the middle of the chilling I added a very unconventional for the style hopstand for about 30 min at 79°C. A little extra noble hopkick in the BBQ-time seemed fitting for a 1.050 maß-session beer. The chilling down to fermentation temperature took some extra time due to the summer having arrived in record time. I only got the wort down to 15°C before deciding that I could not waste any more tap water. It would have to do… I ended up with a lot of foam in the fermenter so this time my 45L stainless fermenter (that fits about 50l) was a bit too small. I ended up with 15L spare wort, both from some outofthekettle spargeing and also from the last wort in the BM. I added a non hydrated dry yeast (US05) and let it ferment away without temperature control. Dishing of the BM went extra easy this time and I might not needed more than the first water rinse to get it clean but I used the pump with spray ball and some Enzybrew anyway.
 Transfer of extra mash water before mash in.
 The new prototype parts besides the mashcap.

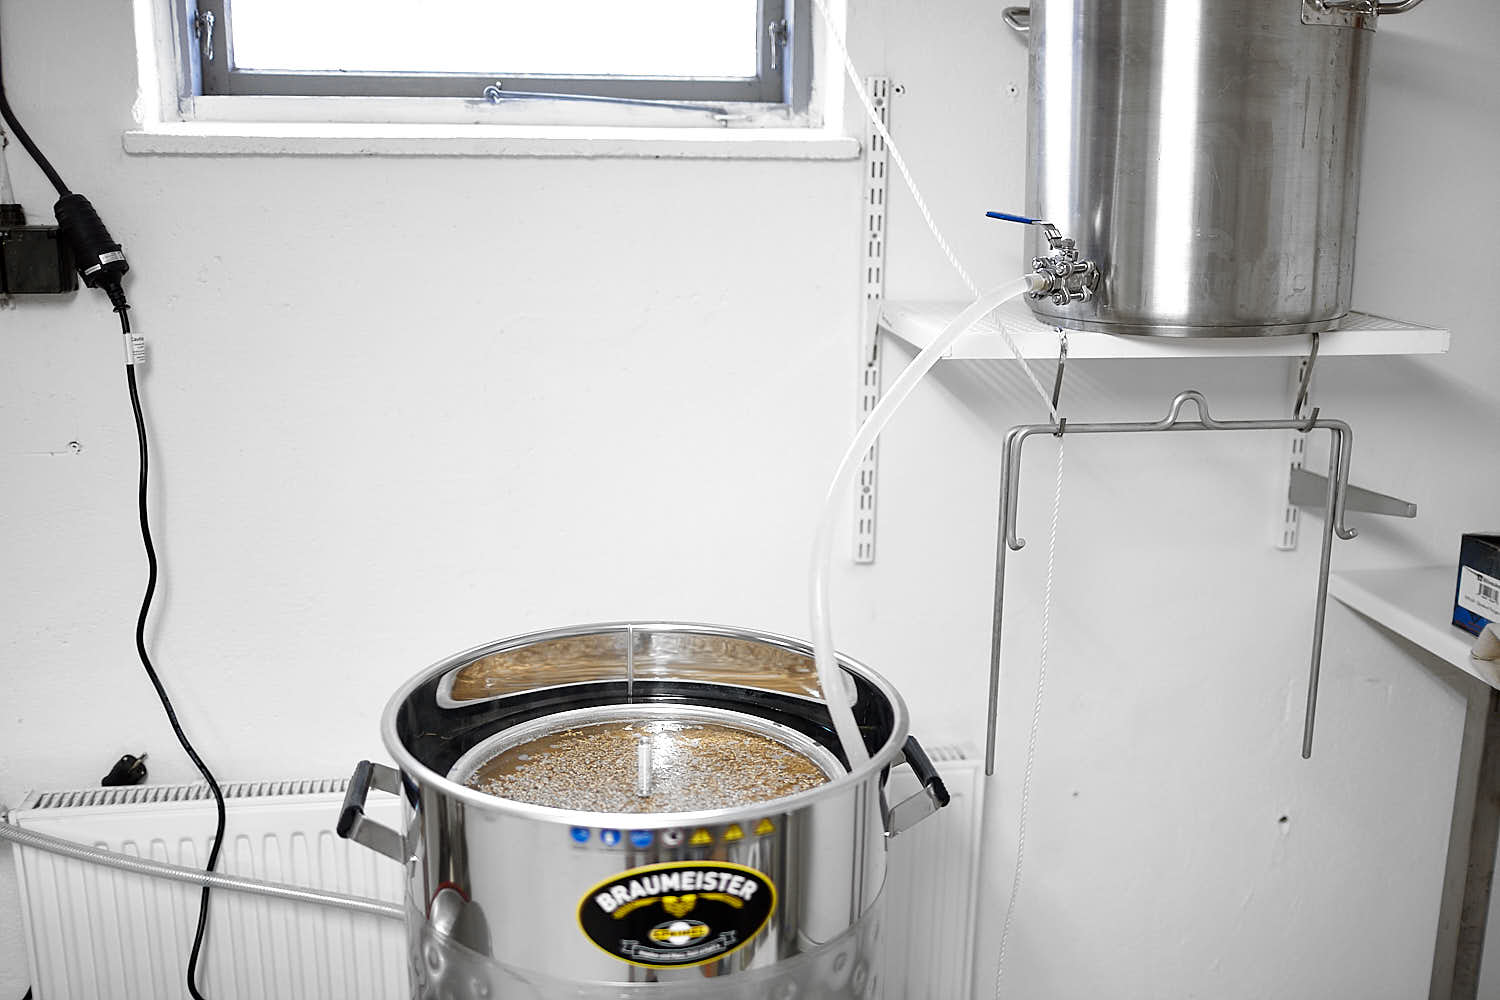 Refill och mash water to overflow/underlet the malt.
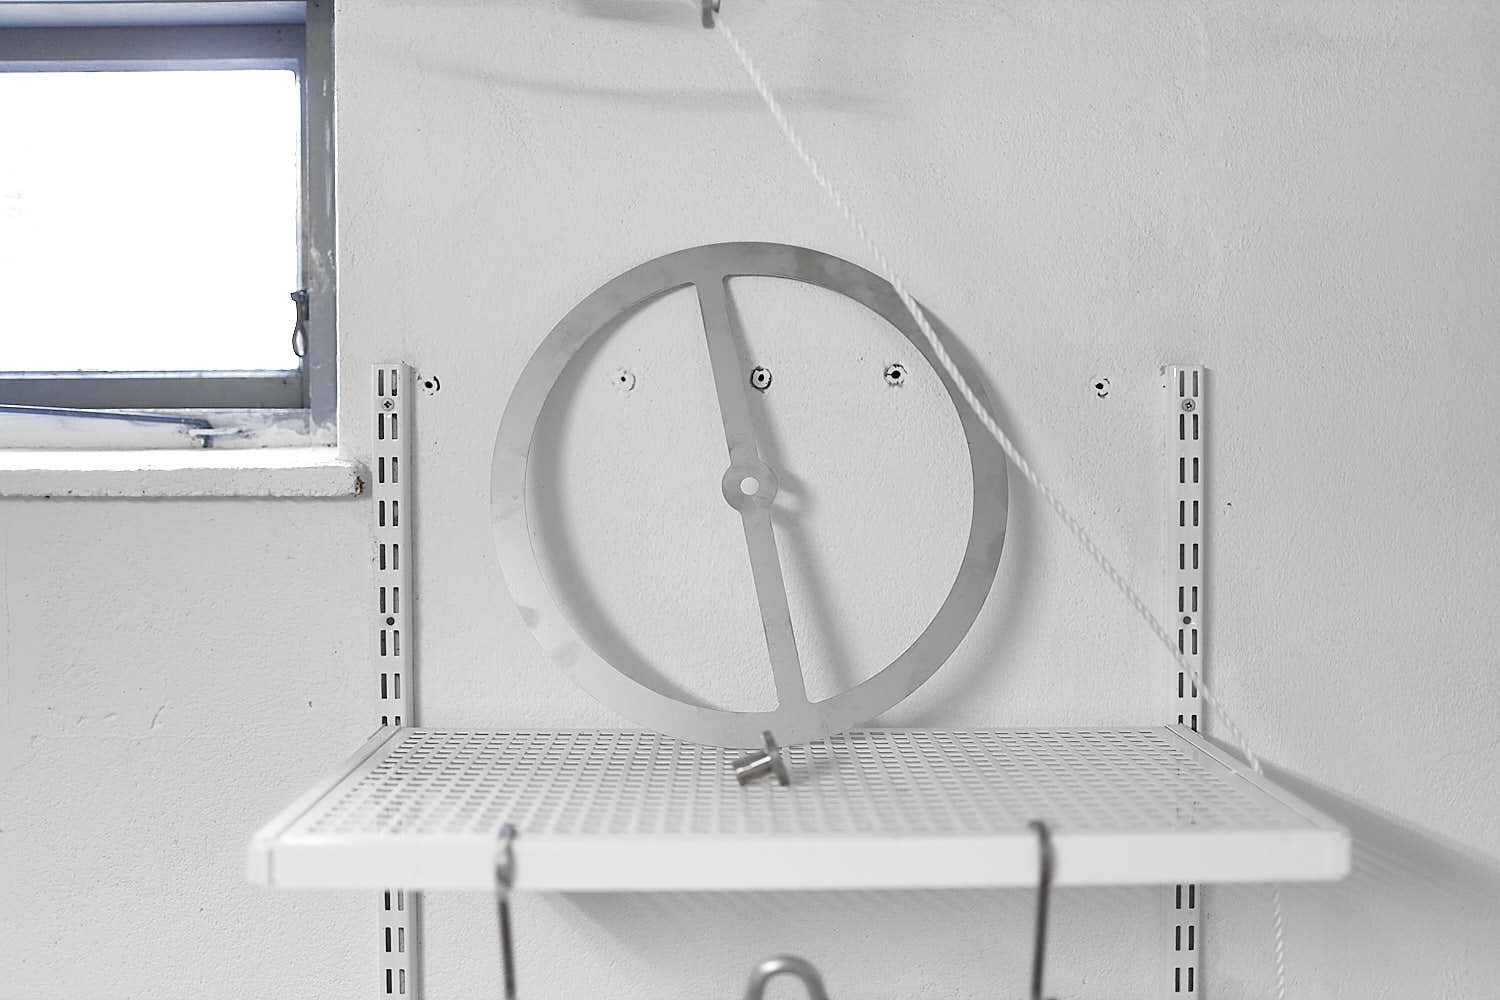
 Adding of the maltpipe holder disc.
 If added in this sequence, a bolt is an insurance that the filters will be kept down but probably it is unnecessary.
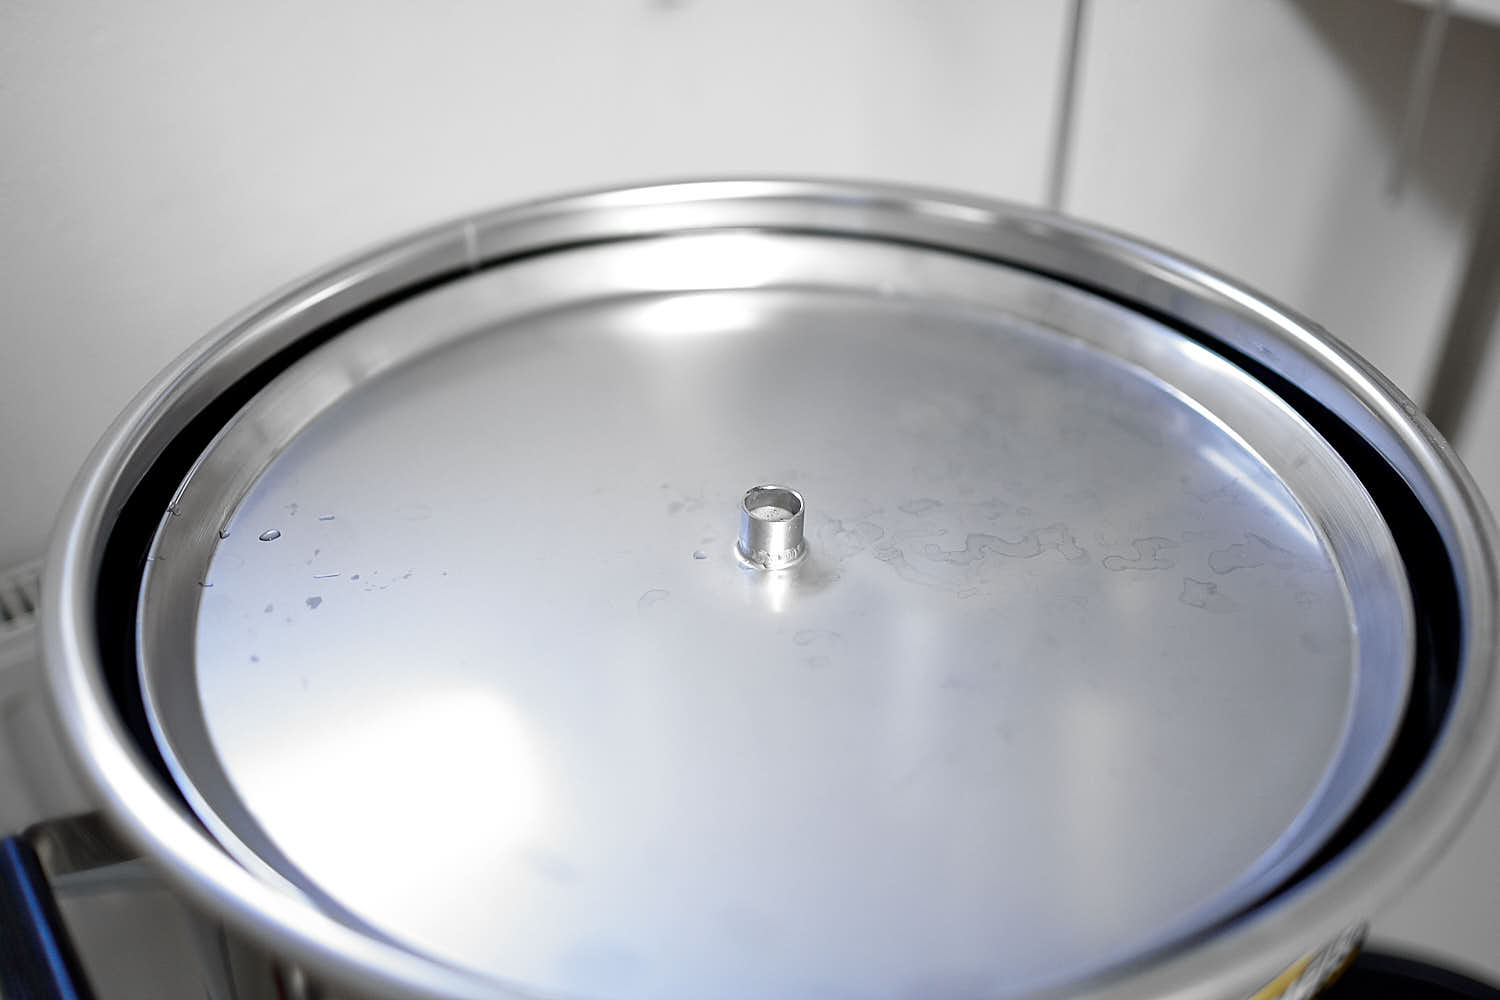
 New nut in place.
 Overflow with water to ensure that the mash cap is floating.
 New mashcap added and mash program started.
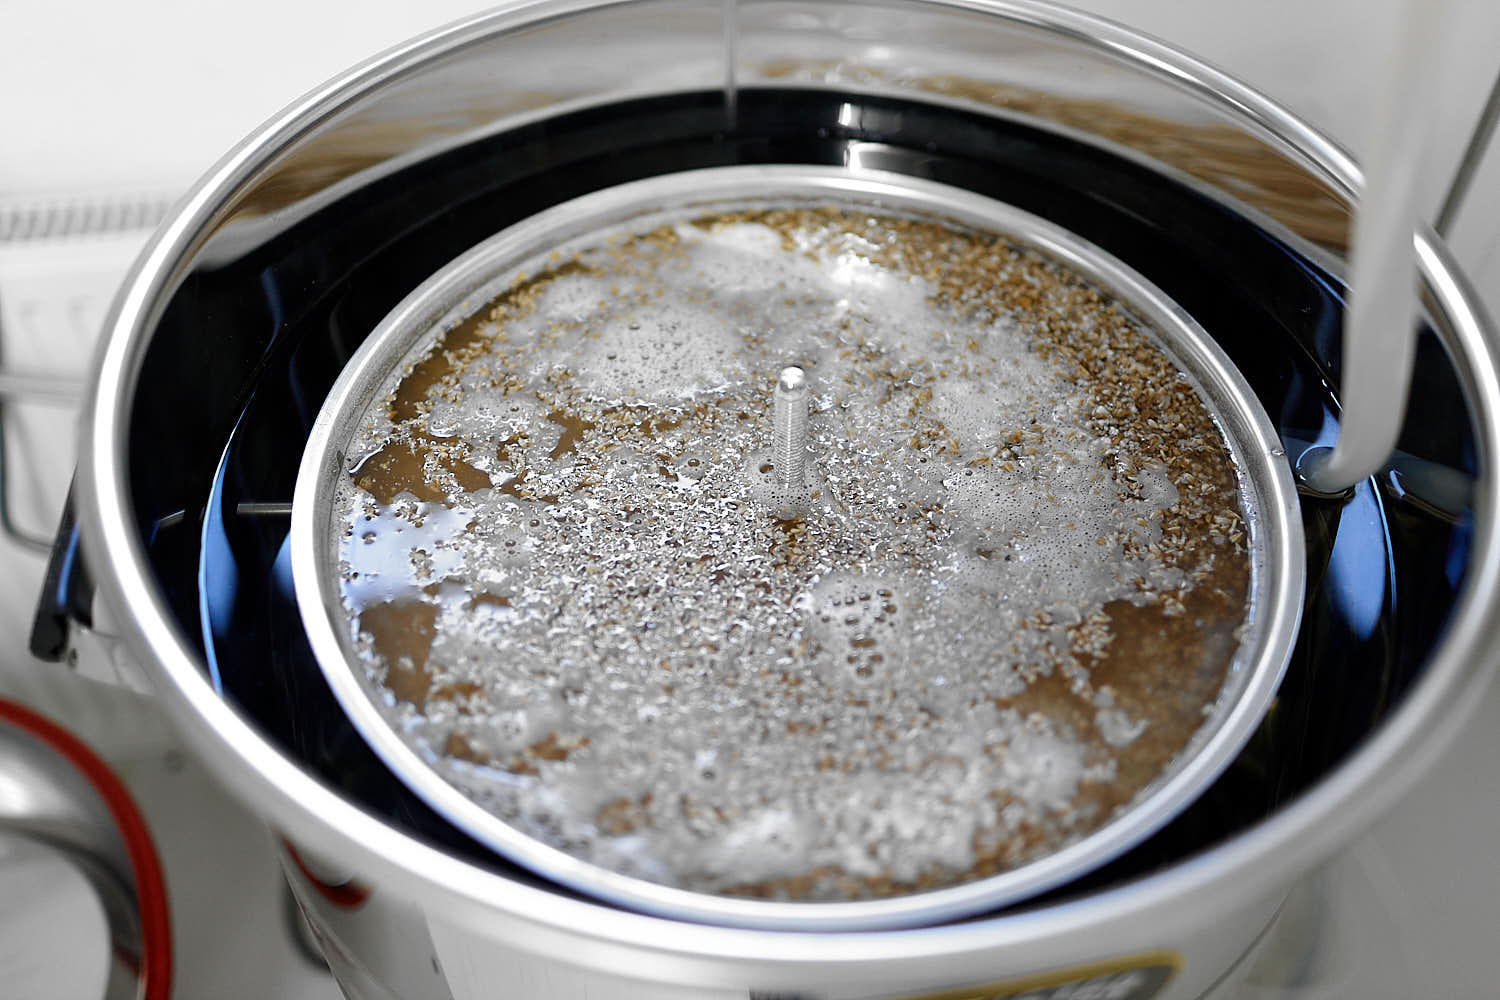
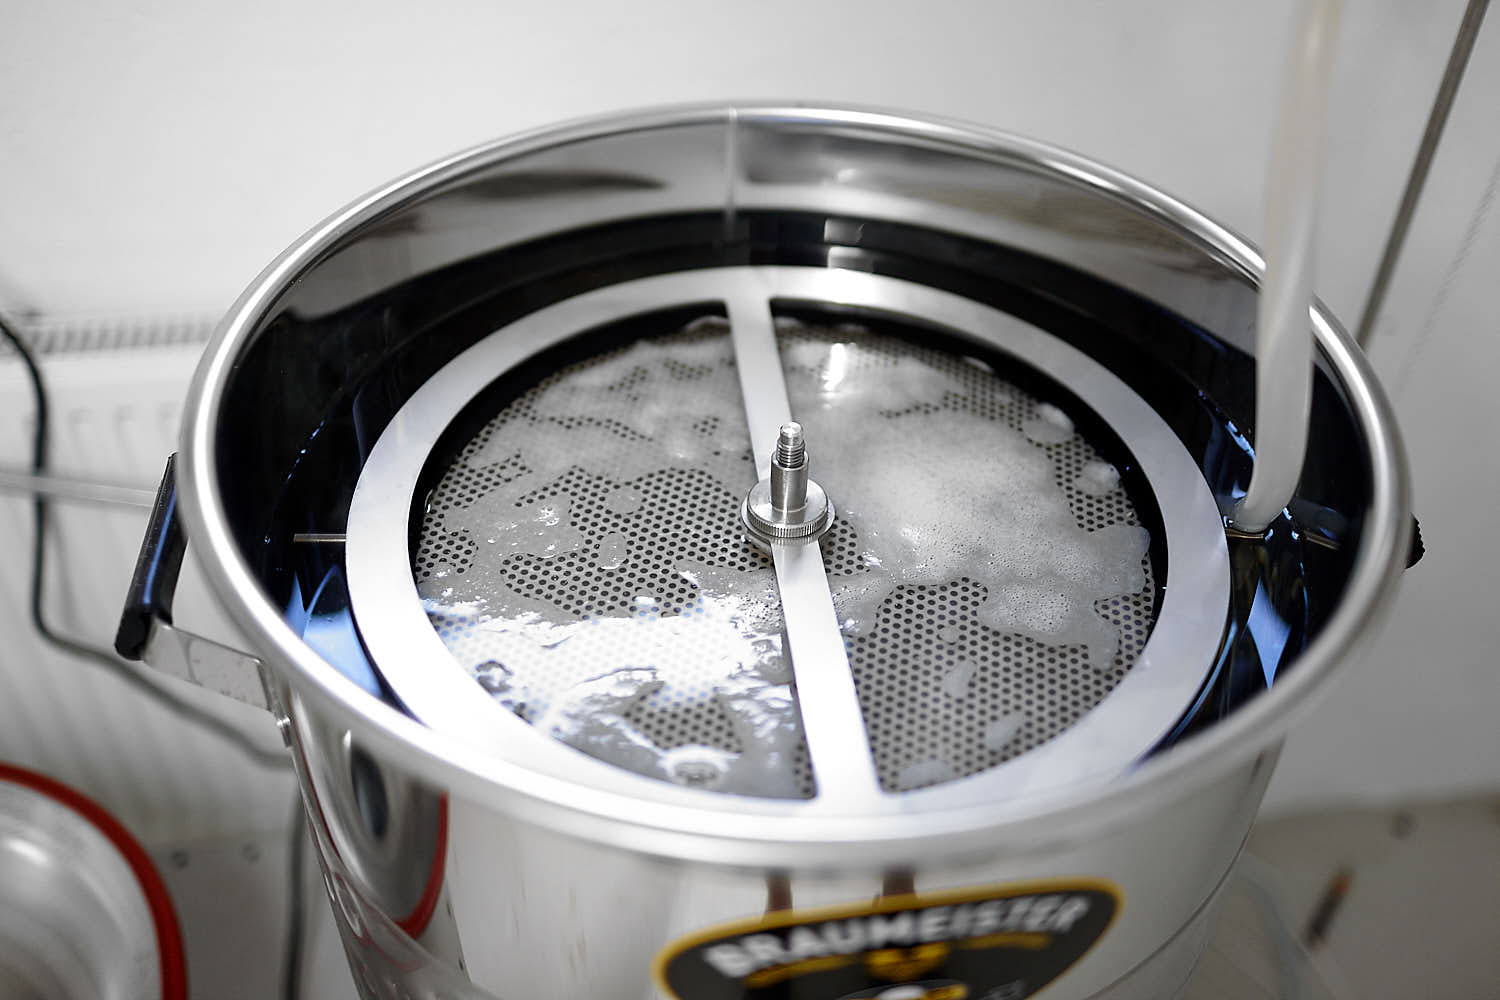
 The result after the mash.
 Awesome clarity and low foam.
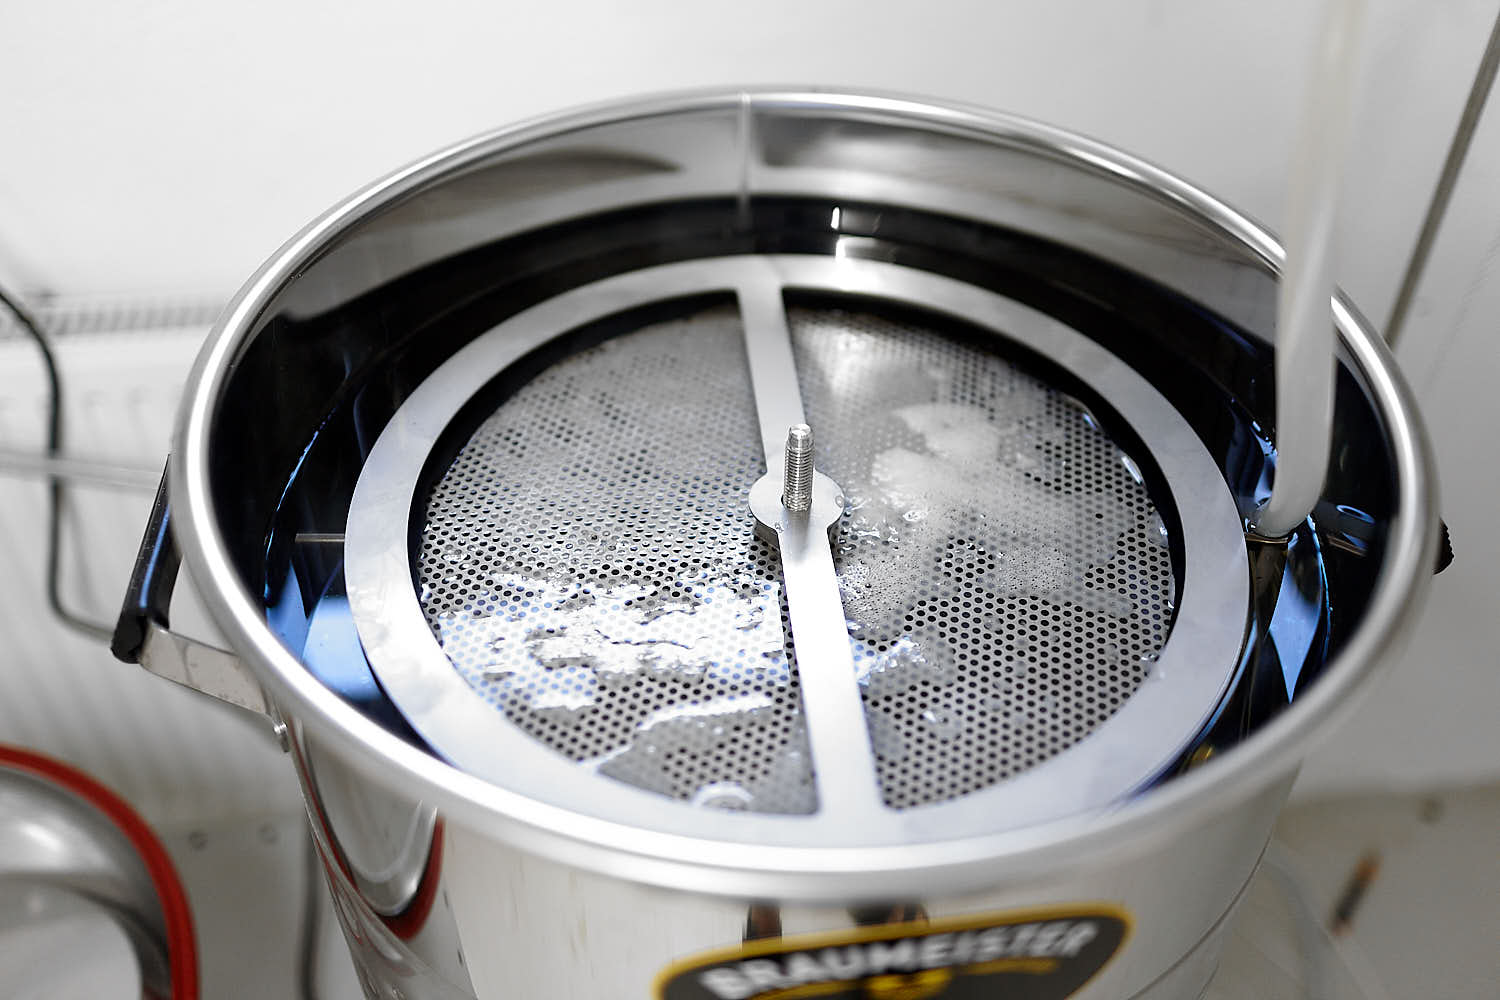
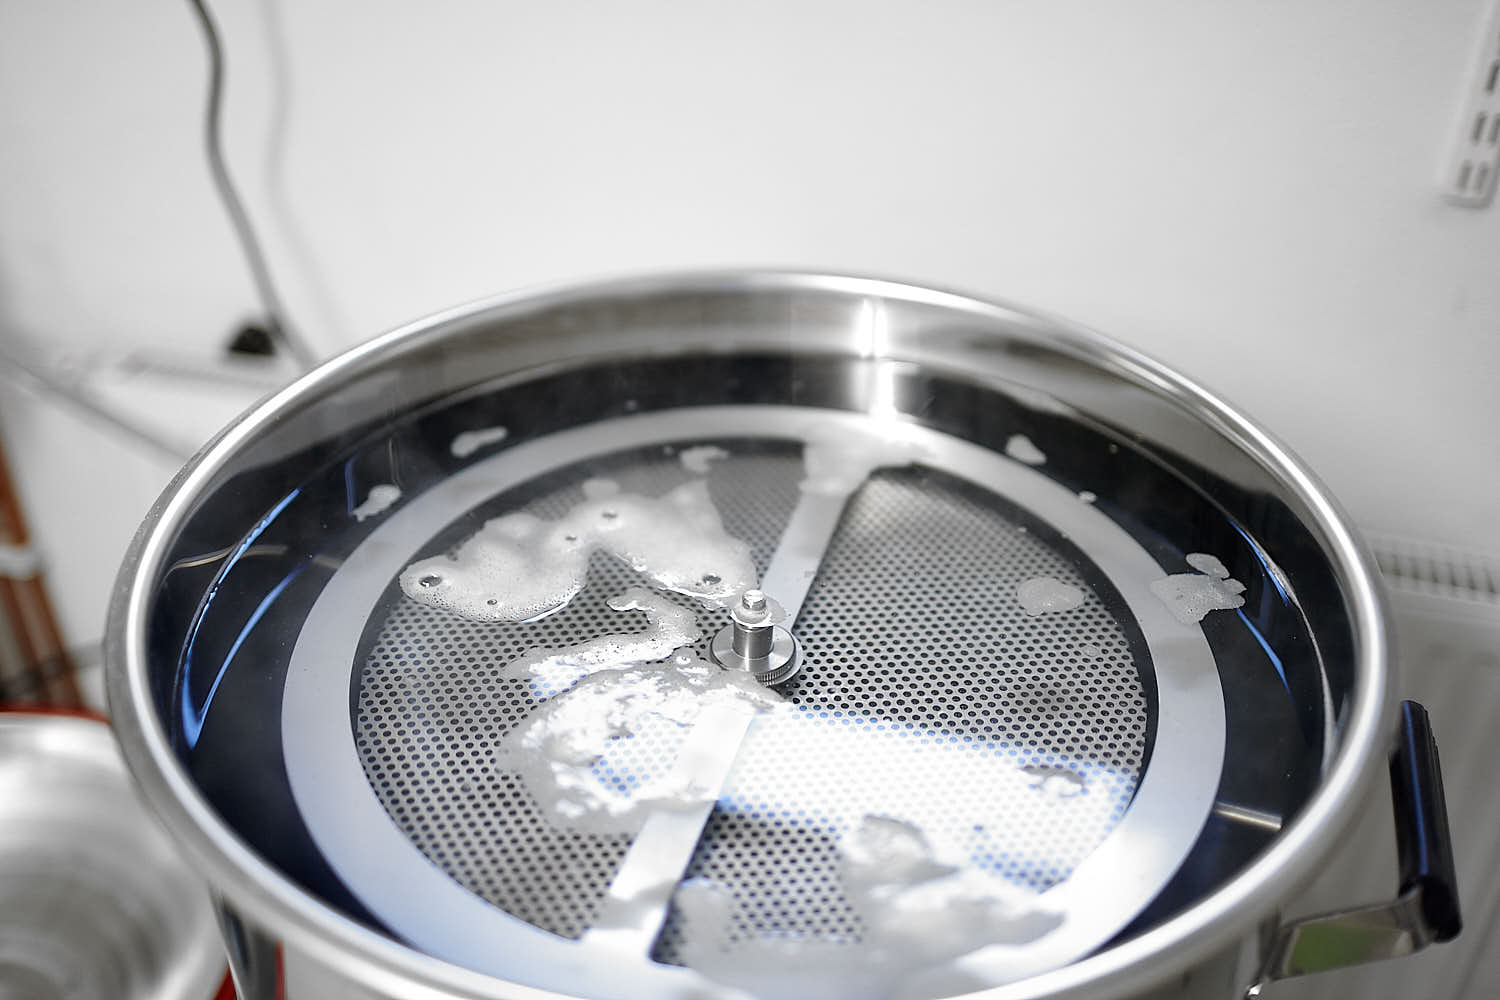
 After the outdrawn lifting of the maltpipe.
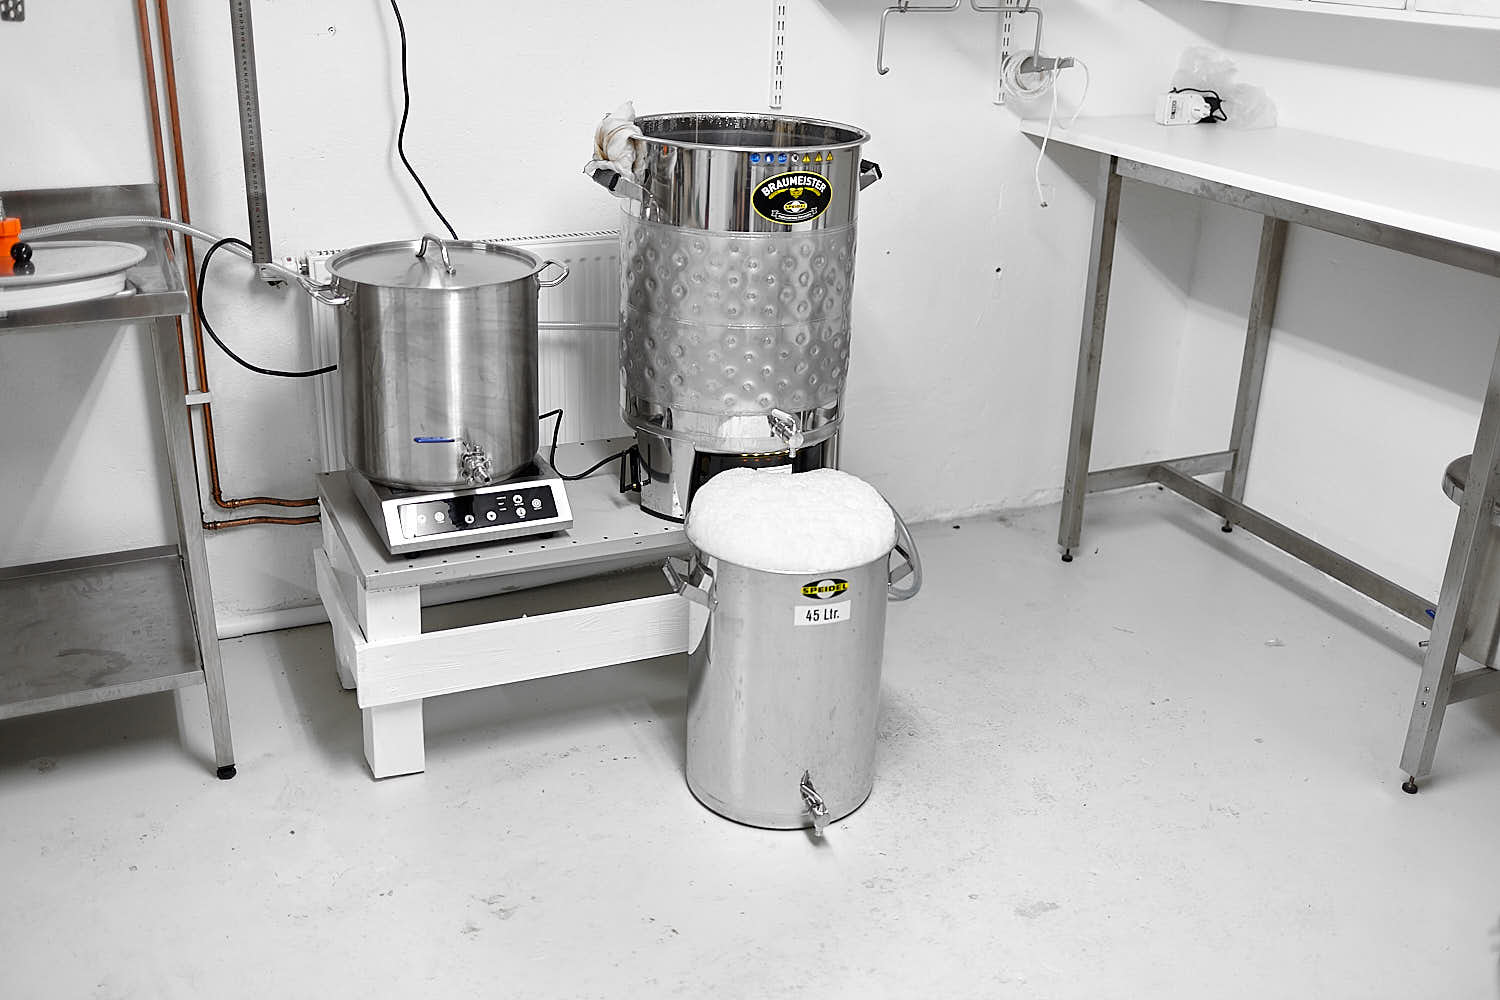
 Boiling spargewort in the left kettle and boiling the main batch to the right.
 This view used to be just grass and garden. Now it’s an orangetree in the wooden biergarten instead (my wife does not have the same name on the place…).
 Noble hops in the form of Perle.
 Start of the boil. Hard to see the clarity and nondissolved proteins but look at next photo:
 Finally I get a nice hot break in the beginning och the boil!
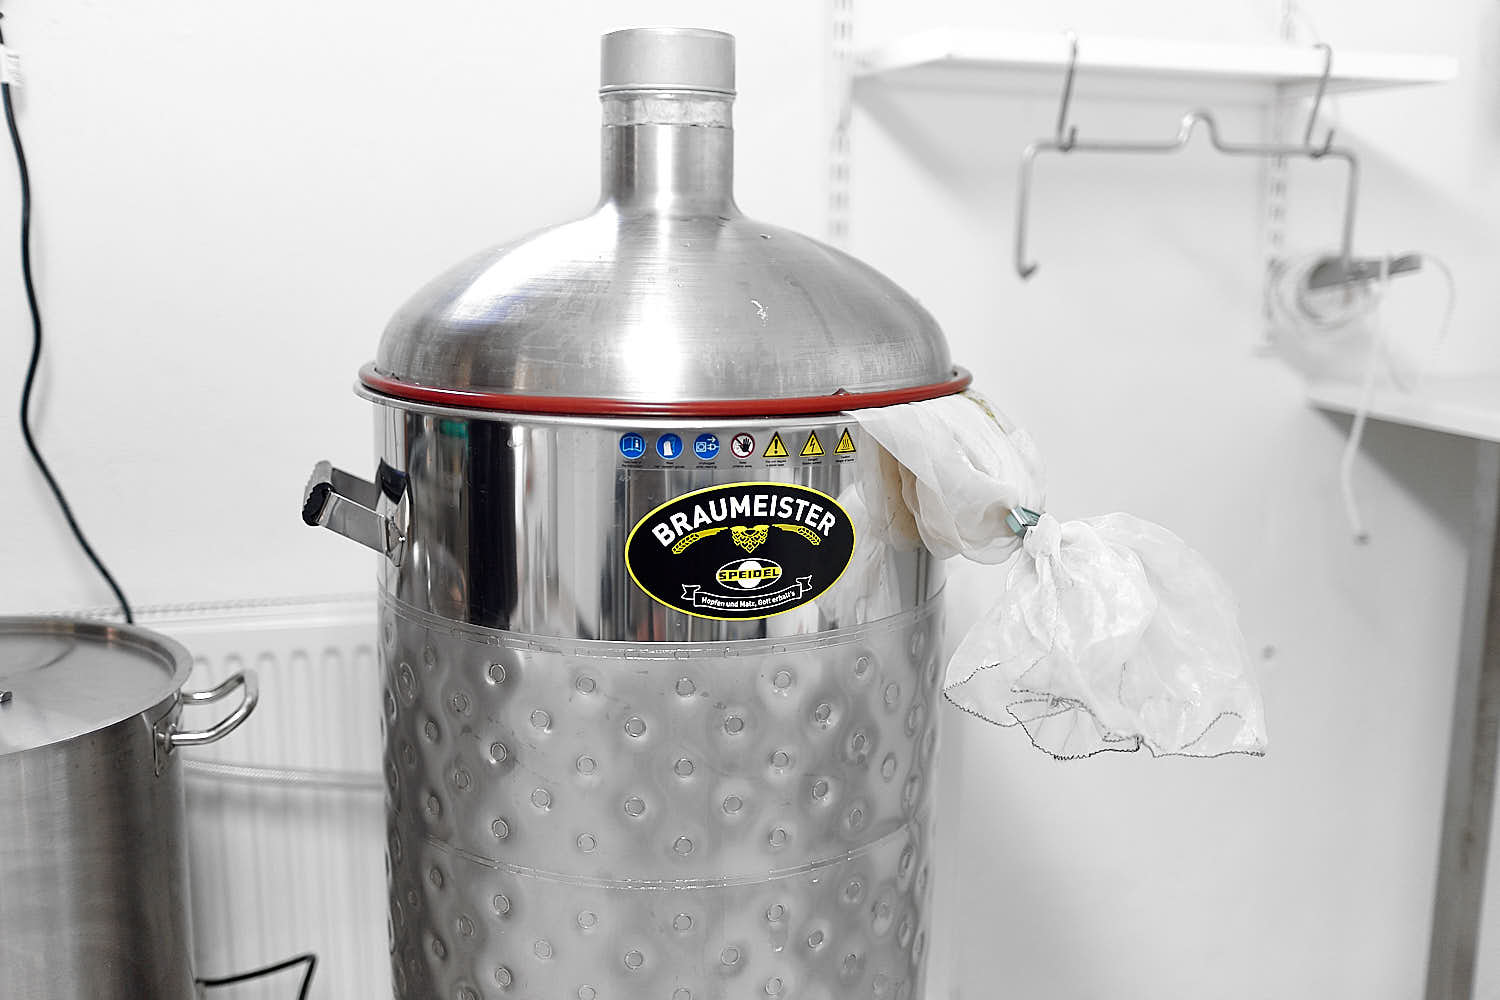 I used my BIAB-bag to boil hops in.
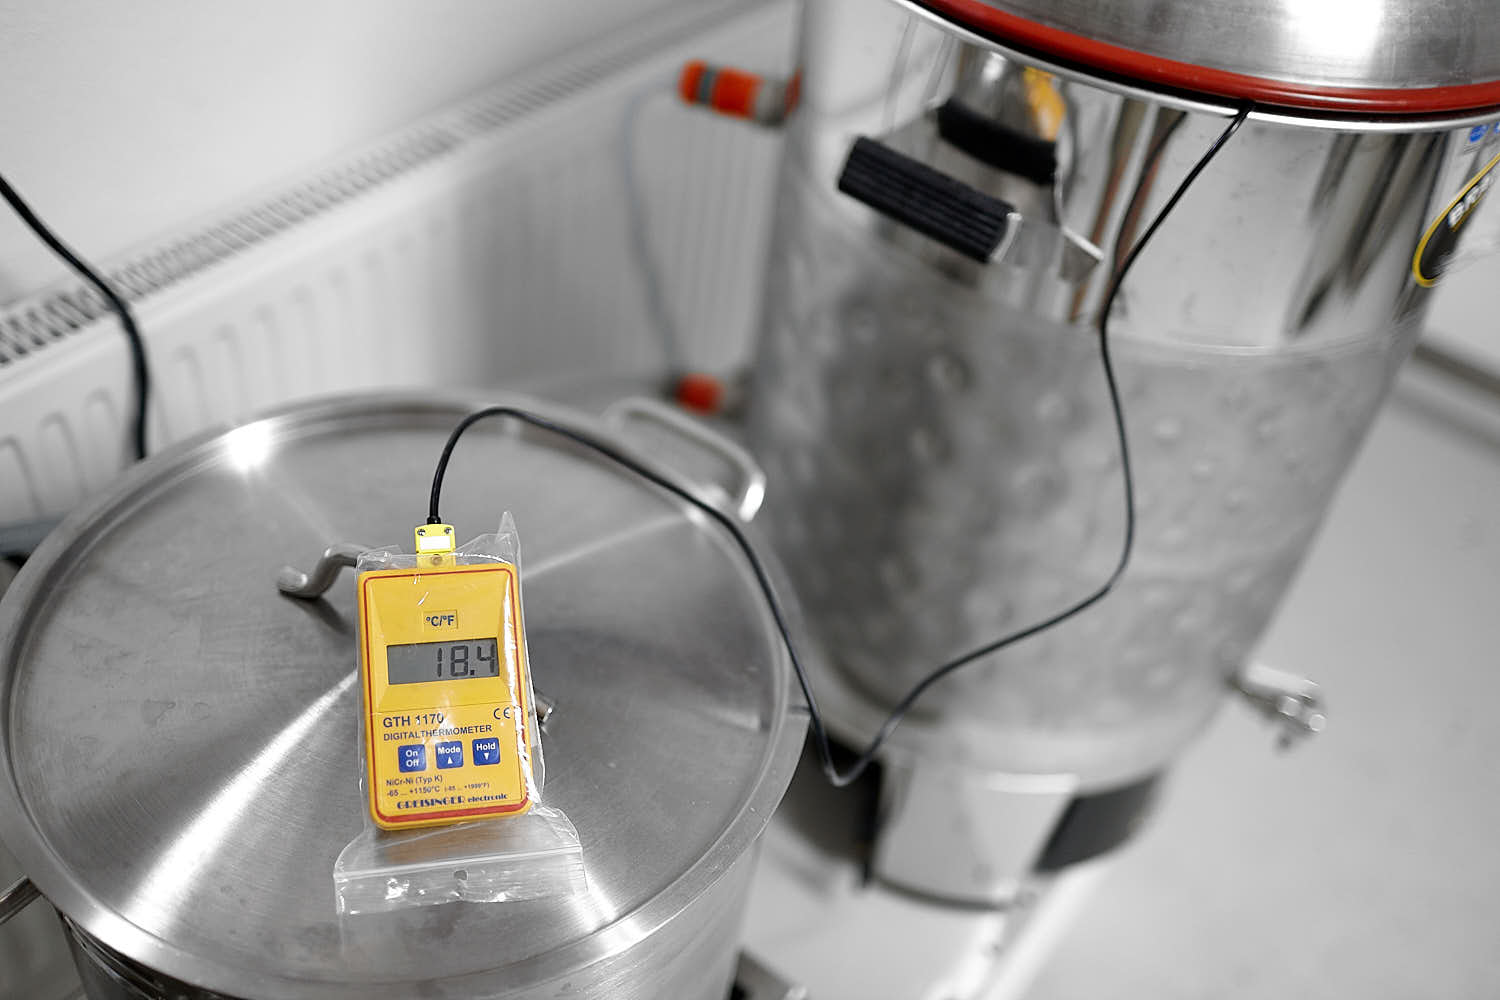
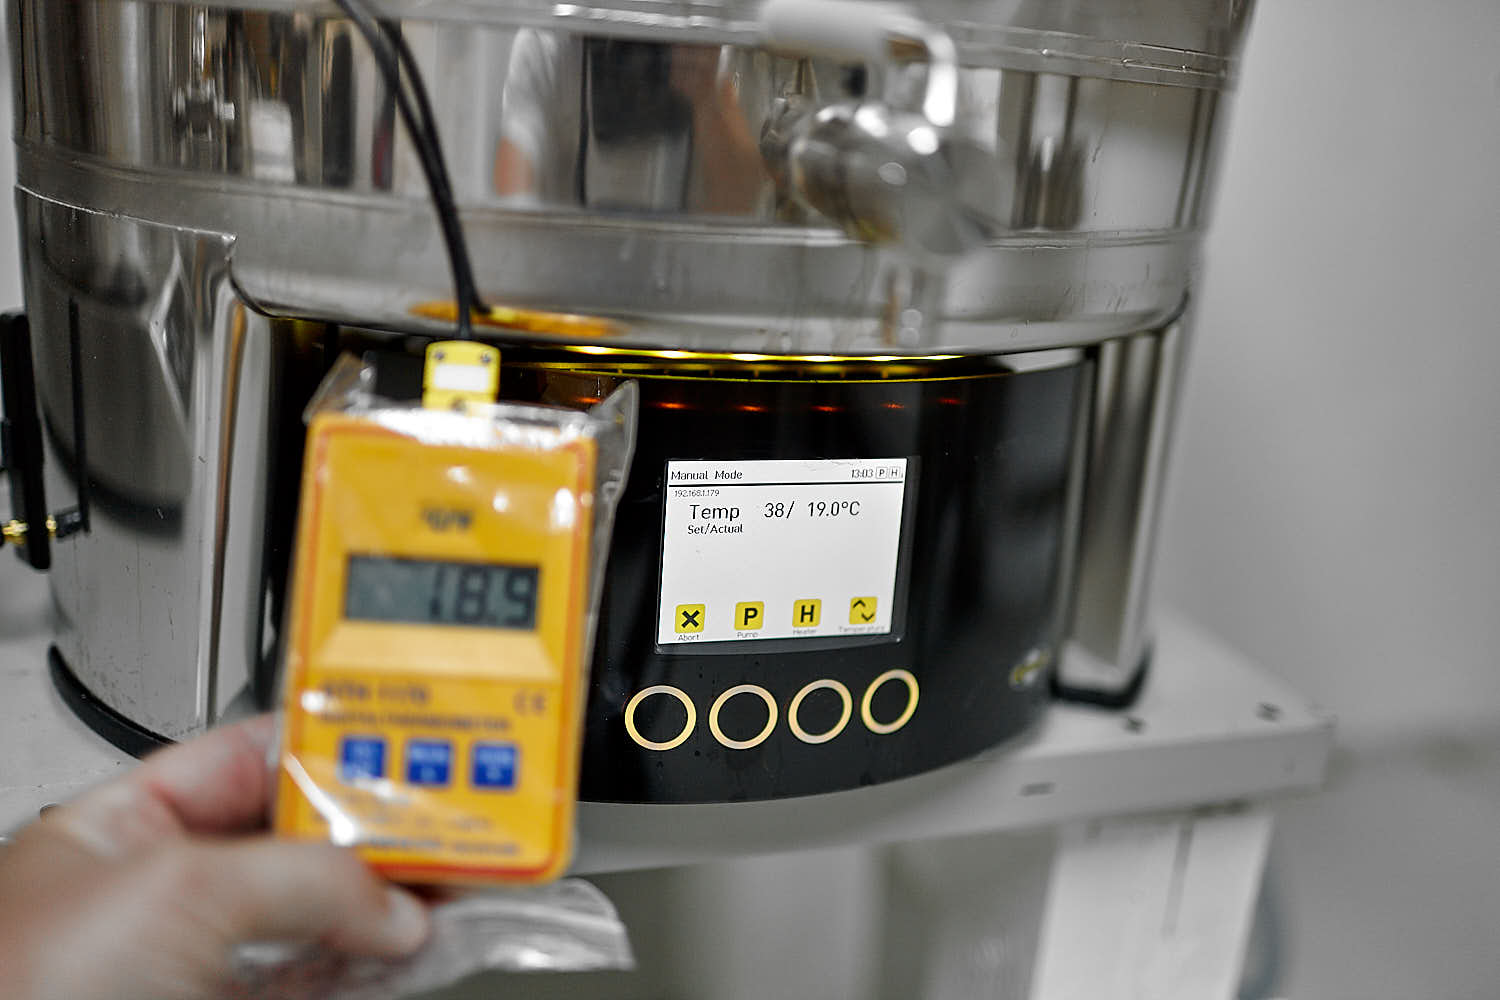 Measured the temp with my Gresinger GHT1170 and it was pretty consistent with the BM temperature.
 Lots and lots of foam.
| Lindhs Helles (Helles) | ||||||||||||||||||||||||||||||||||||||||||||||||||||||||||||||||||||||||||||||||||||||||||||||||||
|
Batchsize: 56.00 l
Total amount of malt: 12.00 kg
If steeping, remove grains, and prepare to boil wort
Total amount of hops: 150 g
Recommended starter size: 6.02 l / 1046.9 Billion cells. BrewNotes
|
Du har väl inte missat min bok om ölbryggning? Köp den hos Humlegården!
SM i Hembryggd öl 2018
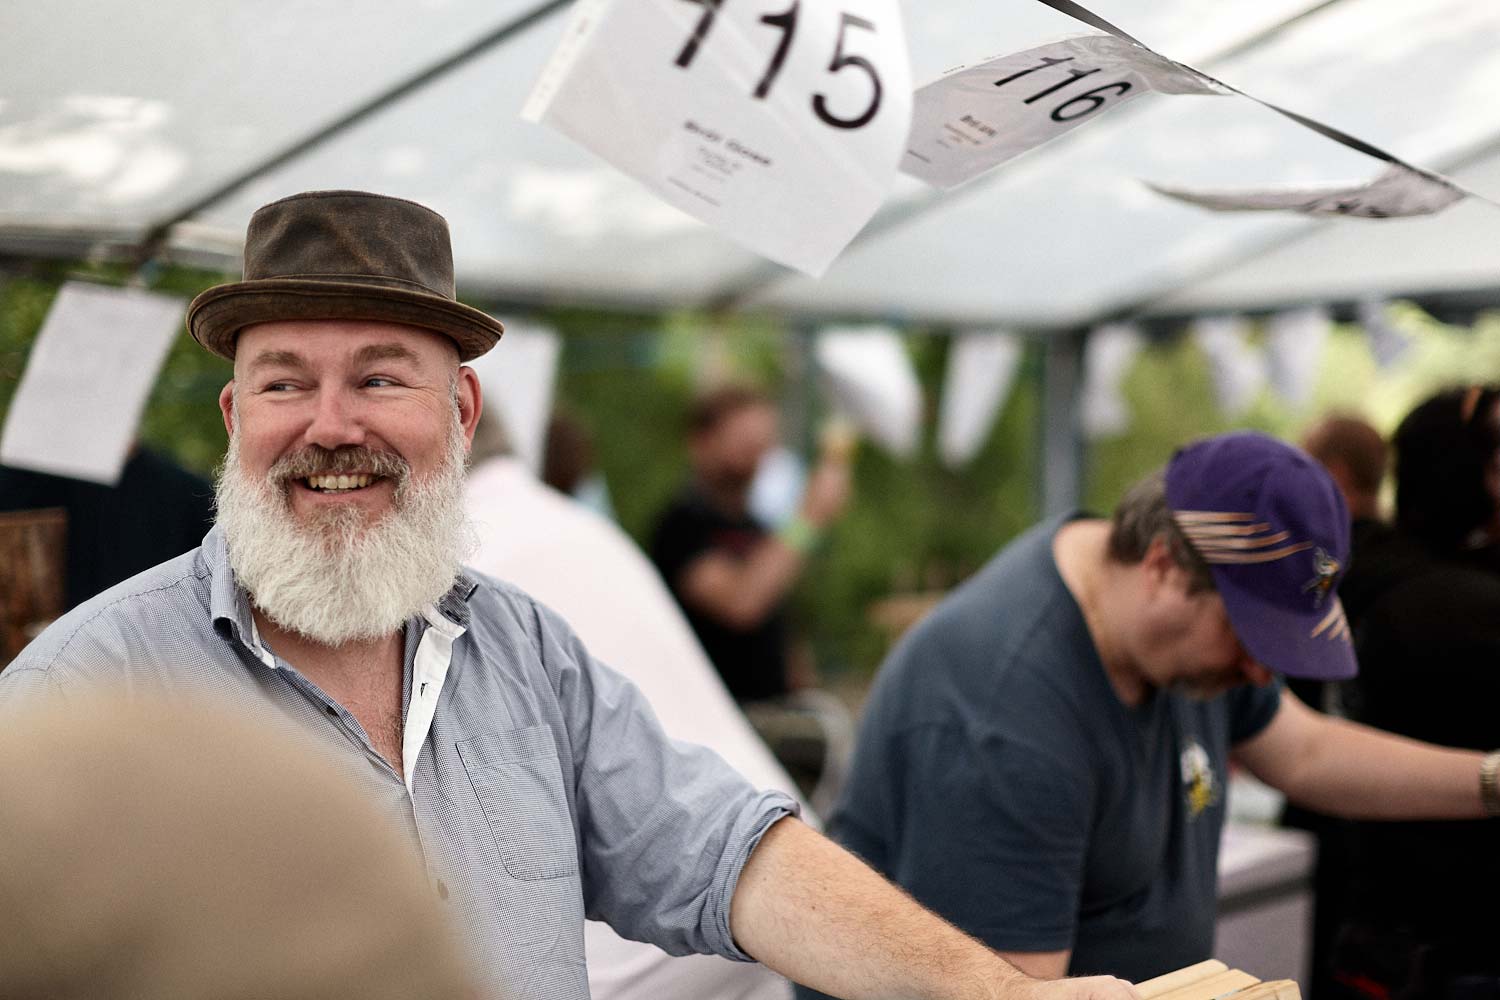
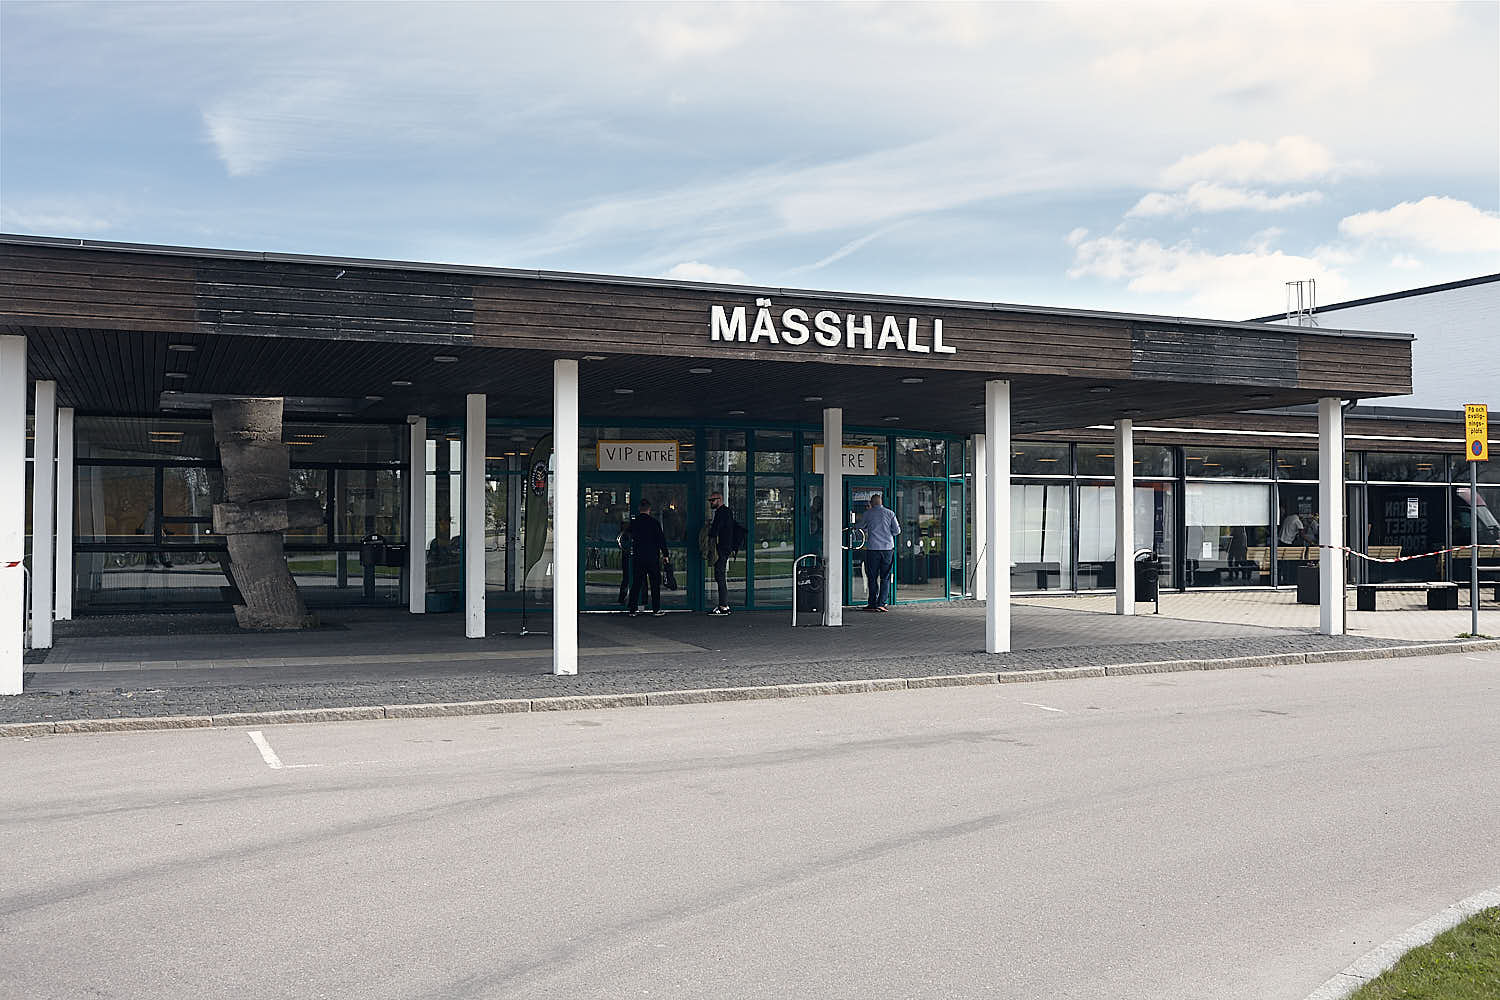
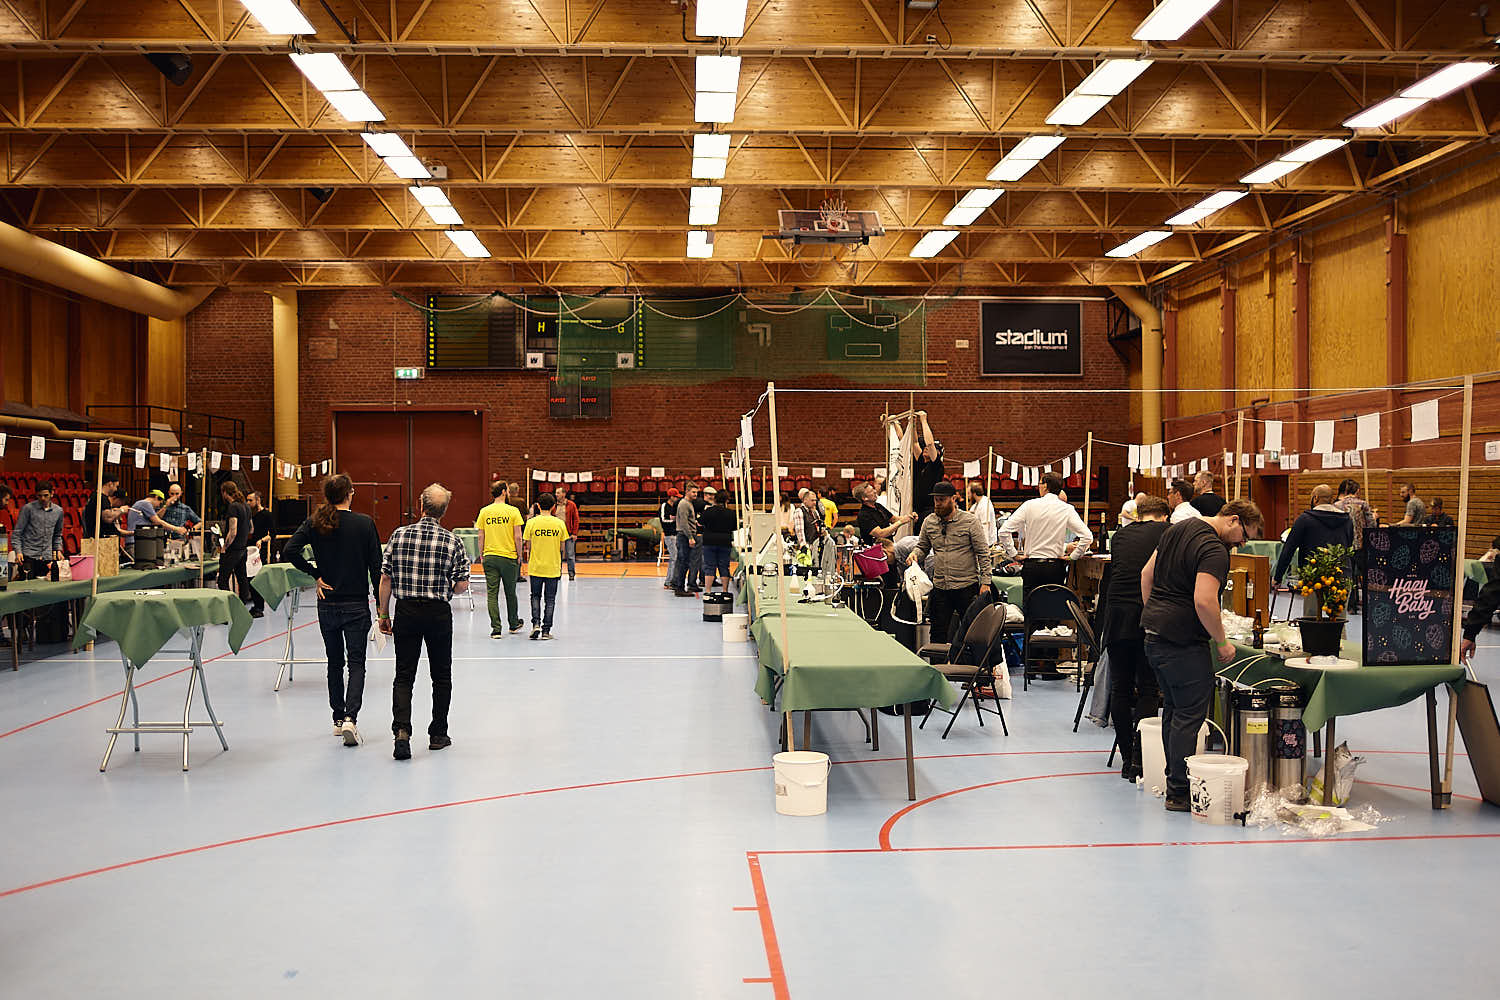
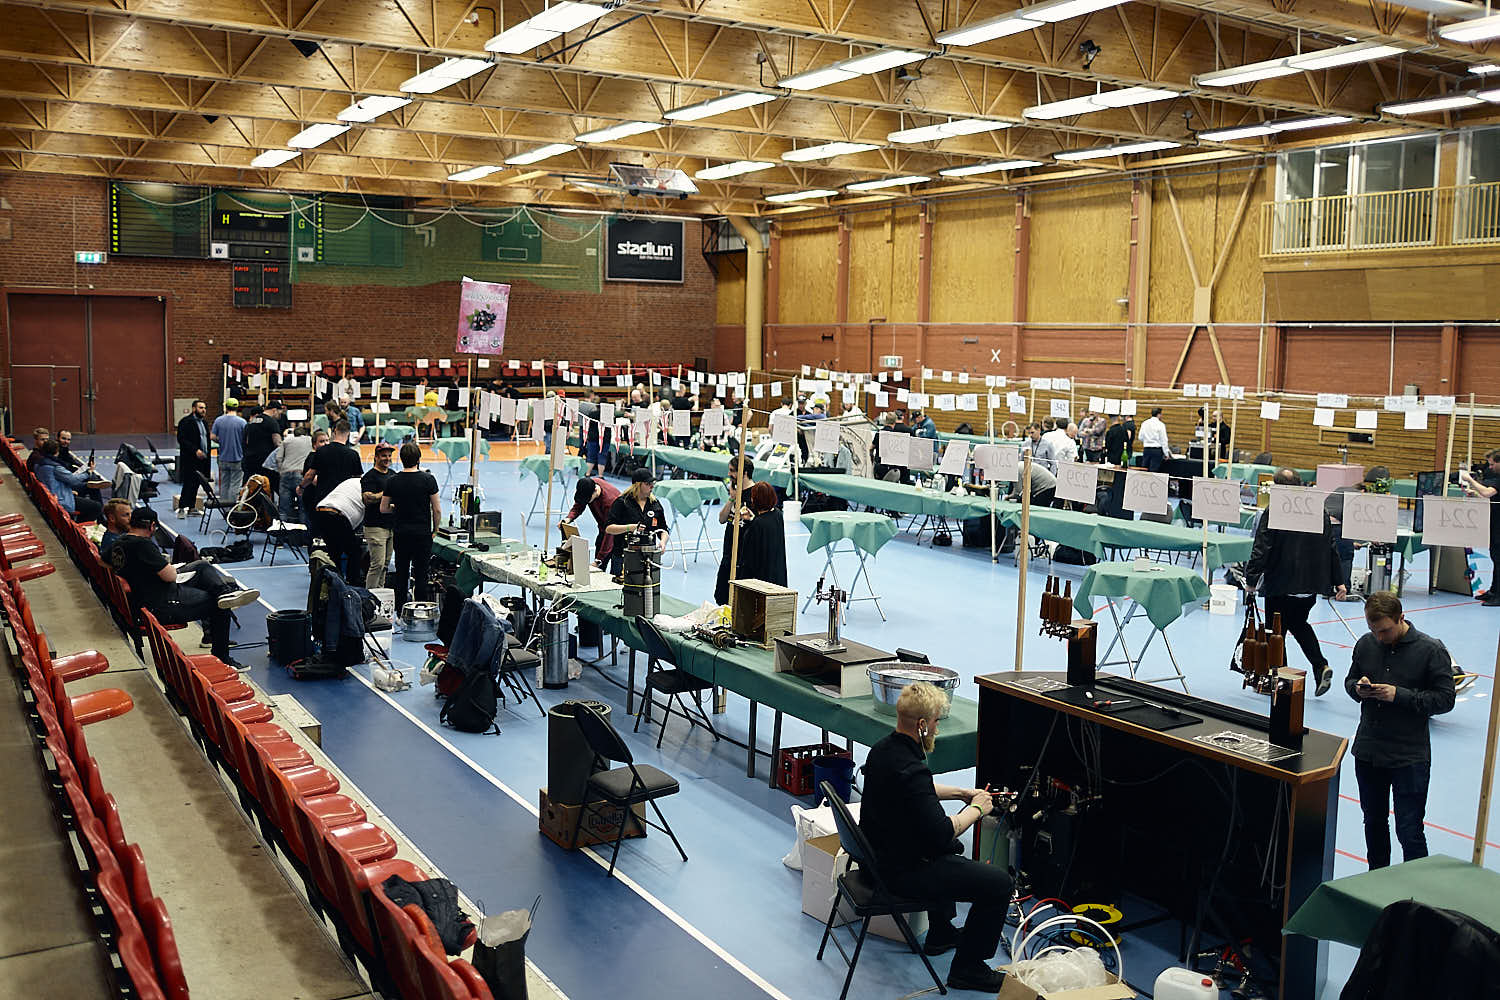
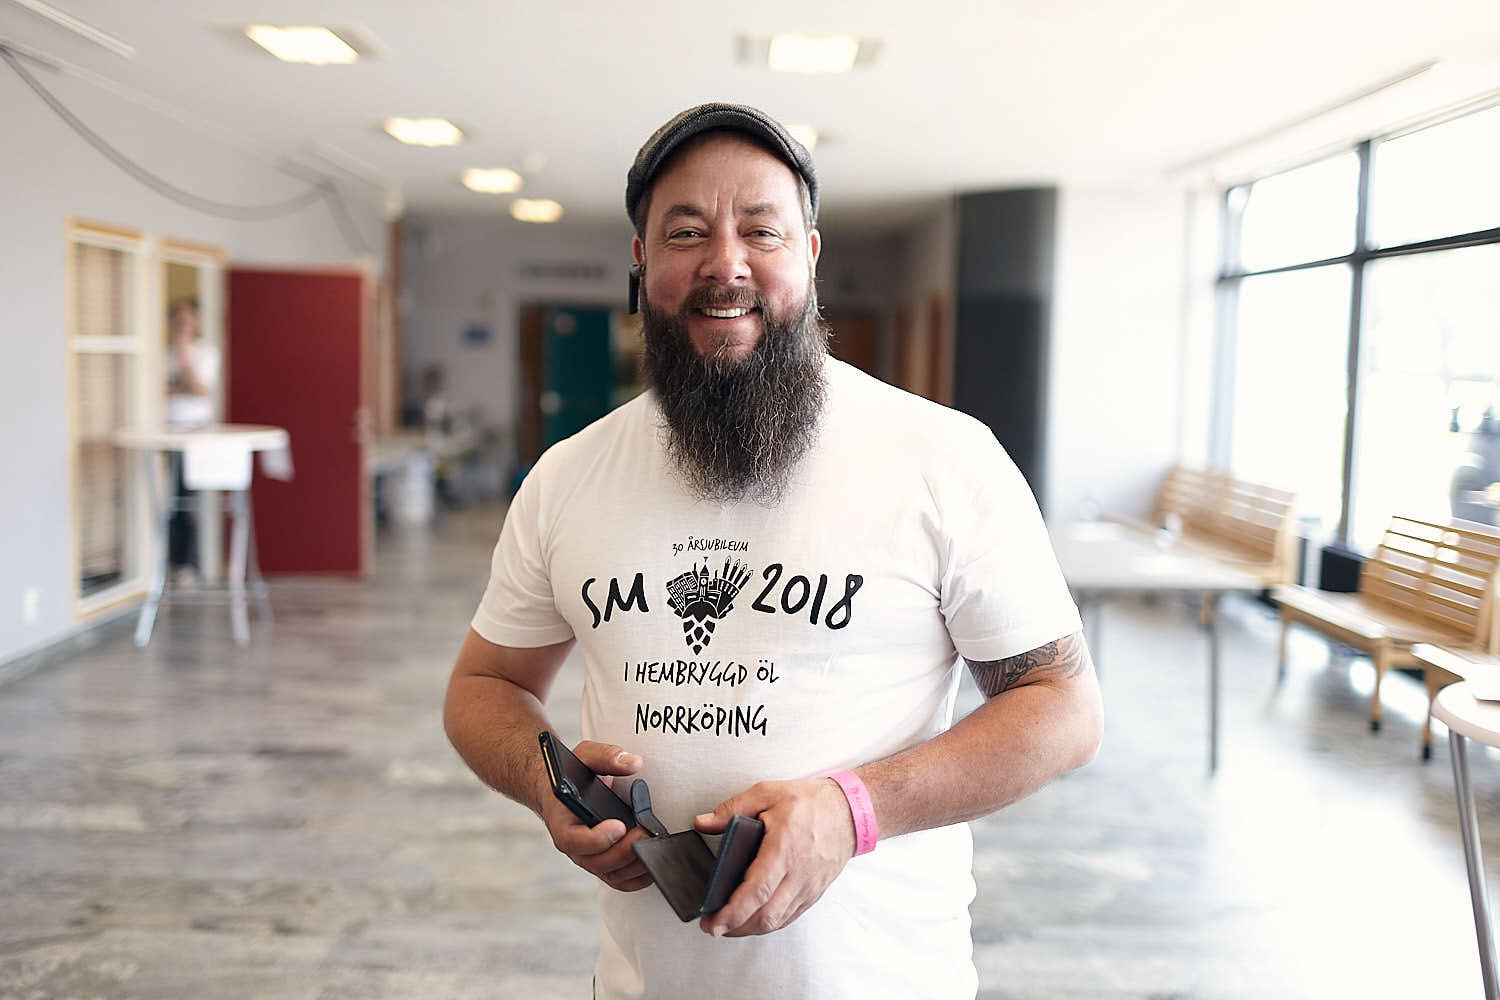
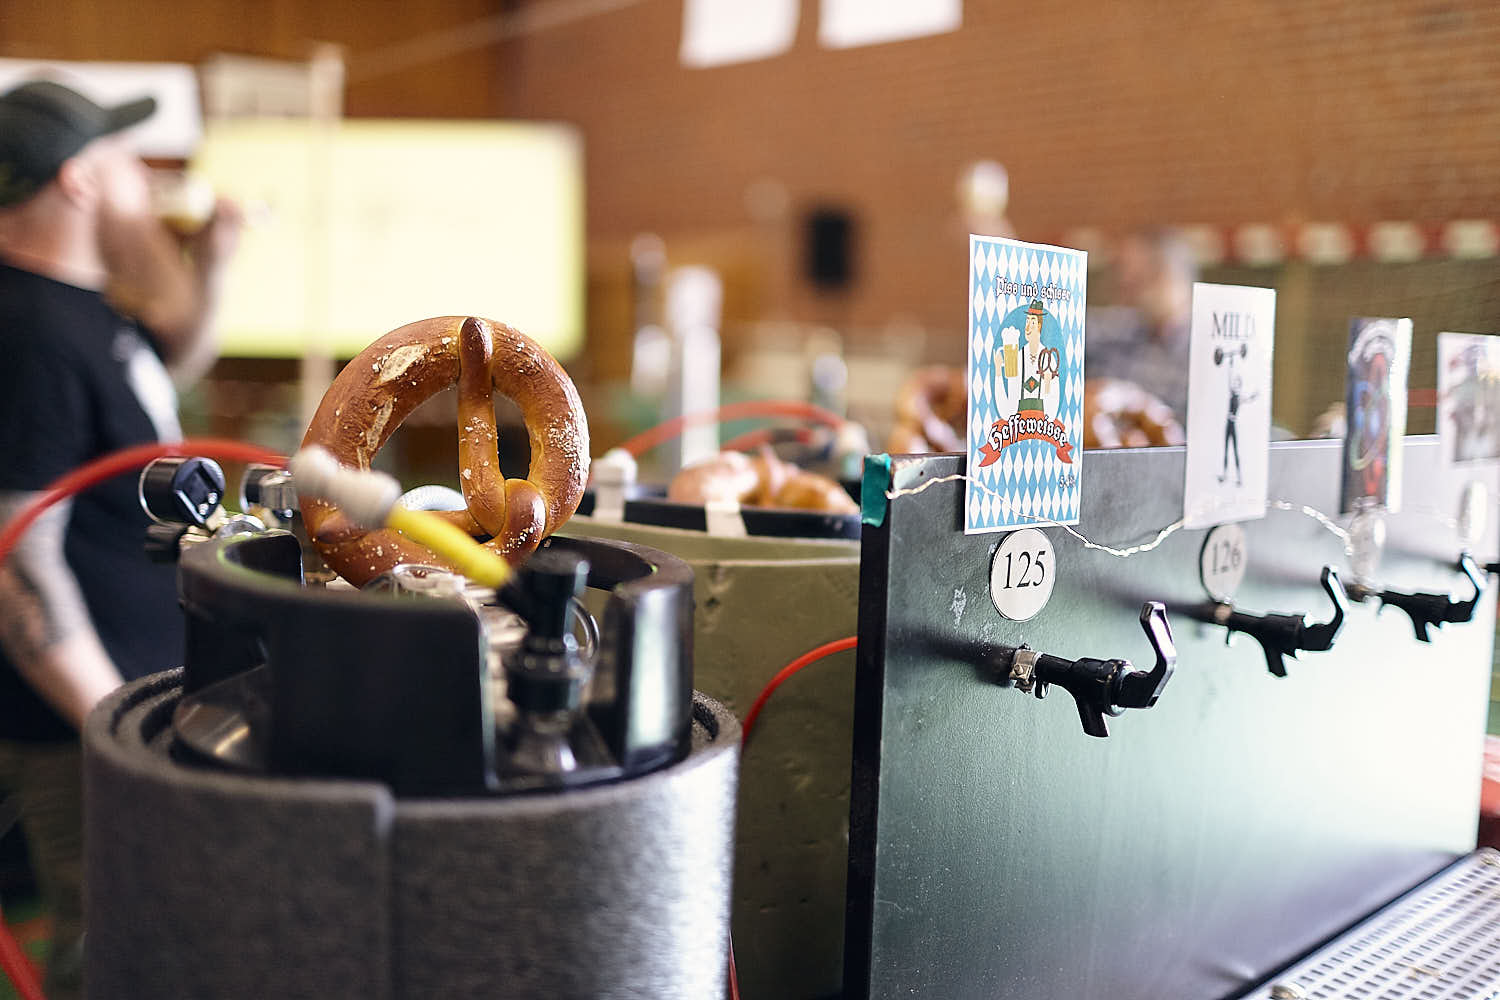
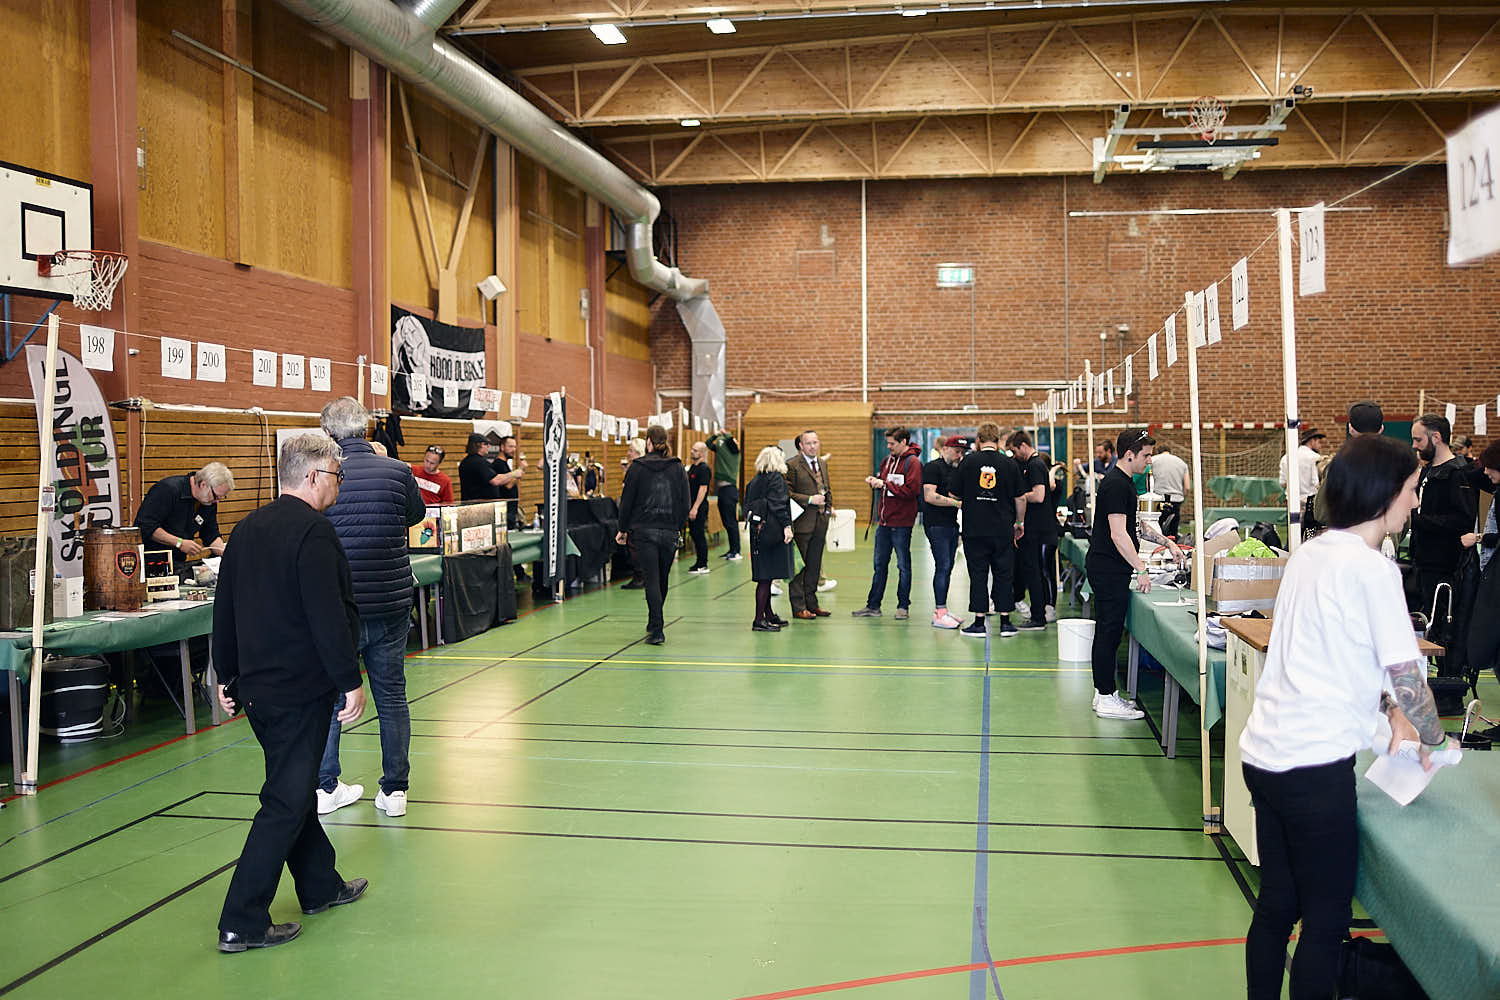
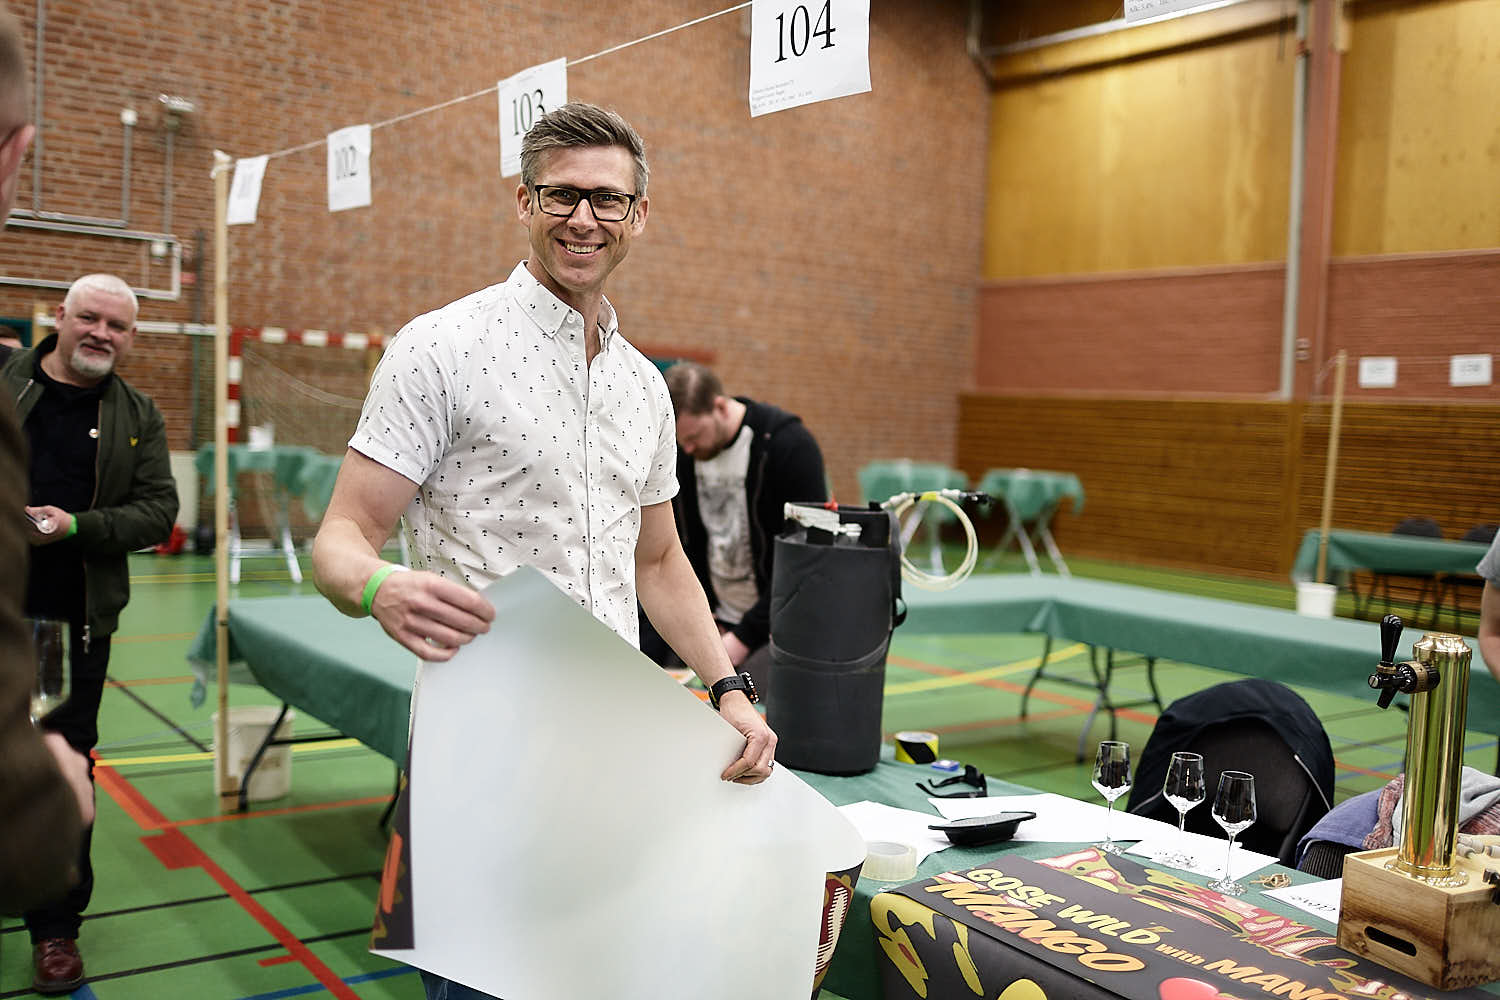
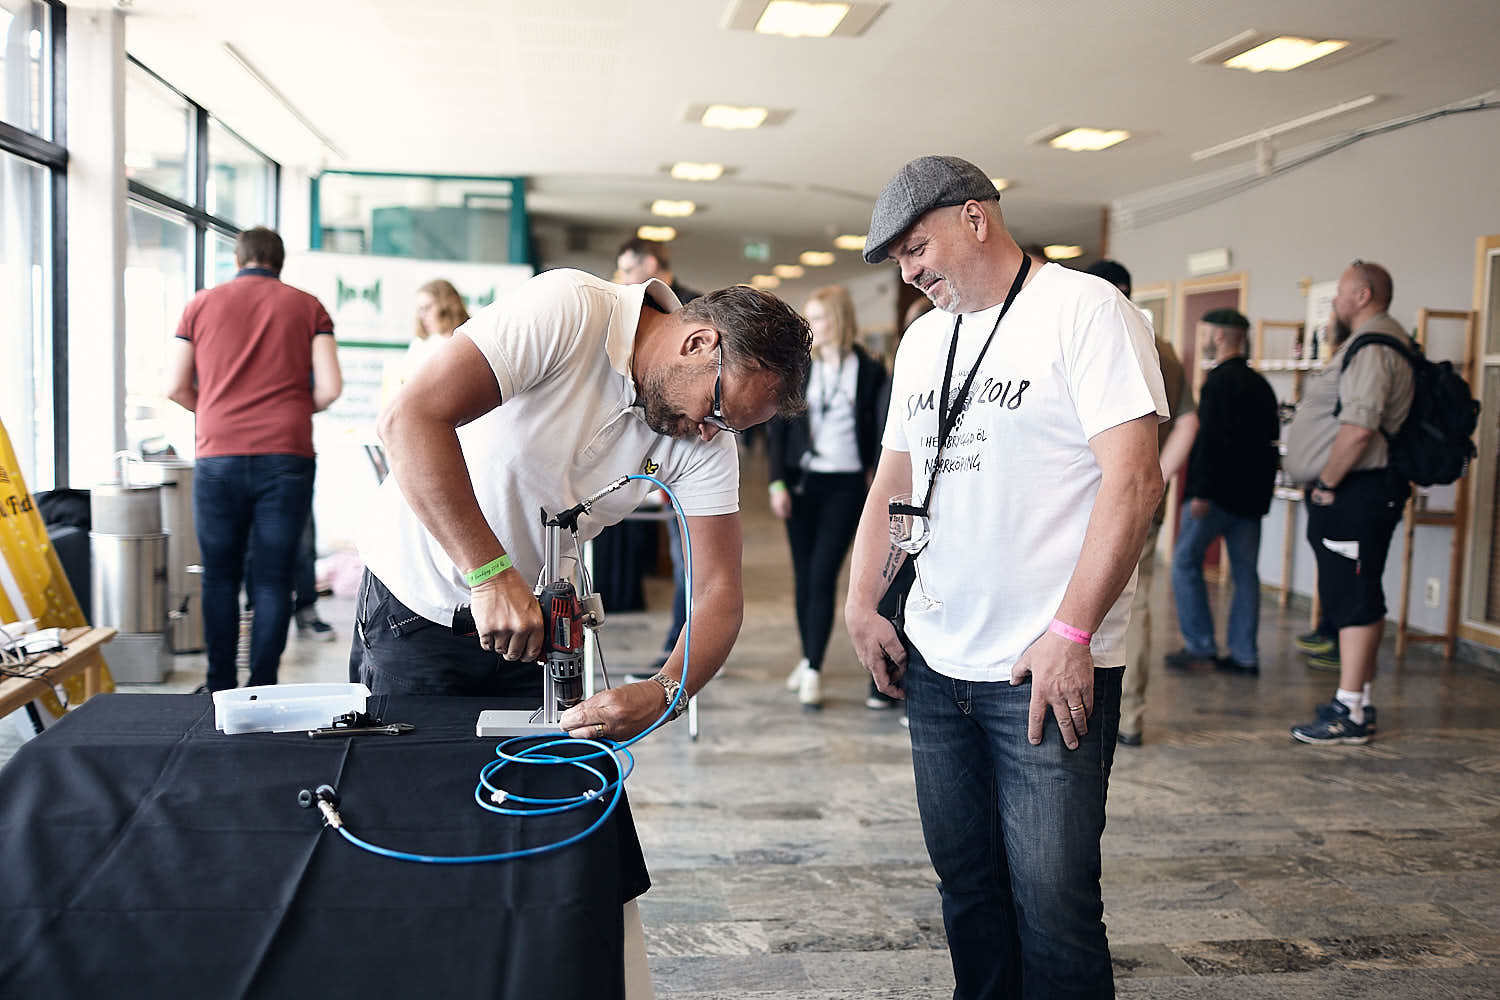
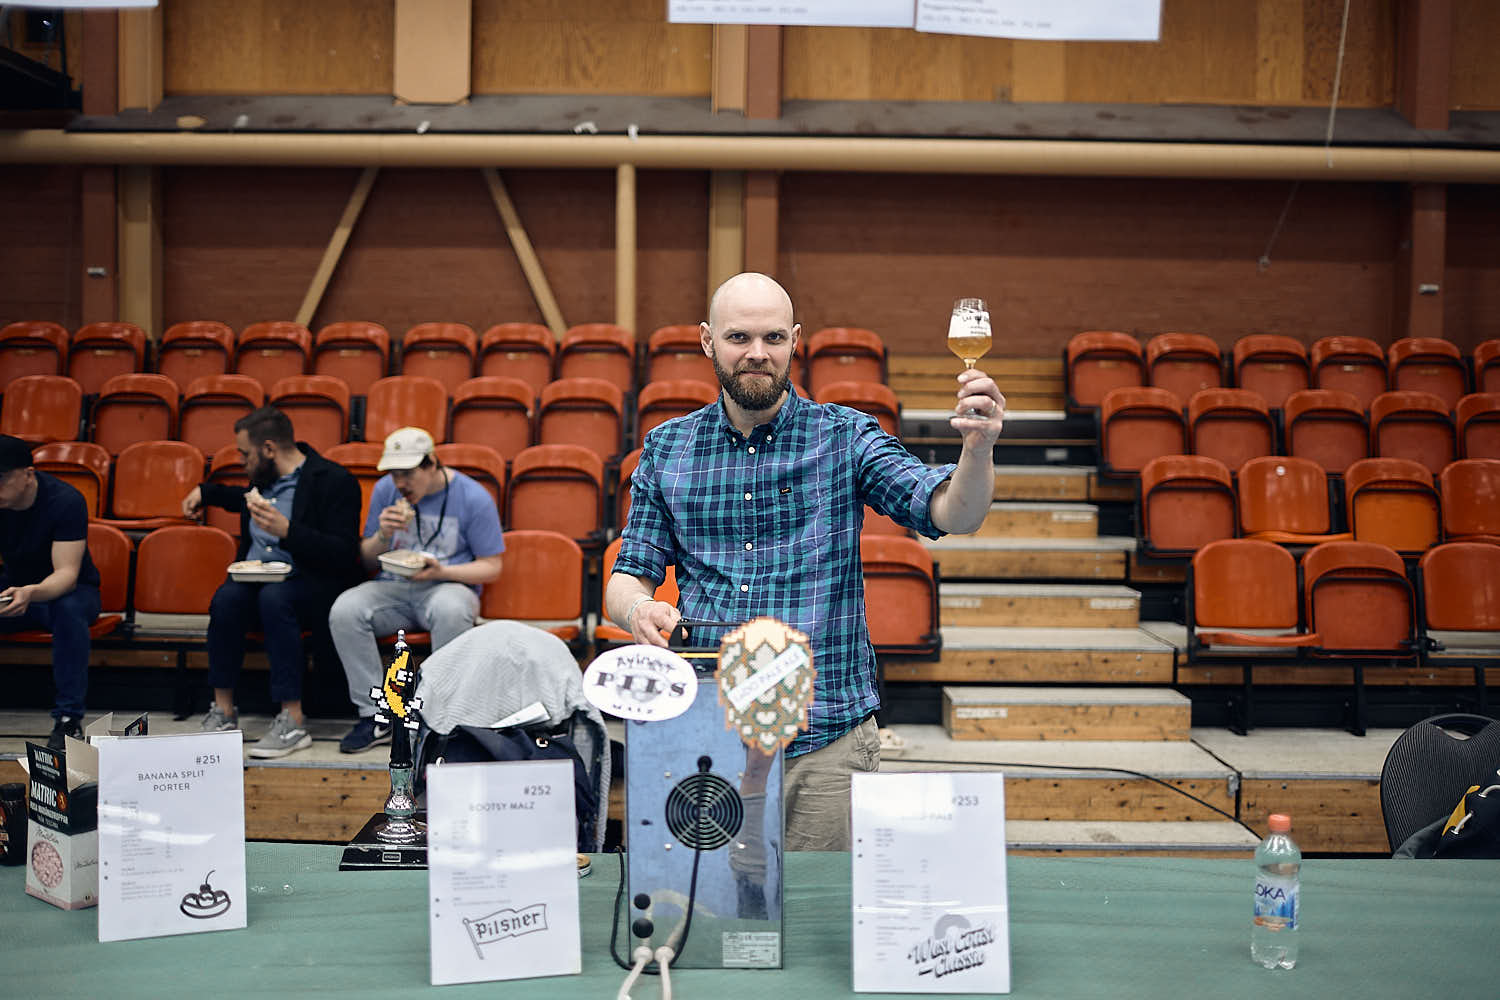
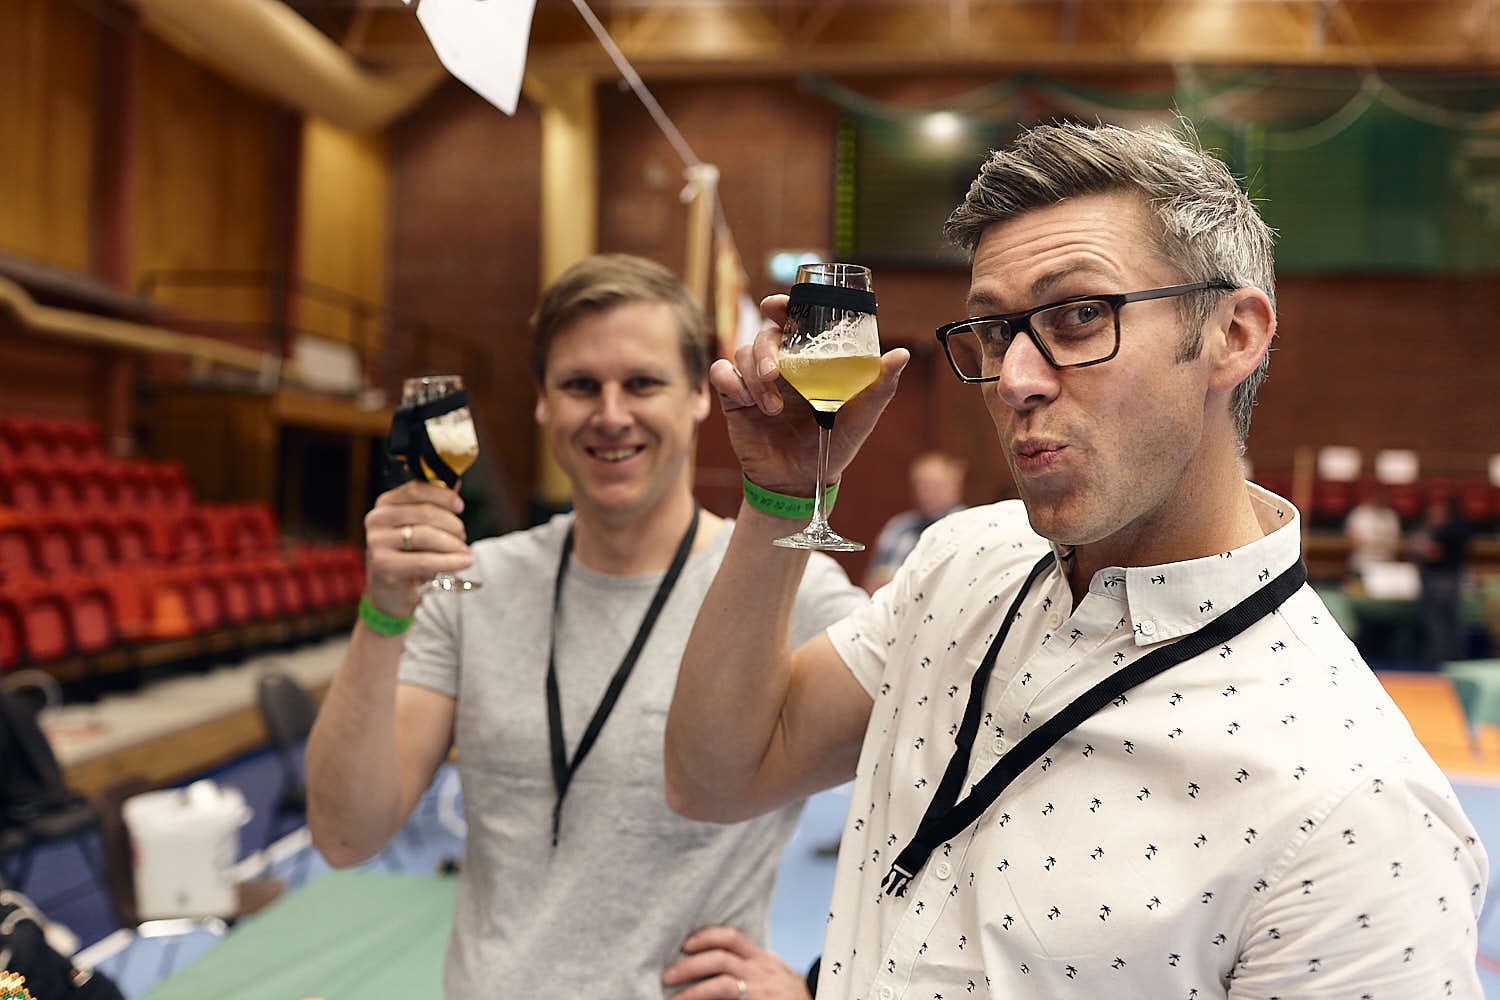
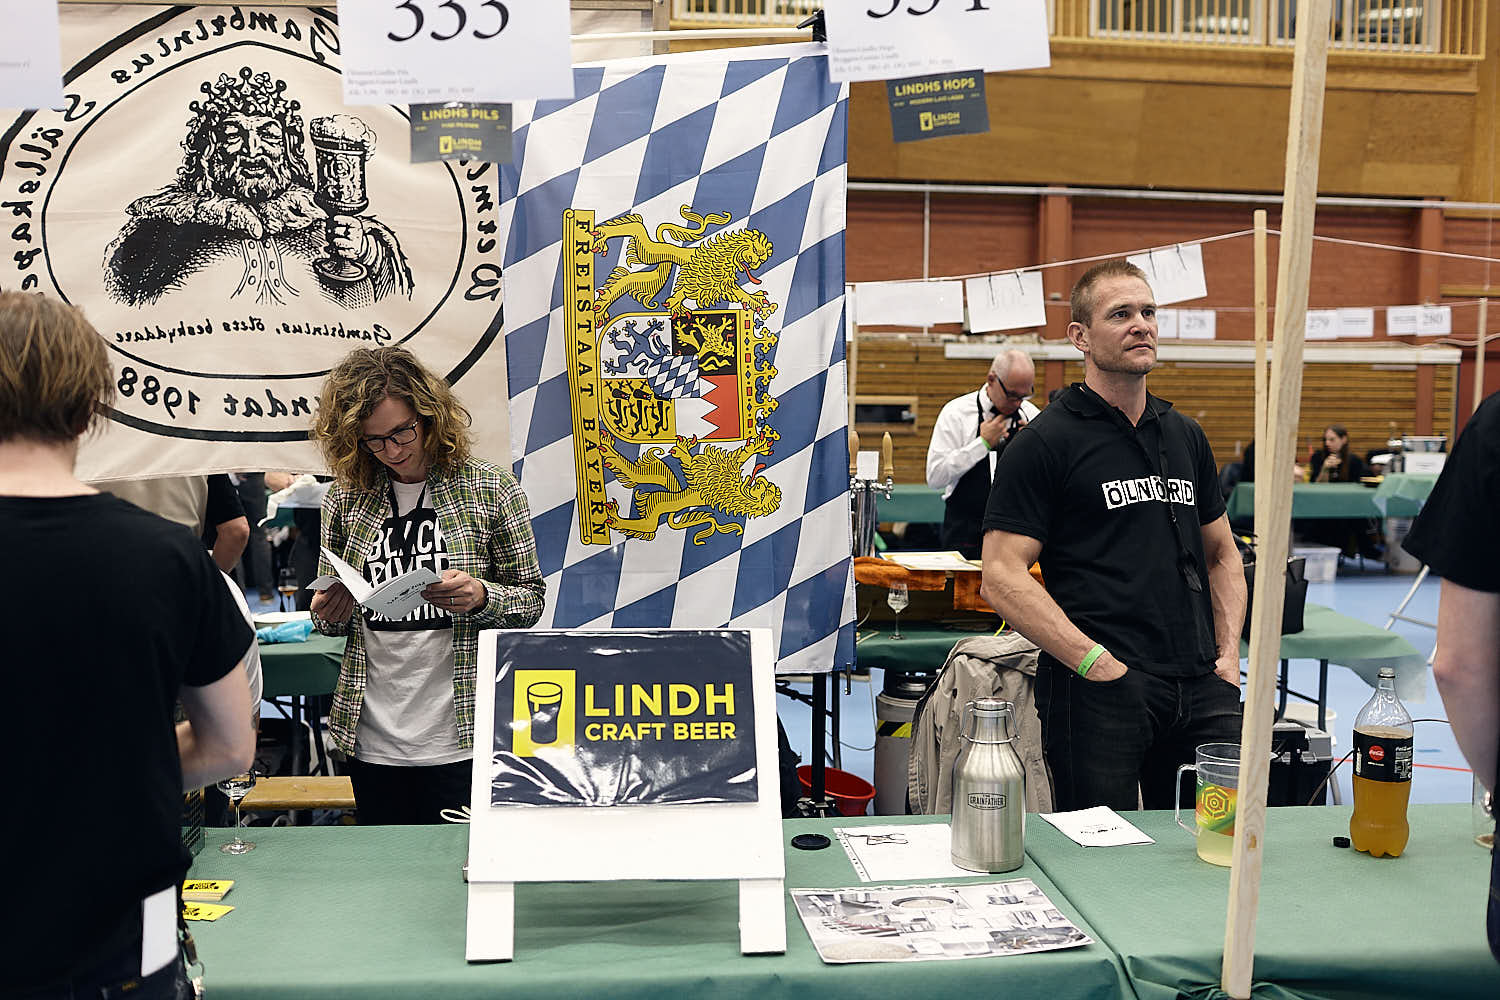
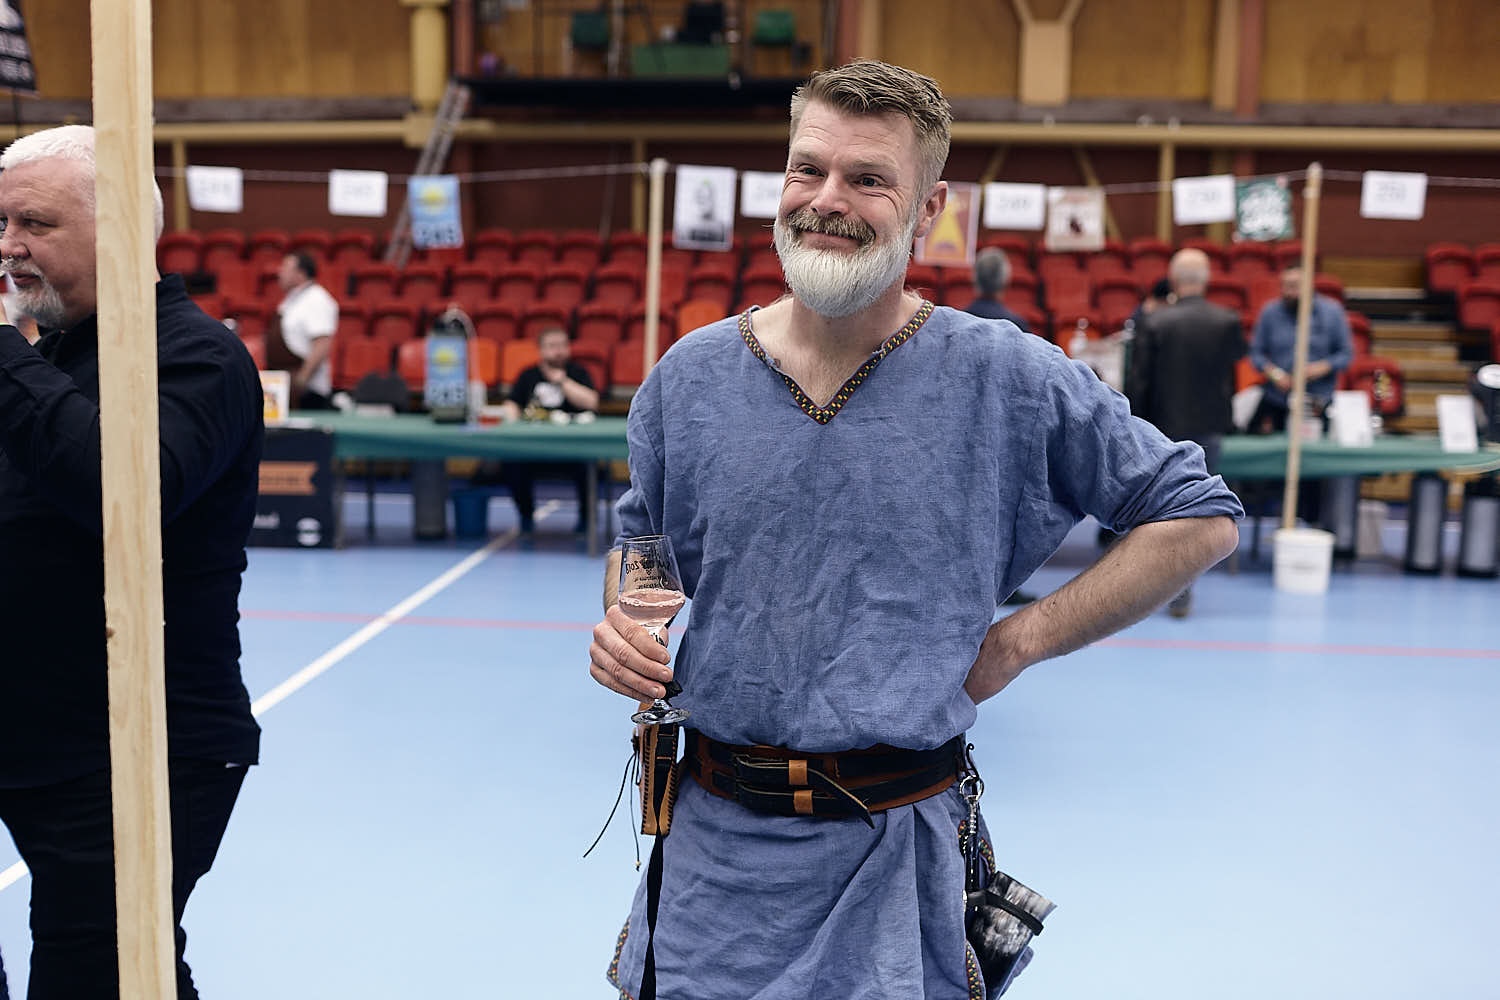
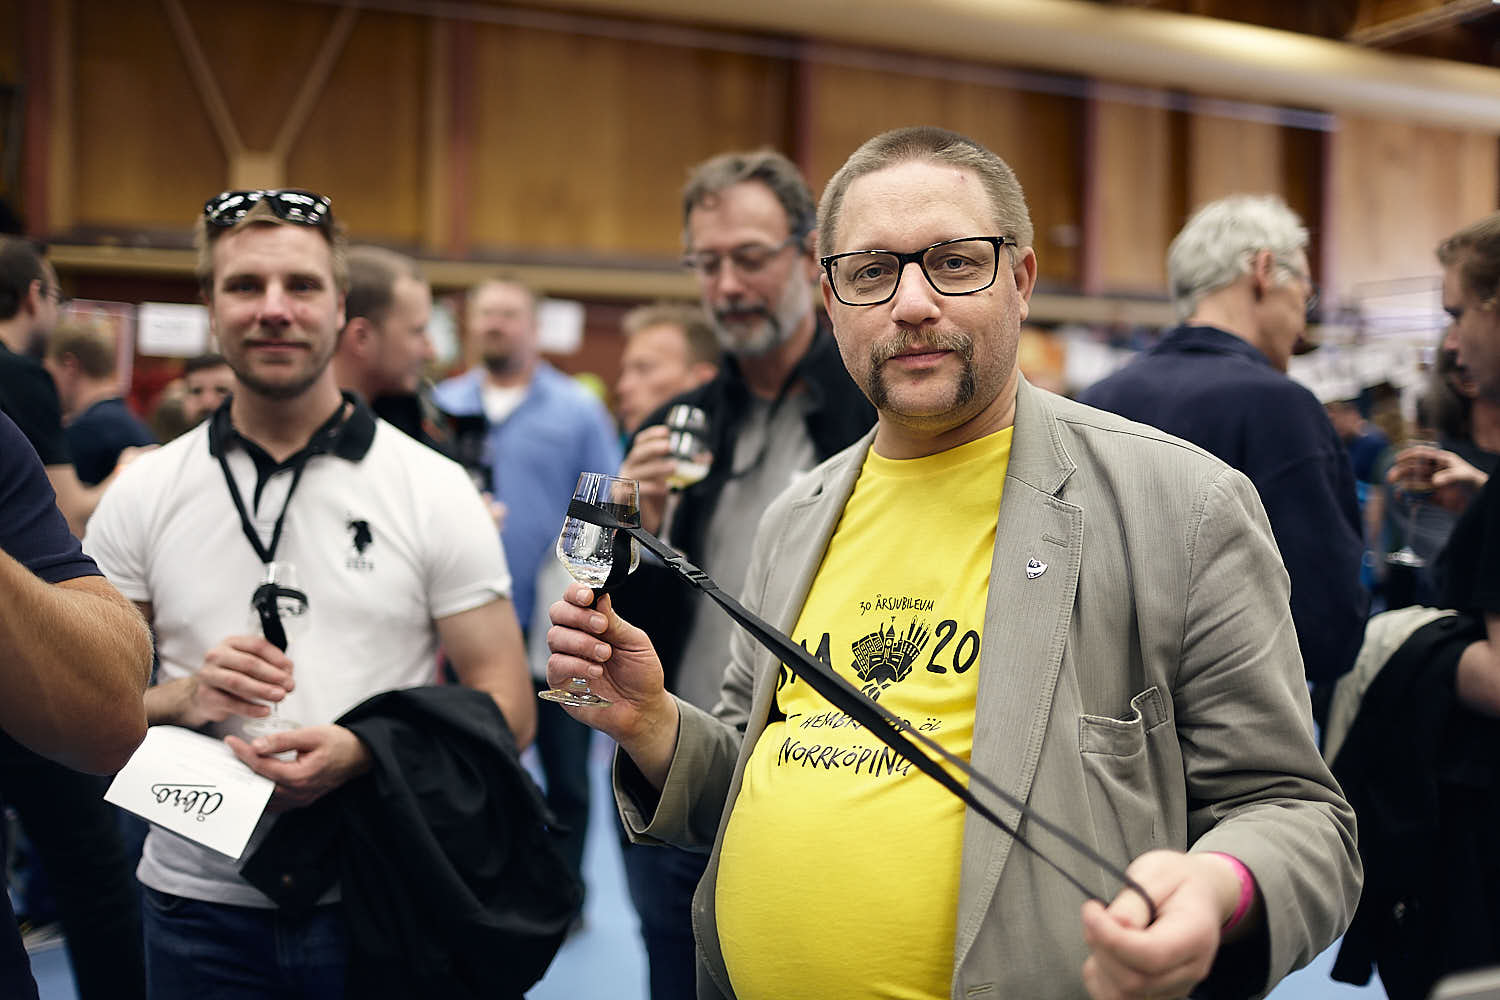
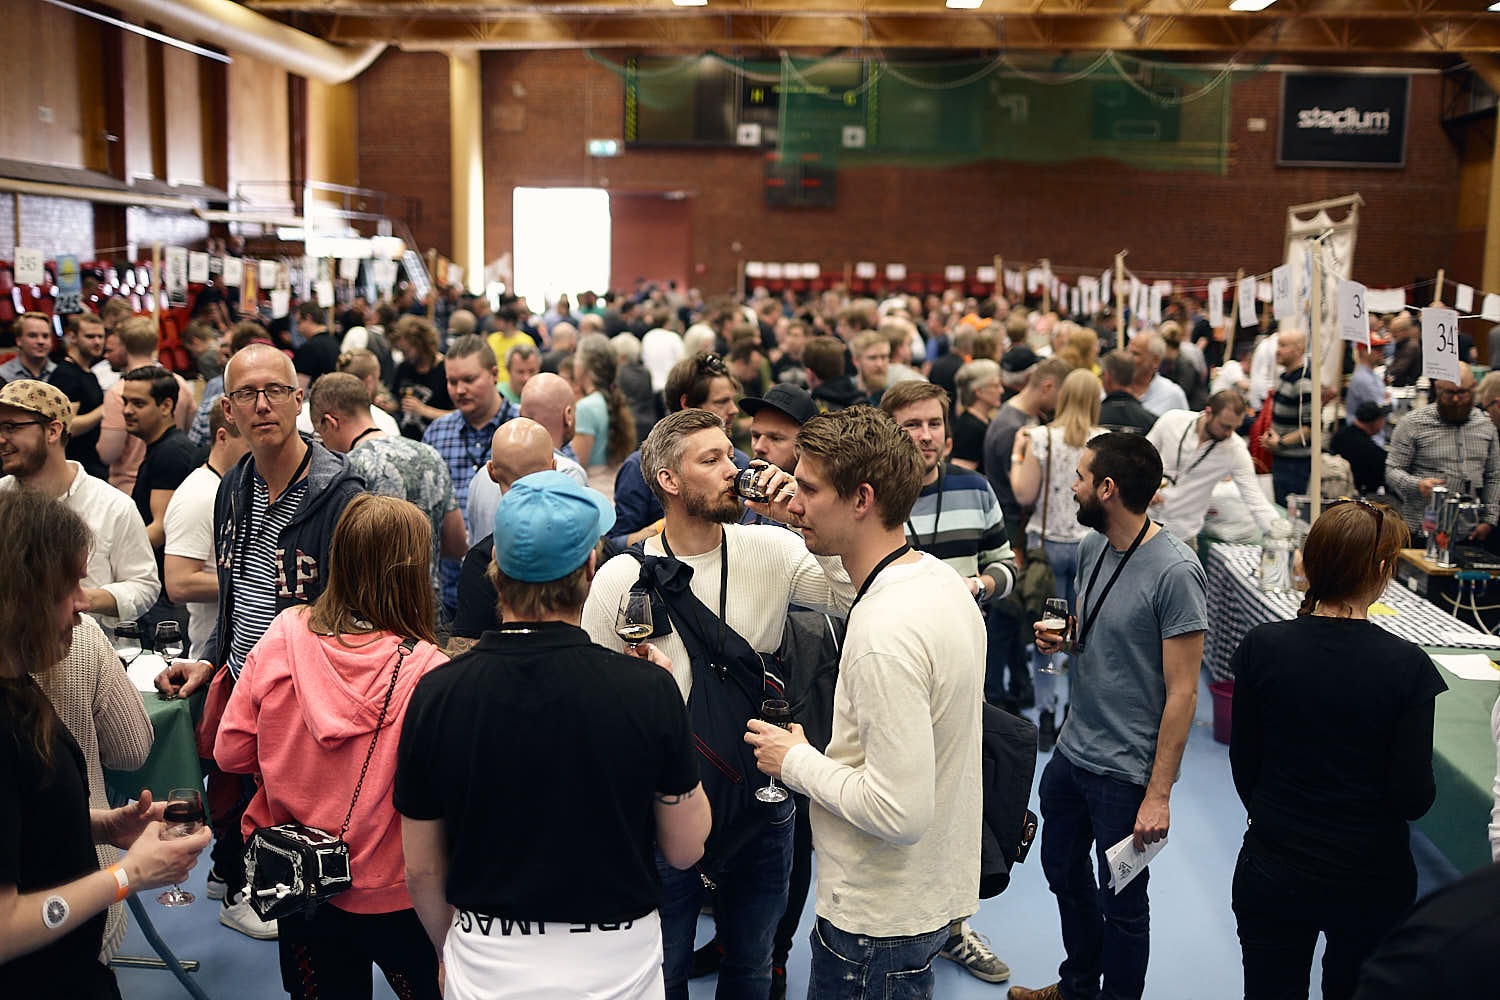
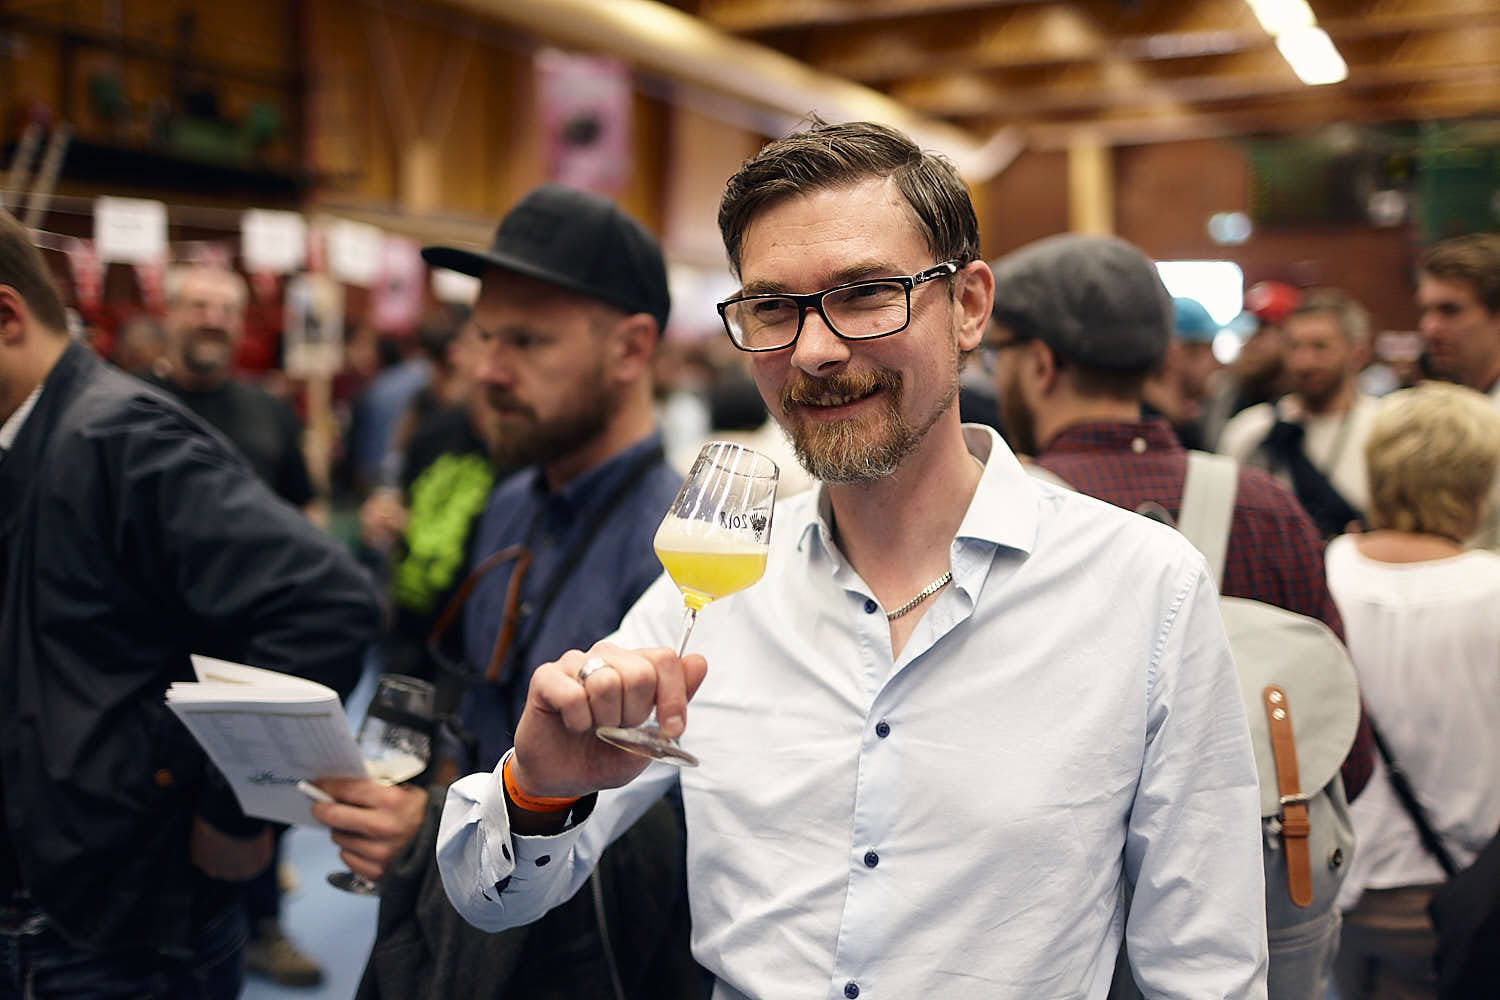
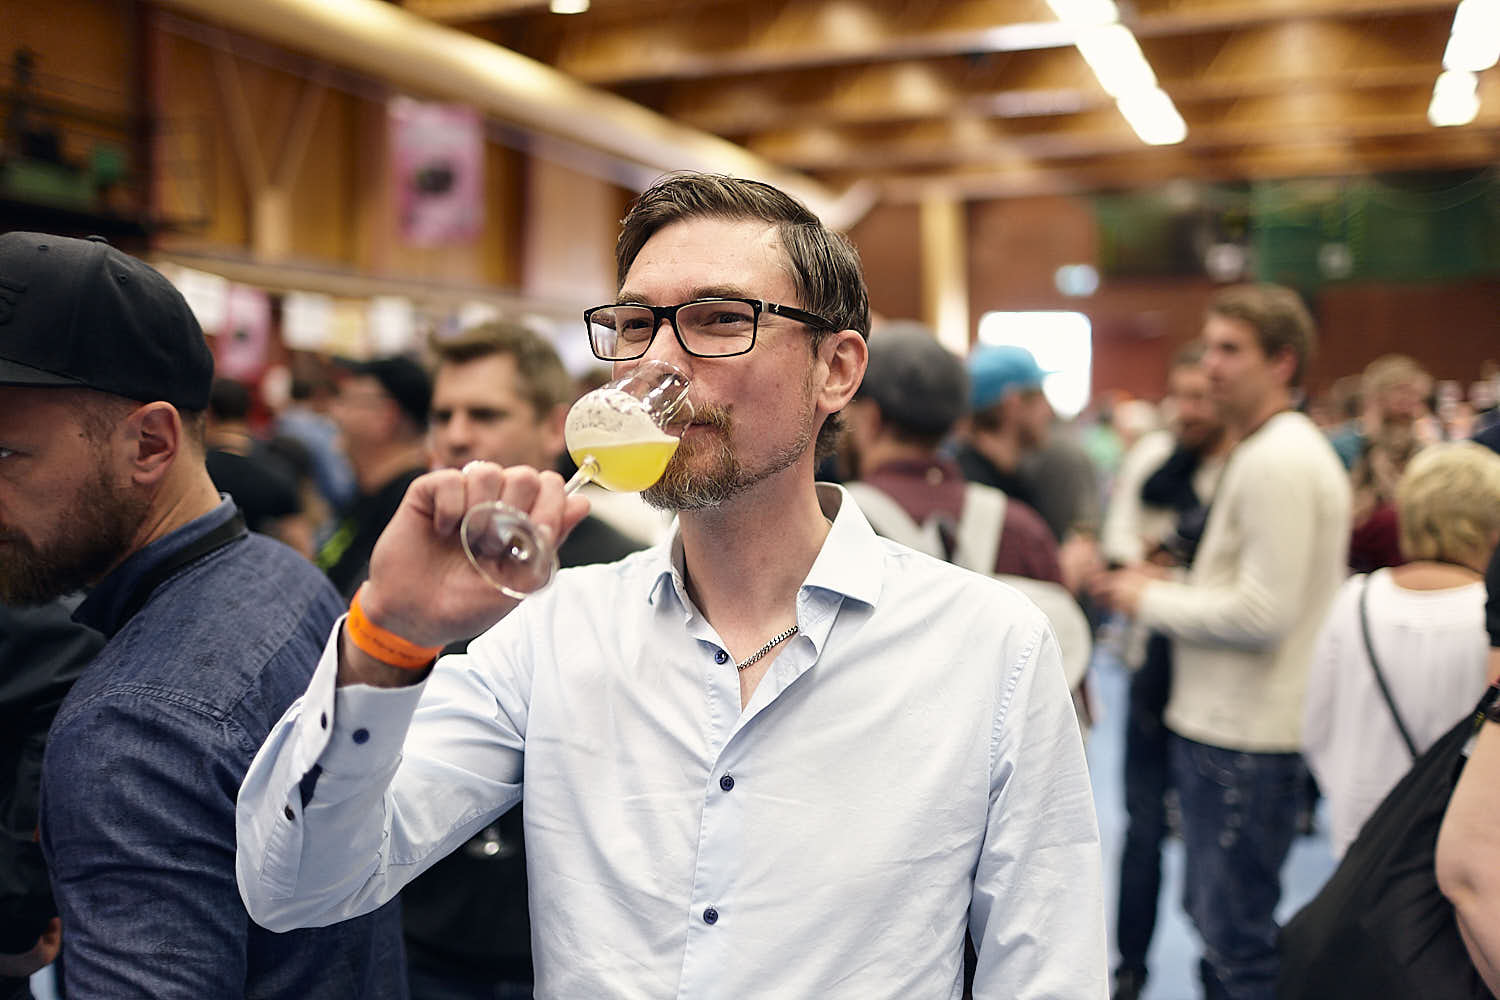
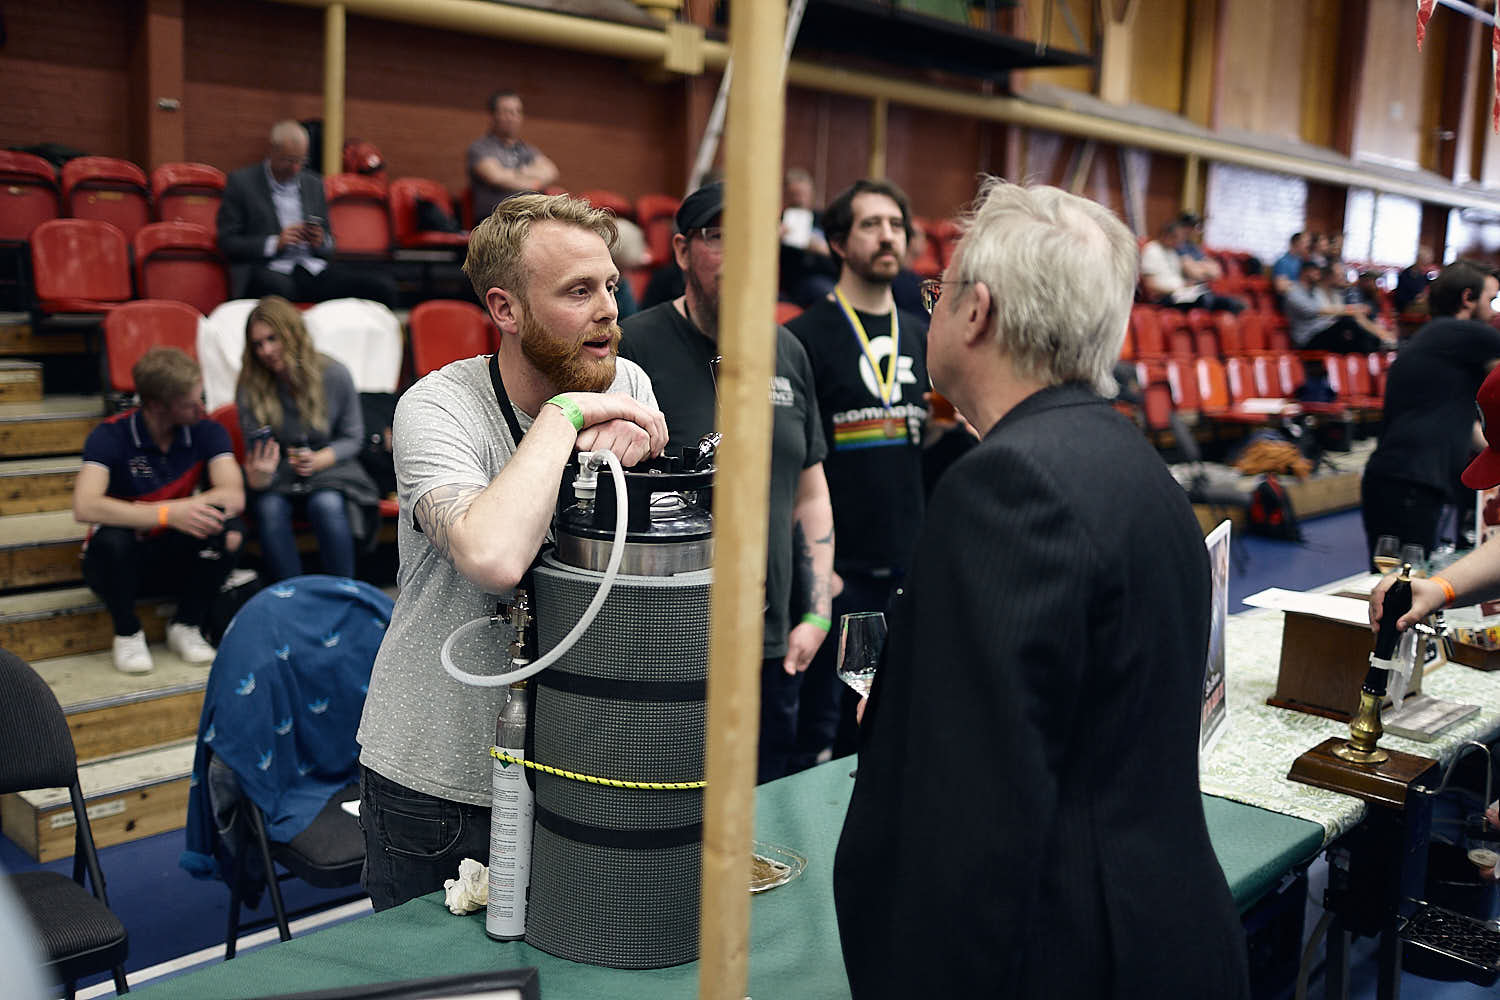
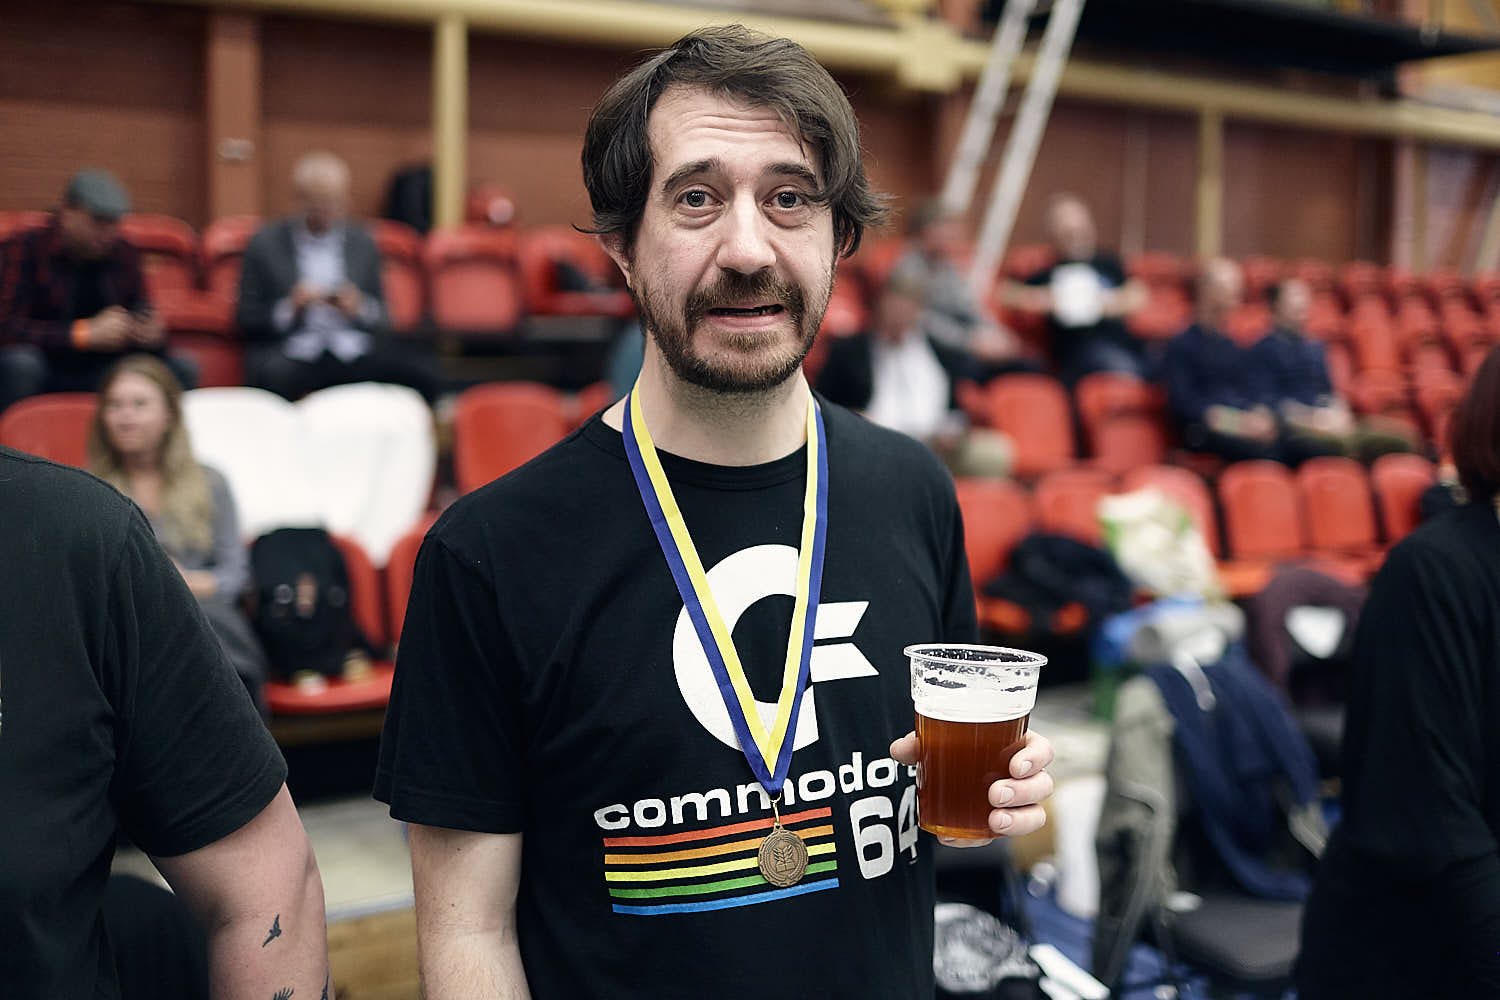
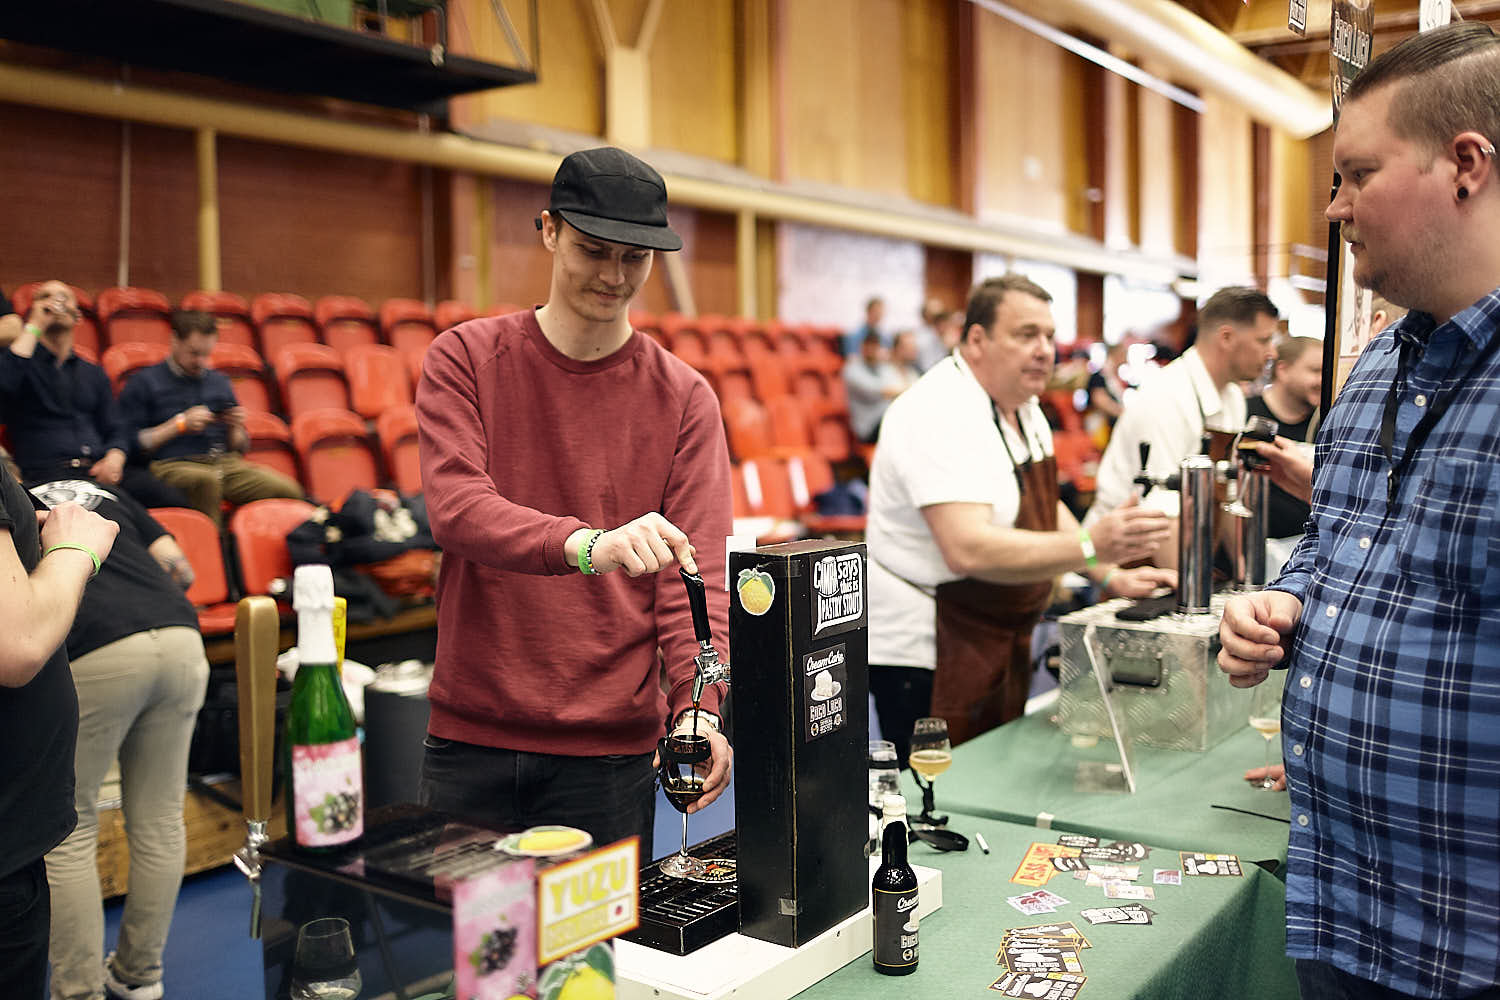
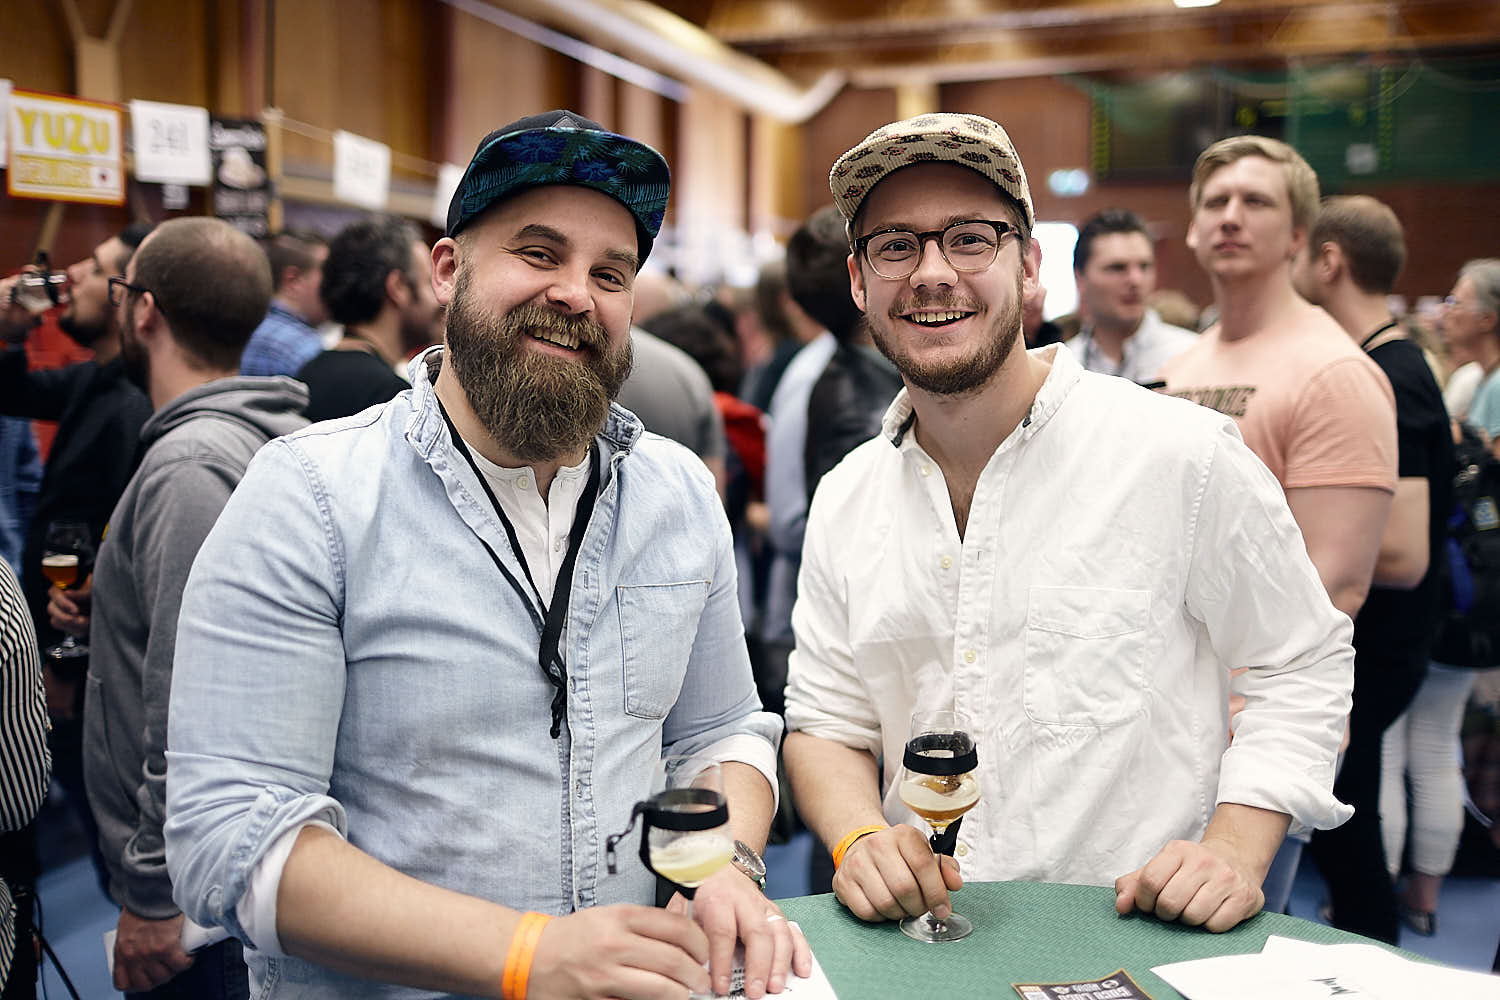
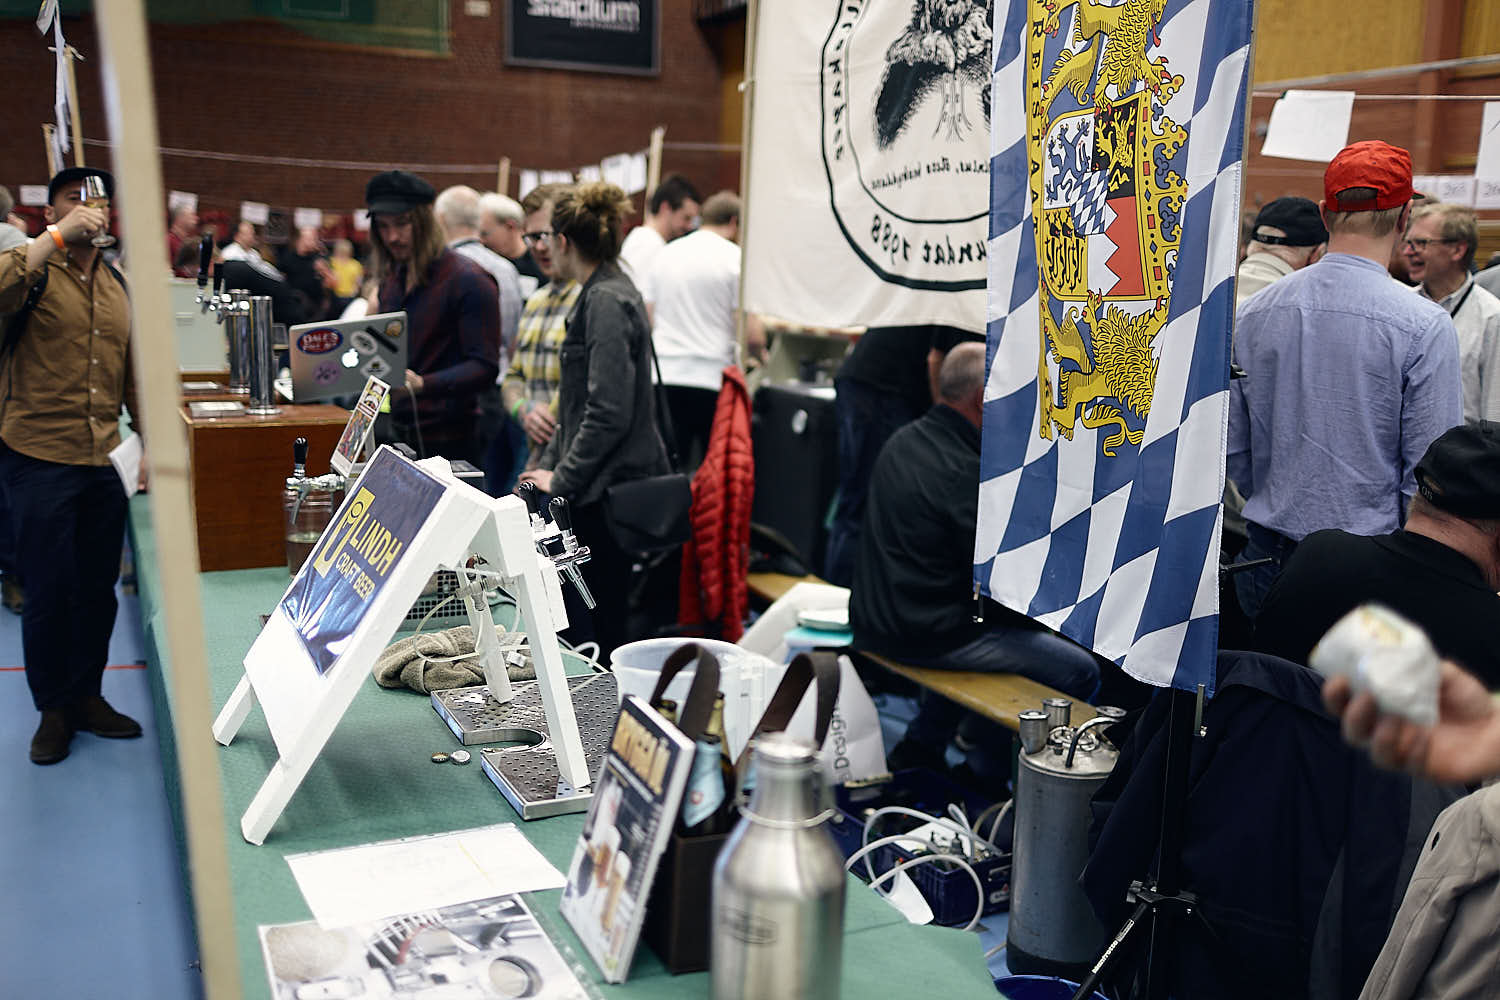
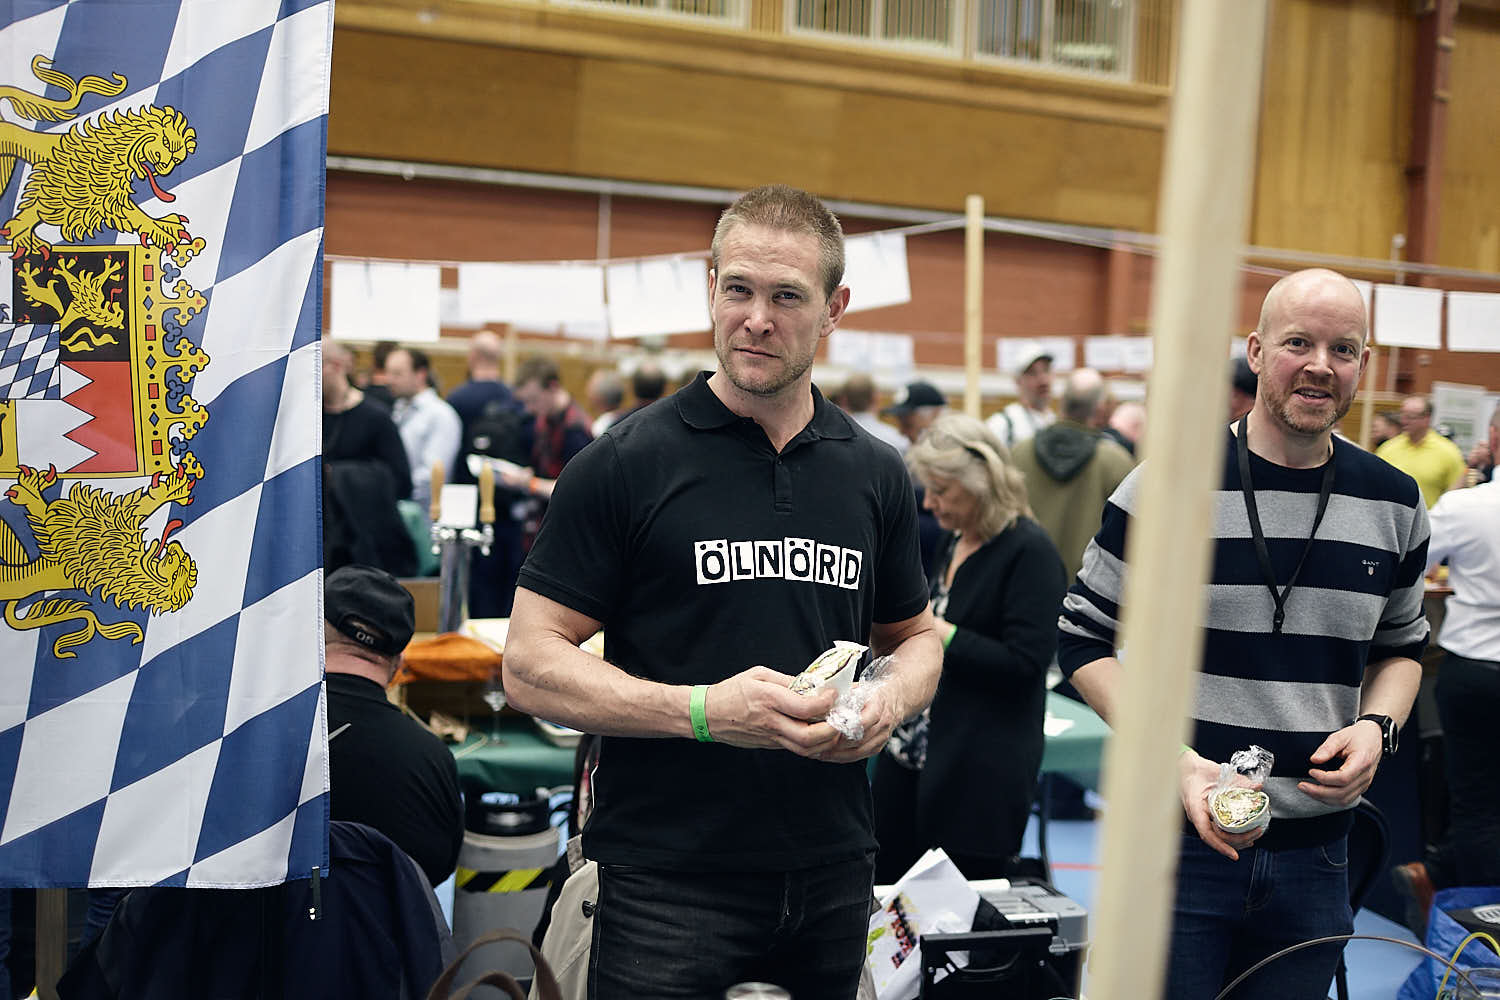
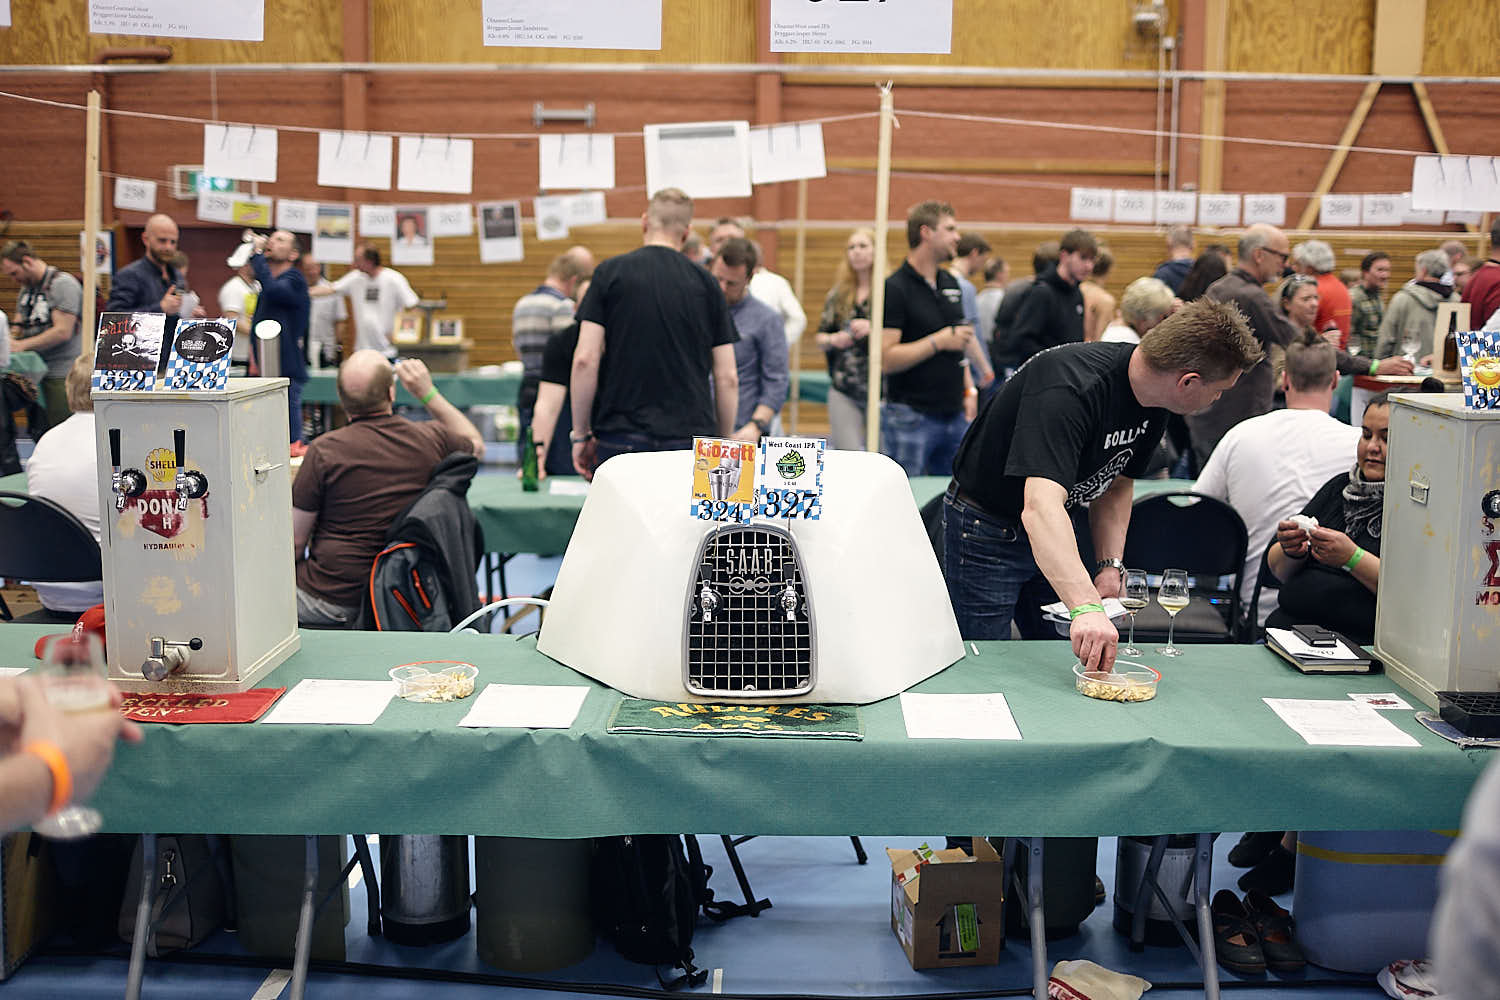
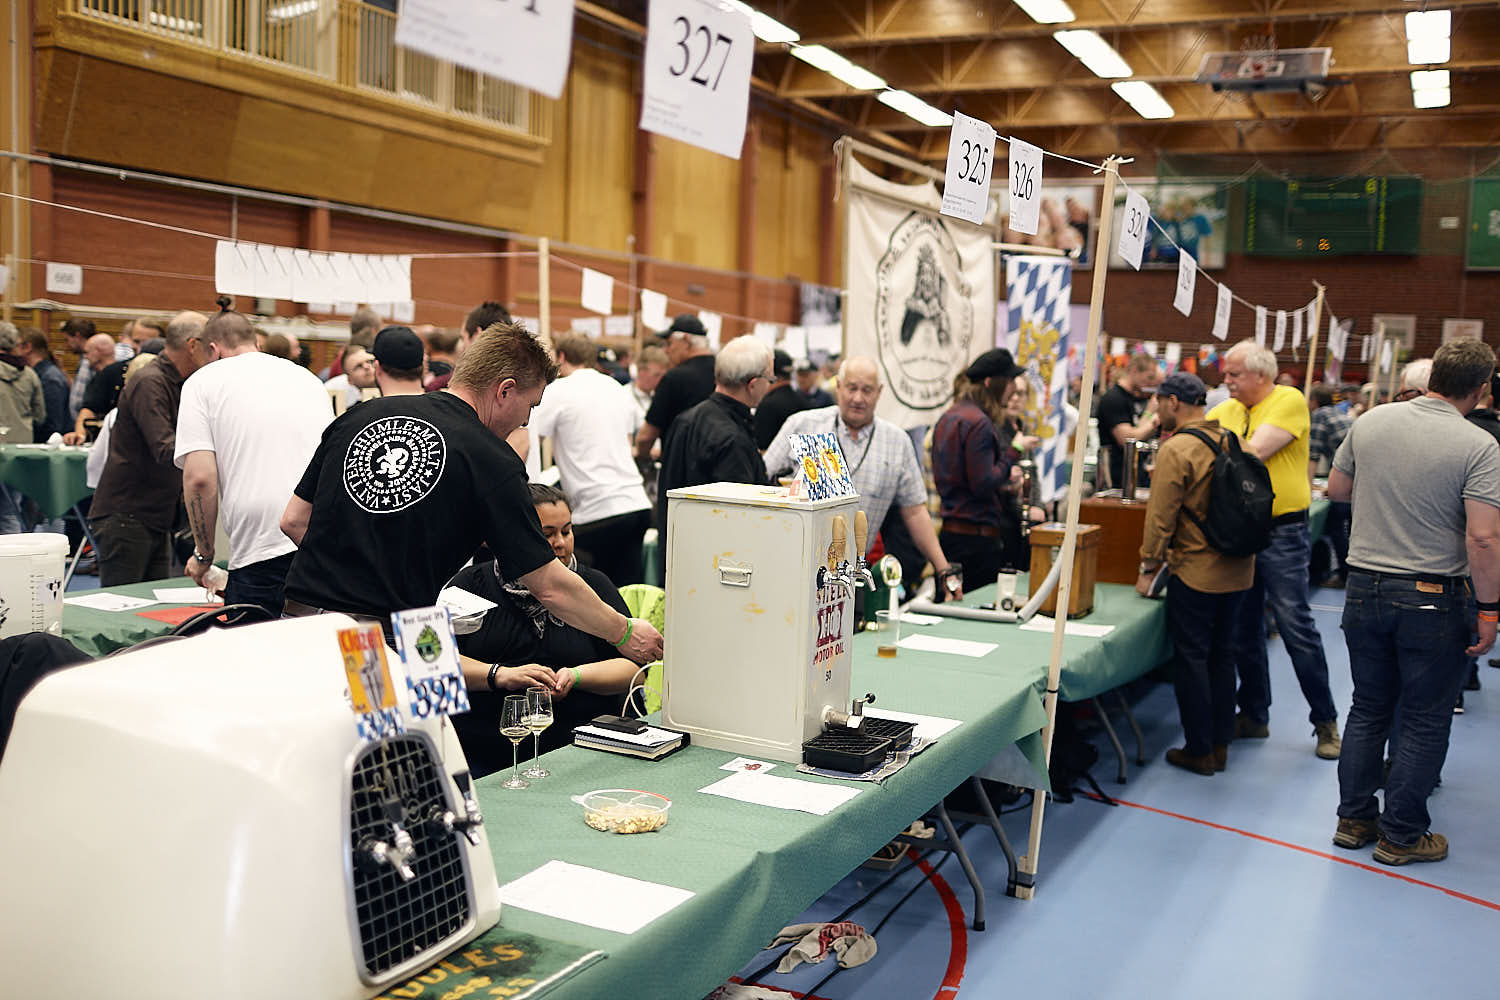
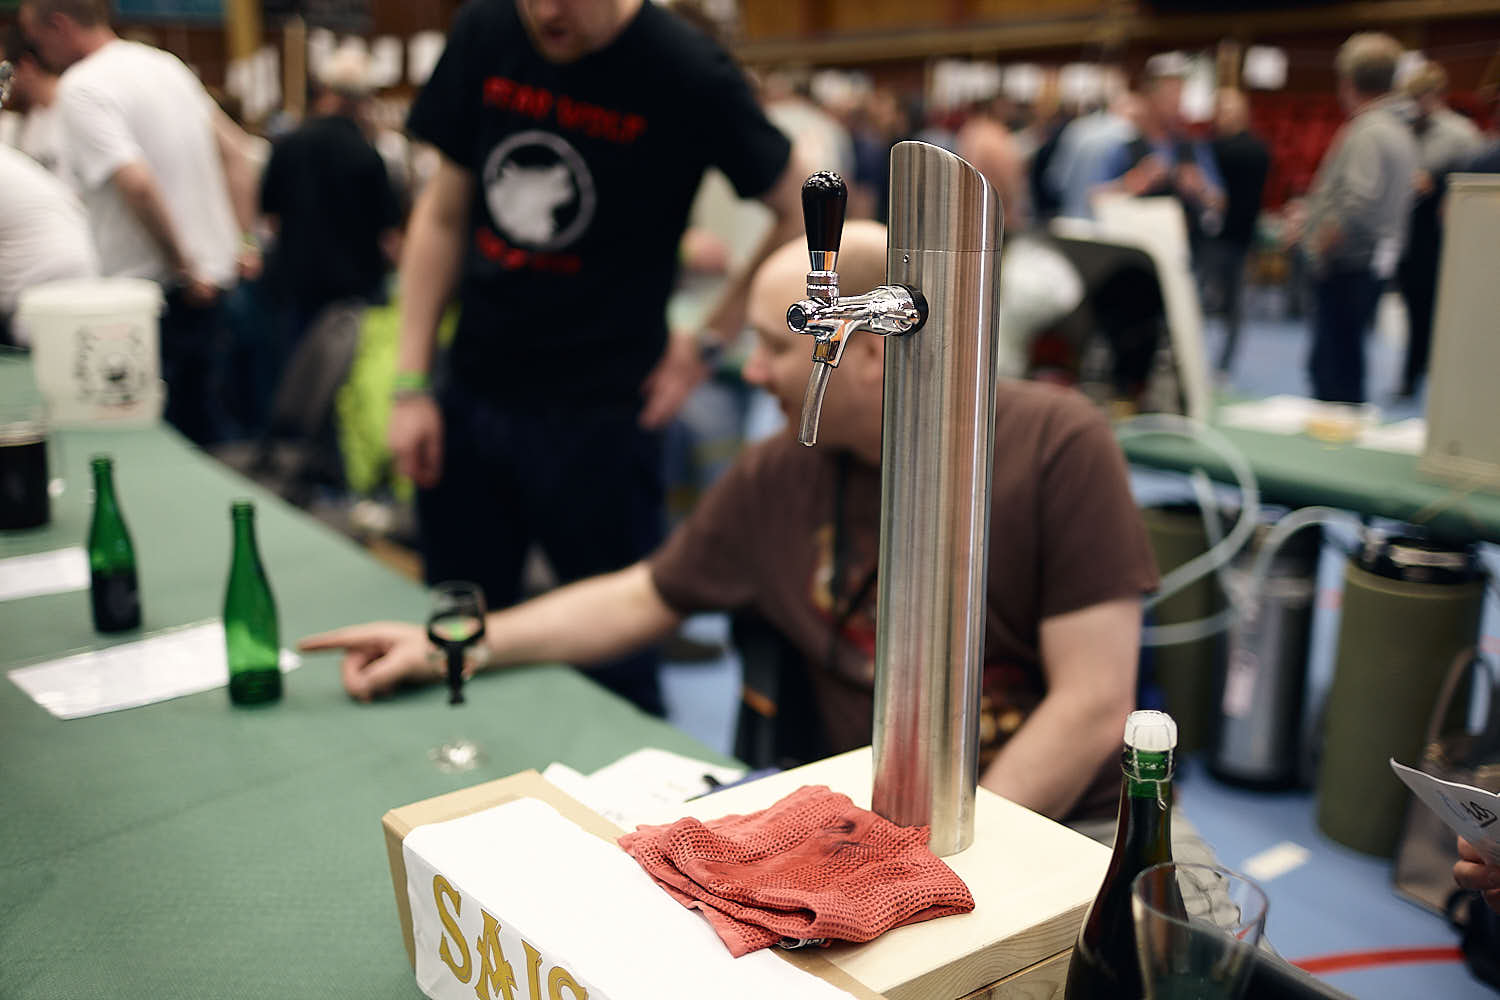
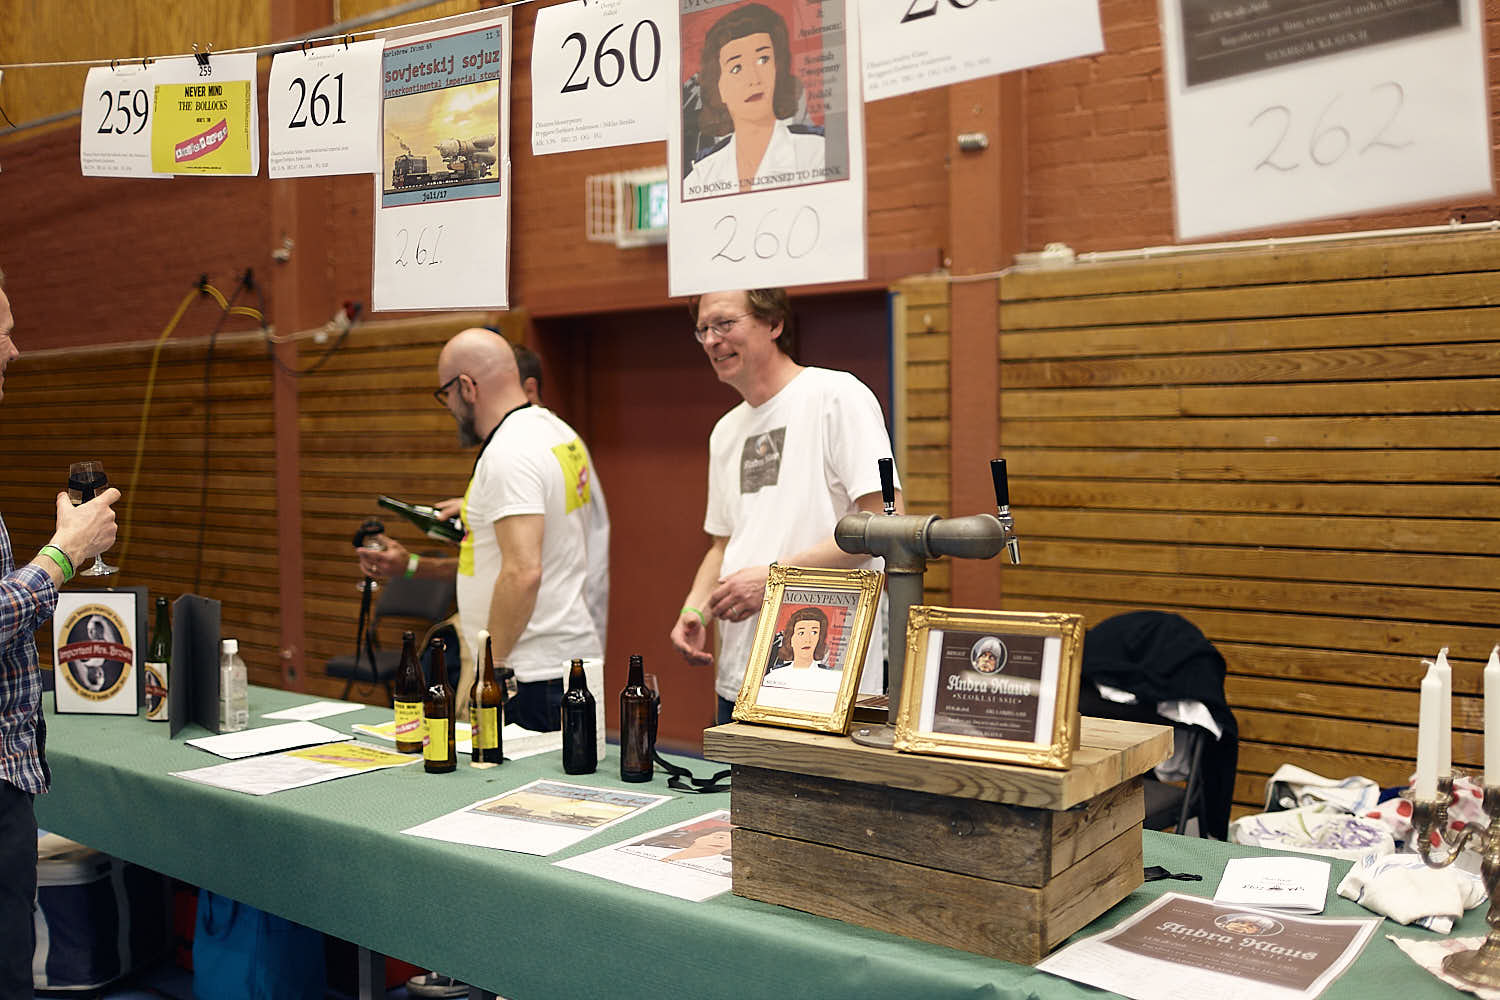
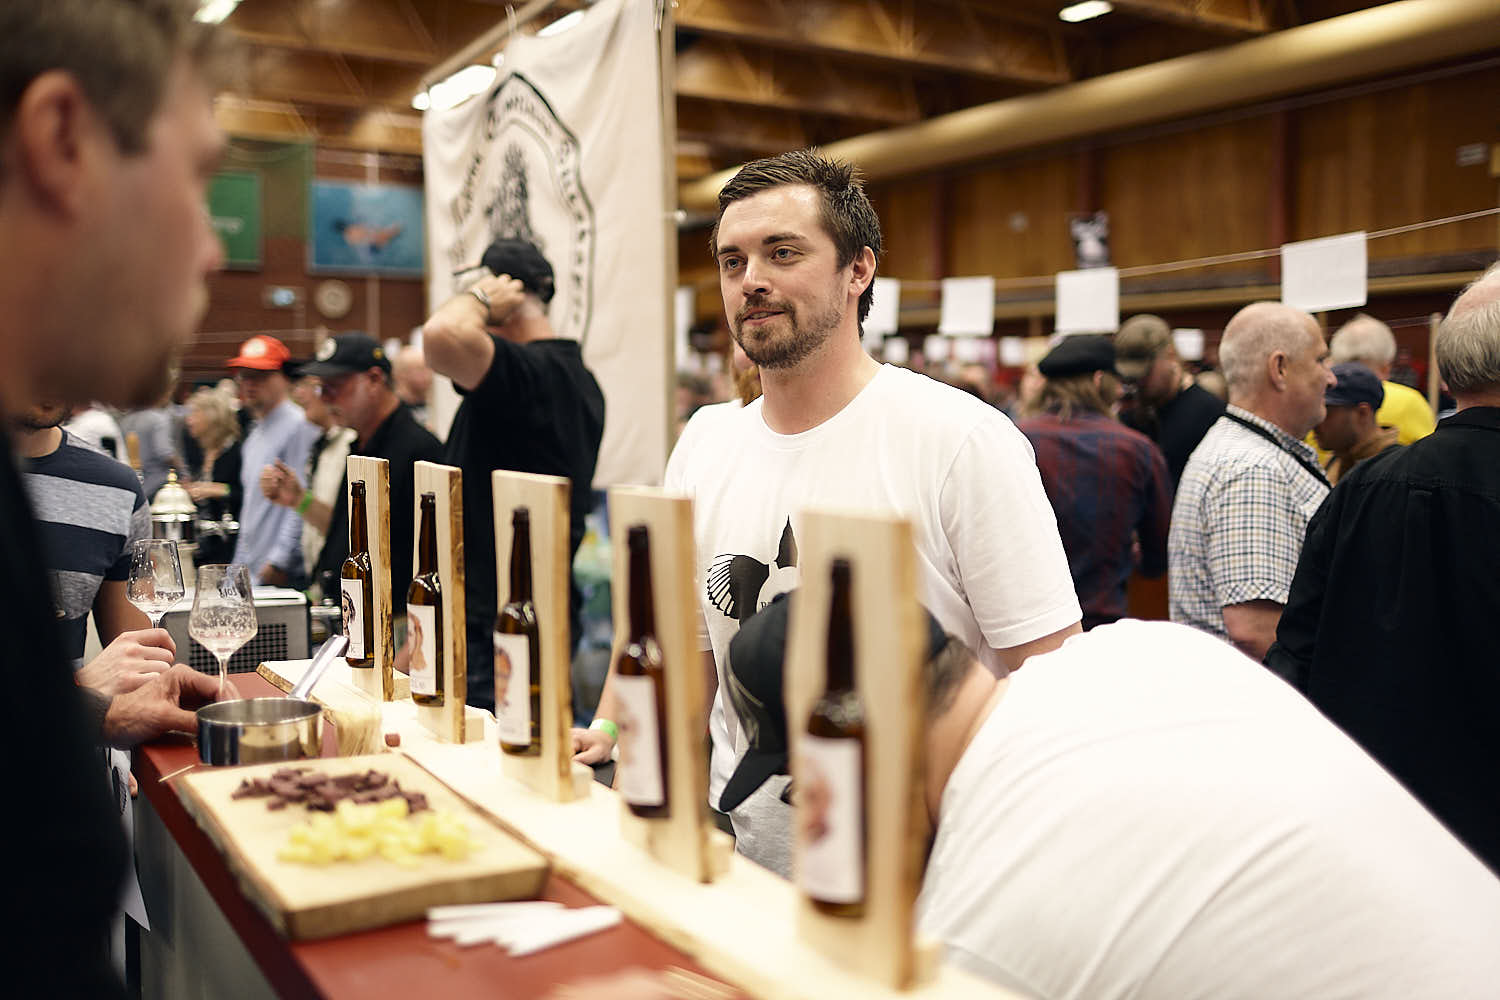
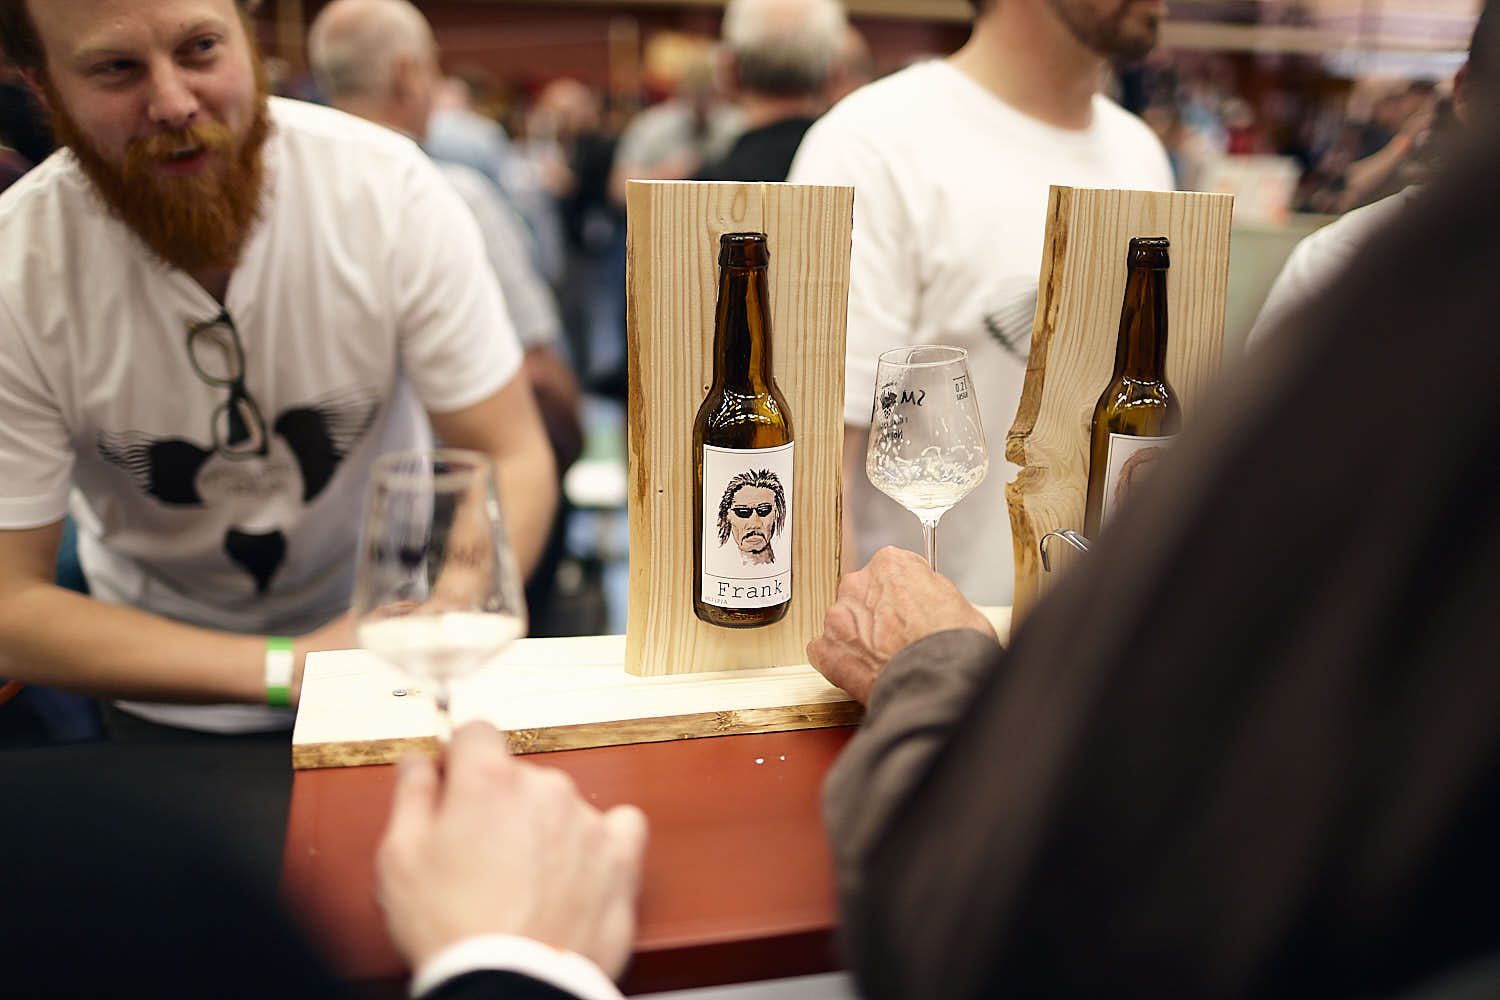
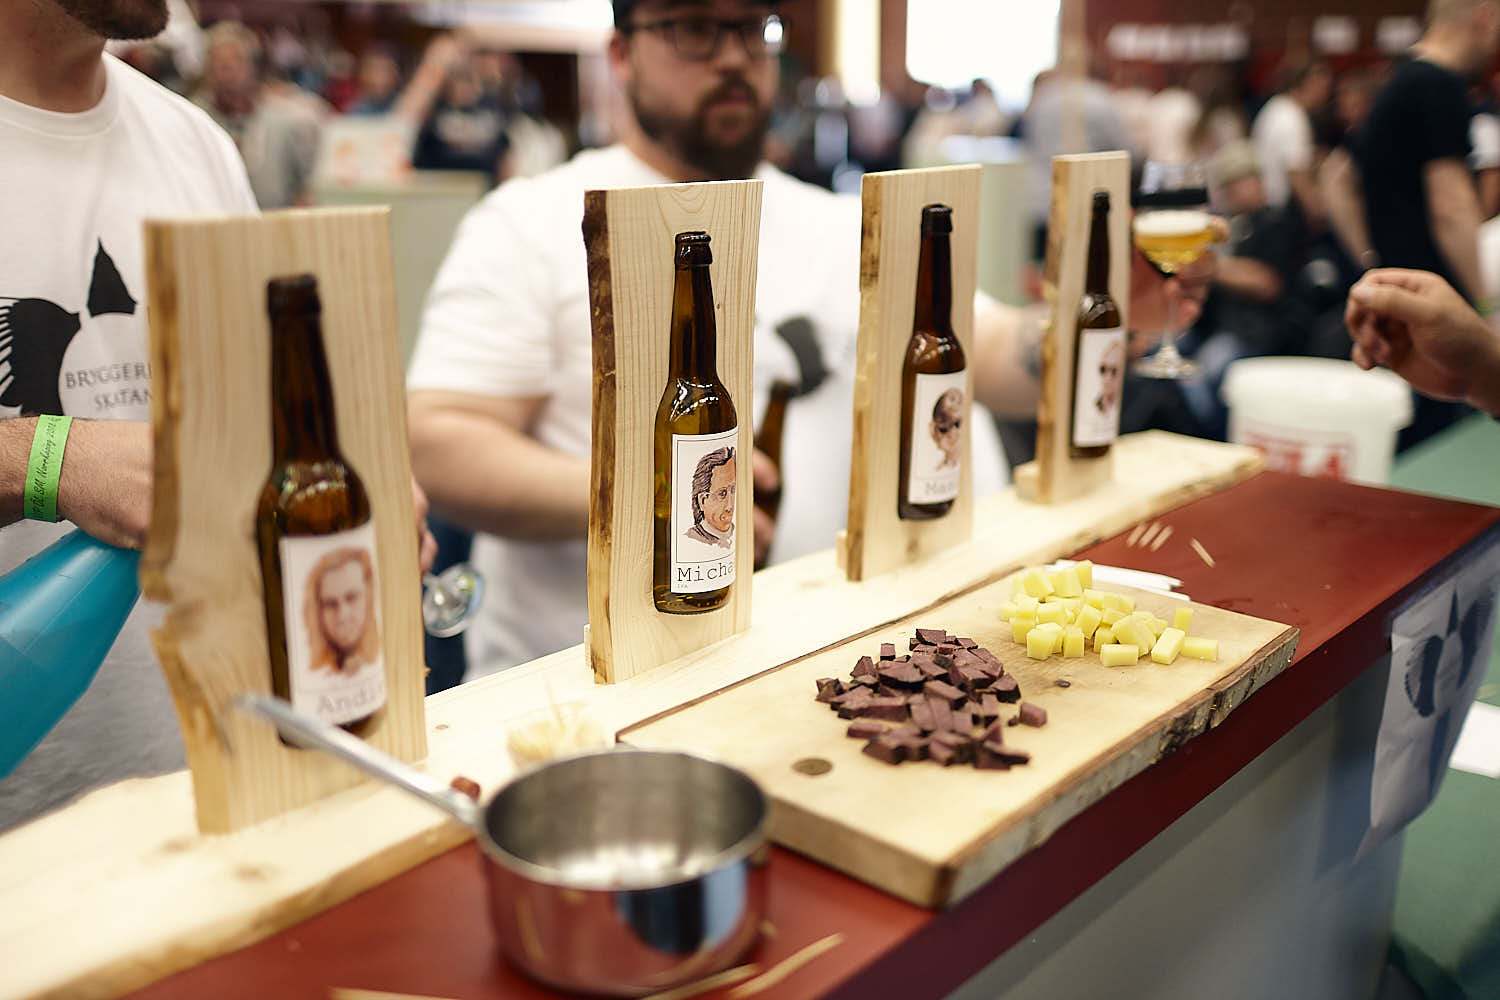
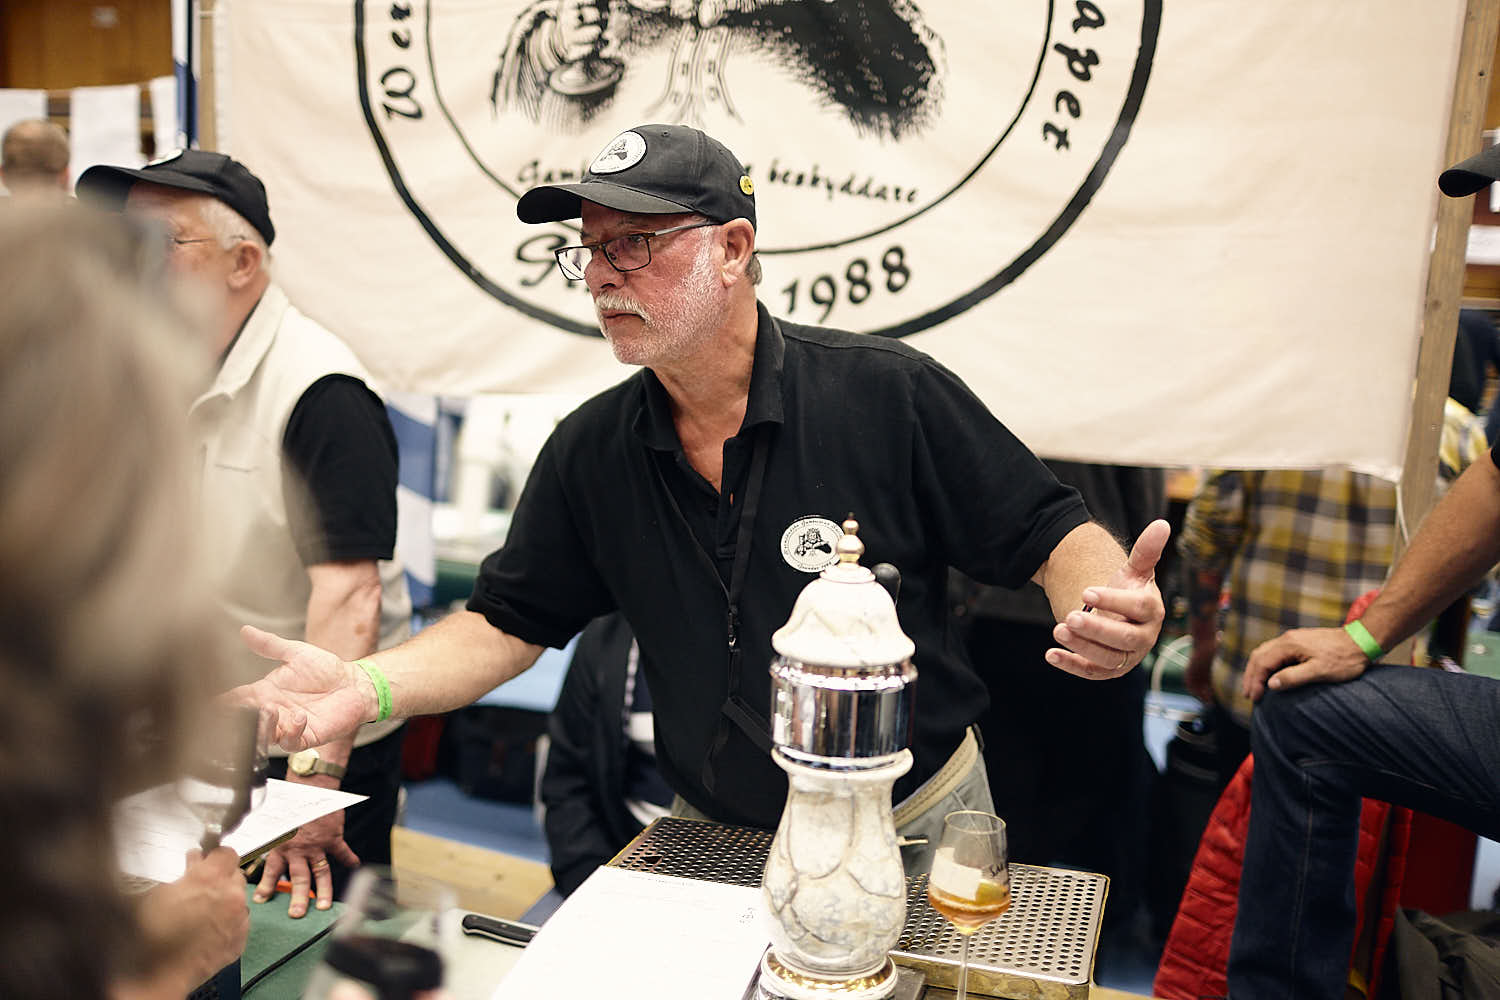
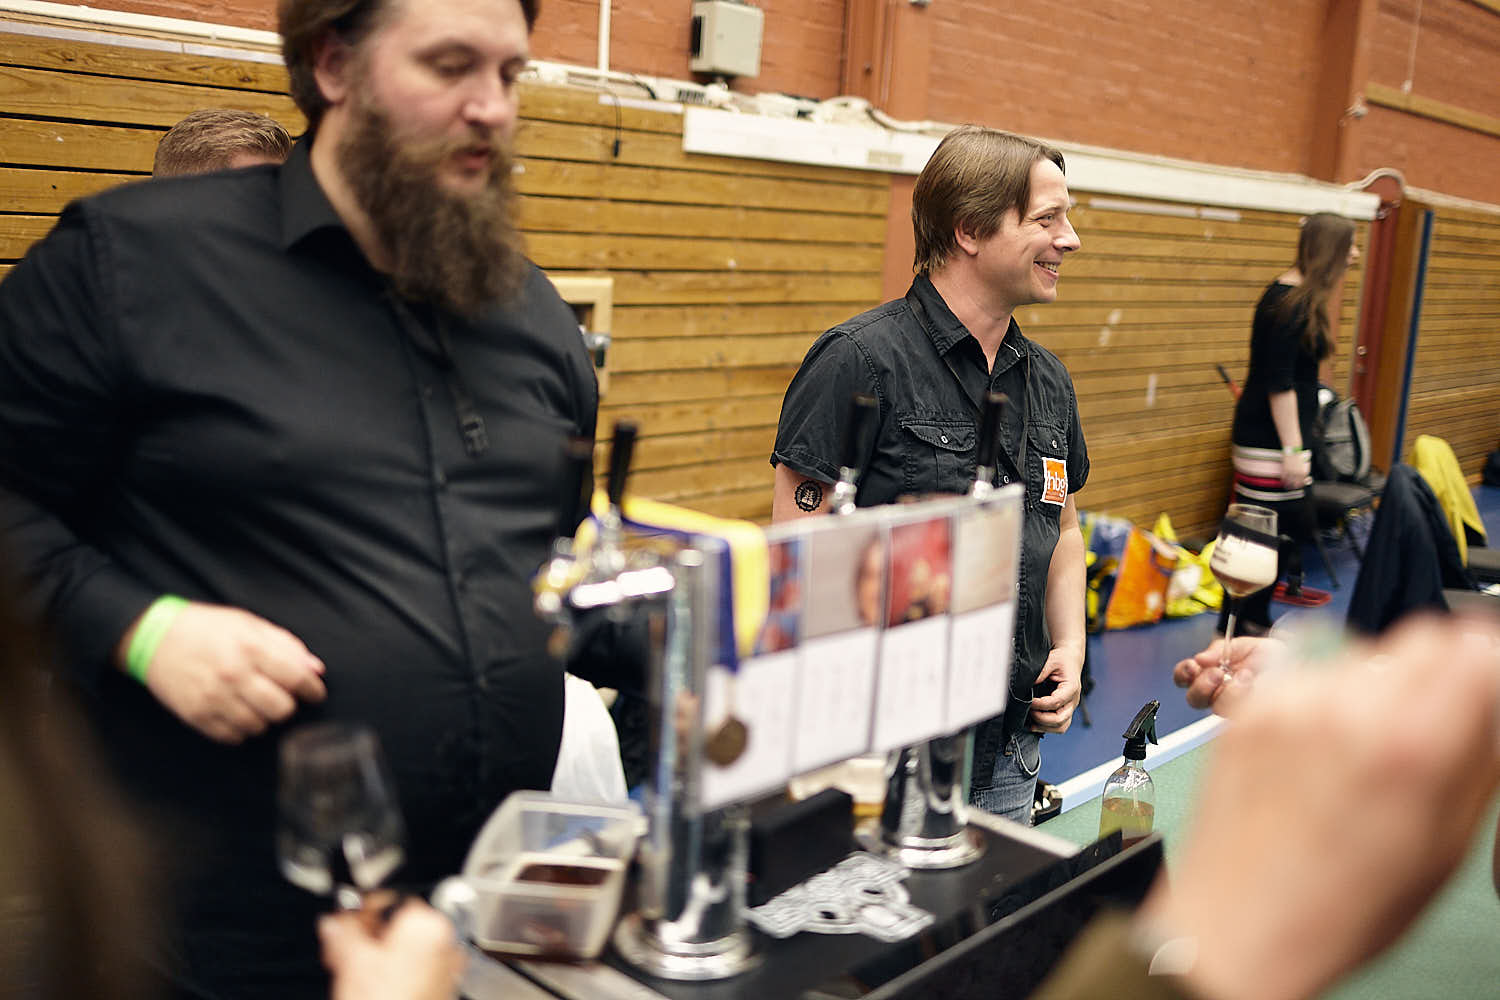
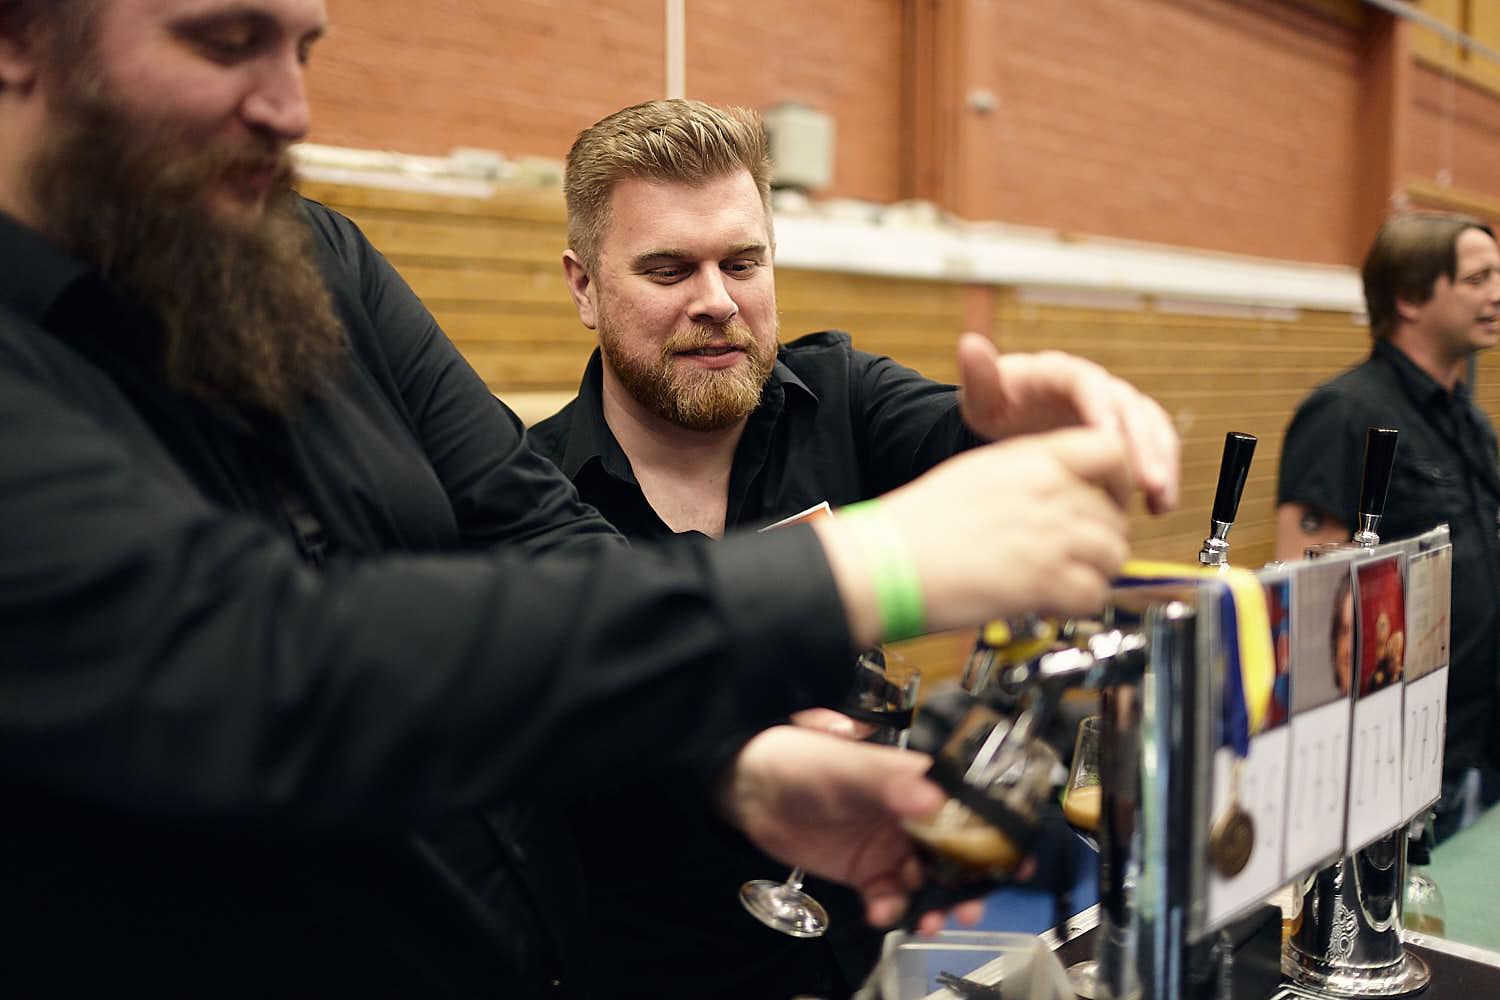
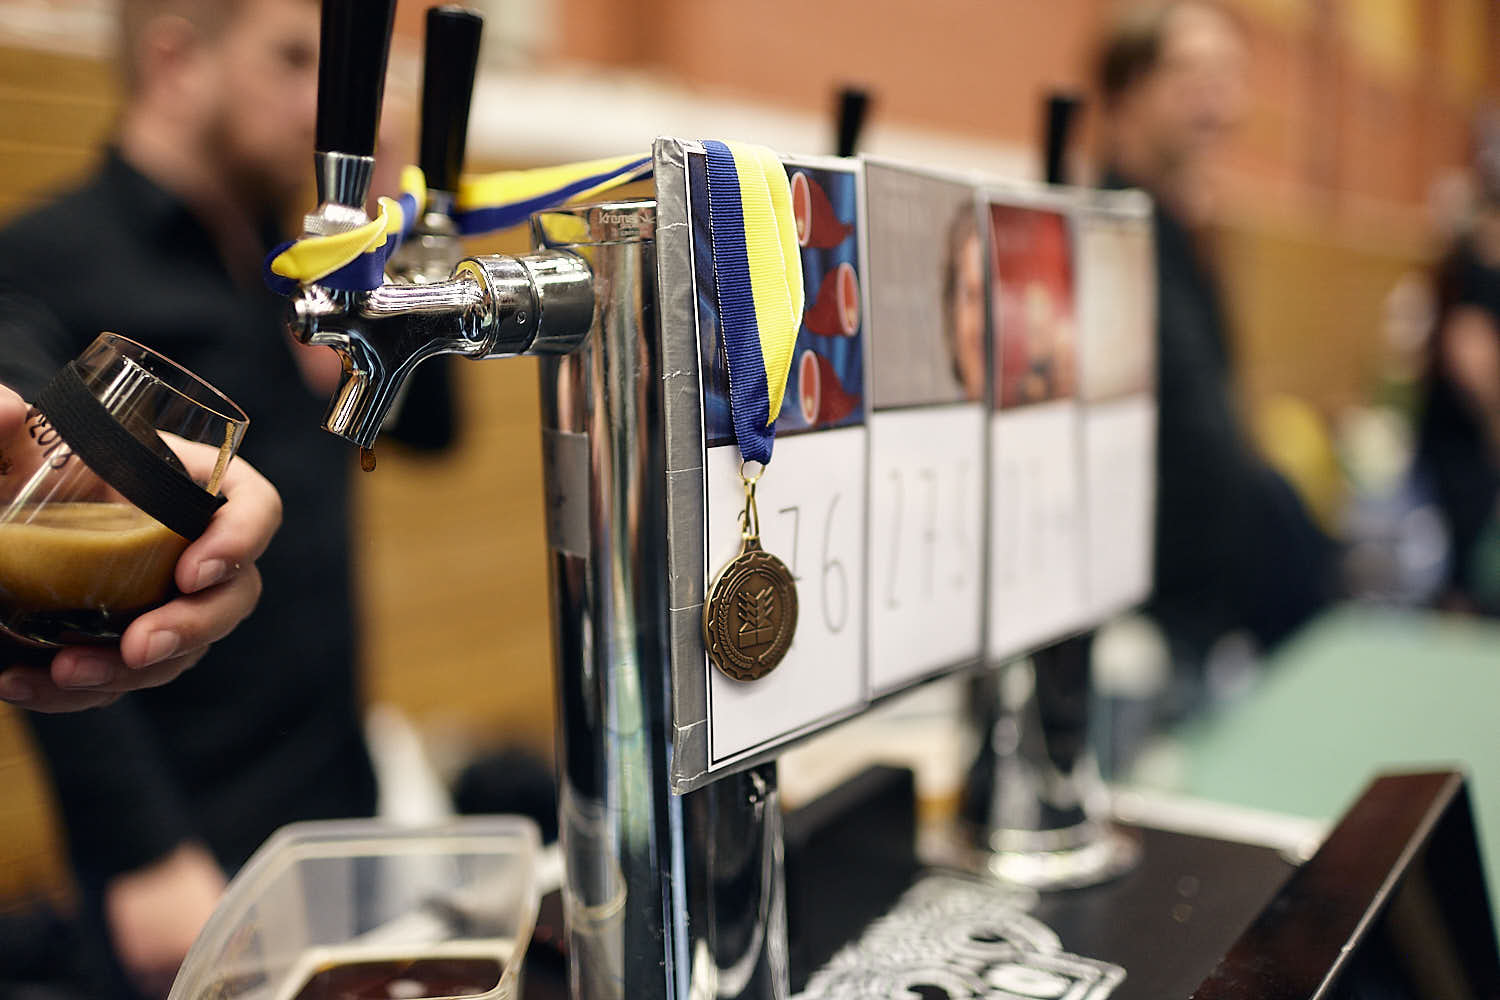
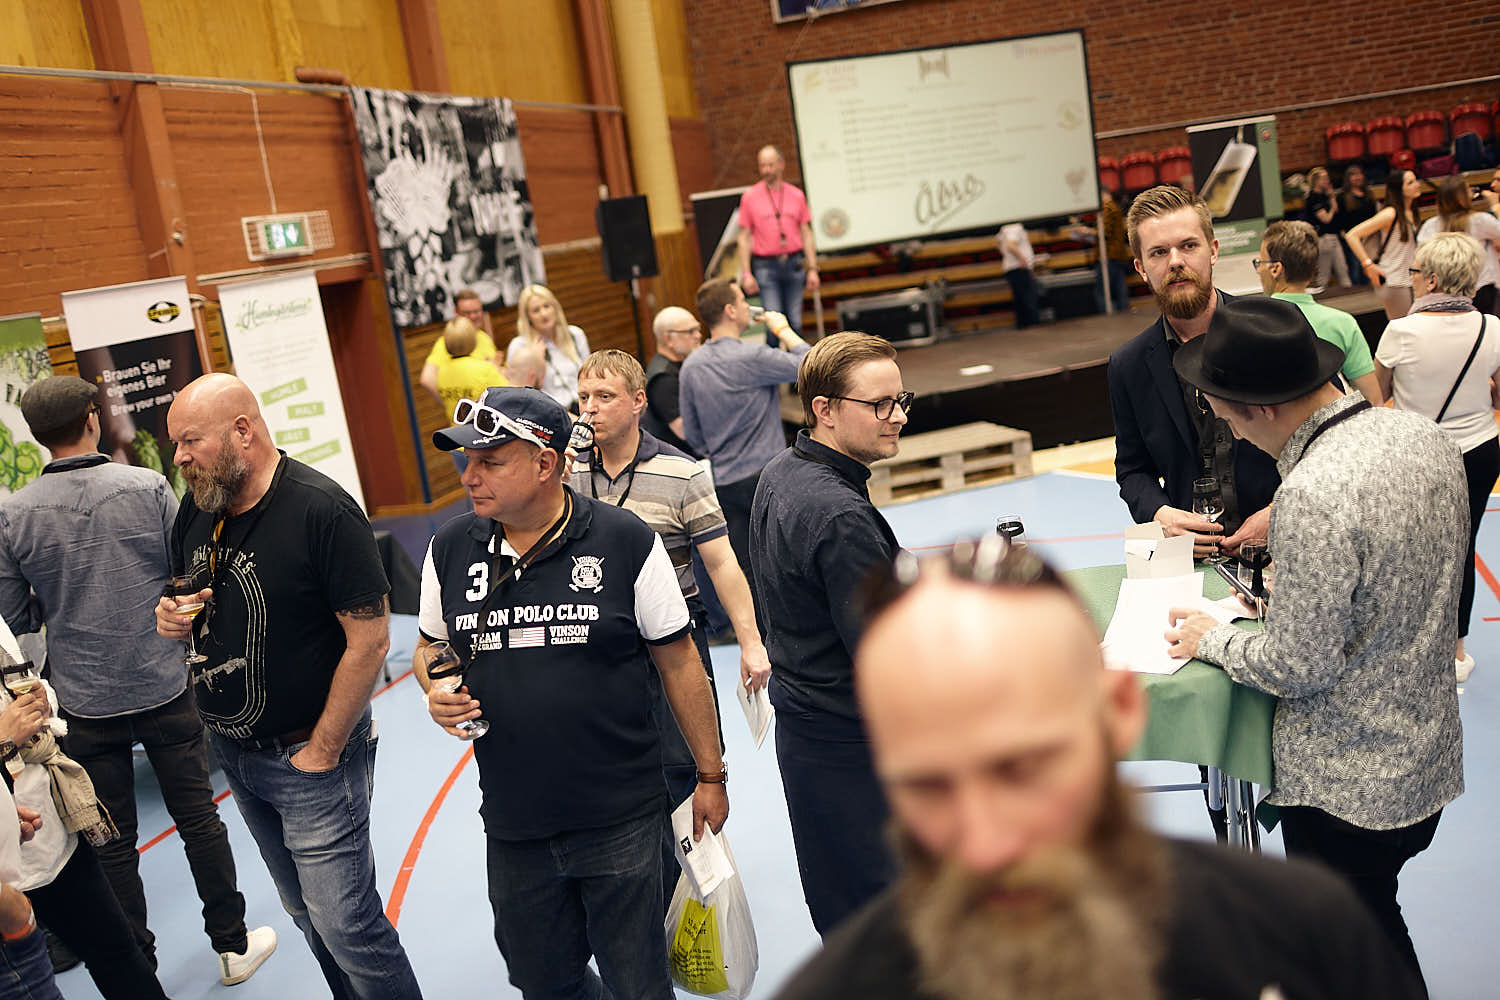
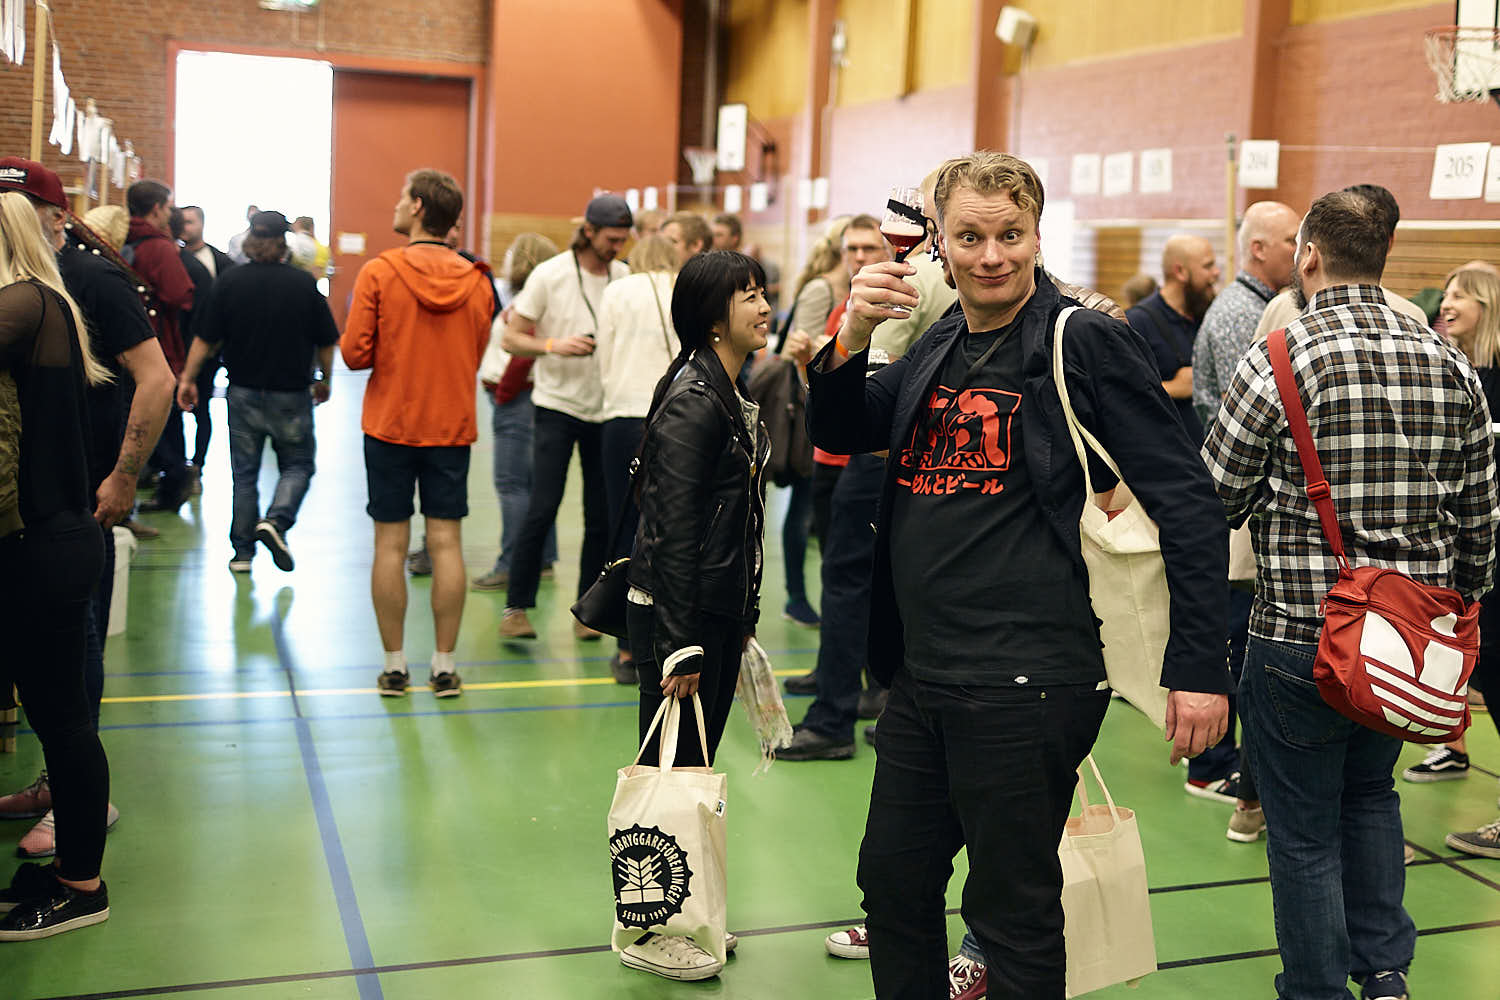
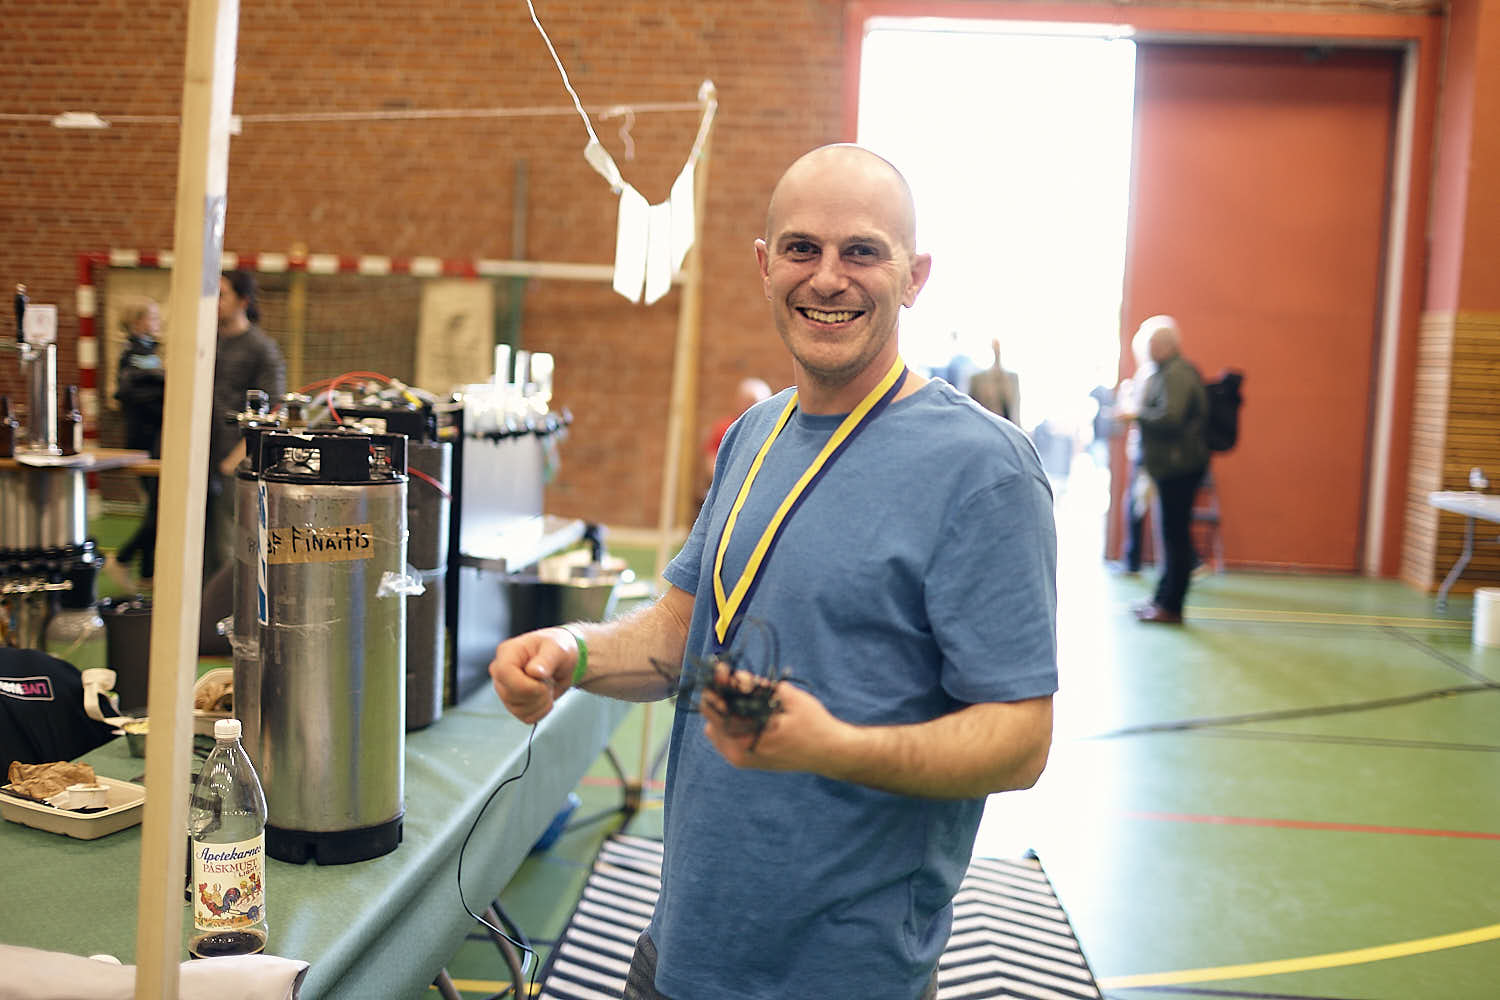
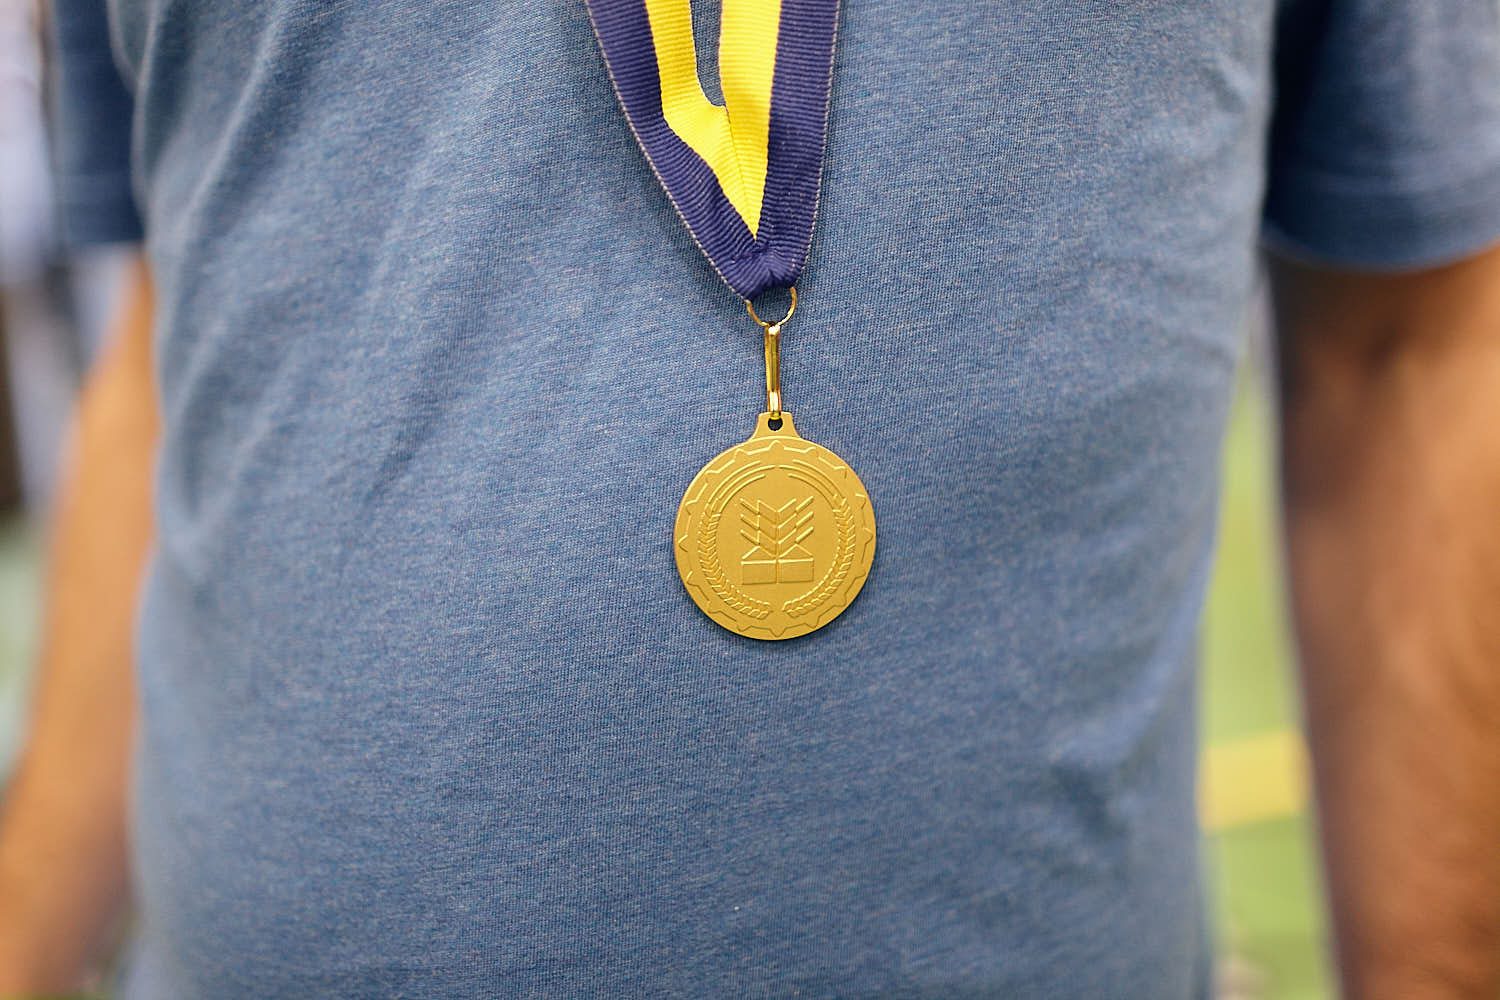
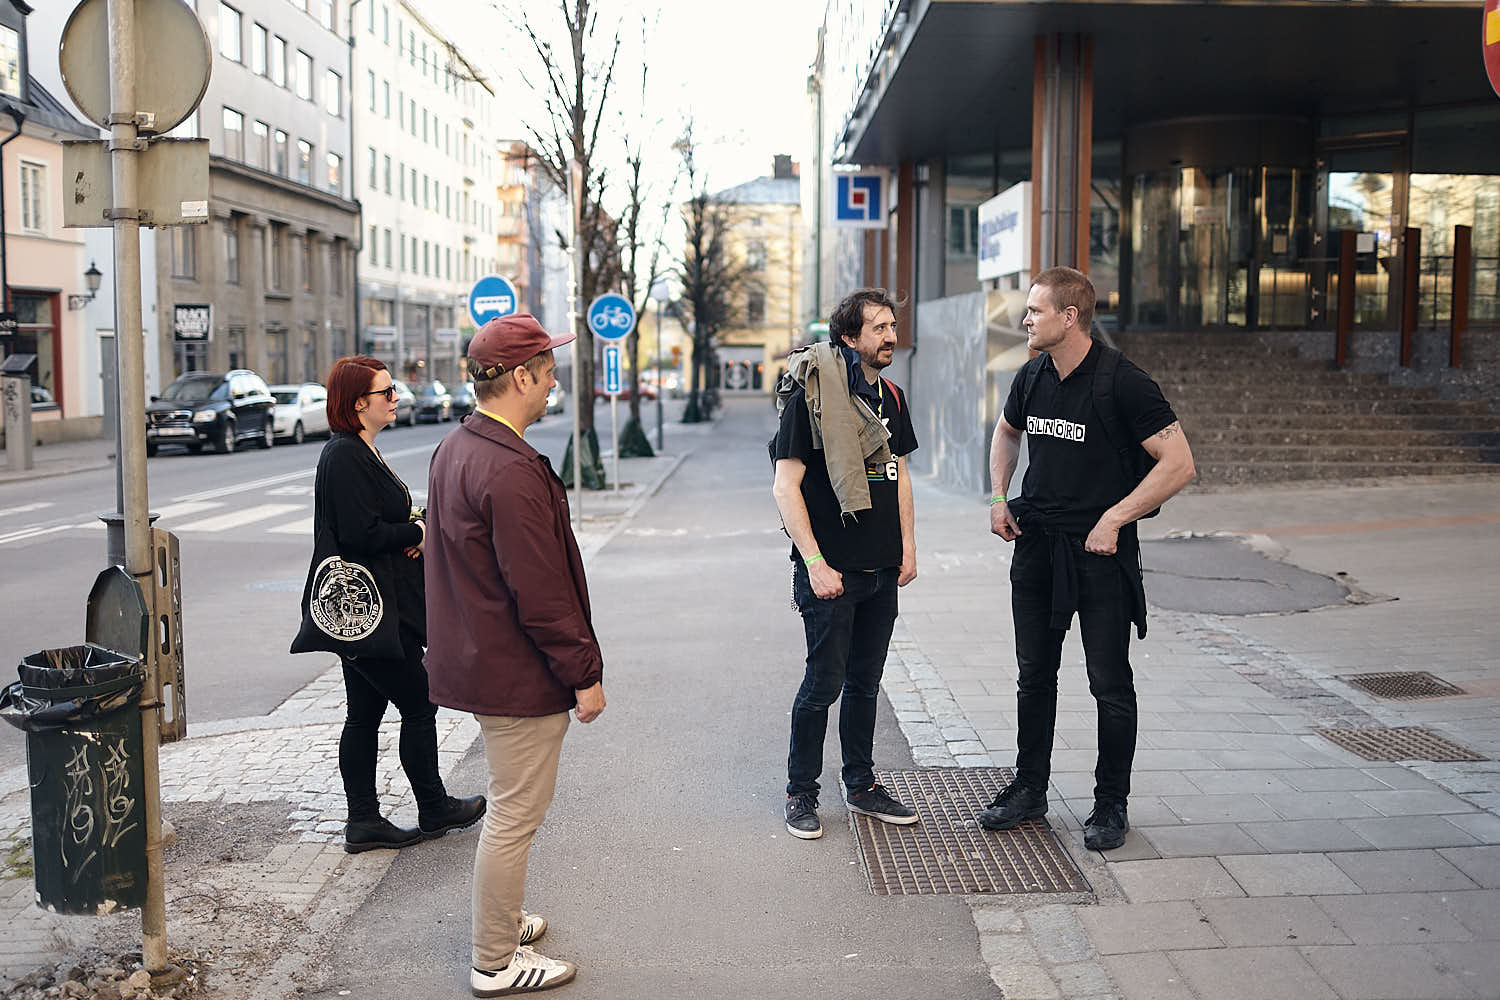
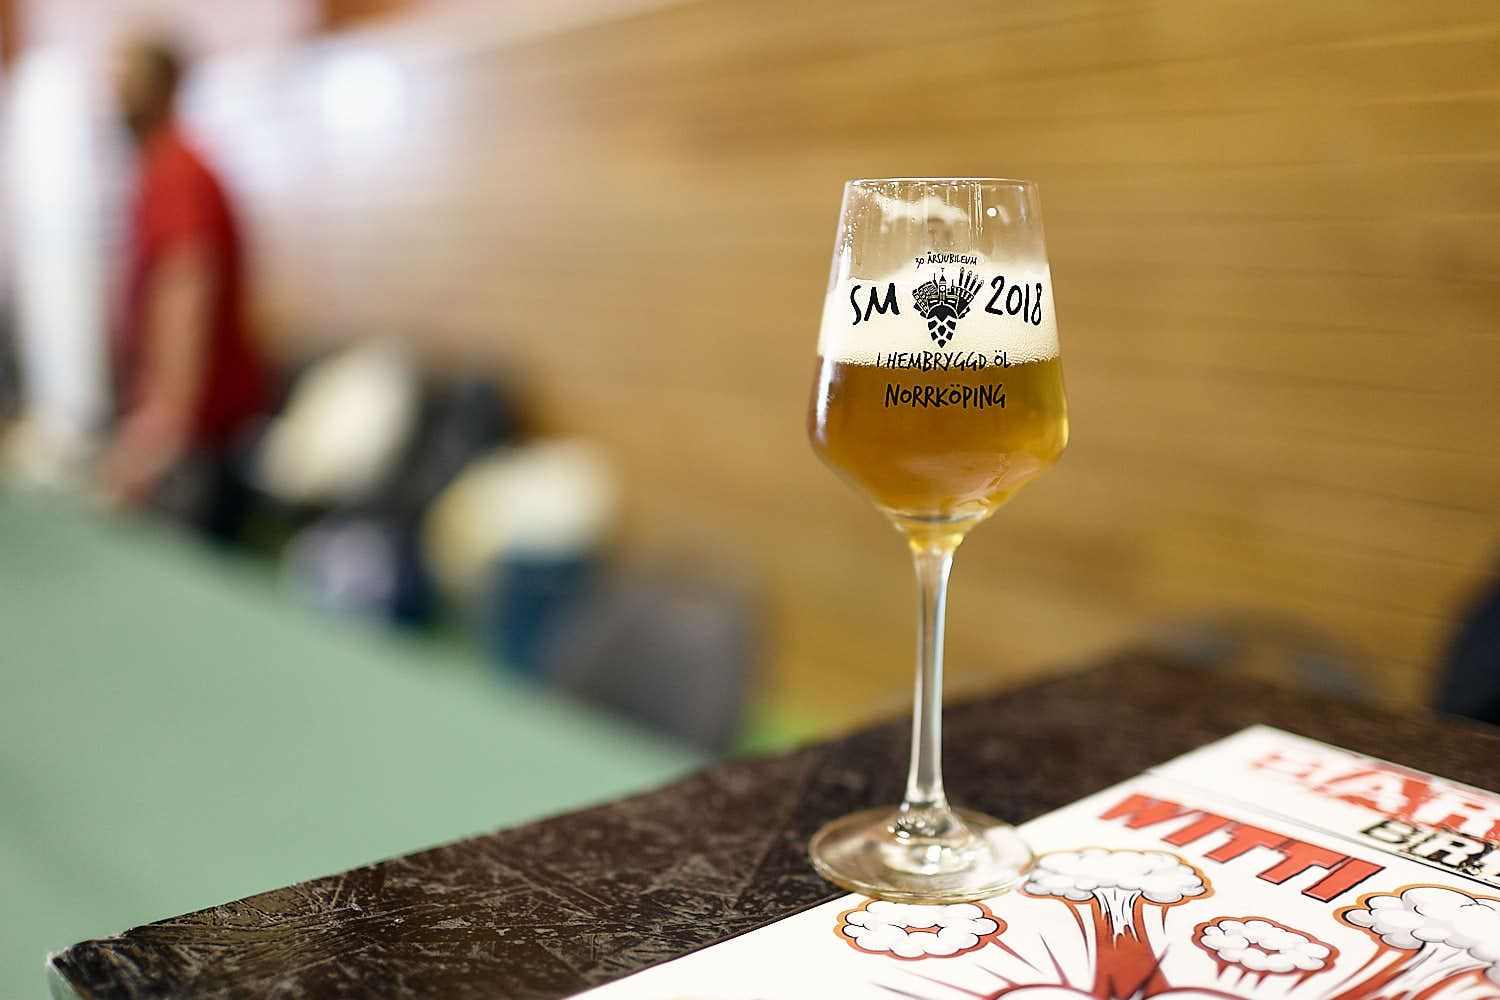 SM i hembryggd öl hålls varannat år i Stockholm och följande år ute i landet. I år var det dags för min förra hemstad Norrköping att arrangera tävlingen. Jag hade förberett två lageröl, bägge med recept från min bok, att tävla med i folkets val, ”Pils”, en tysk pilsner, och ”Hops”, en modern ljus lager. Bägge ölen bryggdes med lågsyremetoden ”LoDO” eller ”LOB” och från jästpitch och framåt såg de aldrig mer än 9°C (0°C-lagring). Eftersom jag inte ville ta med mig hela min kegerator, eller jag ville med det är för mycket slit med släpkärra osv, har jag byggt en tappkranshållare kraftigt inspirerad av Mathias Brorsons serveringsbock. Mina corneliusfat hålls svala med liggunderlagsisolering med några kylklampar nedstuckna längs sidan. En enkel men smidig lösning som känns betydligt mer elegant än att servera ur picnic-kranar vilket passar bättre till mindre ölträffar, SM är ju SM trots allt. Tillsammans med Jonas körde vi ner skapligt tidigt till Norrköping och jag hann mer eller mindre precis få ihop mitt lilla bås och äta en wurre innan dörrarna öppnades och folket strömmade in. Från öppningen vid 12 och fem timmar framåt var det mer eller mindre konstant kö med besökare som ville pröva mina öl. Jag kan inte säga om det var min grymma outfit (lederhosen och knästrumpor) eller mina öl som drog den stora uppmärksamheten men mängden törstiga gjorde att jag inte kunde lämna min post för att prova andra bryggaren öl mer än i några minuter. Oavsett vad jag gjorde rätt så gav det utdelning i slutändan. Min tyska pilsner tog hem guldmedaljen för bästa lager med 215 poäng och min välhumlade lager tog silvermedaljen i samma kategori med 133 poäng. Jag hade även med mig några flaskor sydtysk veteöl utom tävlan för de fans av veteöl som följer bloggen och ville prova. Två av Sveriges absolut bästa öldomare, Jan-Erik ”Janko” och Magnus Bark gav väldigt gott omdöme för alla tre ölen vilket såklart gjorde mig oerhört glad. Jag tar det här som ett bevis på att allt mitt slit med bryggmetoden och recept äntligen börjar ge resultat, vilket jag förvisso märkt på kvalitén på mina öl under en tid men inte fått bekräftat såhär tydligt.
Jag vill rikta ett stort tack till alla ni som gillade mina öl och röstade på mig och slutligen vill jag ge en stor applåd till arrangörerna NHBF och SHBF för ett mycket välgjort SM. Jag minns hur mycket jobb det är att arrangera från när jag hjälpte till med SM i Linköping 2014, det är mer jobb än man kan föreställa sig, bra jobbat! Härnäst tävlingsmässigt är det sommarölsträffen i augusti, vi ses där!
The Swedish Championship in homebrewed beer is held in Stockholm every other year, and in various towns in Sweden the following year. This time it was my previous hometown Norrköping that got the chance to host the competition. I had prepared two different lagers, both from my book, to compete with in the people’s choice competition, ”Pils”, german pilsner, and ”Hops”, a hoppy lager just like Brooklyn Lager but with Citra/Simcoe. Both beers were brewed with the low oxygen method ”LoDO” or ”LOB” and they were kept under 9°C from yeast pitch and thruout (lagered at 0°C). Since I don’t want to bring my kegerator with me, or I would like to but it’s too much work, I have built a portable wooden tap holder inspired by my friend Mathias Brorson. The kegs are kept cool with camping mat insulation and a few icepacks in between. A simple but functional solution that feels a lot better than using picnic taps which is more suitable for smaller events, the nationals is the nationals after all. Me and Jonas took my car the quick 1 hours drive down to Norrköping and I was setup just in time to grab a lunch sausage before the doors opened and the event started. From start to finish five hours later, I had pretty much a constant line of people that wanted to try my beers! I can’t say if it was my awesome outfit (lederhosen and knee sock) or my beers that drove the constant attention, but the amount of people in my stand made me not being able to walk around more that a few minutes to try other brewers beers. Whatever I did right this time really paid of in the end. My Pils got the gold medal for best lager with 215 points and my hoppy lager got the silver in the same category with 133 points! I had also brought a few bottles of weißbier that was poured outside the competition for the fans and fanatics of hefeweizen. Two of the absolute best beer judges in Sweden, Jan-Erik ”Janko” and Magnus Bark, gave me very good verdict for all three beers which made me extremely happy. I take all of this as proof that all my hard work with my brewing method and recipes has finally paid of, something I have noticed in the quality of my beers for some time but not gotten proved this clearly before.
I want to shout out a big THANK YOU to all the people who liked my beers and voted for me, and finally I want to give the organisers NHBF and SHBF a round of applause for a well organised event in Norrköping! I remember all the work that goes into making an event like this run smoothly from being part of the championship in Linköping 2014, it takes a lot more work than one could imagine, well done! Next up is the Summer beer meet up (Sommarölsträffen) in august, see you there!
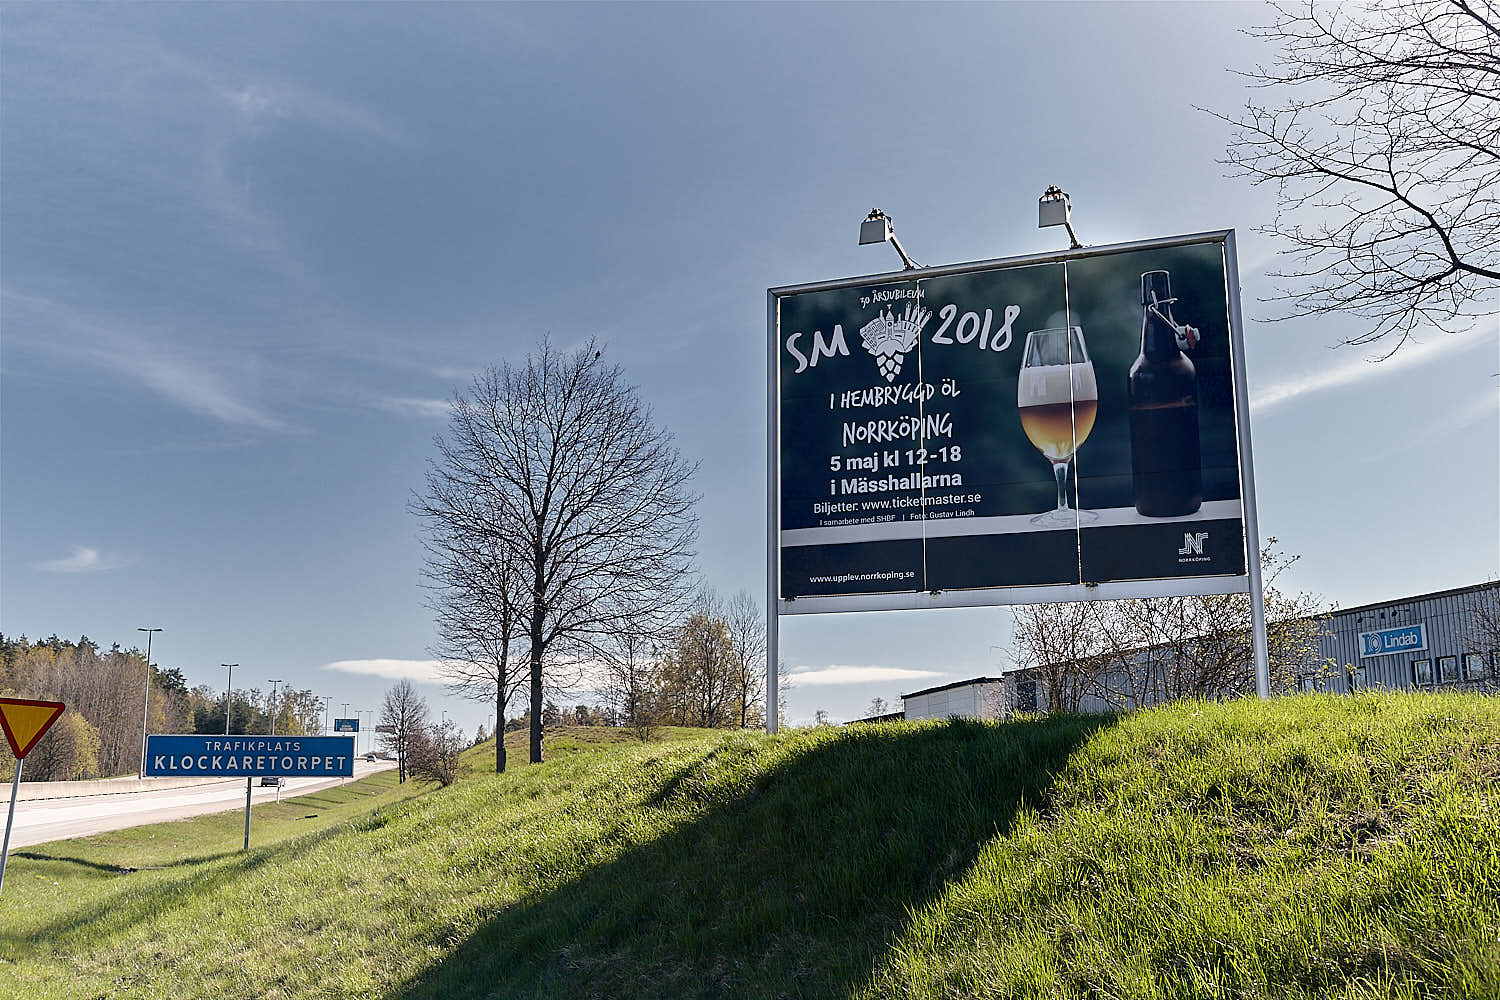 NHBF har fått en av mina bilder att använda i marknadsföringssyfte. //The event had one of my photos as the background for the billboard.
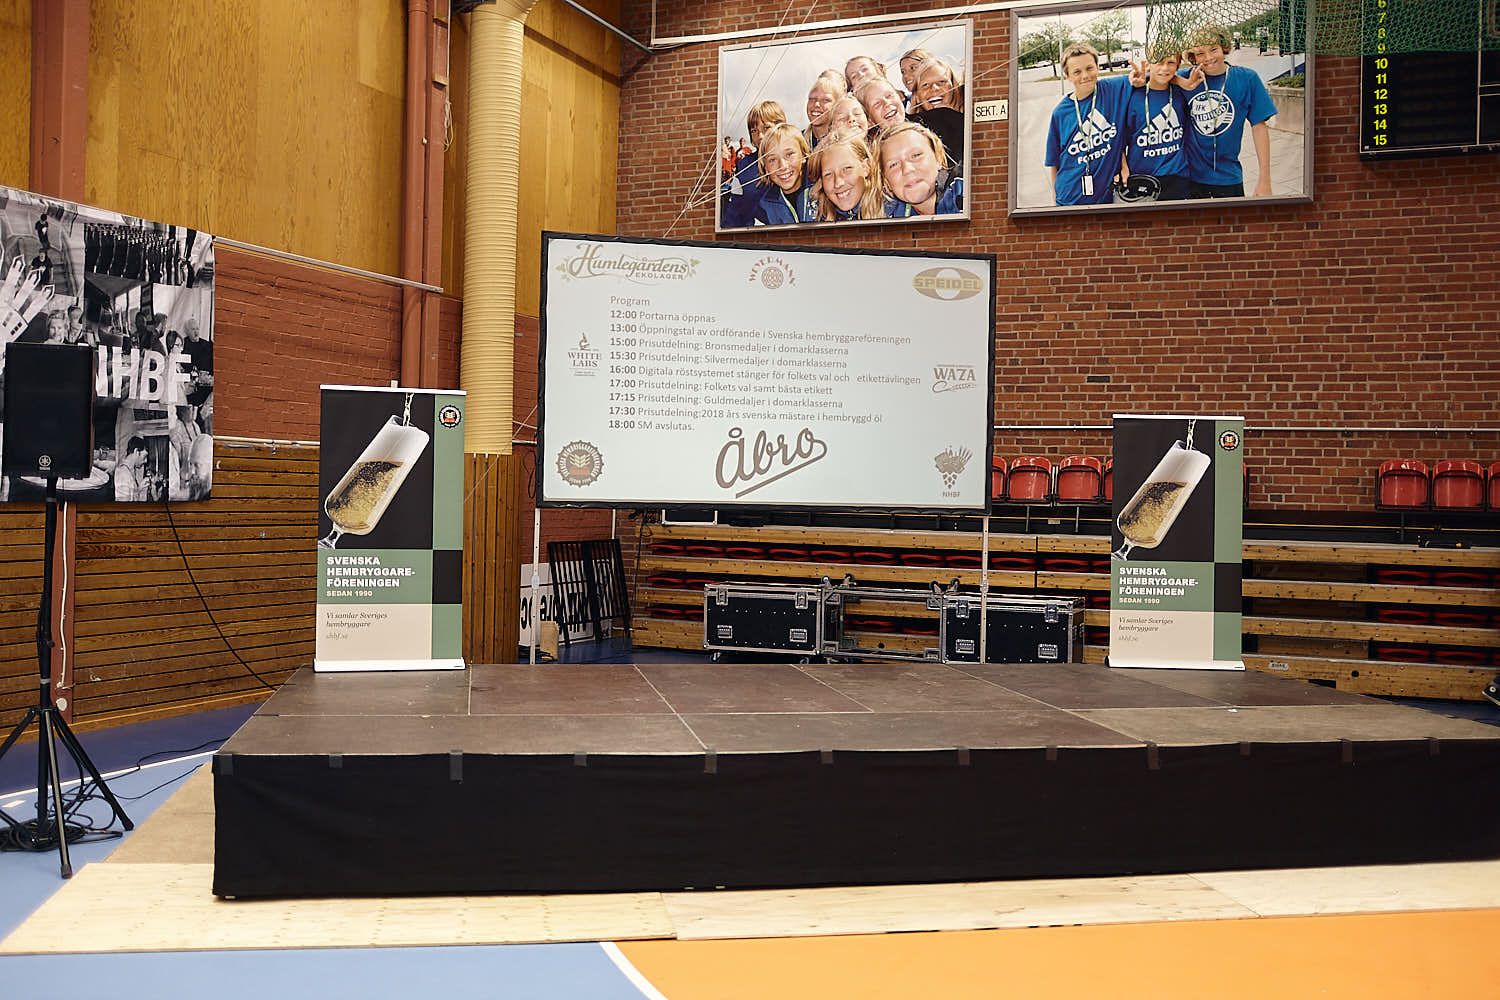
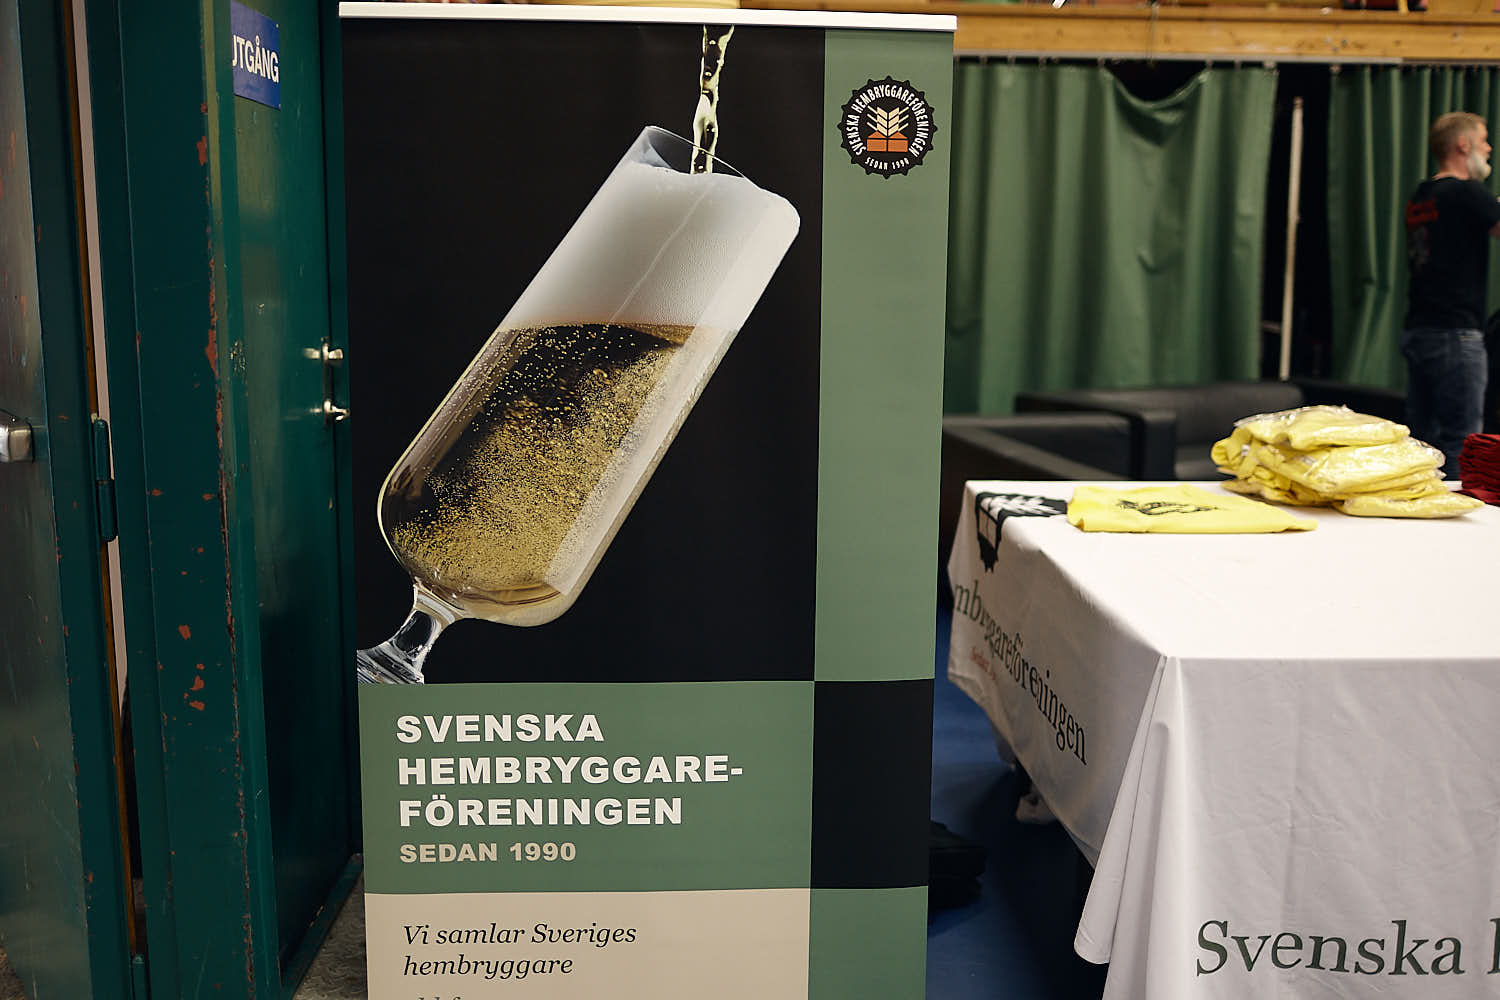 SHBF har också en av mina bilder till rollup:er och liknande. //The national homebrew organization SHBF also have one of my photos for marketing purposes.
 Niclas, en av arrangörerna. //Niclas, one of the organizers.
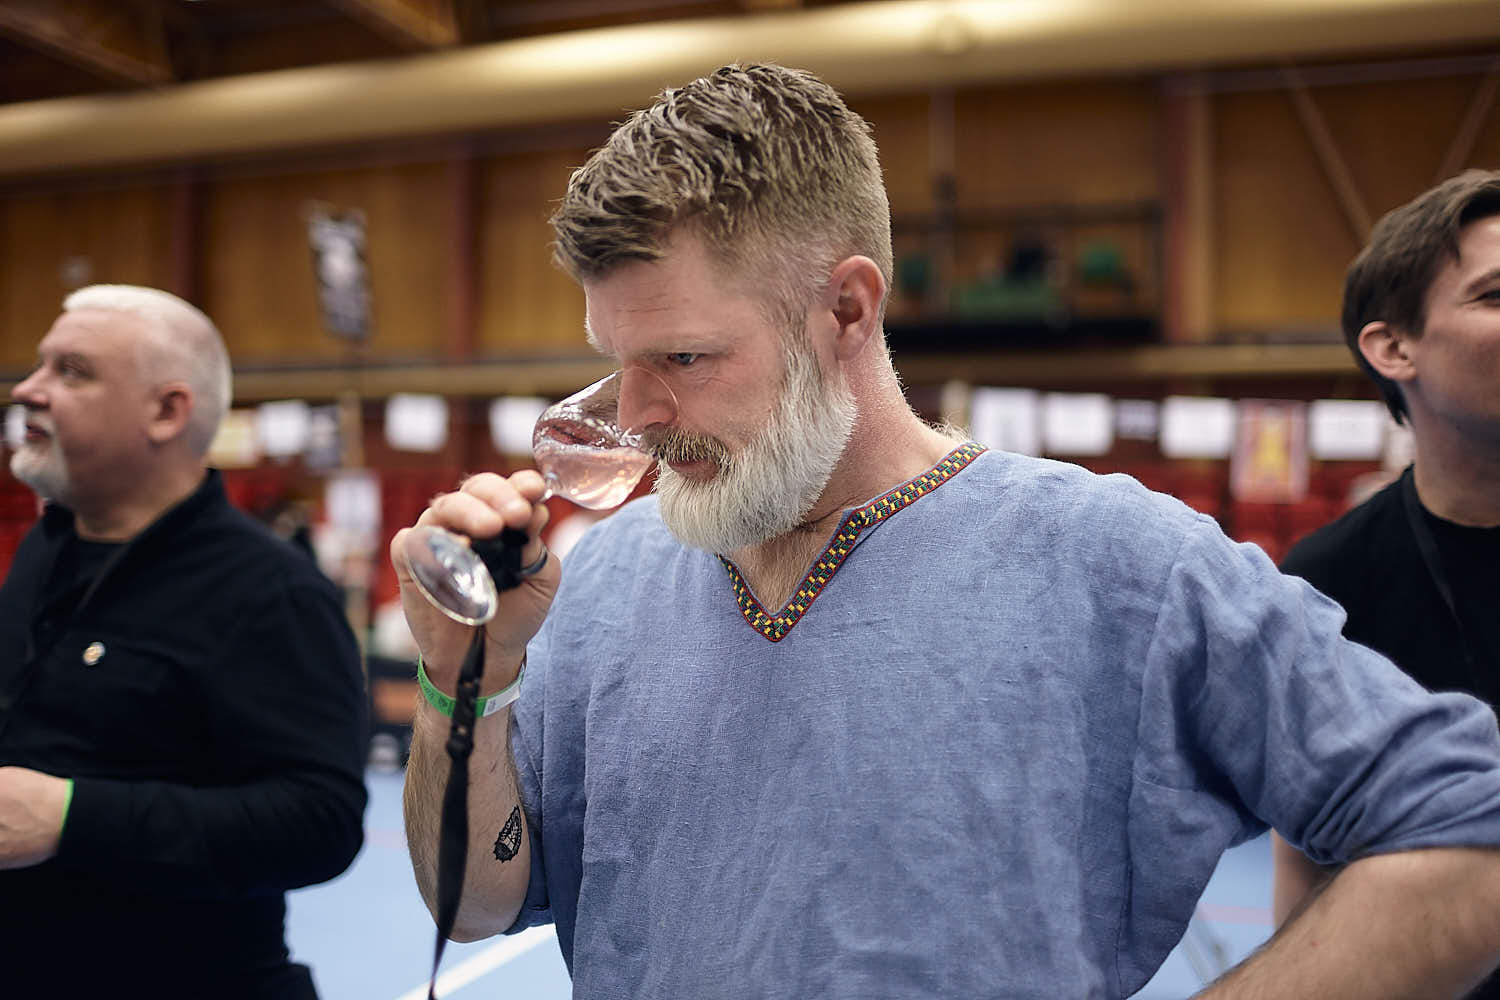
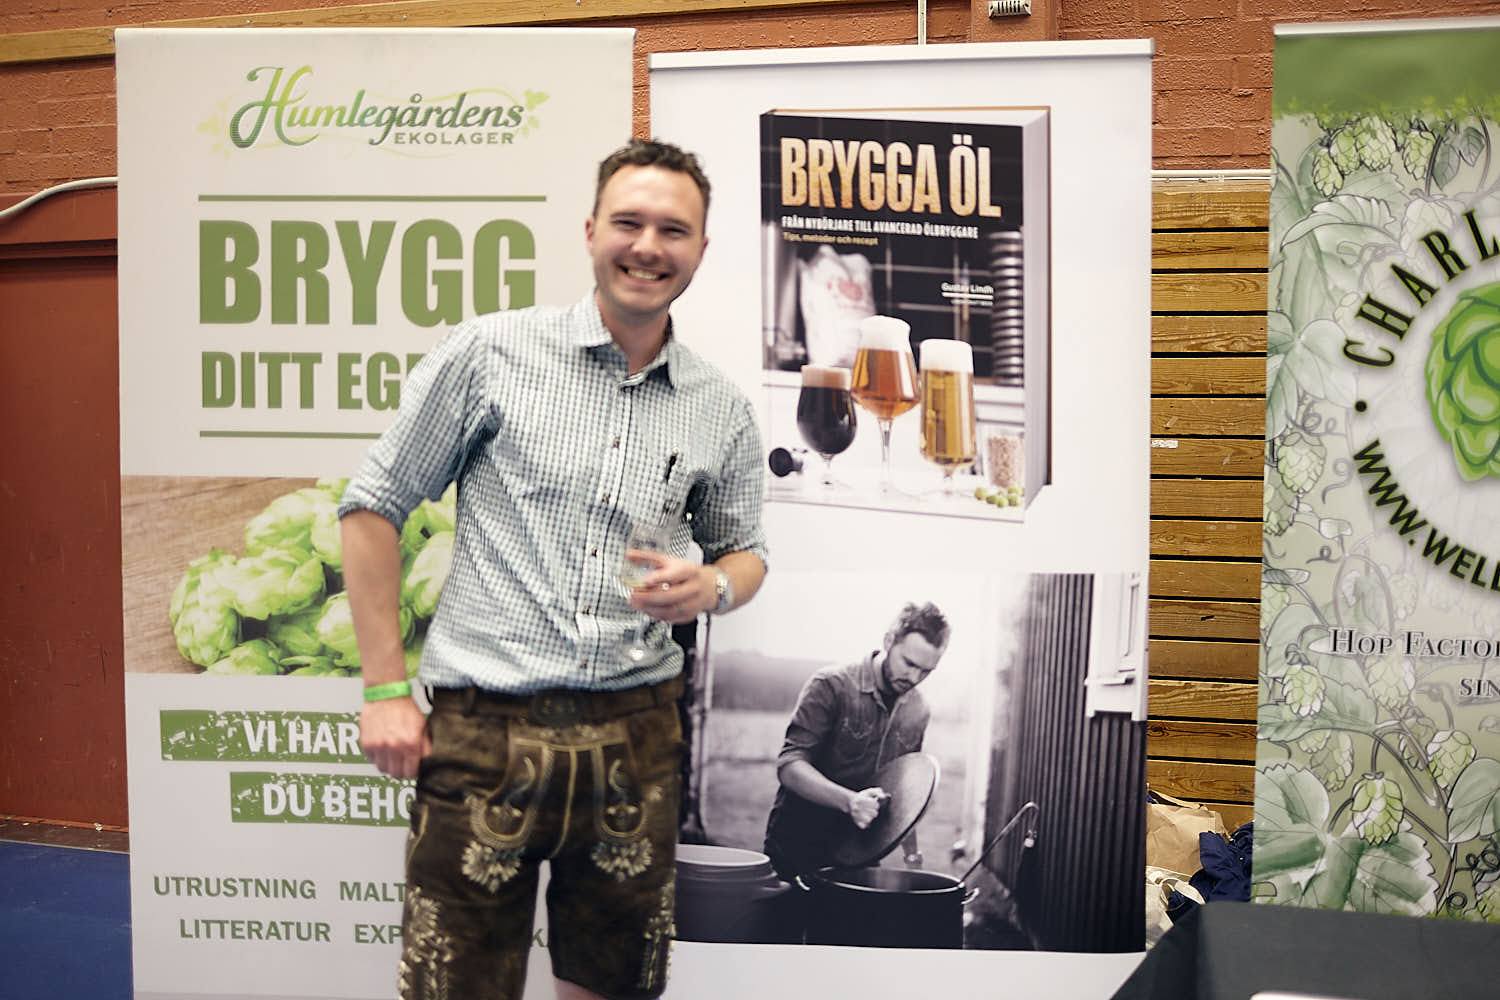
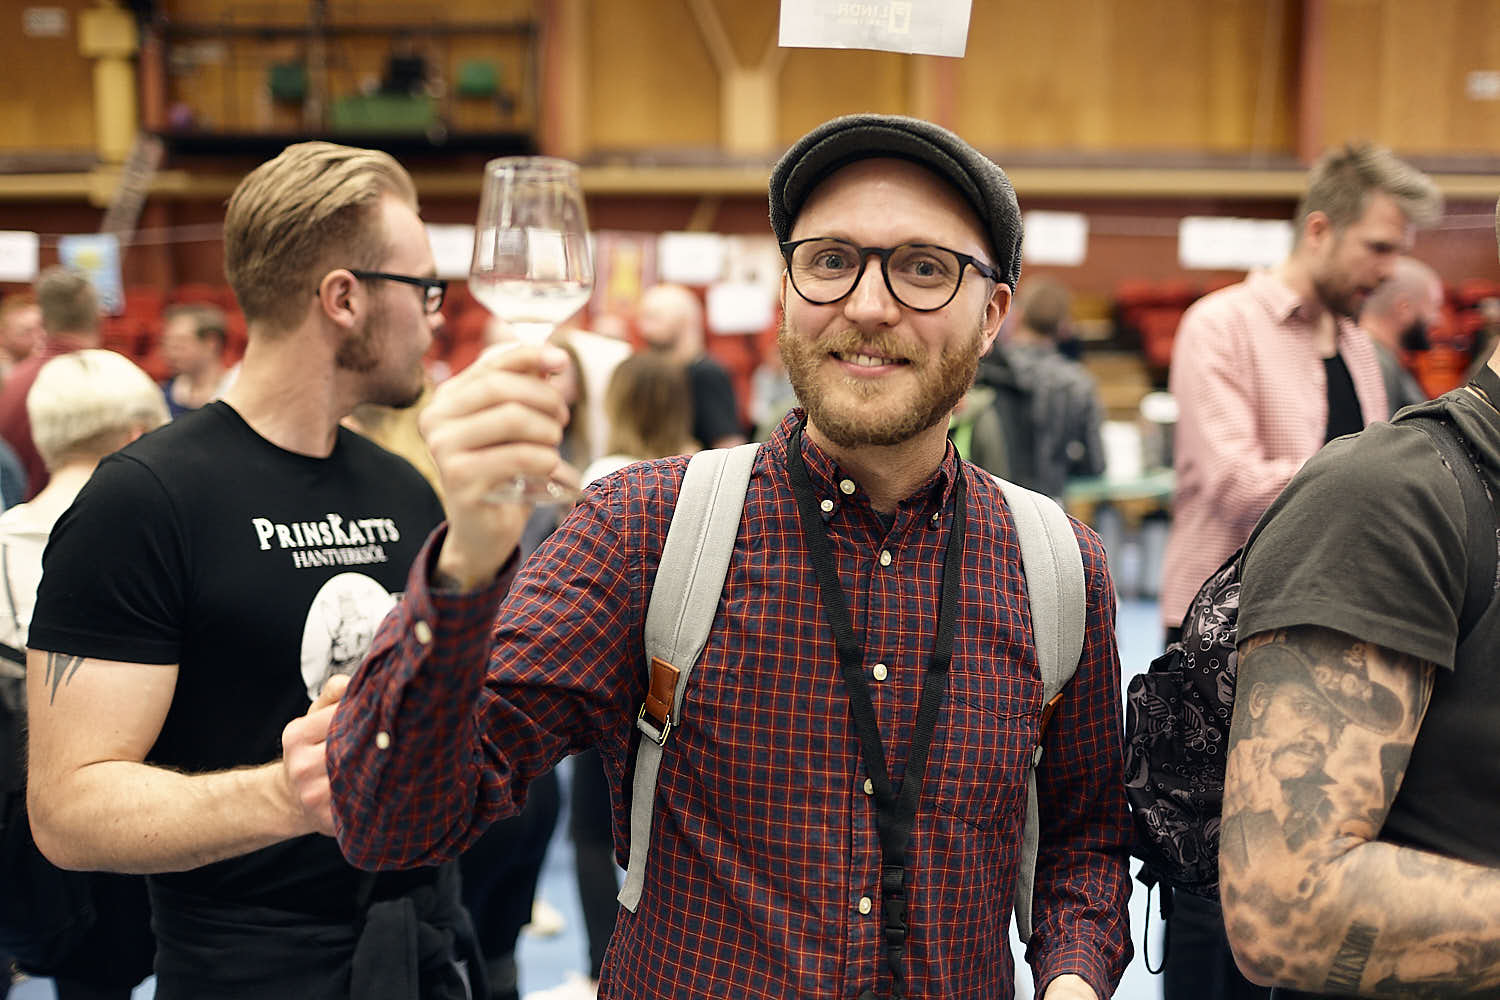
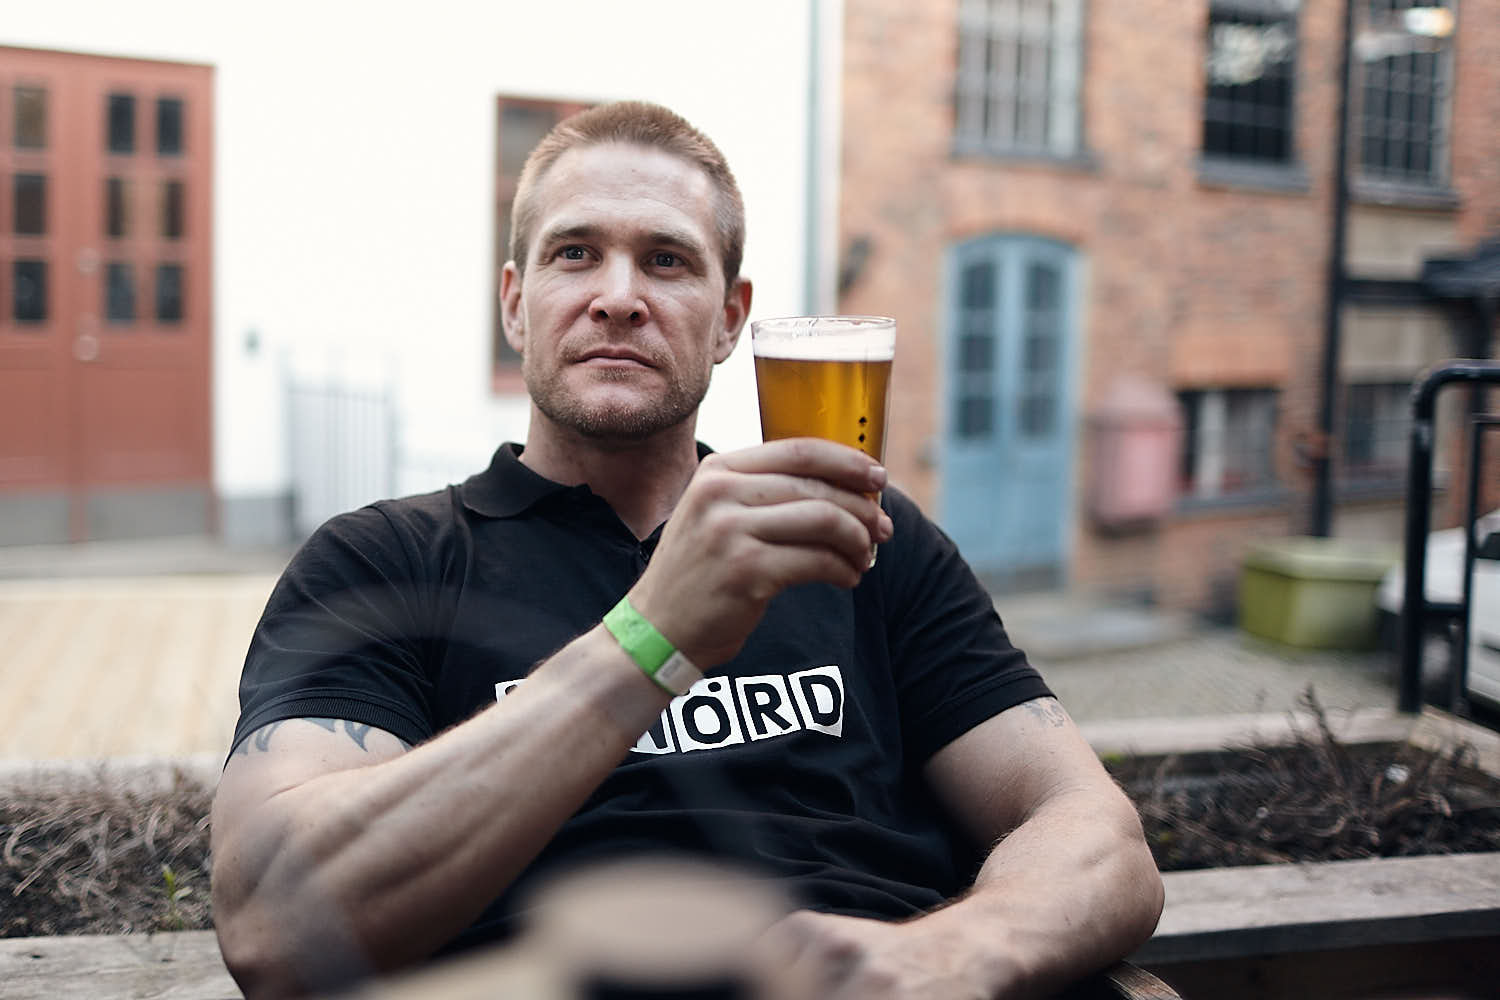
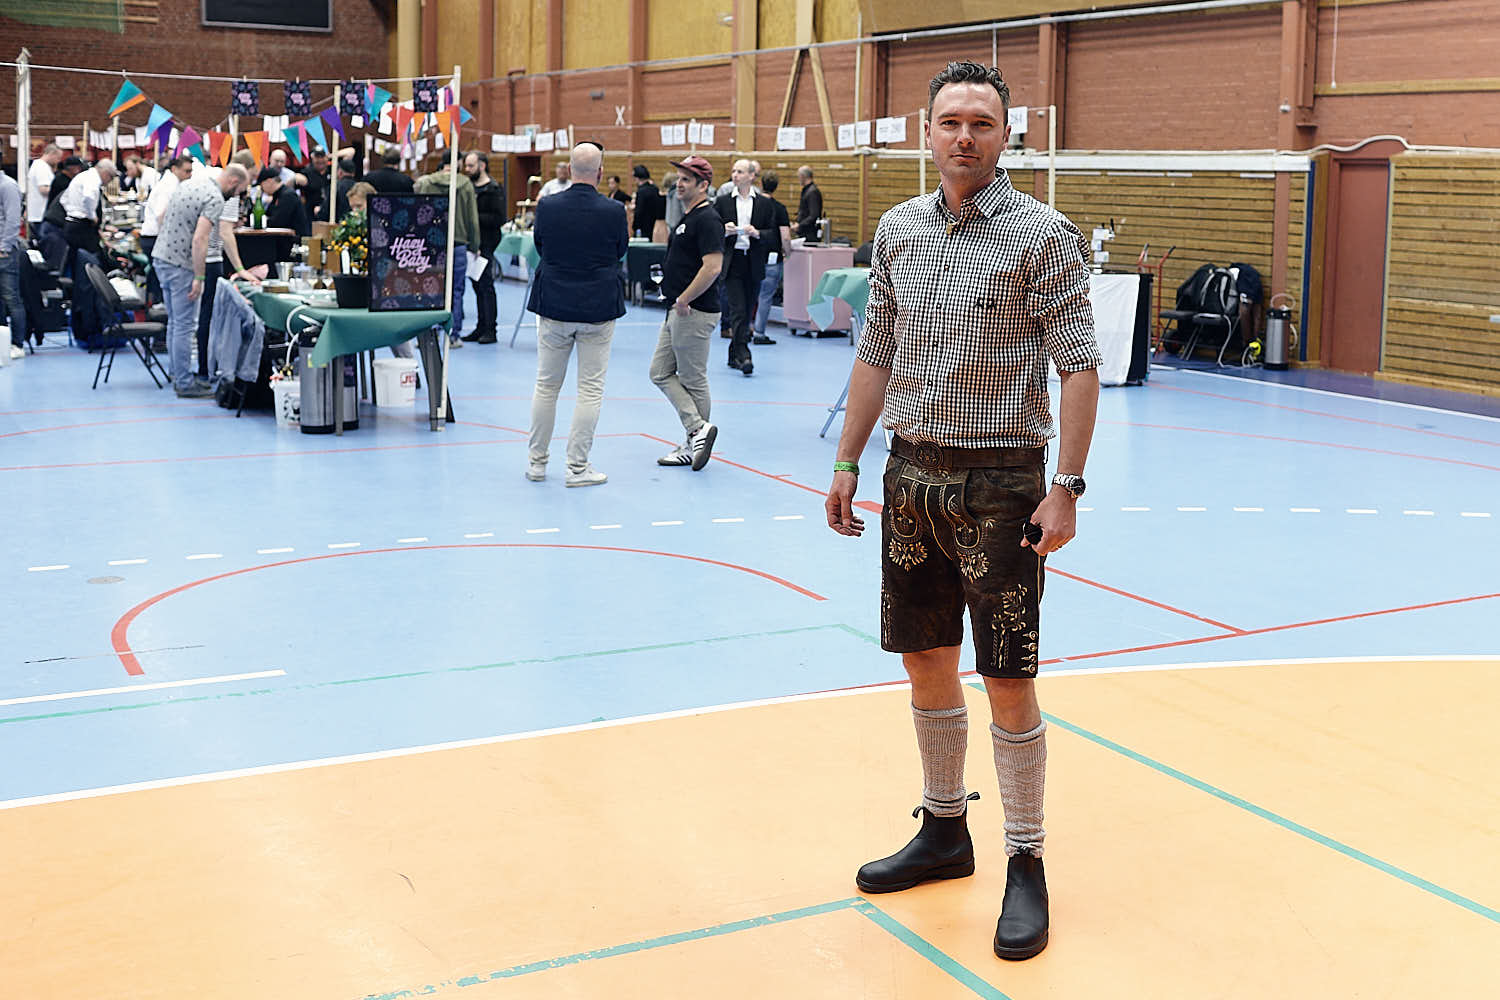 Här står jag redo i mina lederhosen. Utklädd eller inte var det någon som undrade, ni får fortsätta undra! //Here I am ready for the event in my lederhosen. Costume or not?
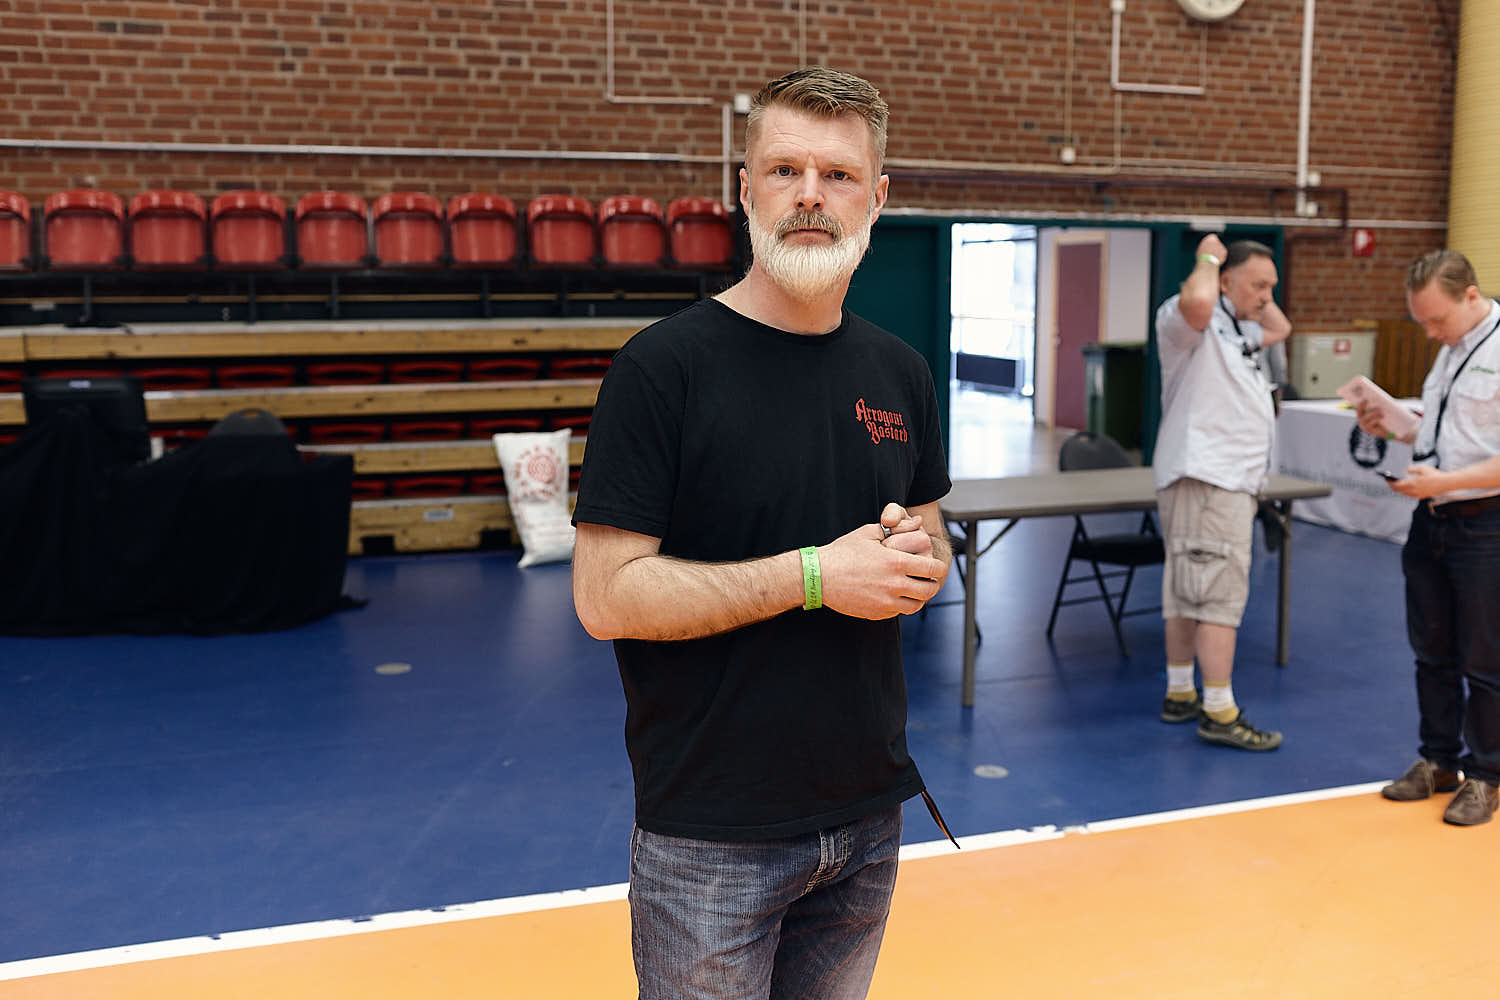 Jonas
Jonas
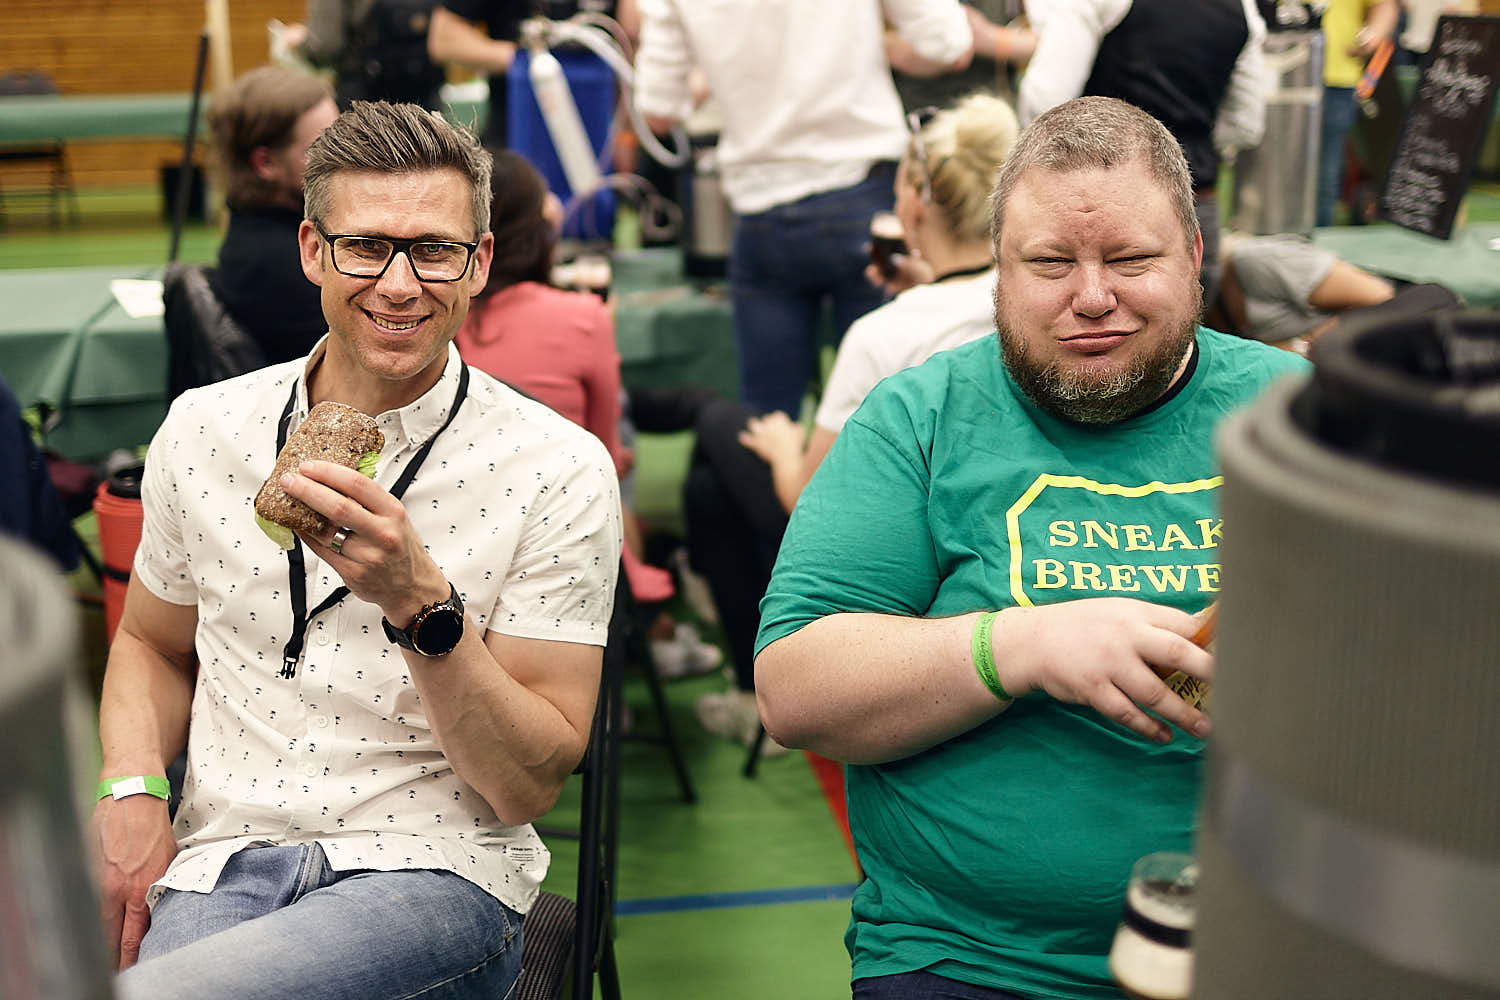
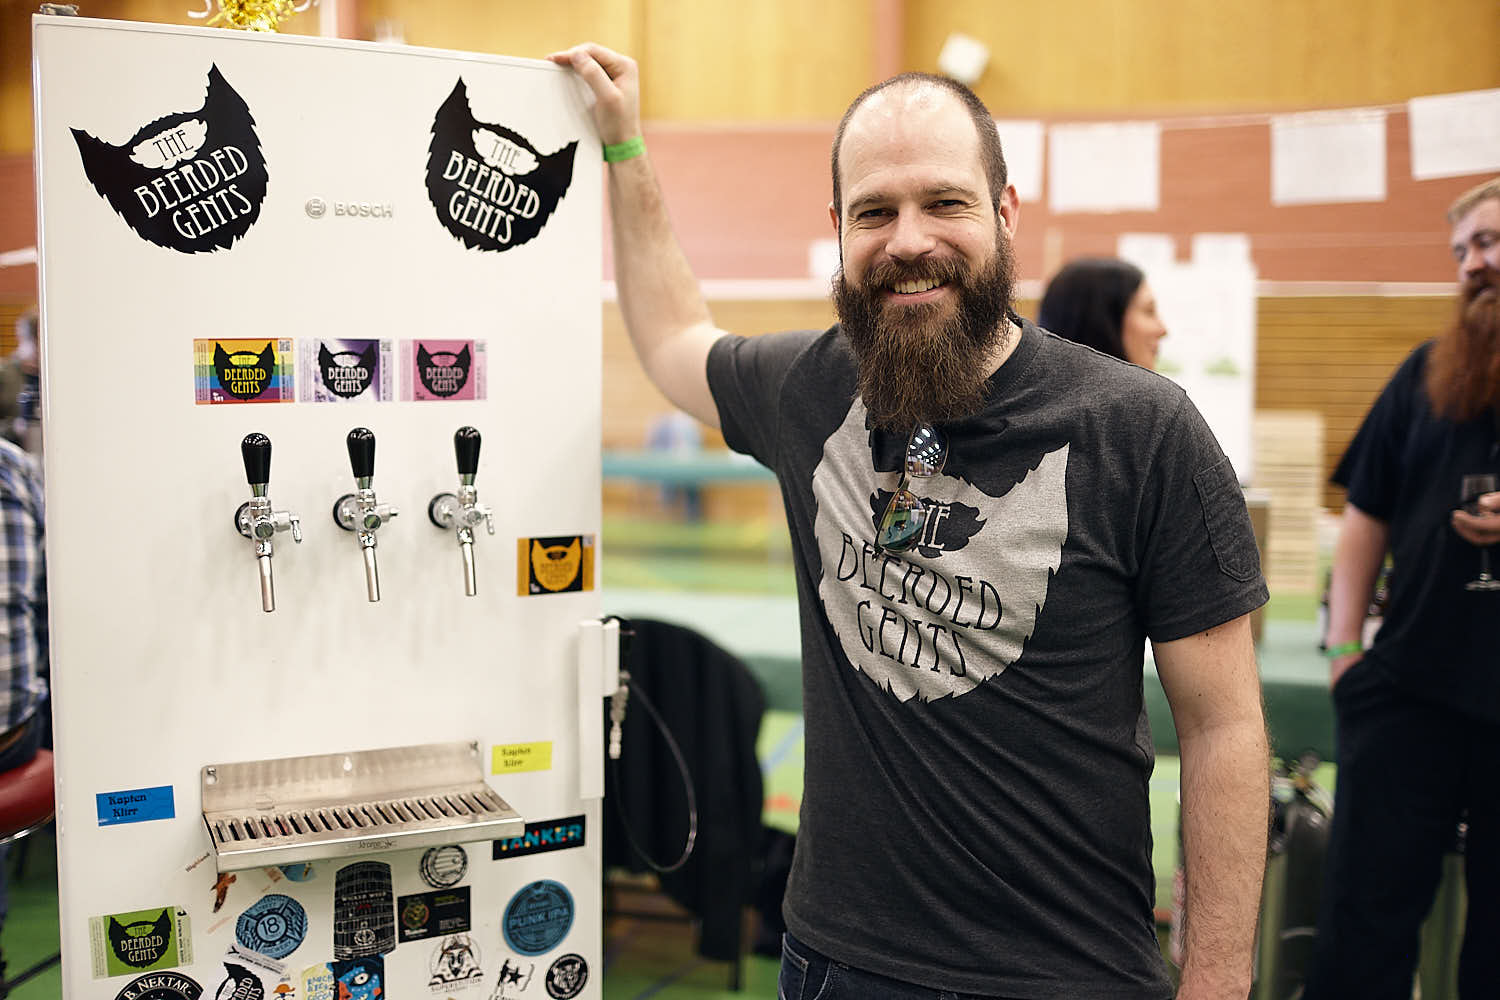
 Mitt lilla bås. //My little stand.
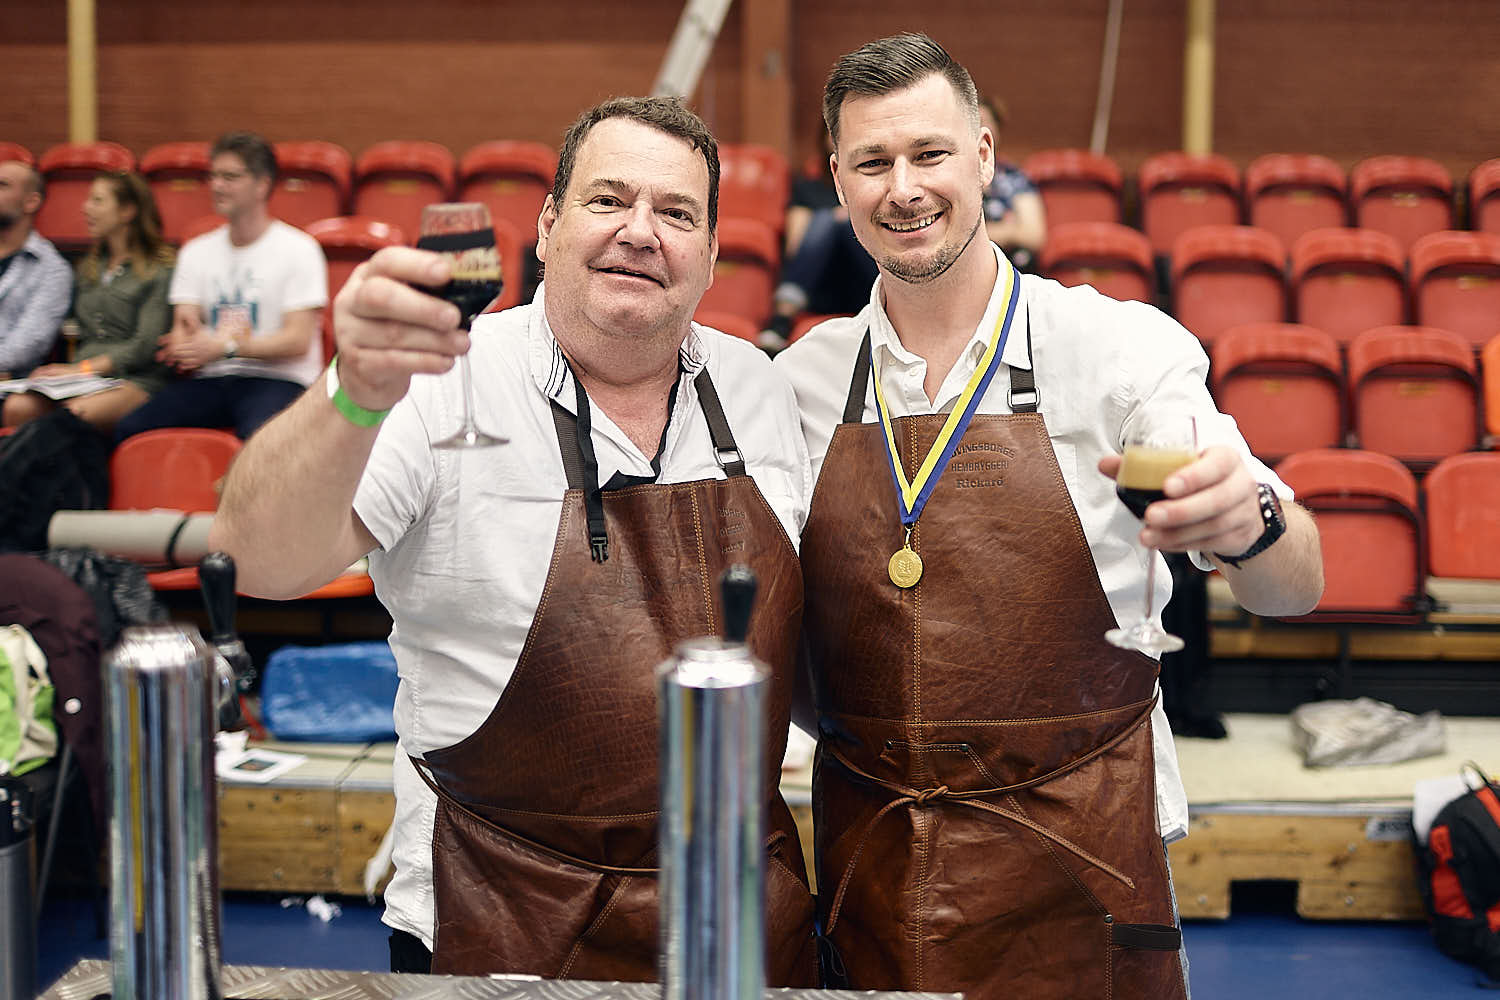
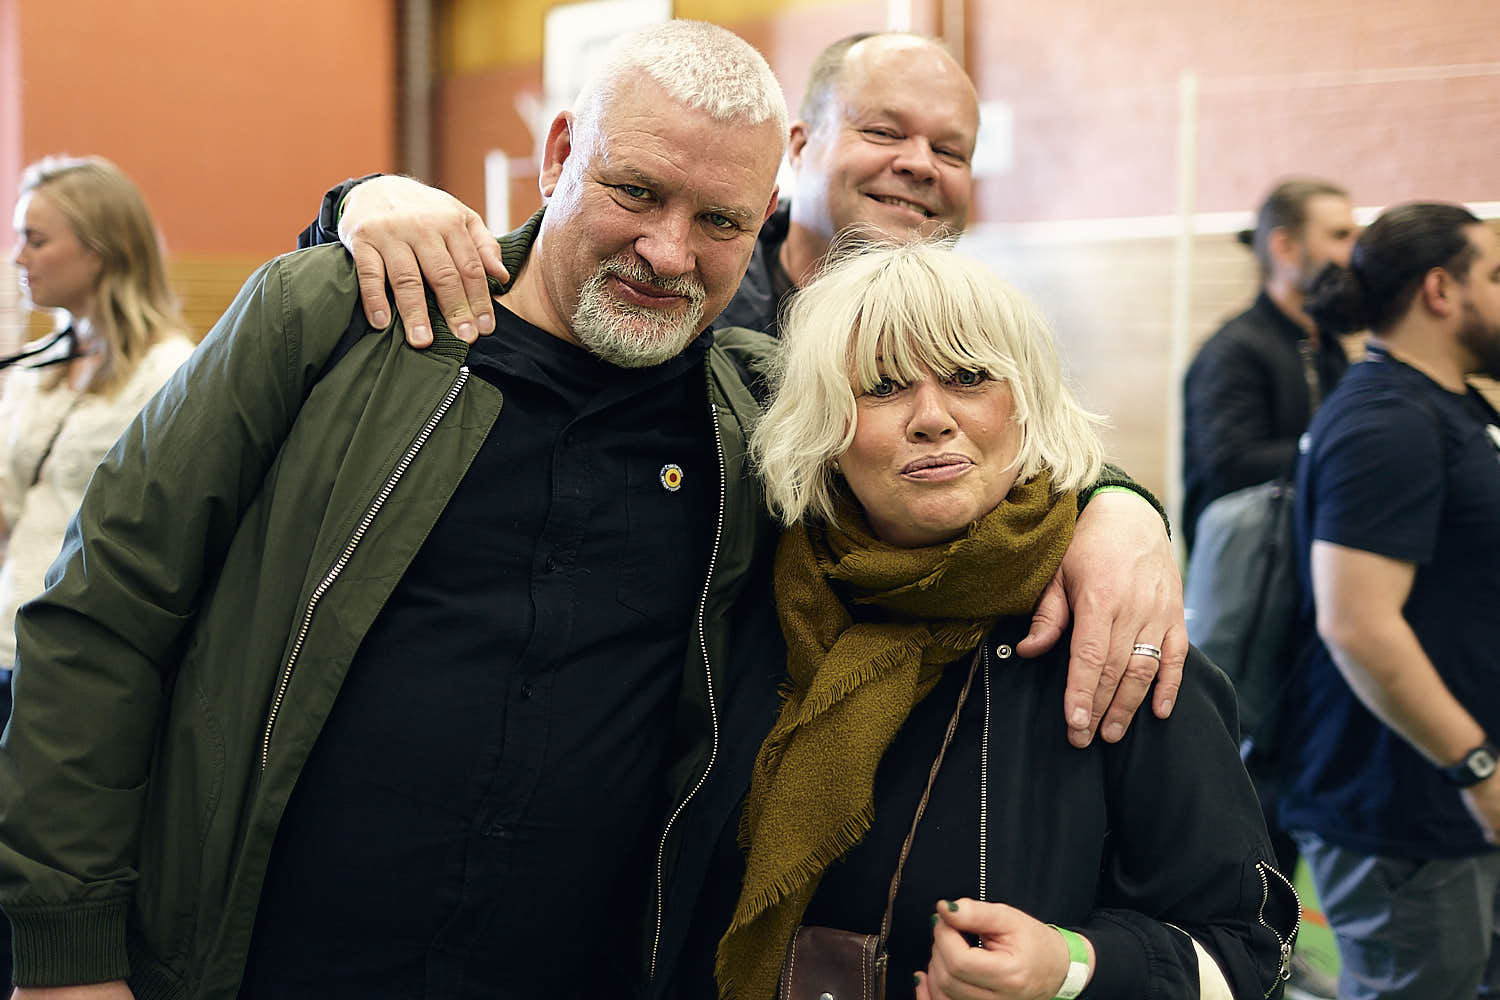
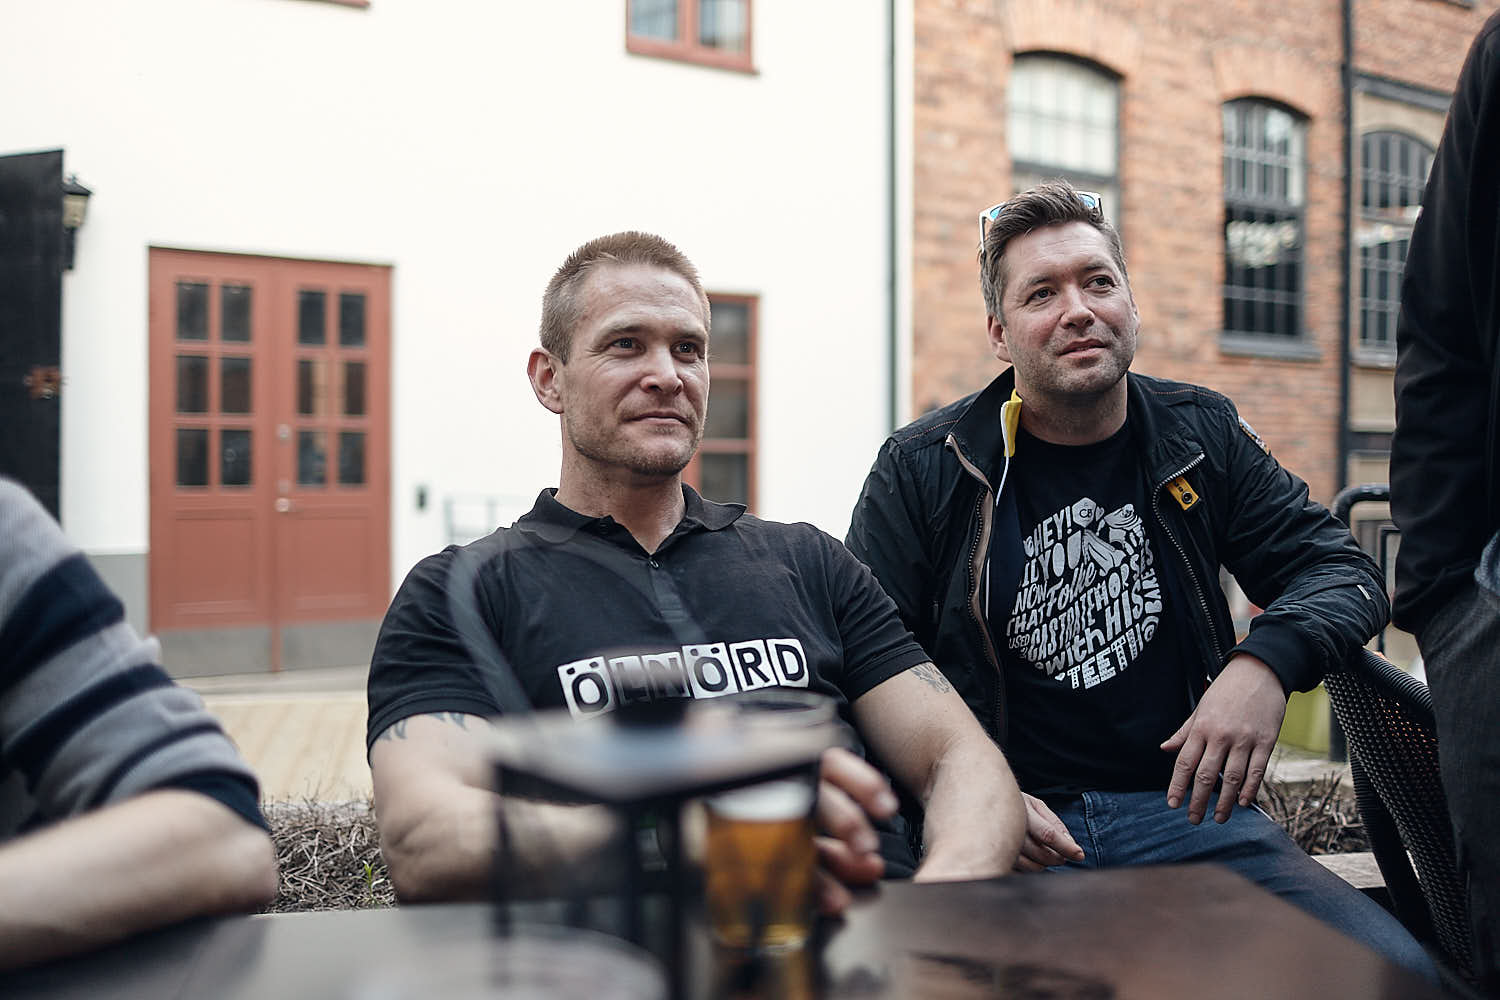
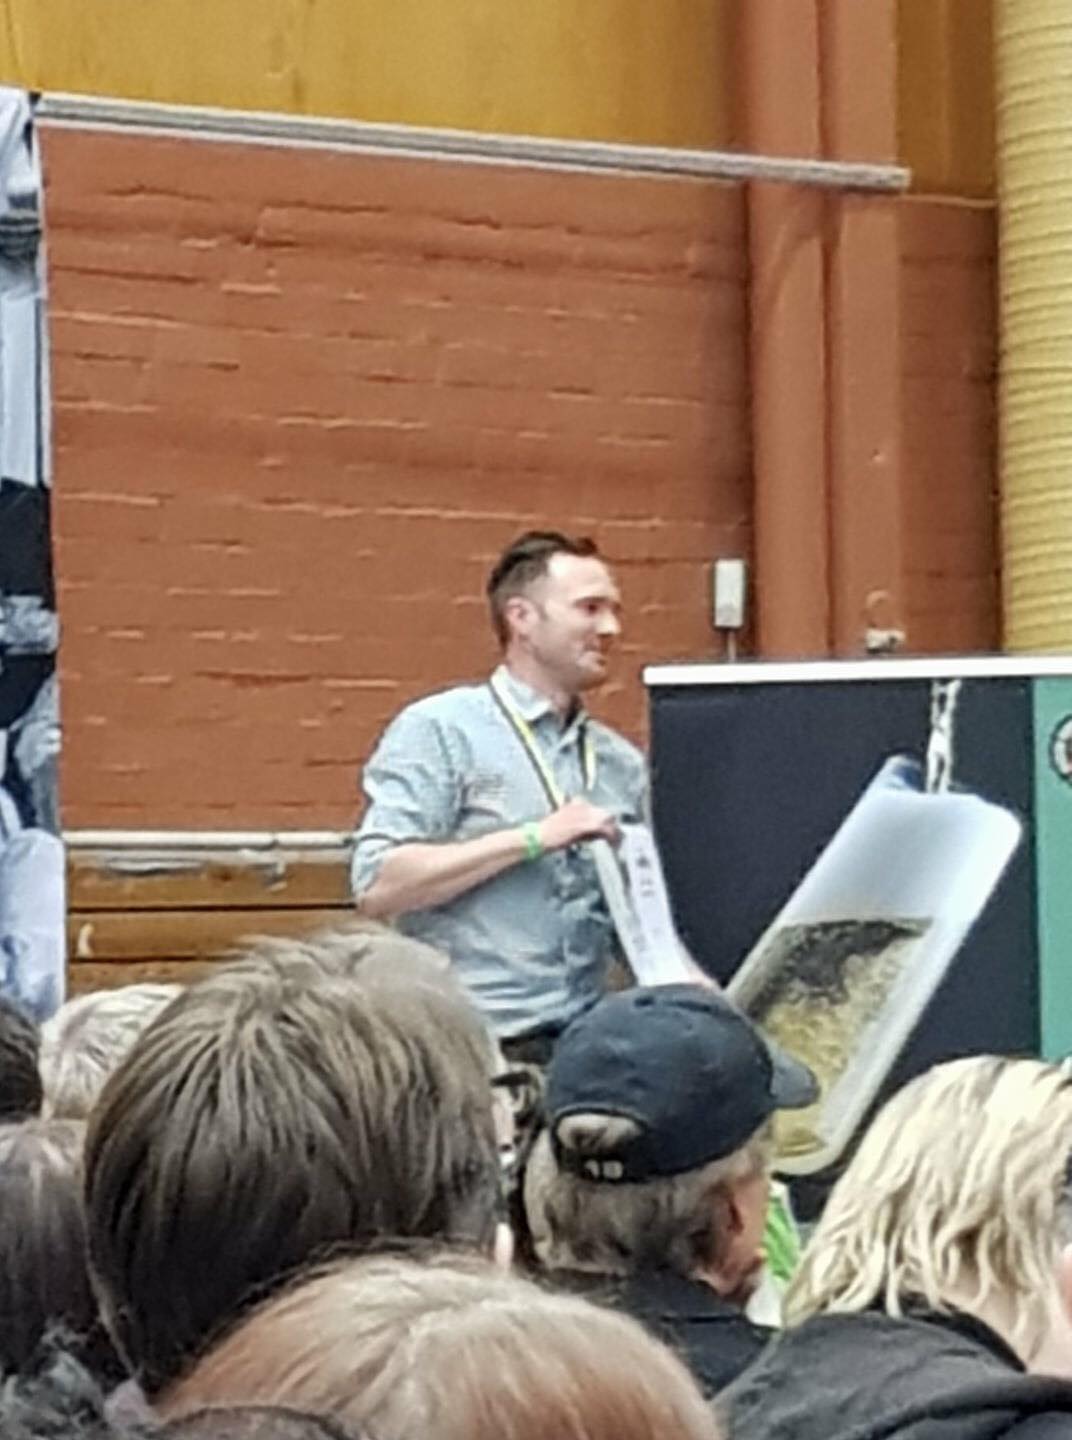
 Janko provsmakar min pils. //Janko tastes my pils.
 Magnus Barks provsmakar mina öl. //Magnus Bark tastes my beers.
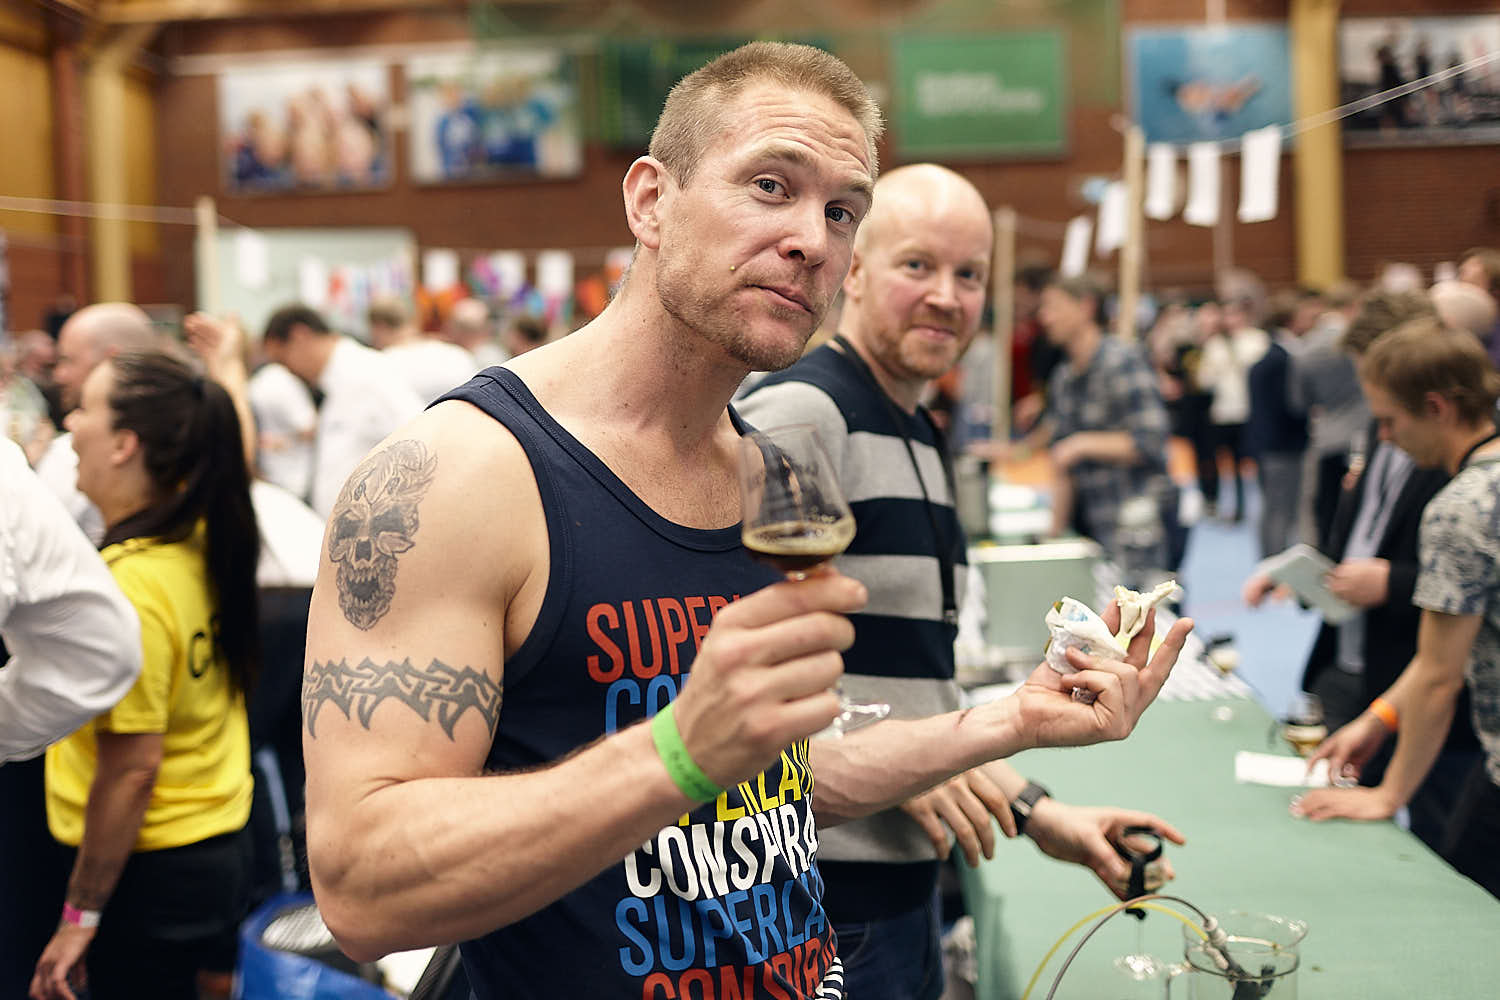
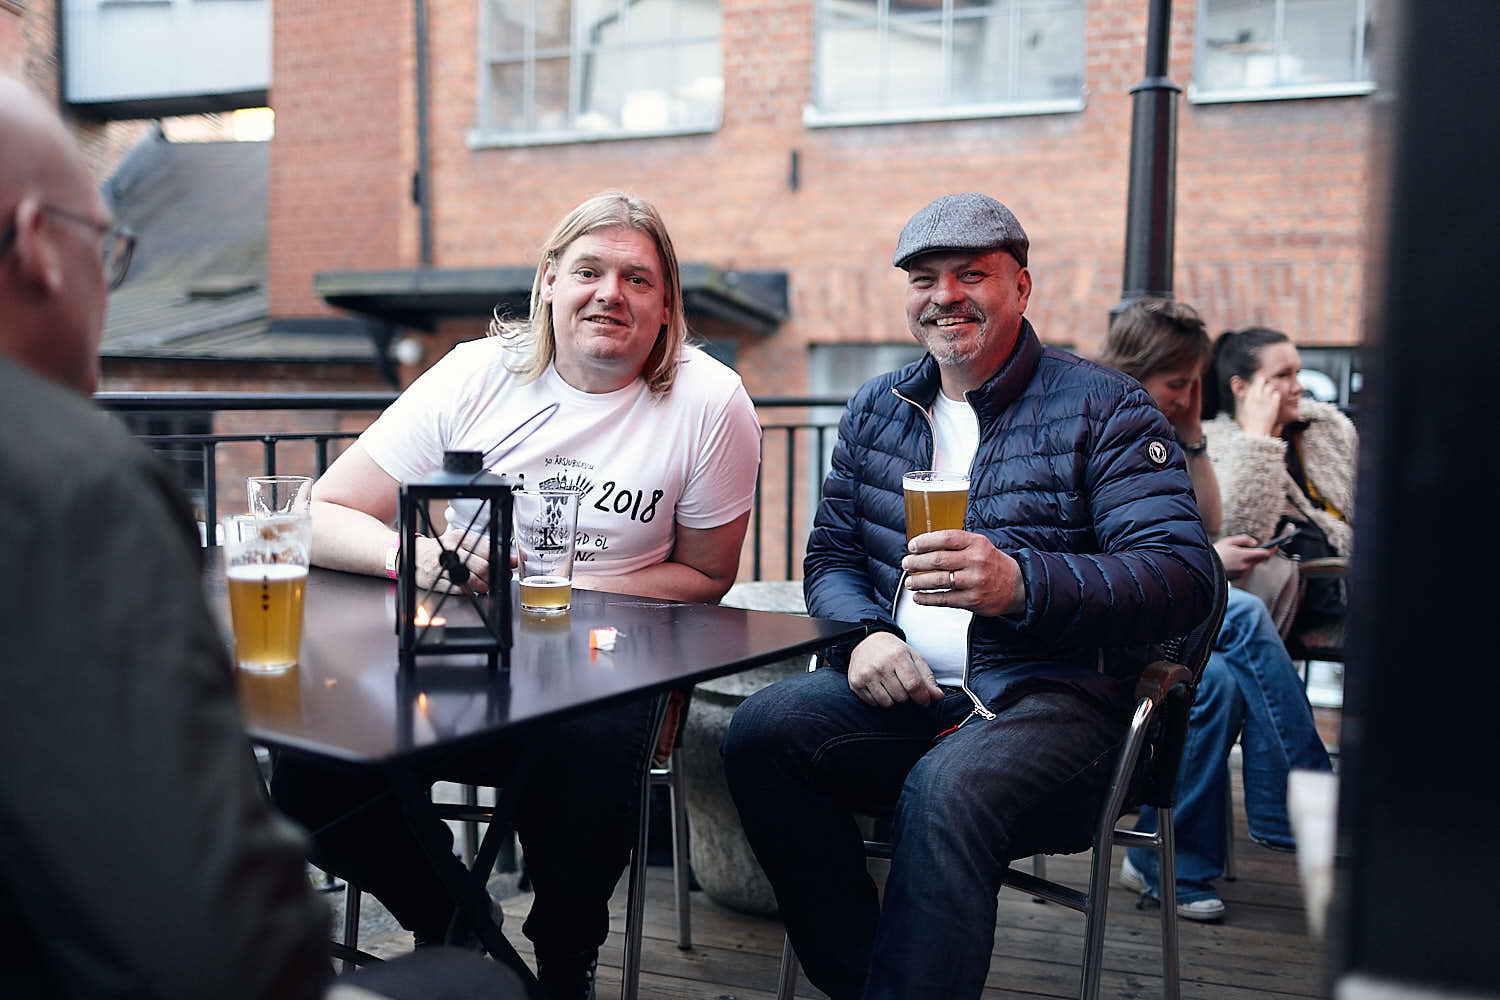
 Min gamle vän Emanuel kom förbi såklart. //My old friend Emanuel came by of course.
 Henrik Lindqvist som har mer medaljer än jag kan räkna. Grymt duktig bryggare! //Henrik Lindqvist who has more medals than I can count. Awesome brewer!
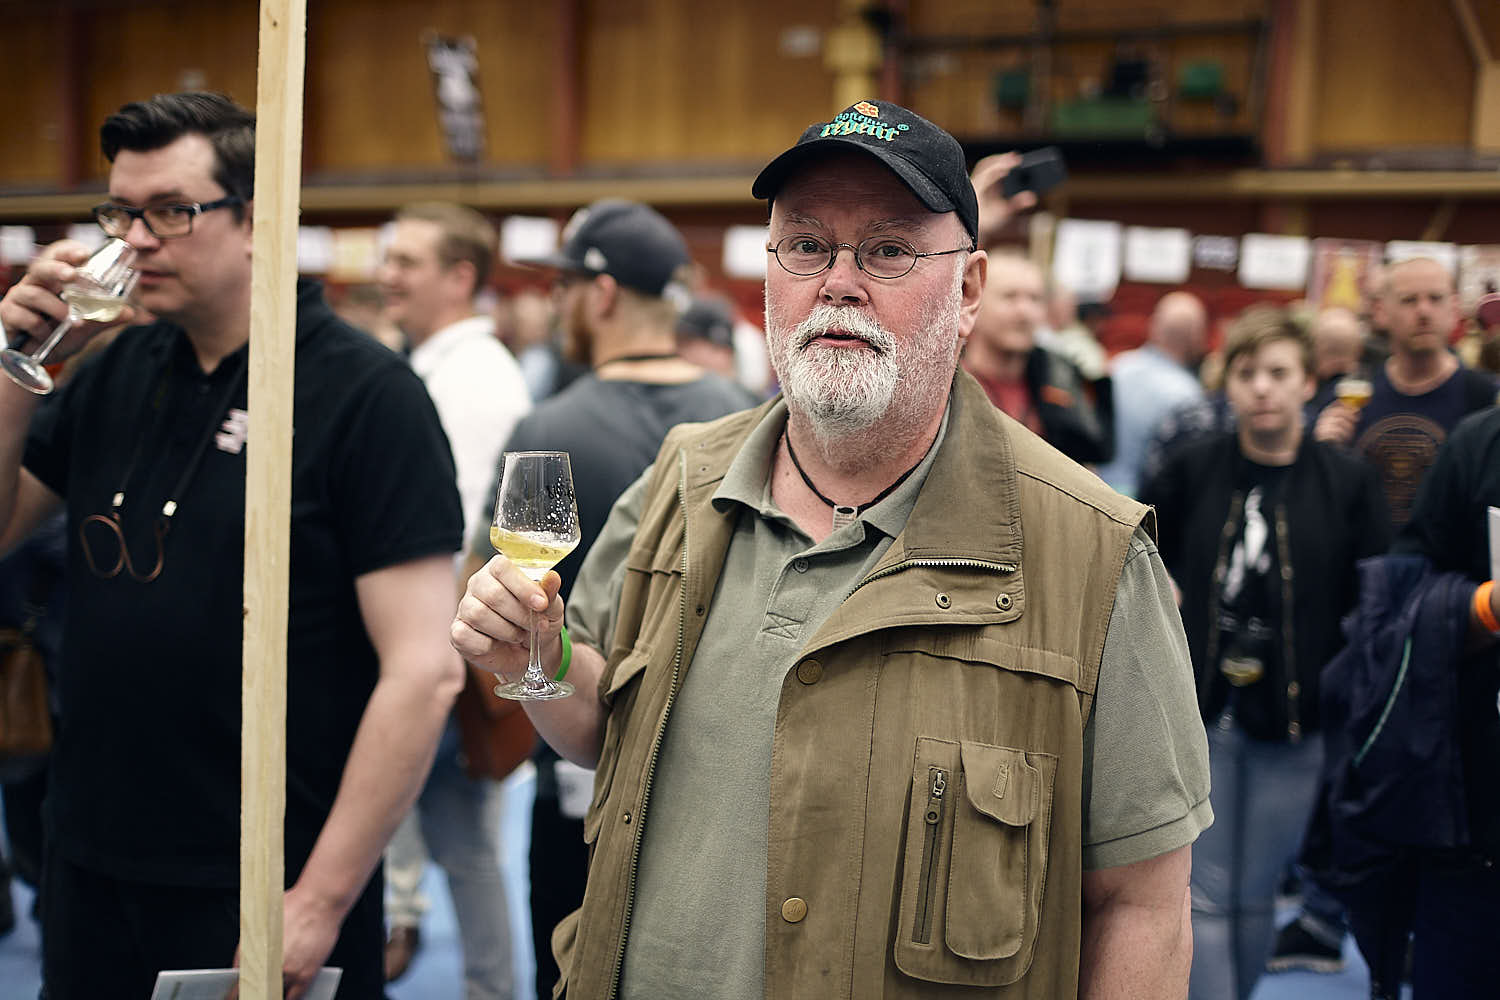
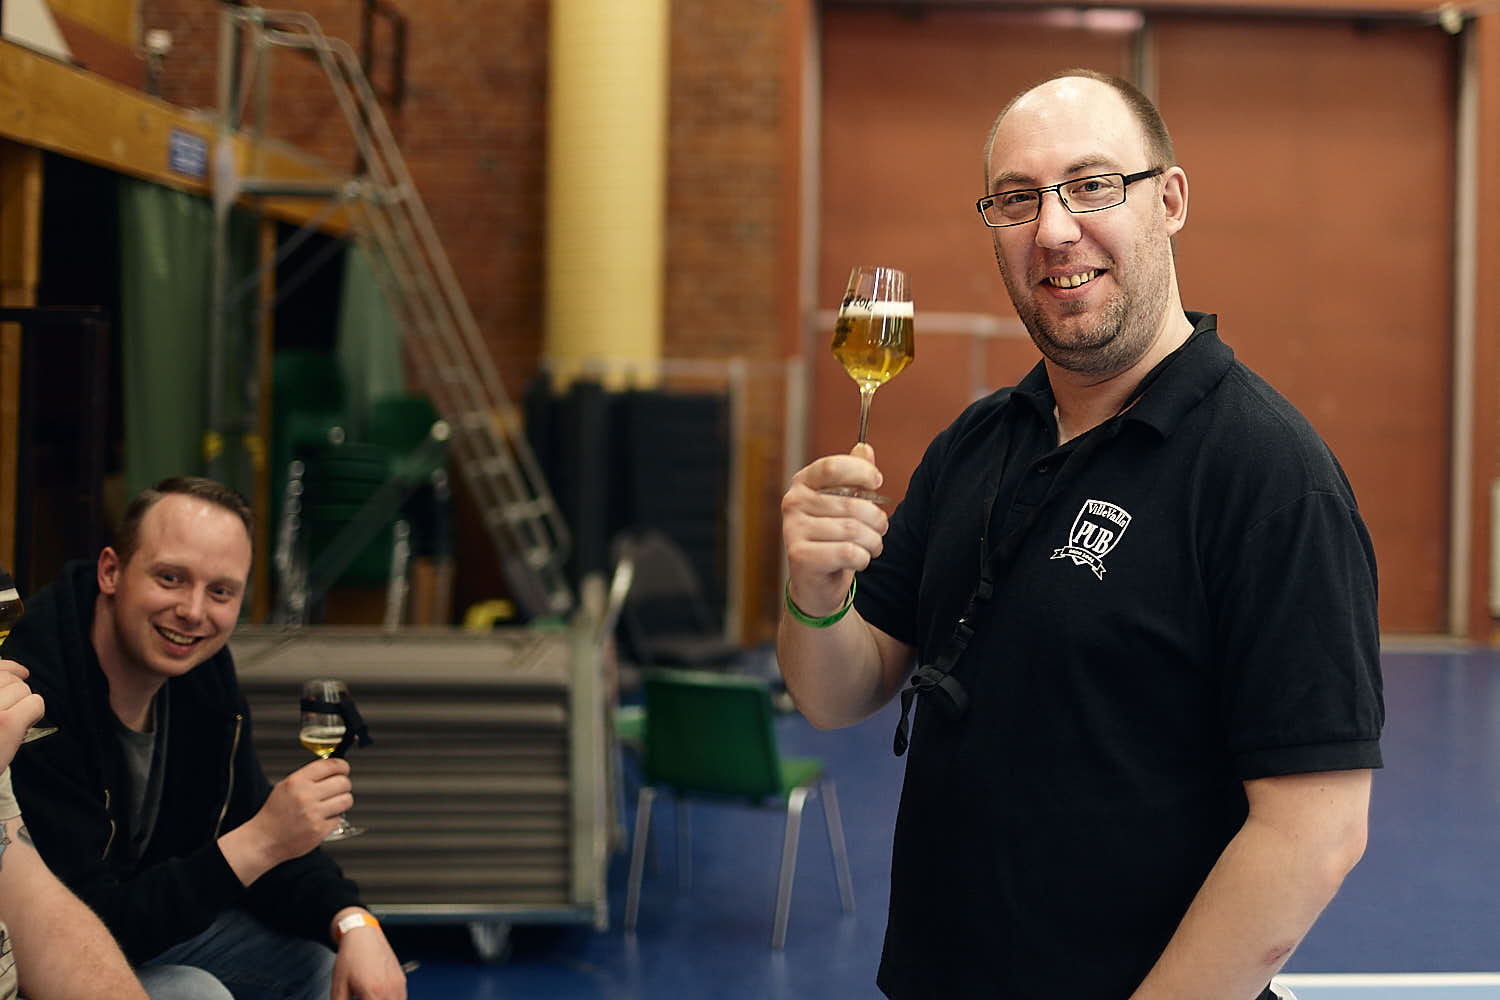
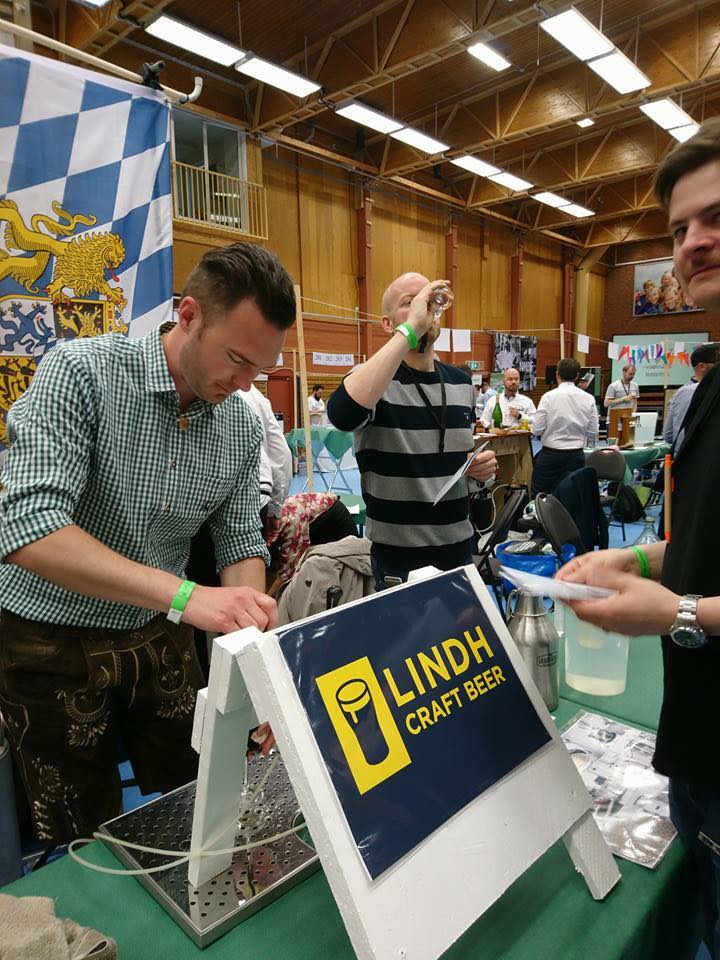
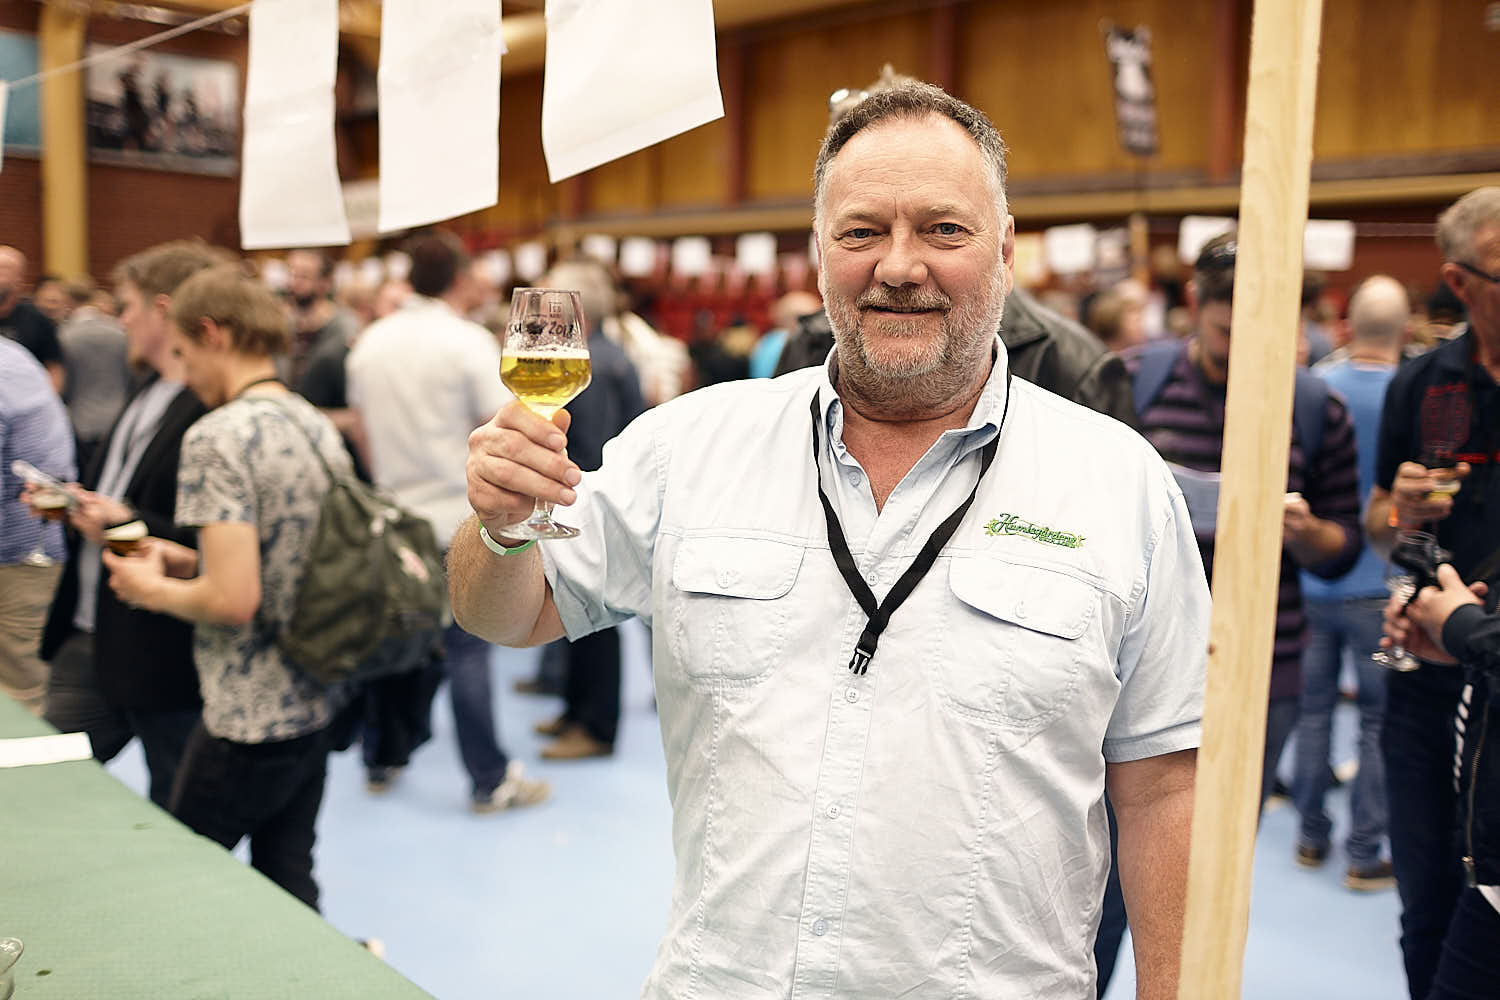 Svante Ekelin från Humlegårdens Ekolager provsmakar min pils. //Svante Ekelin from swedens largest homebrew supplies shop ”Humlegården” tries my pils.


Du har väl inte missat min bok om ölbryggning? Köp den hos Humlegården!
Grain and Grape
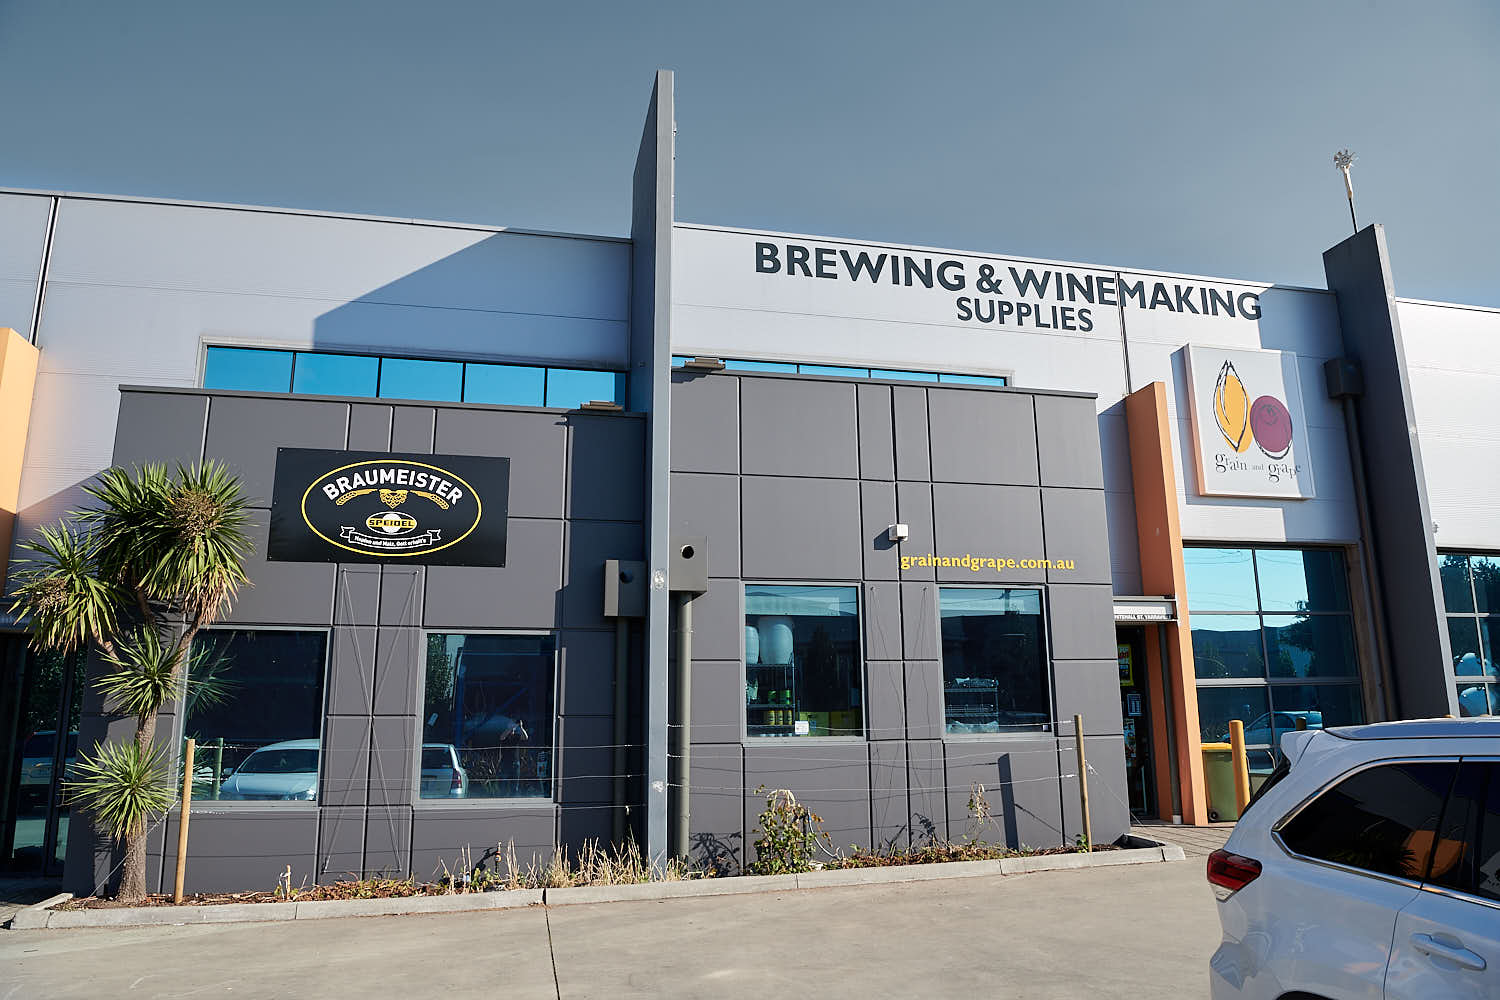
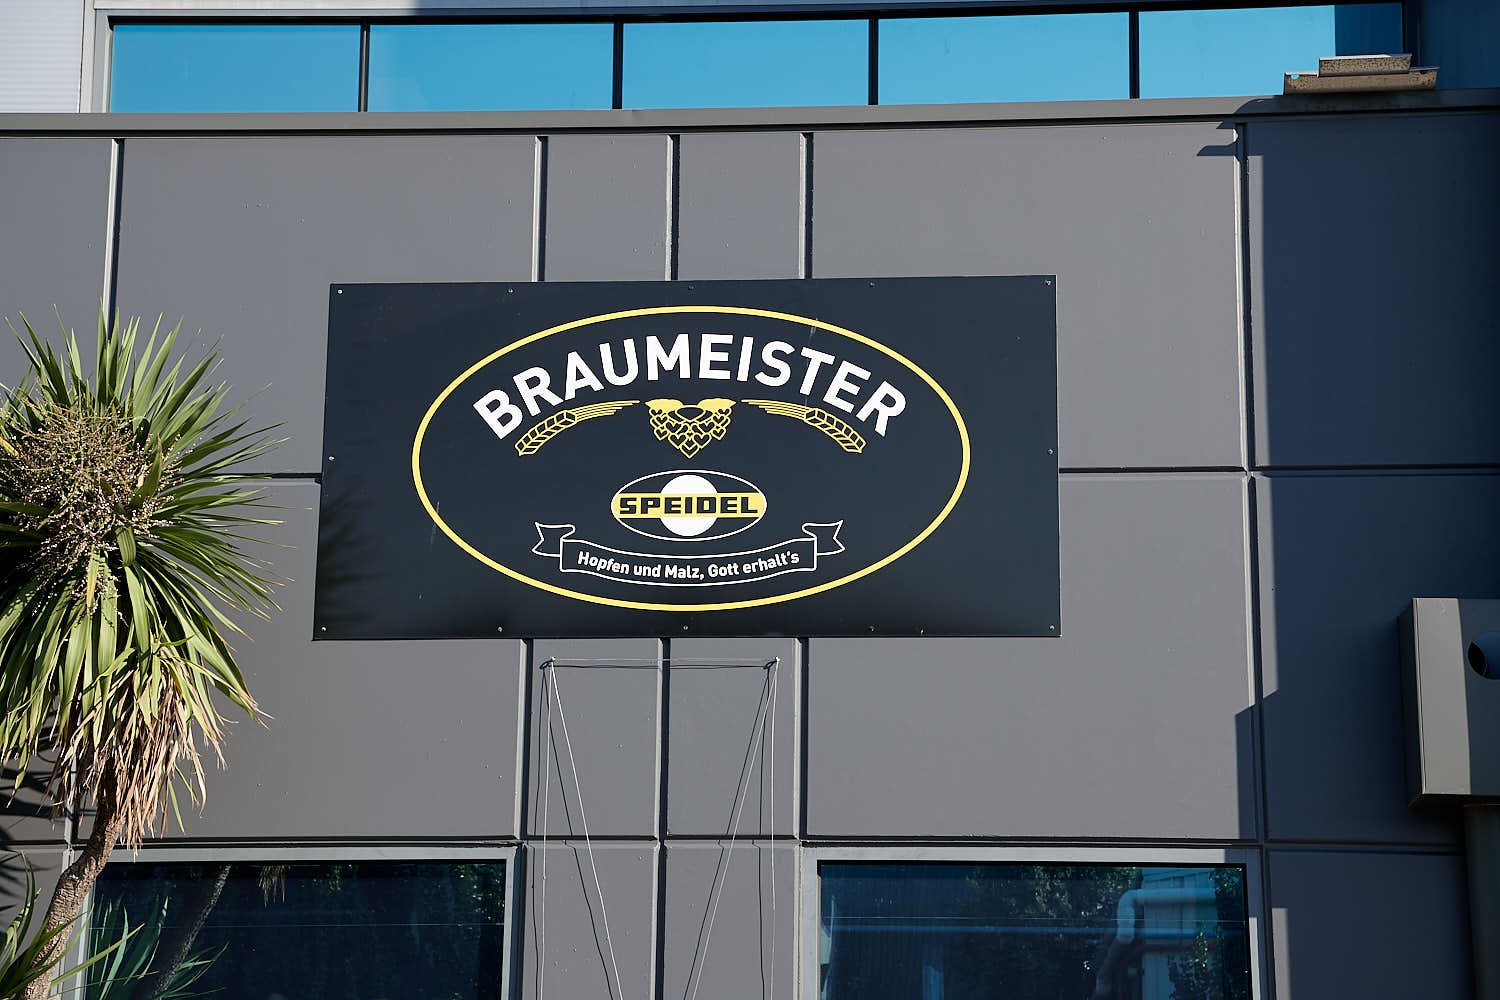
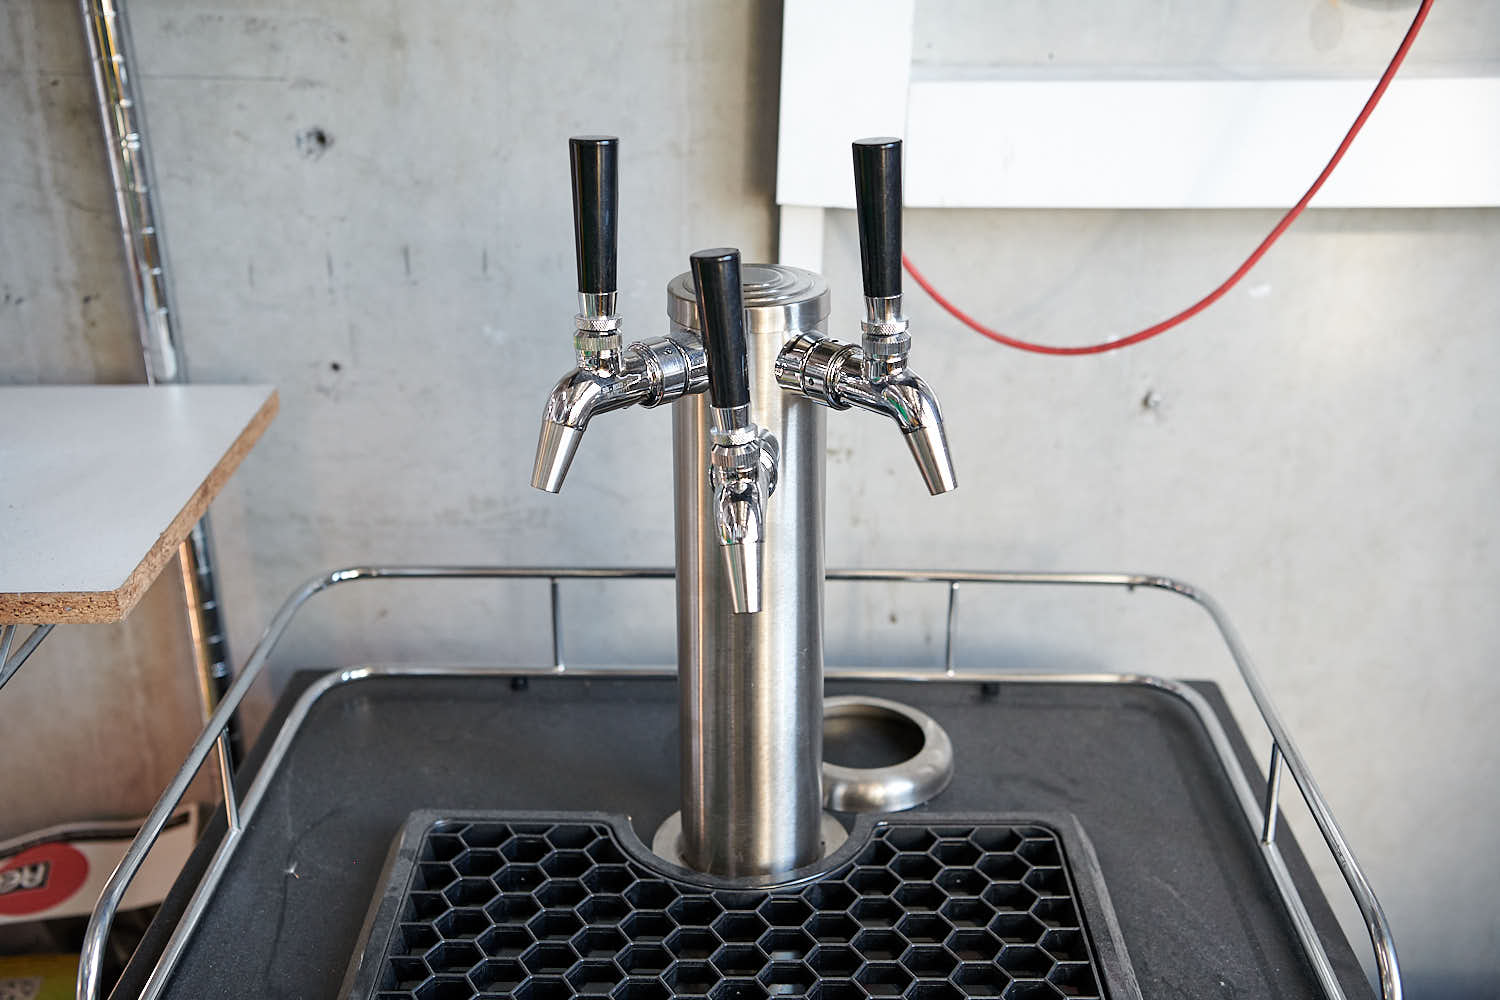
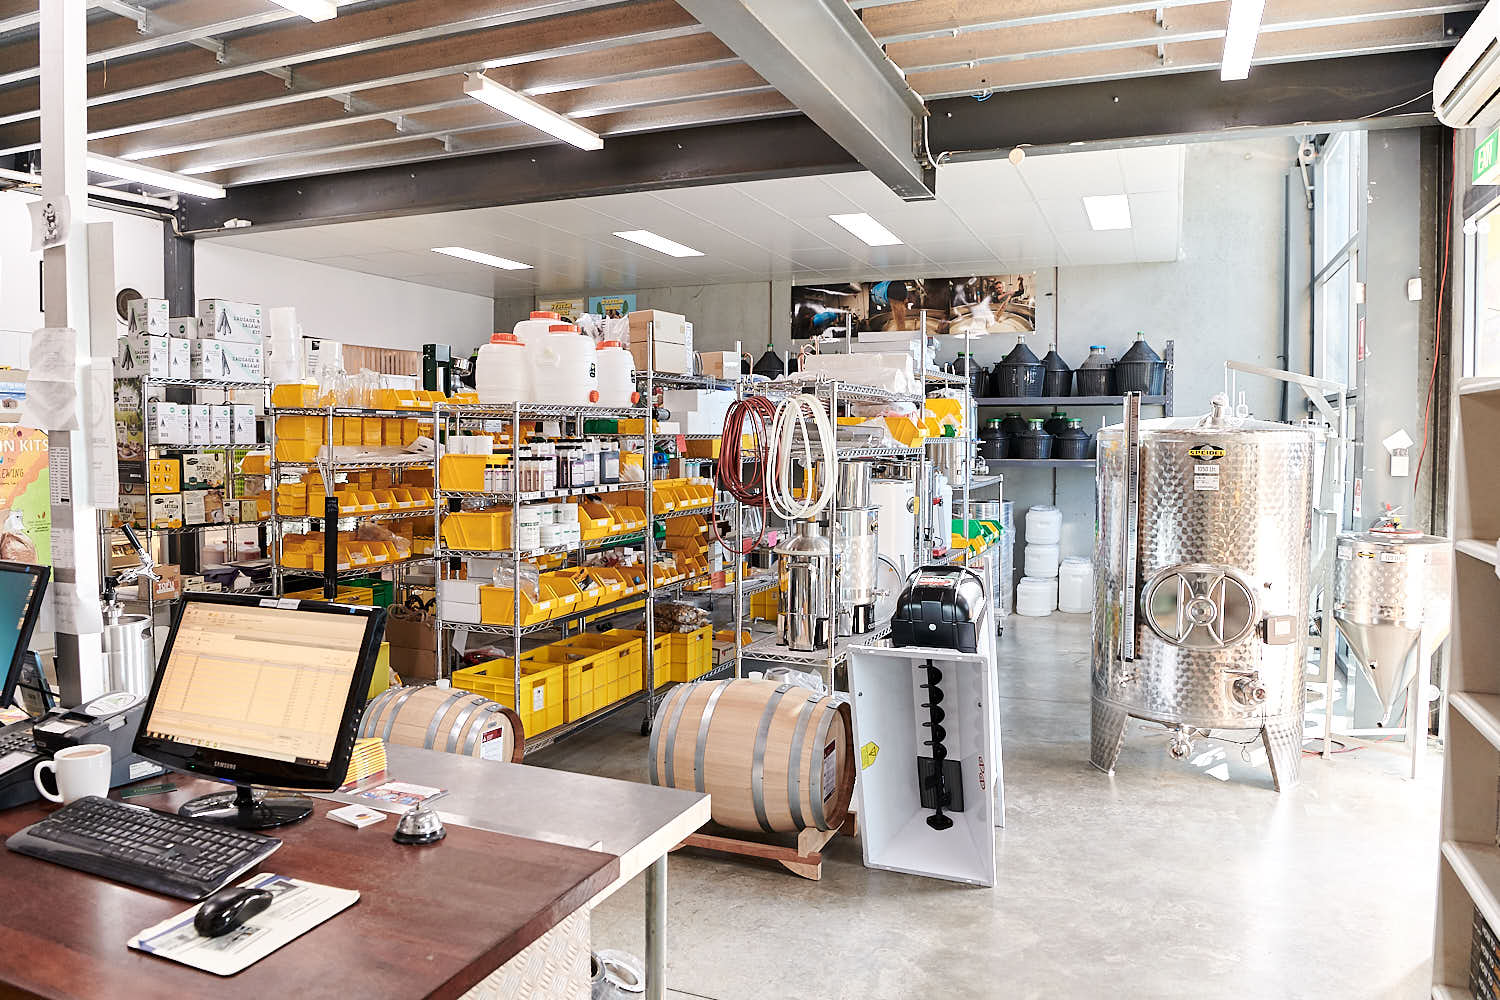
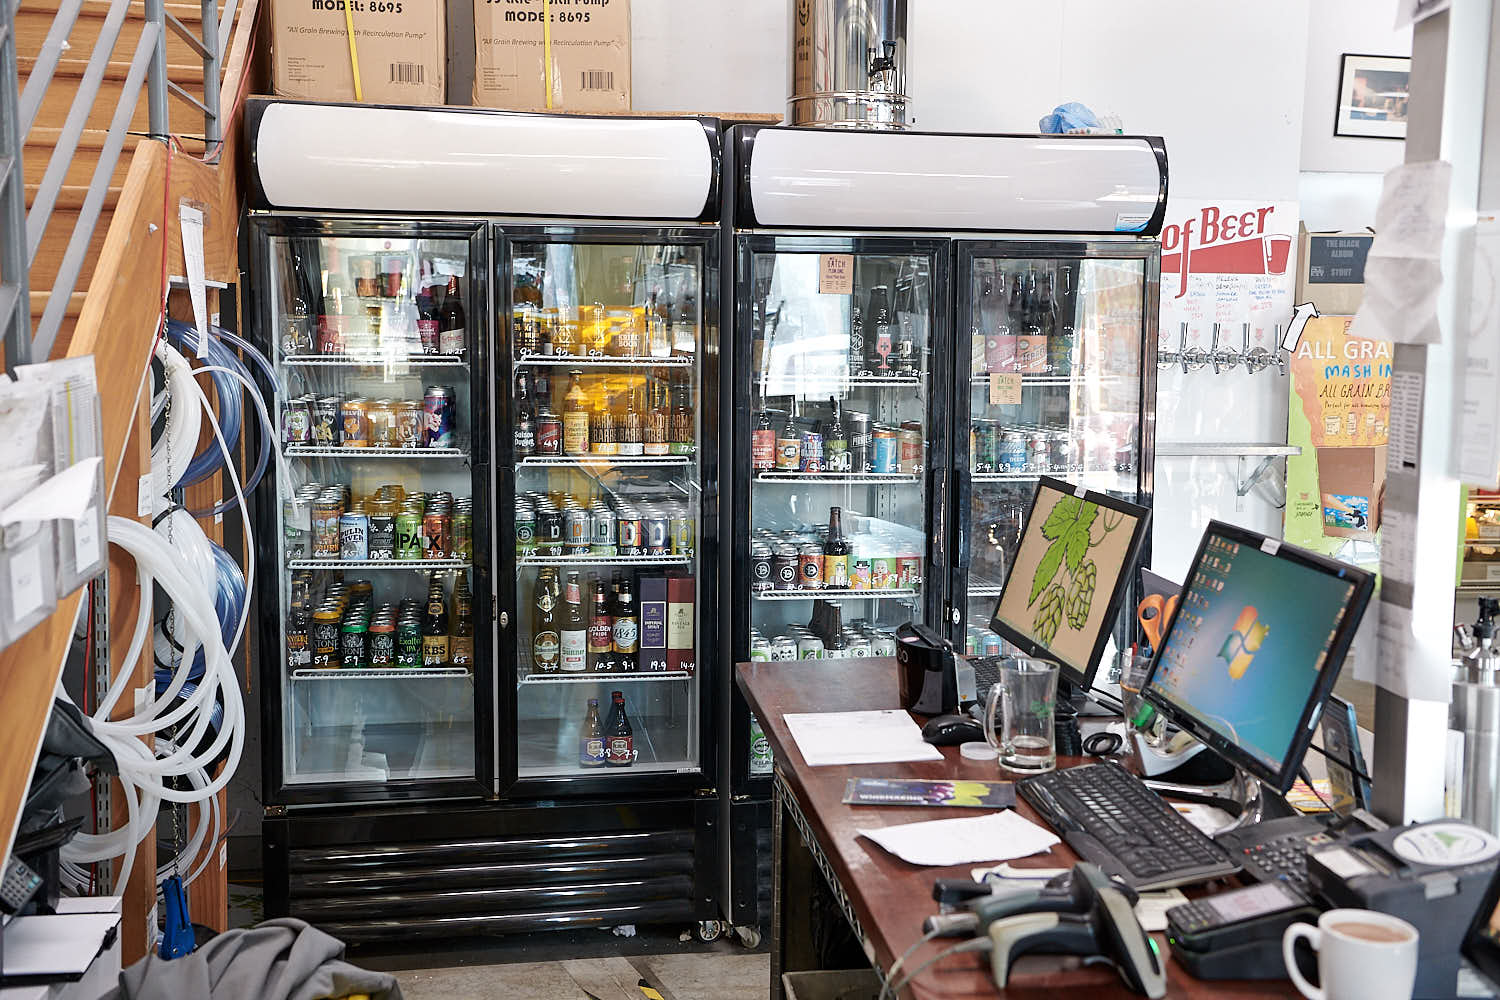
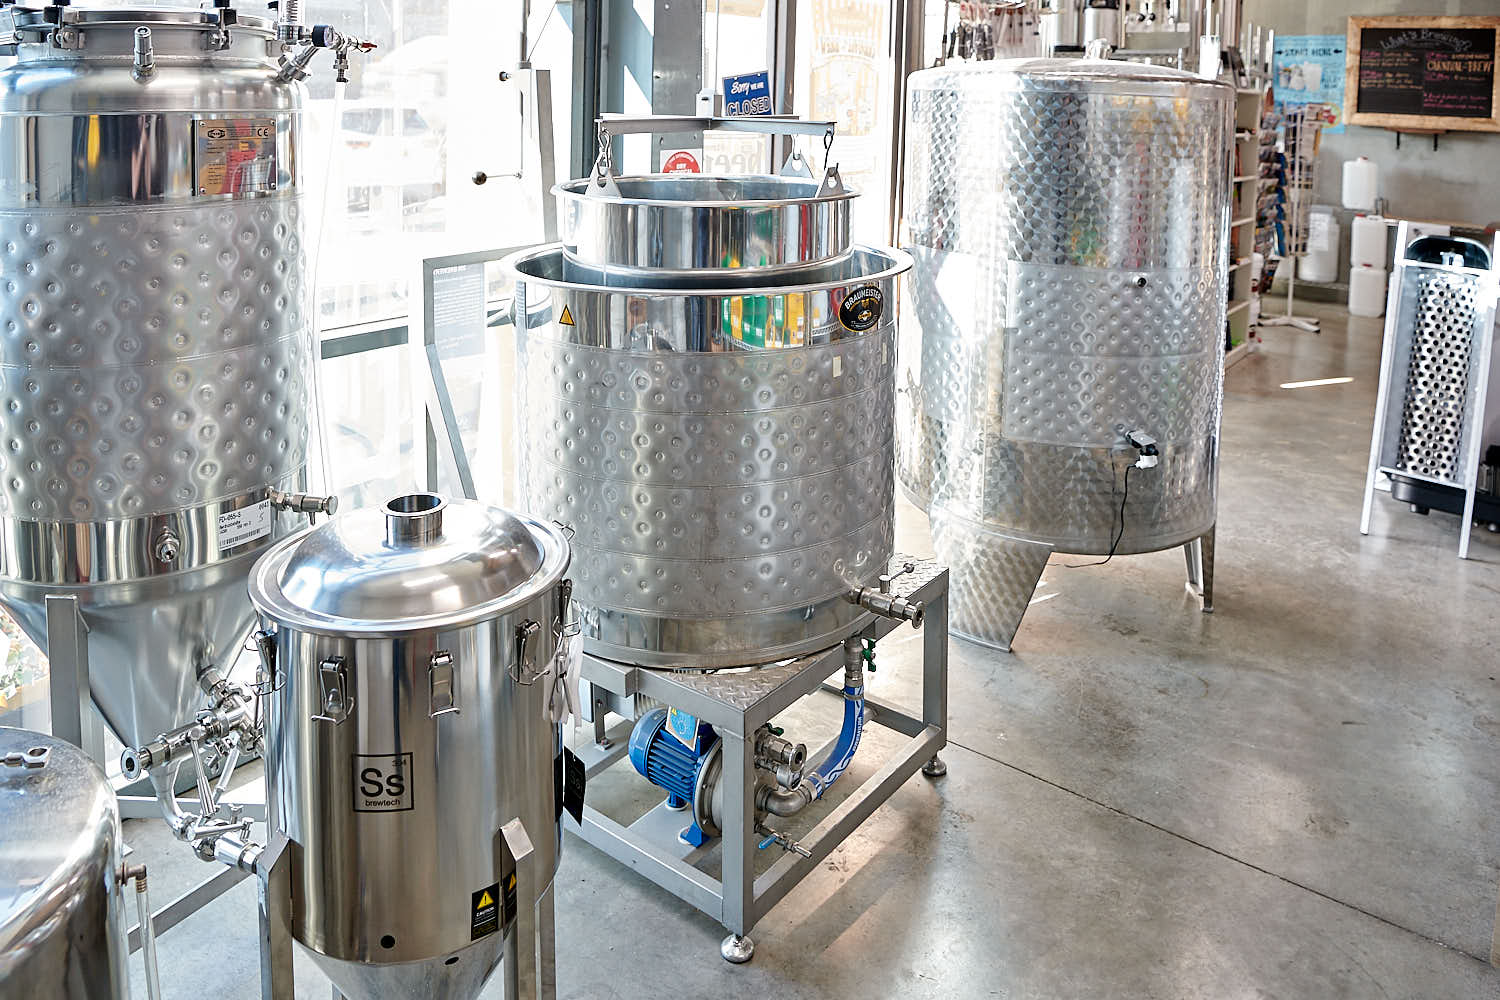
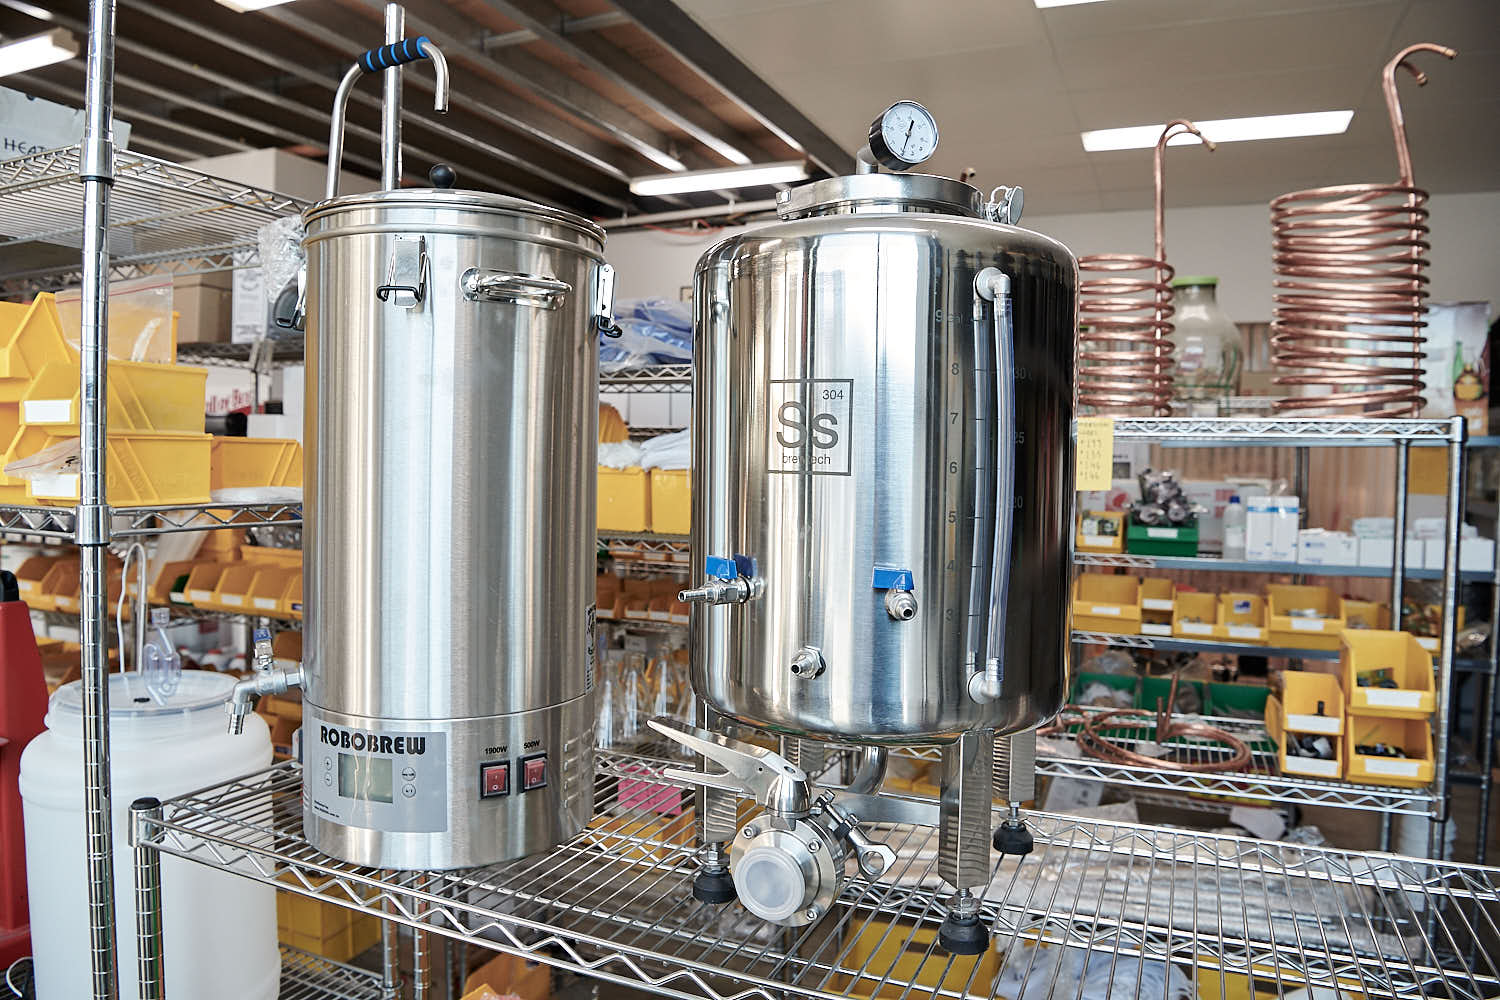
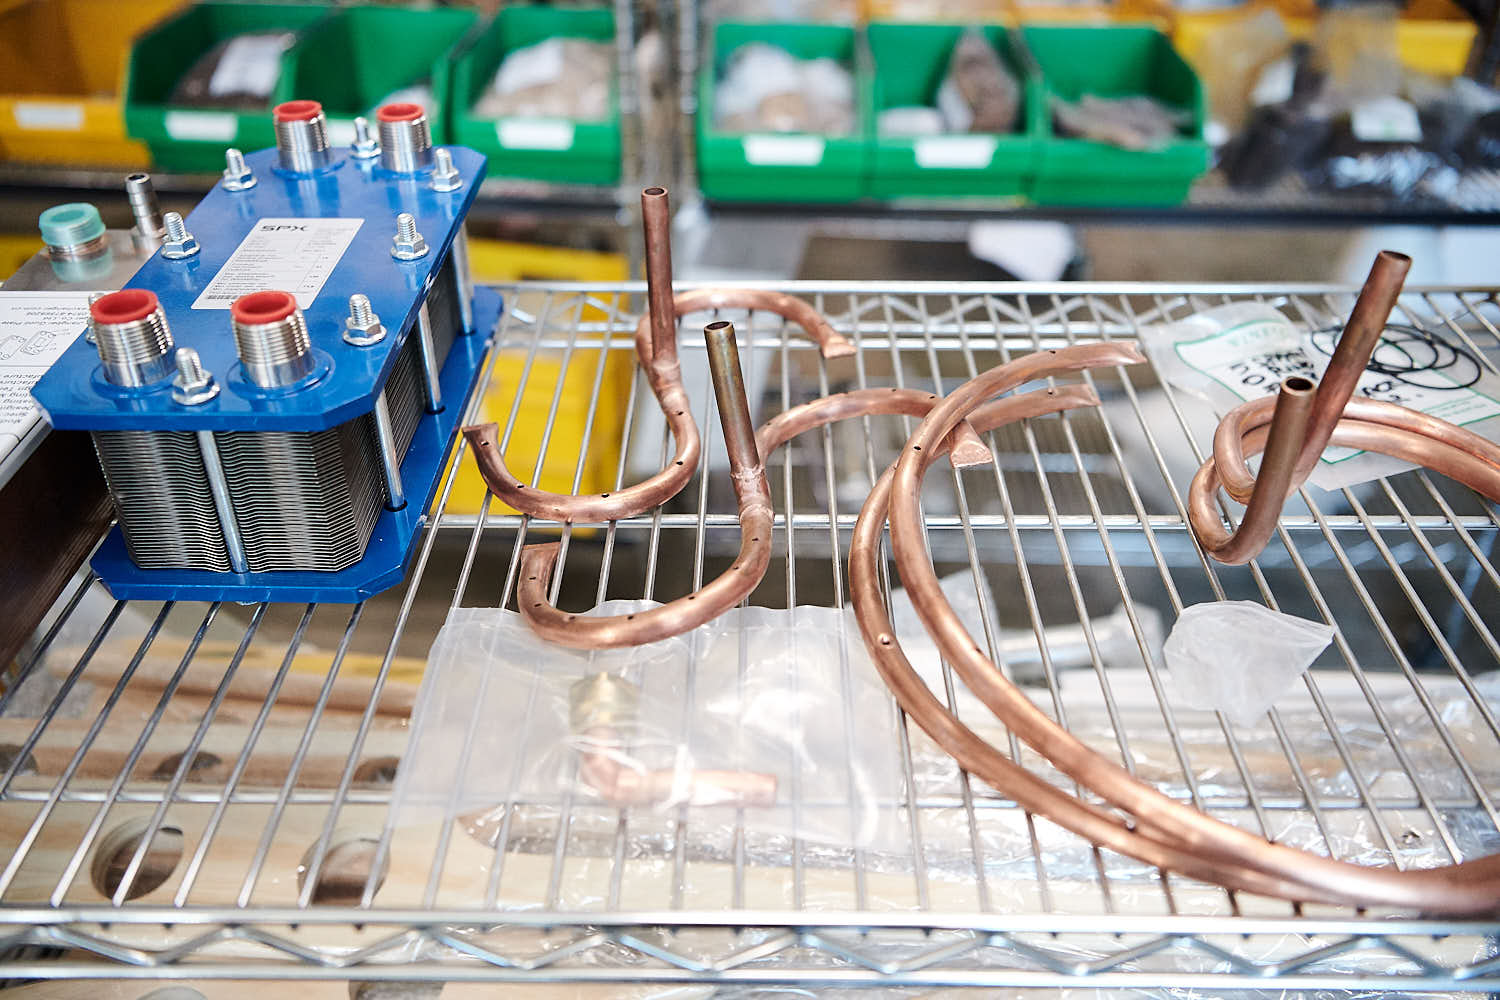
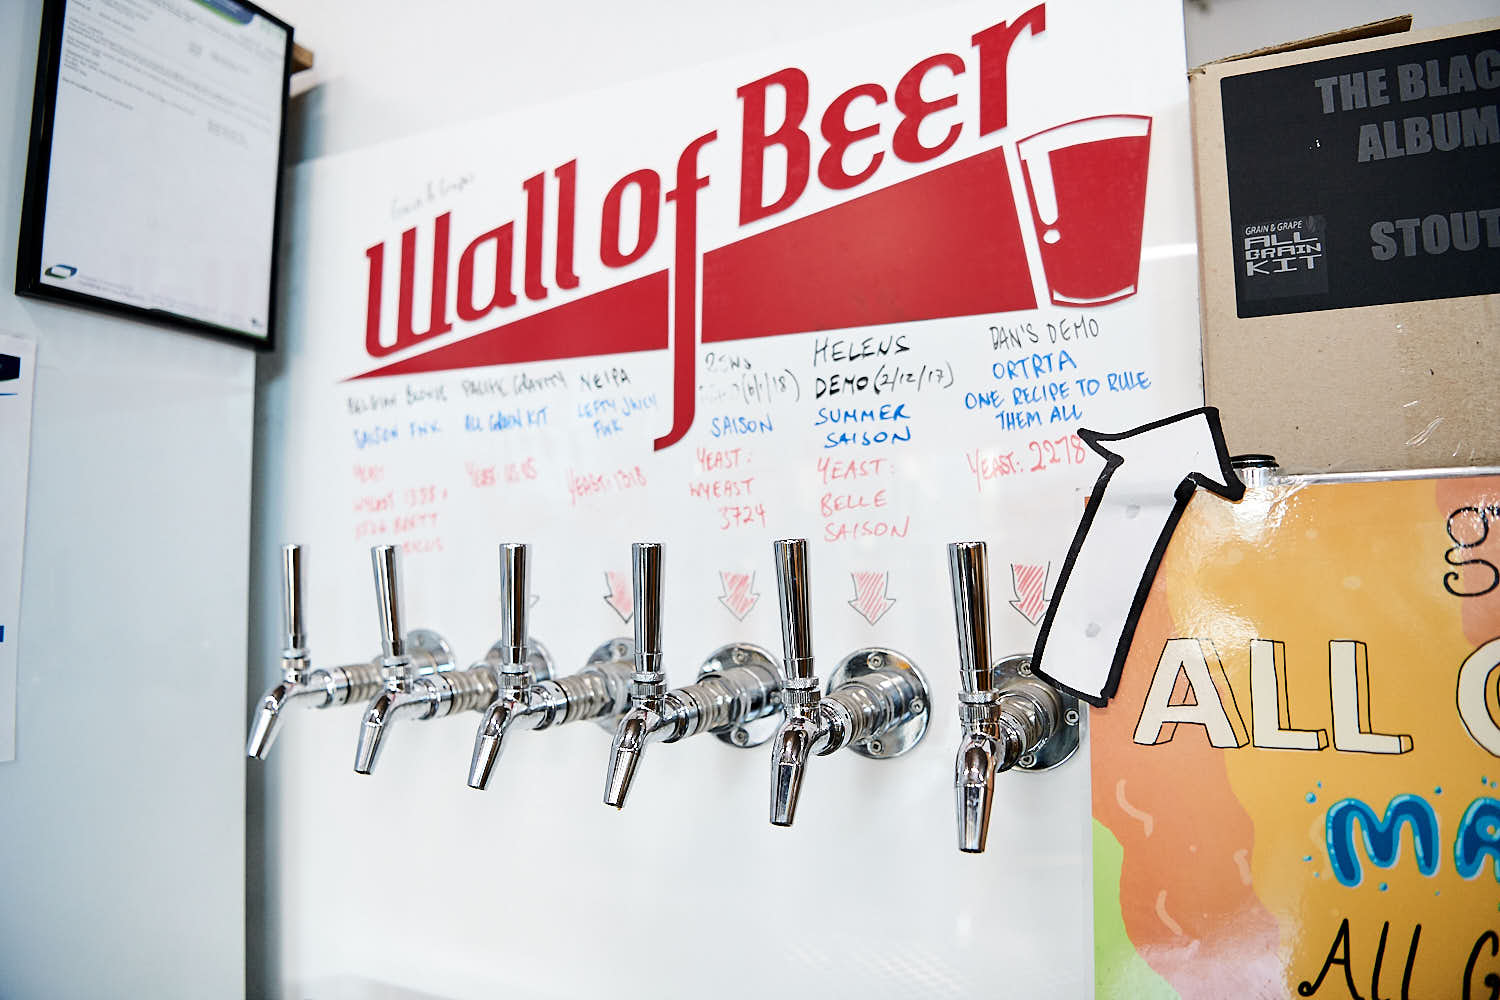
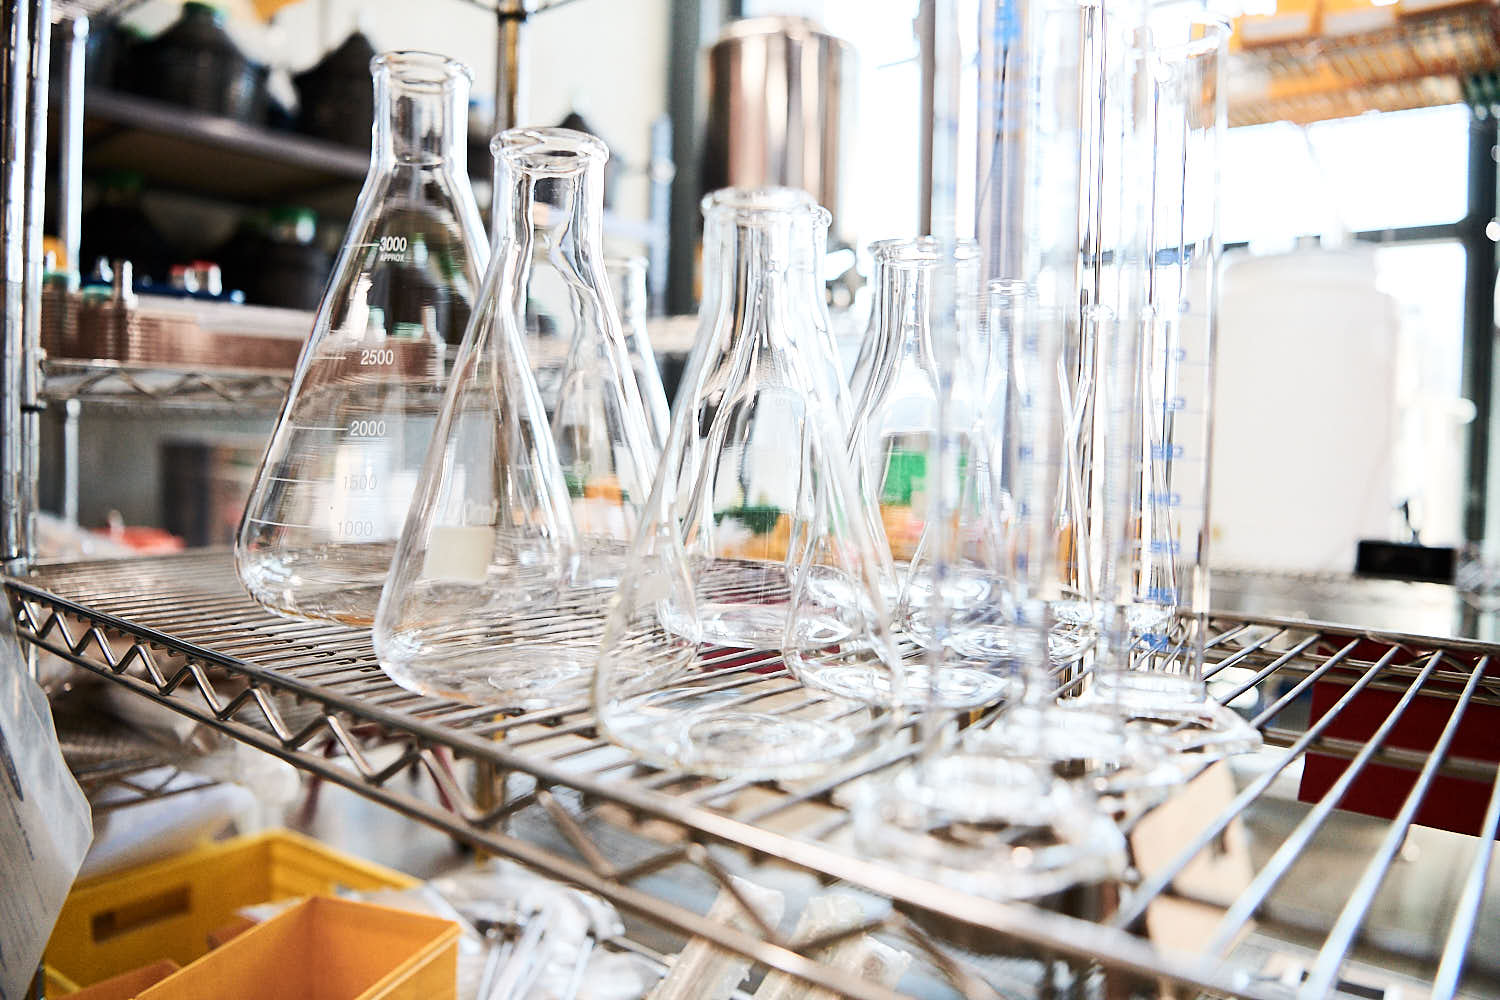
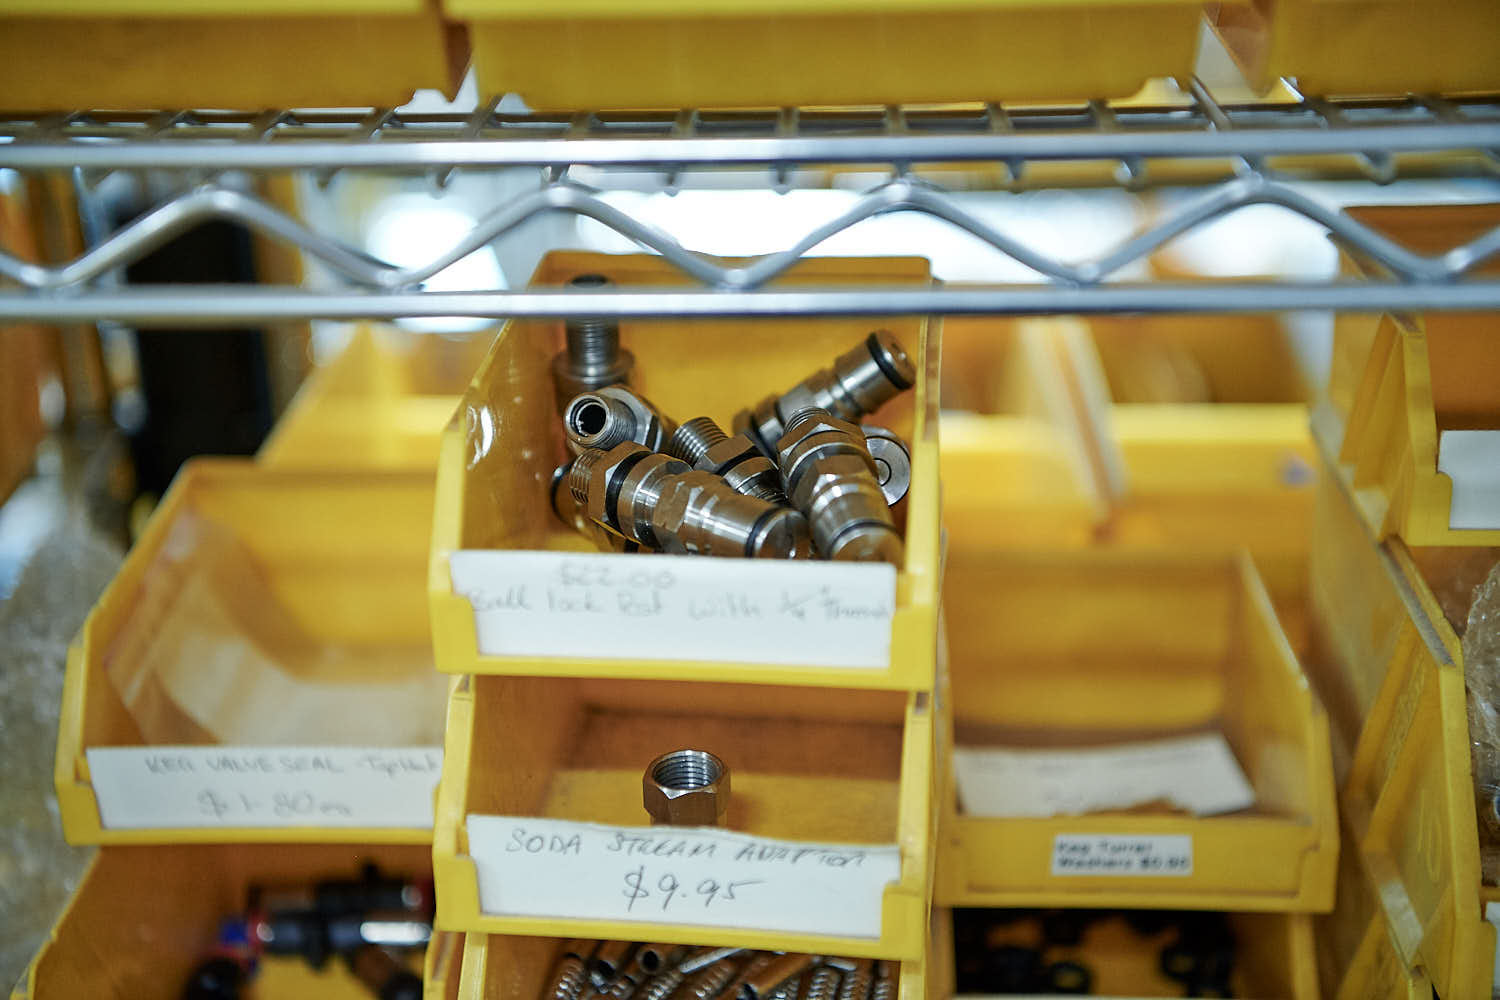
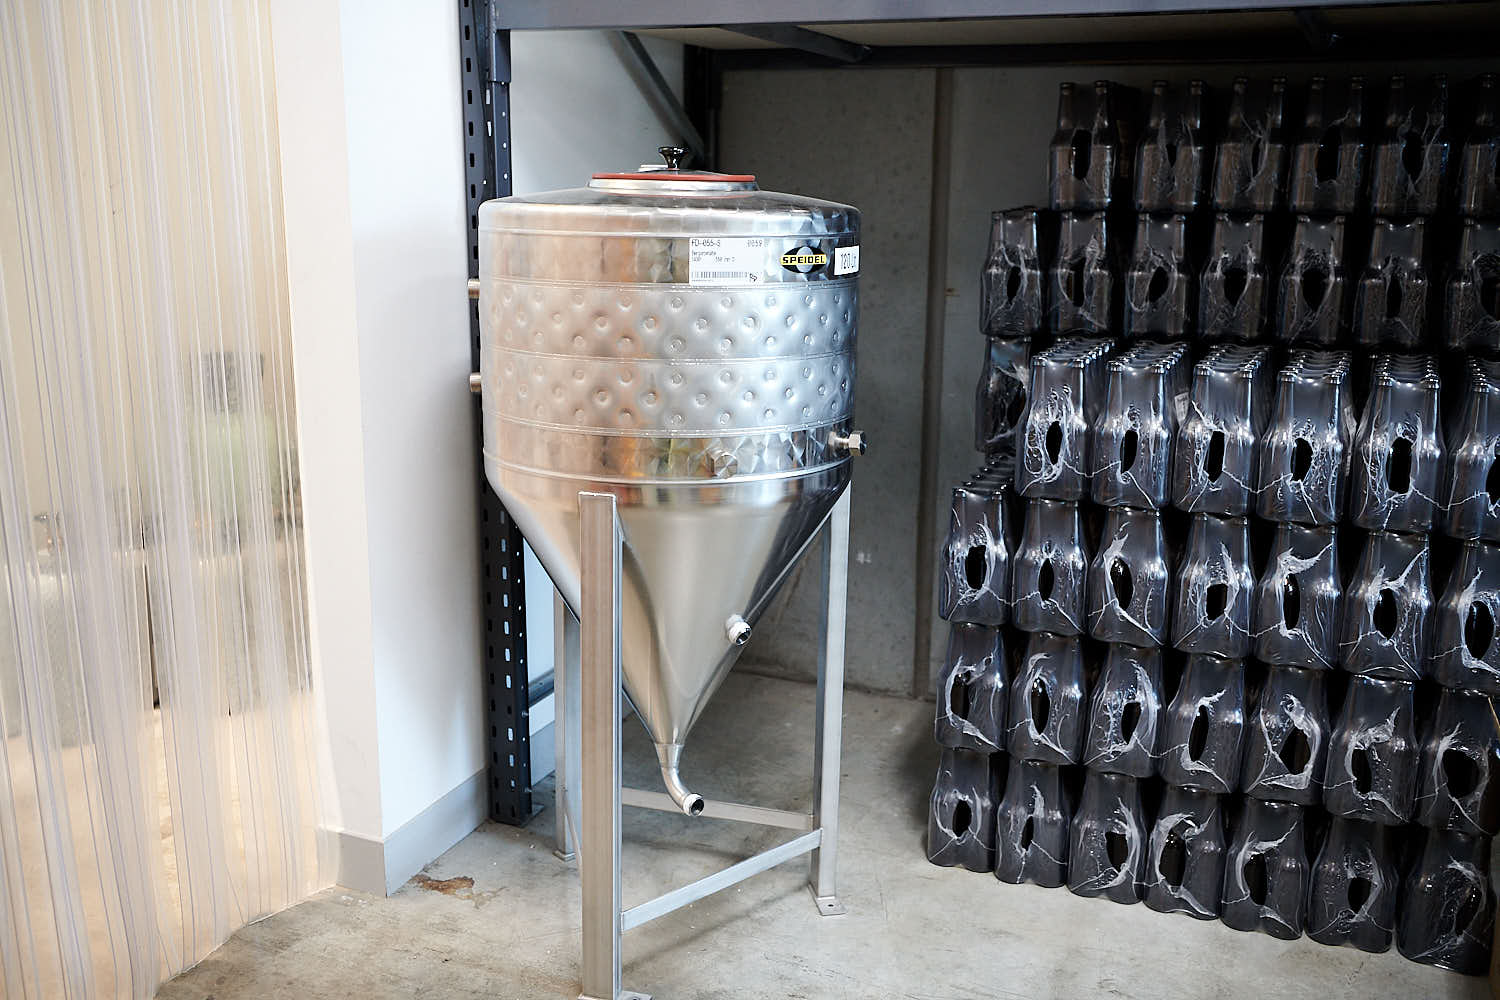
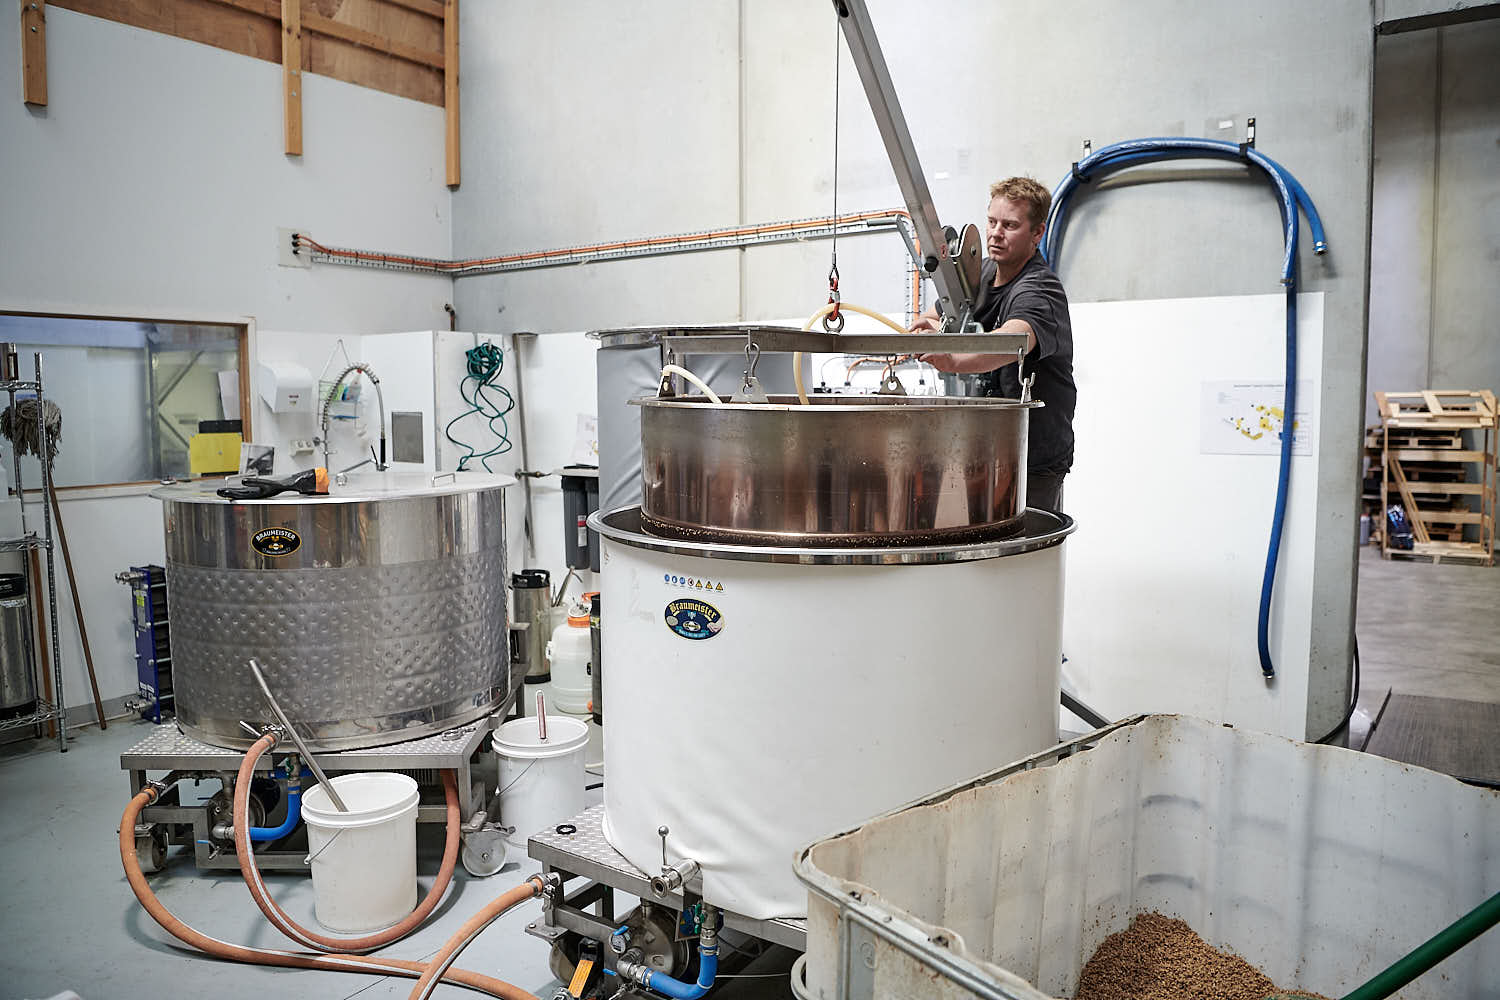
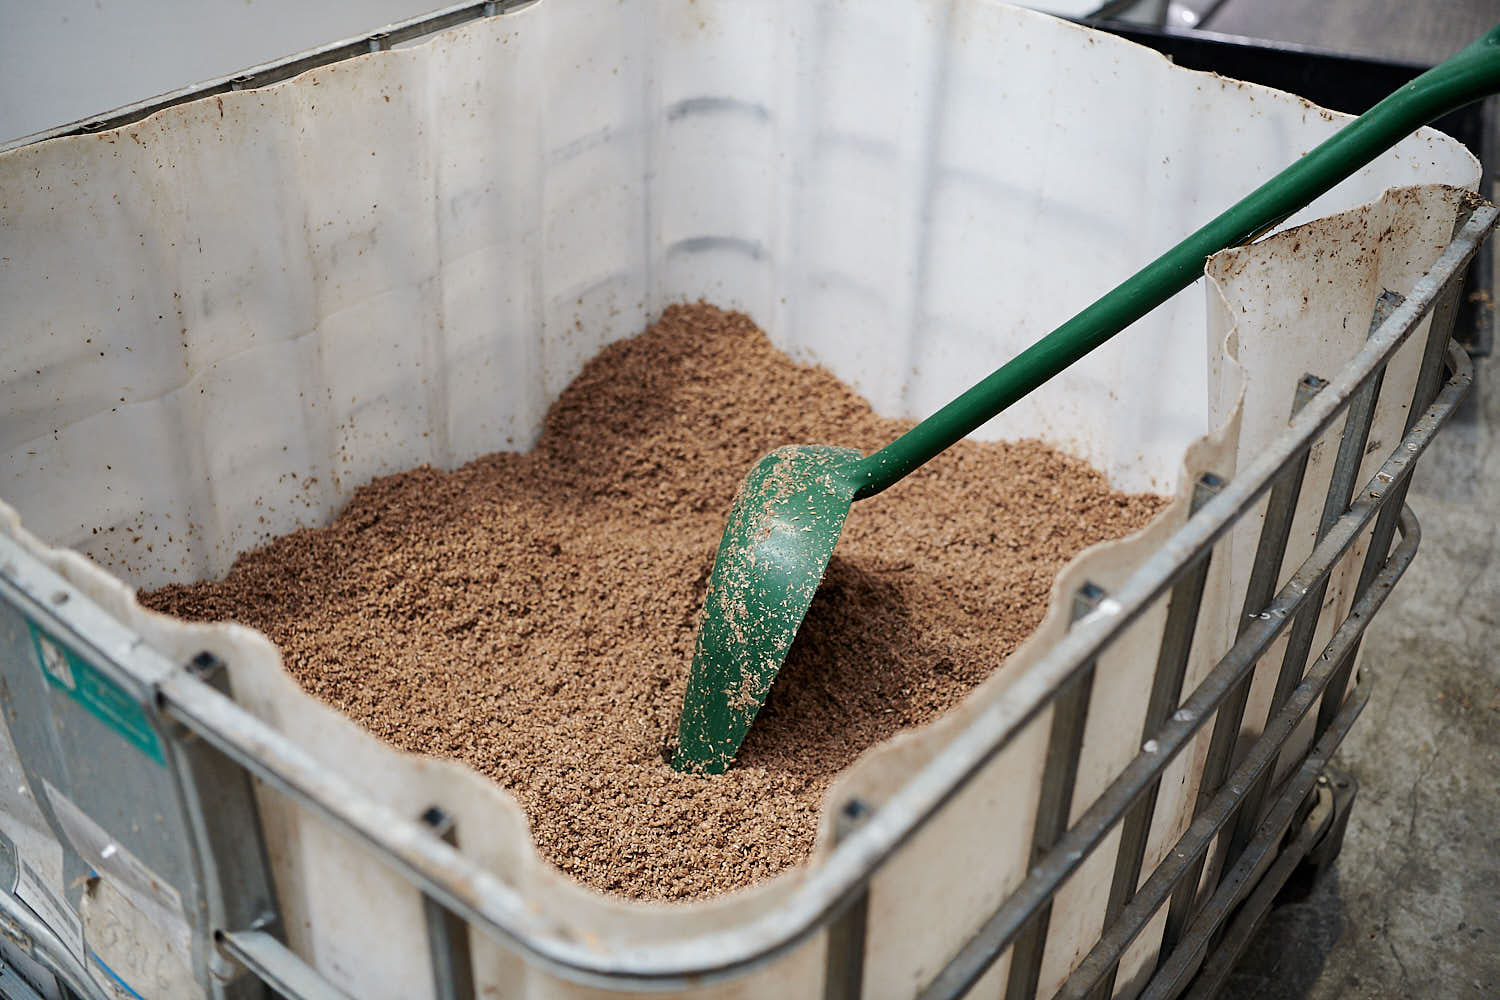
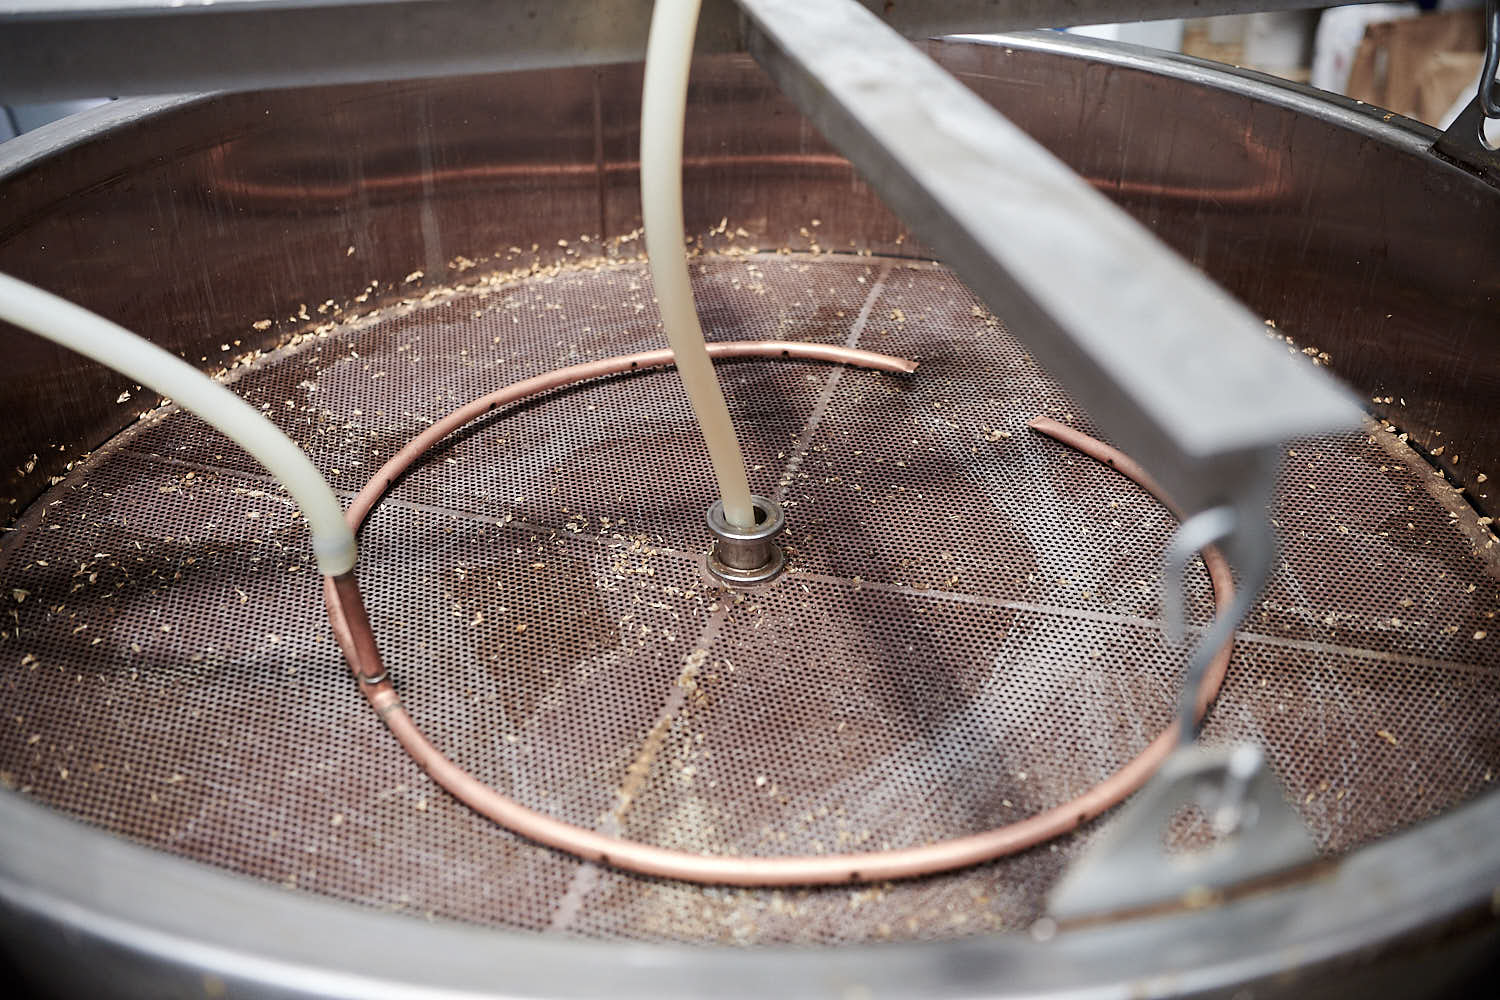
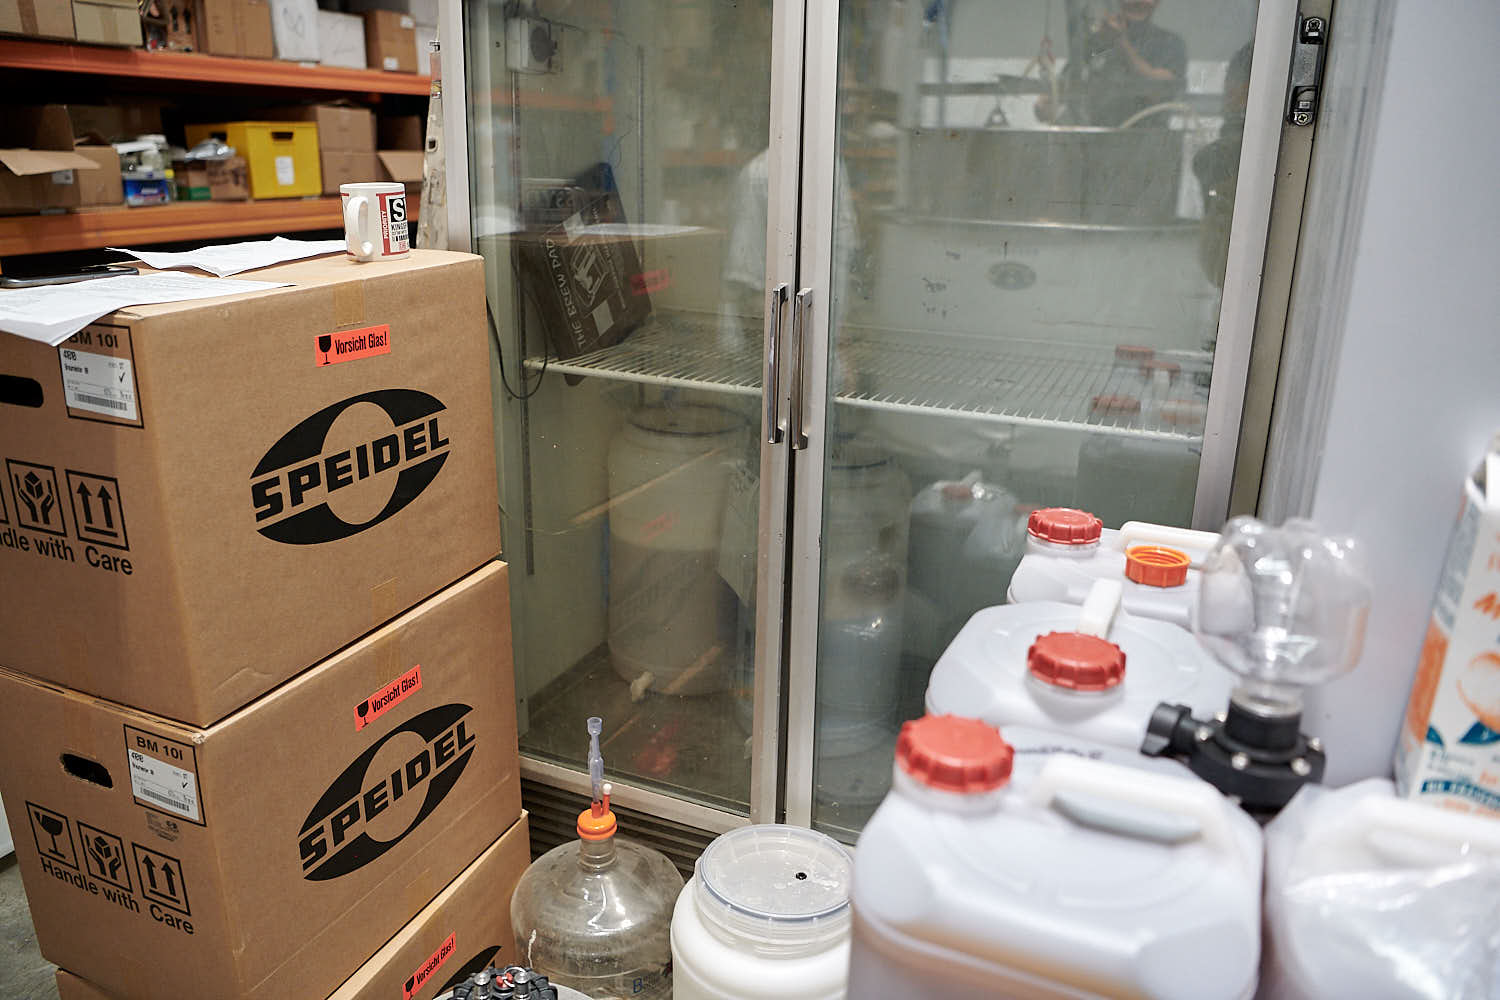
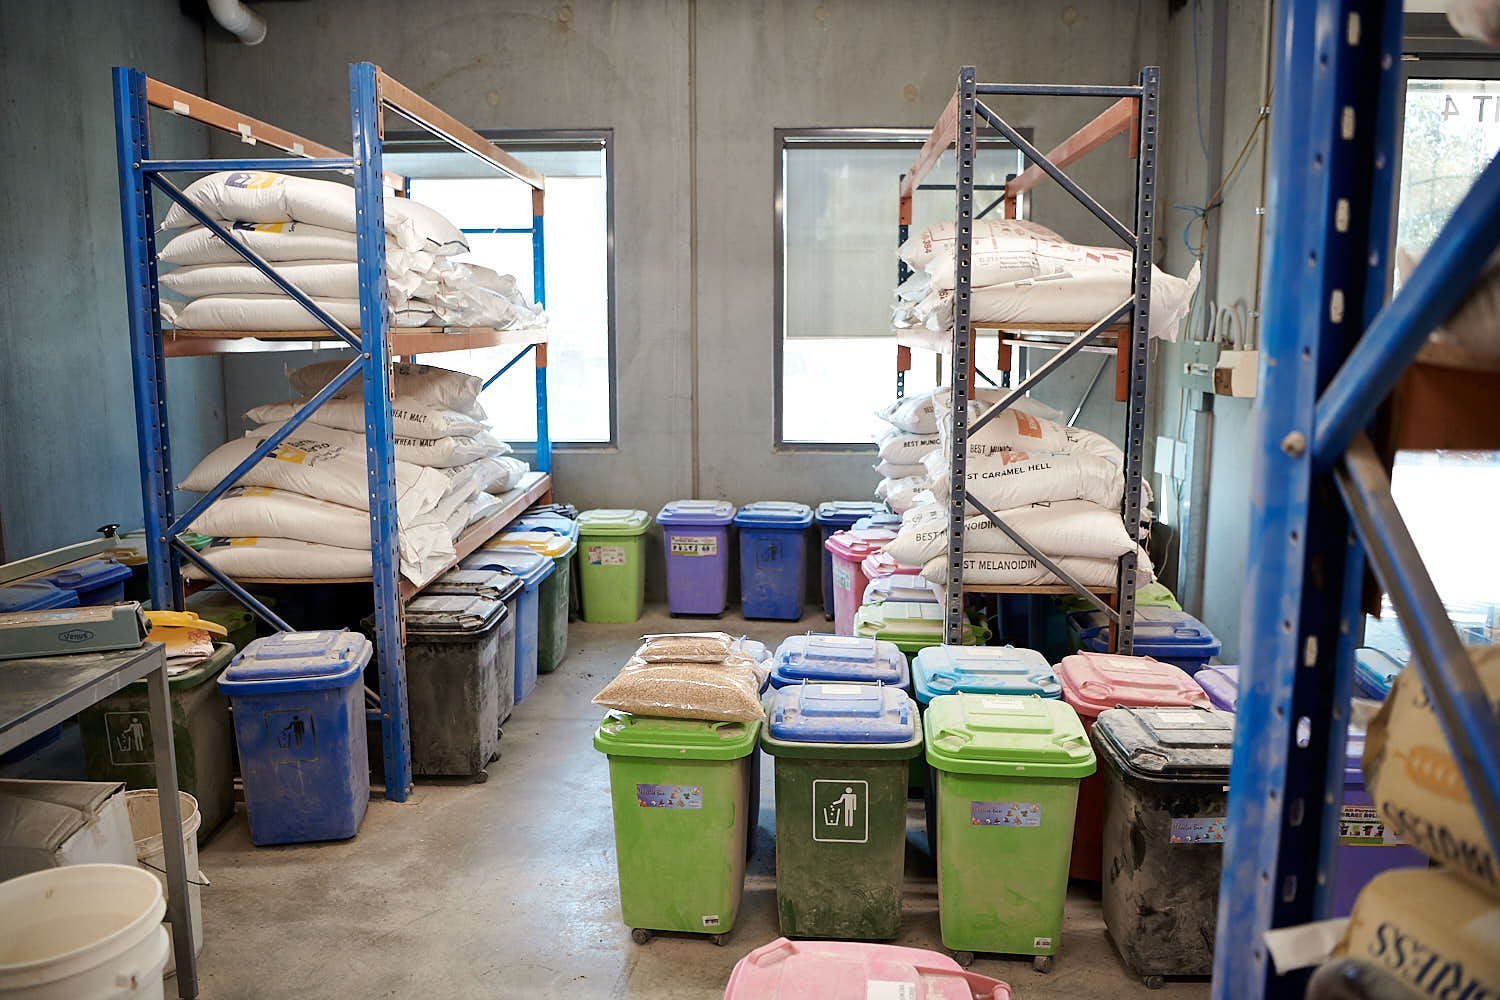
This blog post will be in english due to the subject beeing a brewing and winemaking supply store in Melbourne Australia that I got to visit during my trip down there. Grain and Grape started as John Preston began homebrewing with his friend Laurie Cahir in 1987 and they first had plans to open a brewery together. Plans change and after a few years they instead opened a homebrew shop called Southern Home Brewing in Edithvale, a suburb south of Melbourne, and soon it became the second largest homebrew shop in Australia. They also started a brewers club that held meetings in the back of the shop. In 1993 they opened a second shop in Maidstone which they each ran seperately until they split up the business in 2000. Around that time, they also started demo all grain brewing in the back of the shop with Chris Schaefer and Paul Rigby. John and Chris delevoped their own HERMS system in perfect time when the homebrewing scene really took of in popularity worldwide. In 2005, they had outgrowned their store and moved to the warehouse that they currently operate from in Yarraville, just a 15 min drive from downtown Melbourne. They got a license to sell commercial beers from a variety of breweries and when I visited the store, they even had a few Omnipollo in the fridge! In 2010, Grain & Grape started collaborating and distribute Speidels full range of products across the country. They also got their own 500 litre Braumeister that they use for producing fresh wort kits which is a product that you purchase, top off with about 3 litres of water (optional), add your yeast and ferment at home. This became very popular and they still produce and sell these kits to this day. 2015 they expanded to the warehouse next door, got a big hot liquor tank and increased the brewing capacity even more. At that time, they also started to develope and sell complete craft brewing systems based around the 200L and 500L Braumeister units with everything from fermentation tanks, oxygenation units to bottle fillers or kegwashing systems. In 2017 they started selling complete all grain kits and also added a second 500L Braumeister which now works as a 900 litre boil kettle. They also added the “wall of beer” where customers can try out beers from tap in the shop!
Today in may 2018 Grain & Grape consist of 15 workers including management and the business has now been operating over 25 years! Besides beer brewing equipment and ingredients, they also sell most of what you need to produce wine, cheese and even sausages (no pig nor beef meat as of yet unfortunately) at home. They brew in the shop almost every day and also run weekly demos of different home brewing equipment. Next week they will have a brewoff demo with 6-7 different setups brewing at the same time, from BIAB thru three tier all the way up to the big, bad boy Braumeister 500L! One major factor to the company’s success is the fact that they spend much time acquiring knowledge about homebrewing that they gladly share with all their customers face to face. They are also a heavy contributor to the Australian homebrewing scene through events and organizations such as Australian National Homebrewing Conference and Homebrew 101 during Good Beer Week.
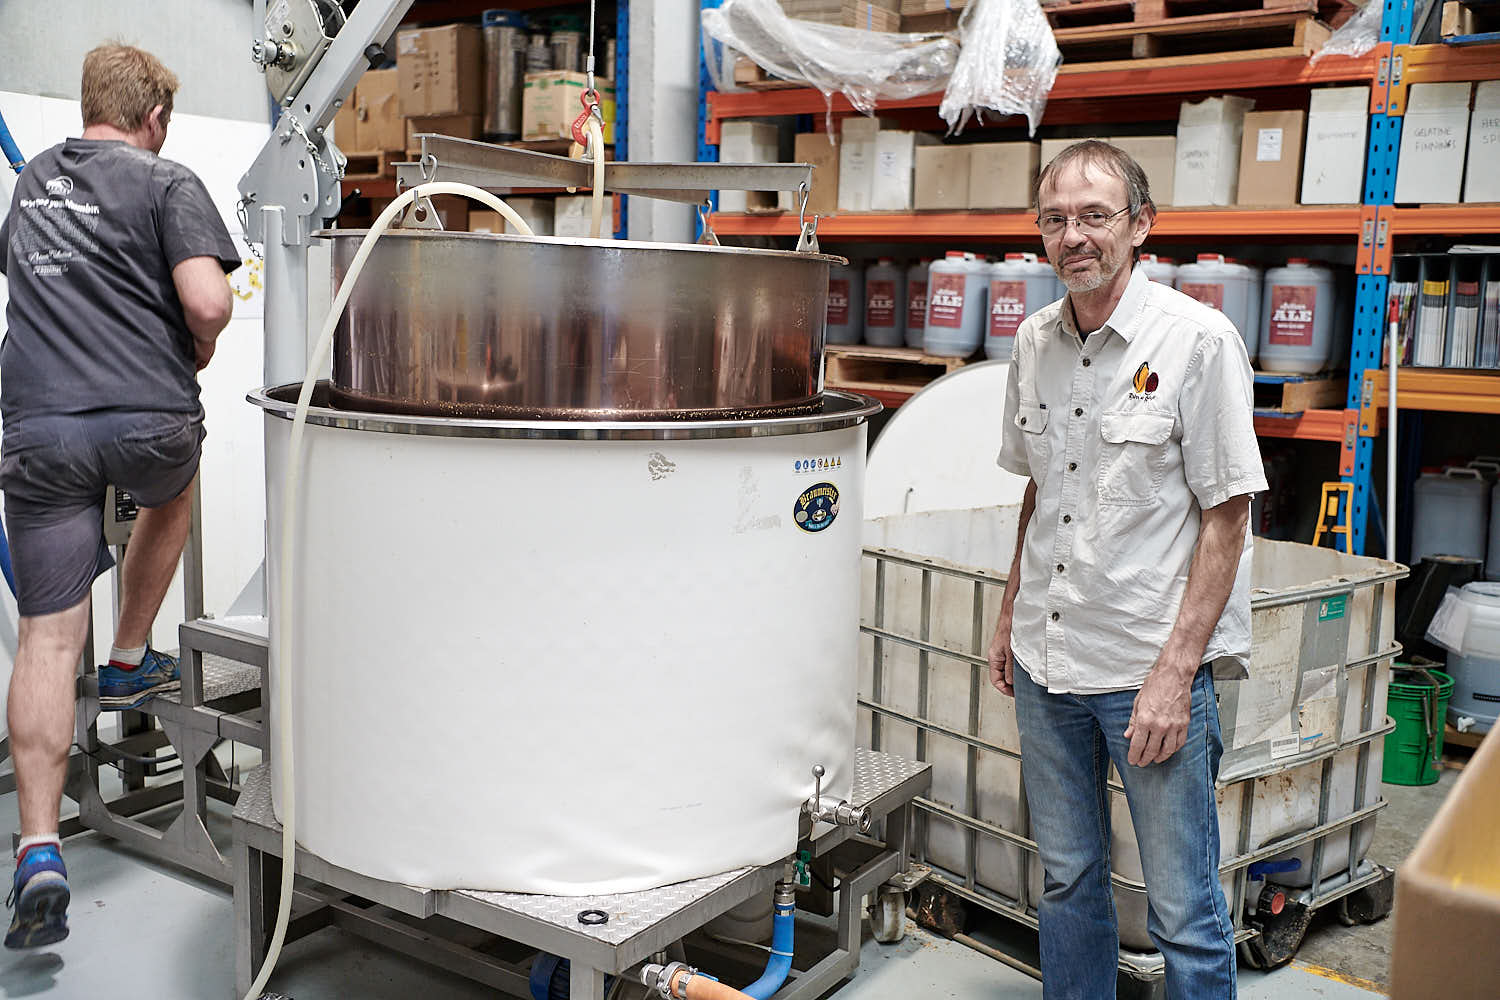
When I visited the store, Matt Collinson was about to start lautering the first batch of the day in the Braumeister. I was kindly invited to watch the process while we (me, the founder John, Matt and Chris) were discussion the company, homebrewing in general and my process of developing low oxygen brewing techniques with the Braumeister. I also got a backstage tour of the whole warehouse, from grainmill to the large stack of malt and stainless equipment. Since I was just passing thru and was working I didn’t had the chance to try out their beers on tap but I did got around to do a little shopping from their great variety of equipment. Sadly I could only buy small stuff that could fit in my already very heavy suitcase but I did manage to to get a little tap tower upgrade.
Grain and Grape is located at 5/280 Whitehall Street, Yarraville slightly east of downtown Melbourne and if you get a chance, it’s well worth a visit!

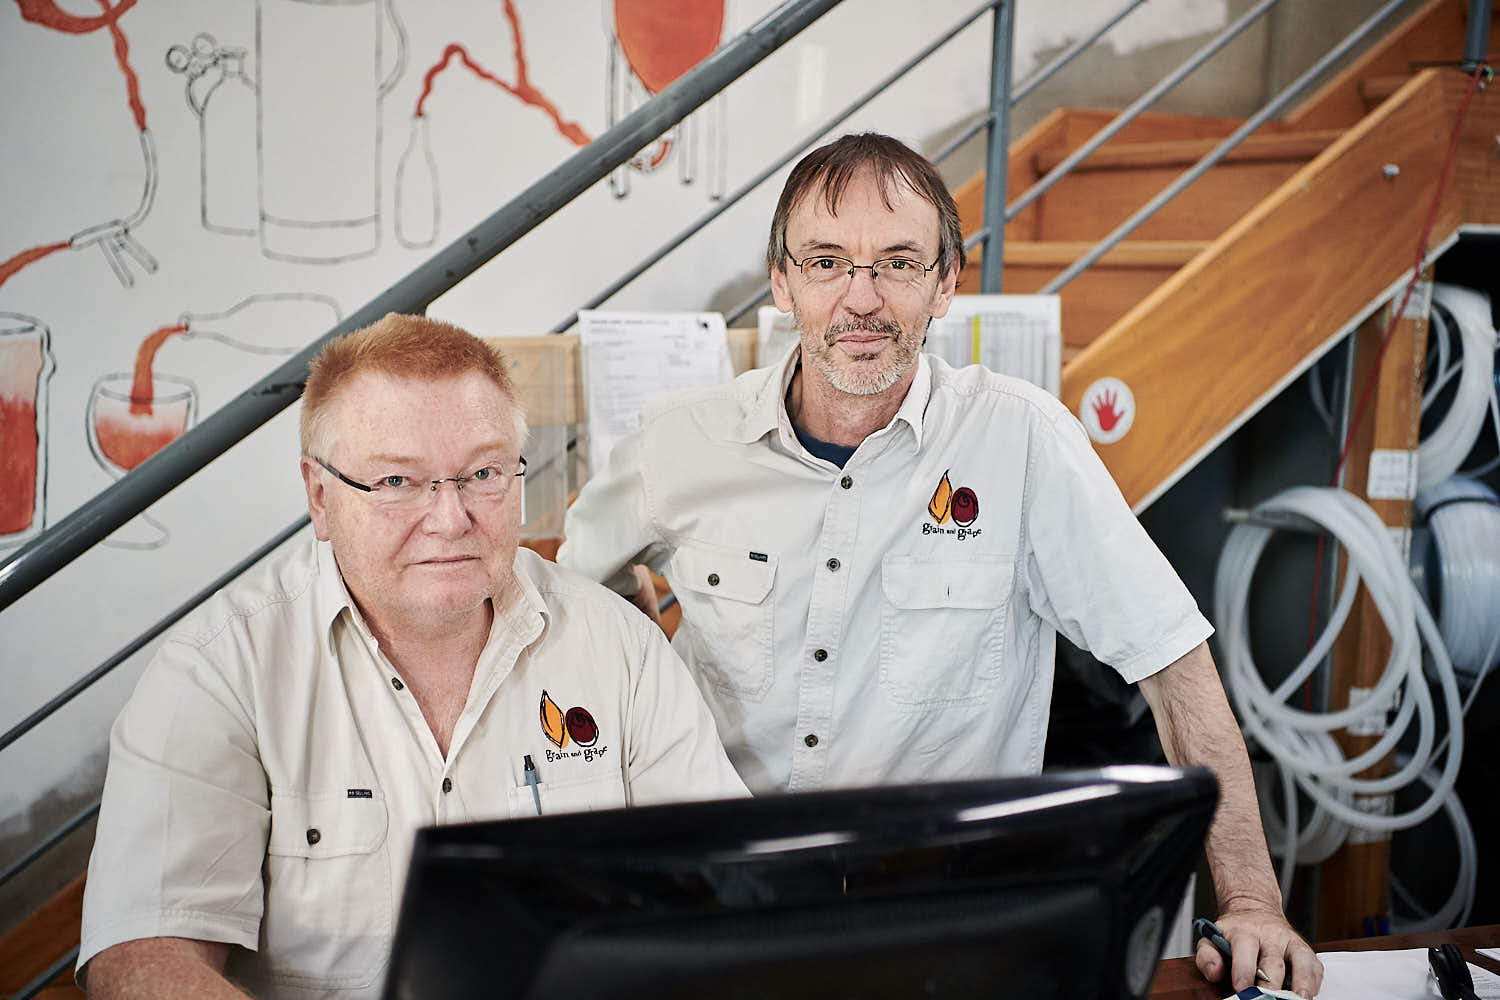 Paul Rigby and Chris Schaefer
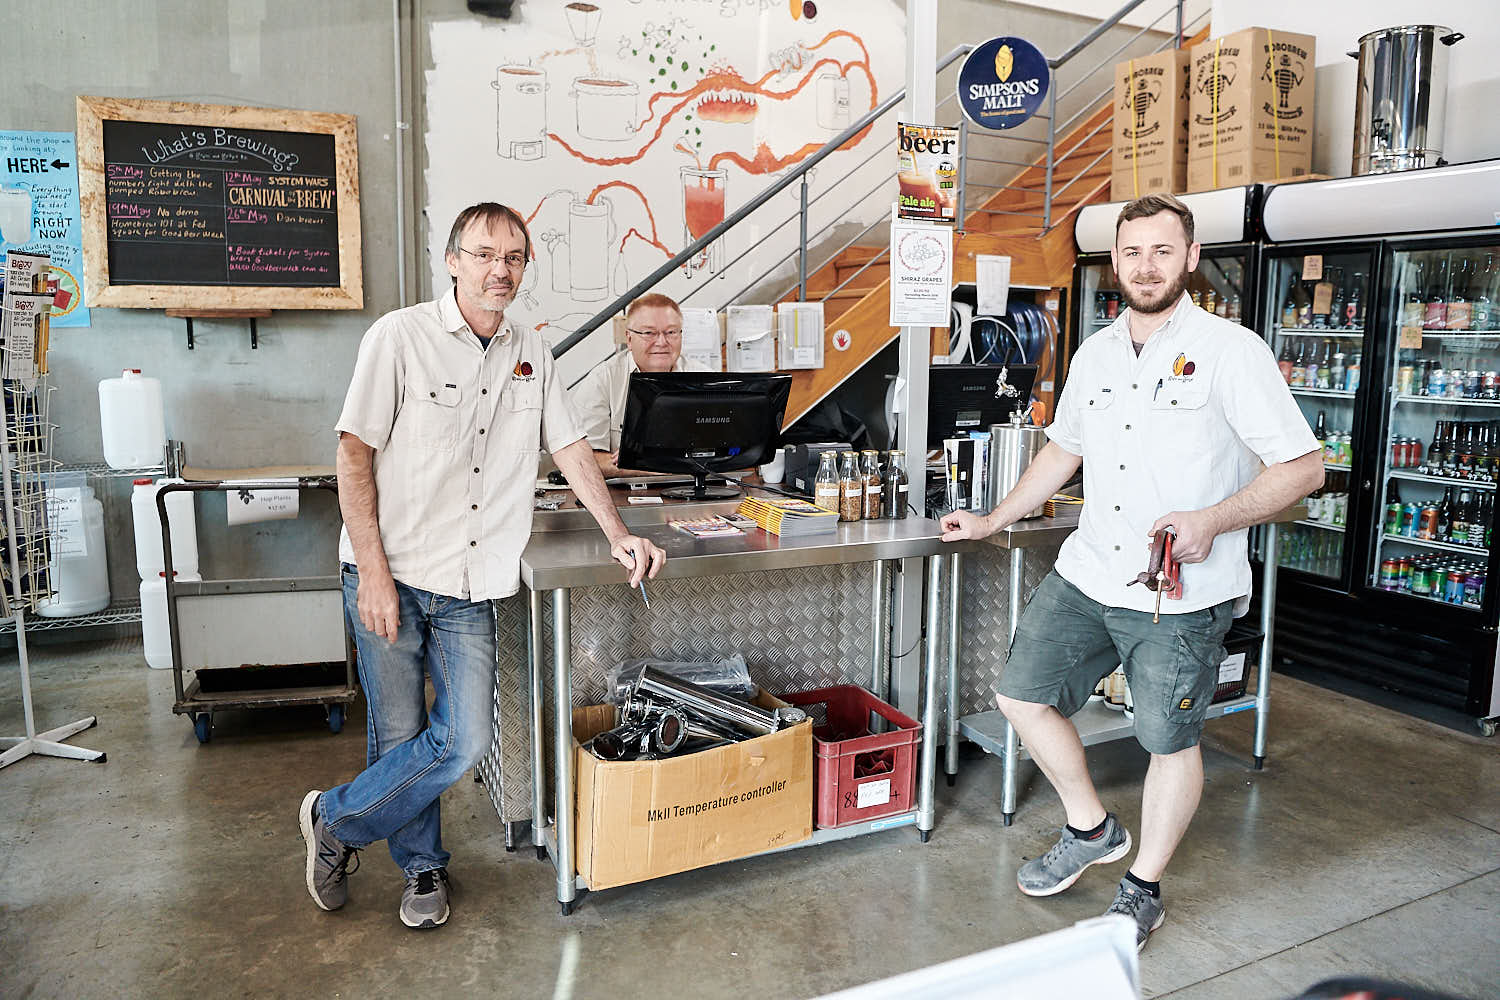 Chris Schaefer, Paul Rigby and Steve Volkman
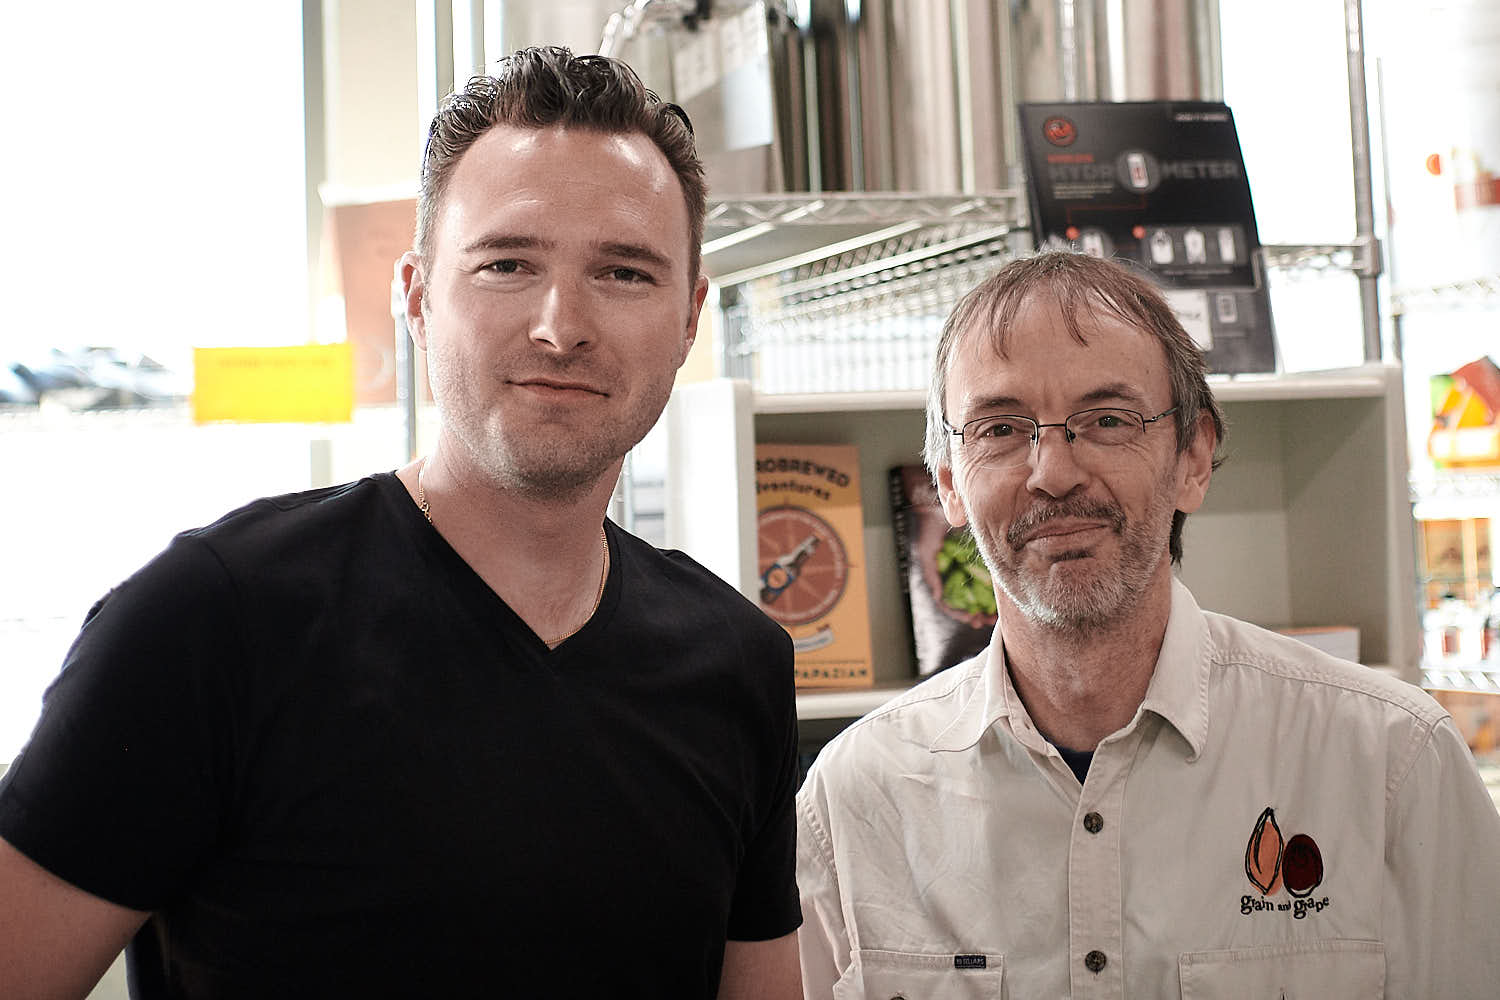

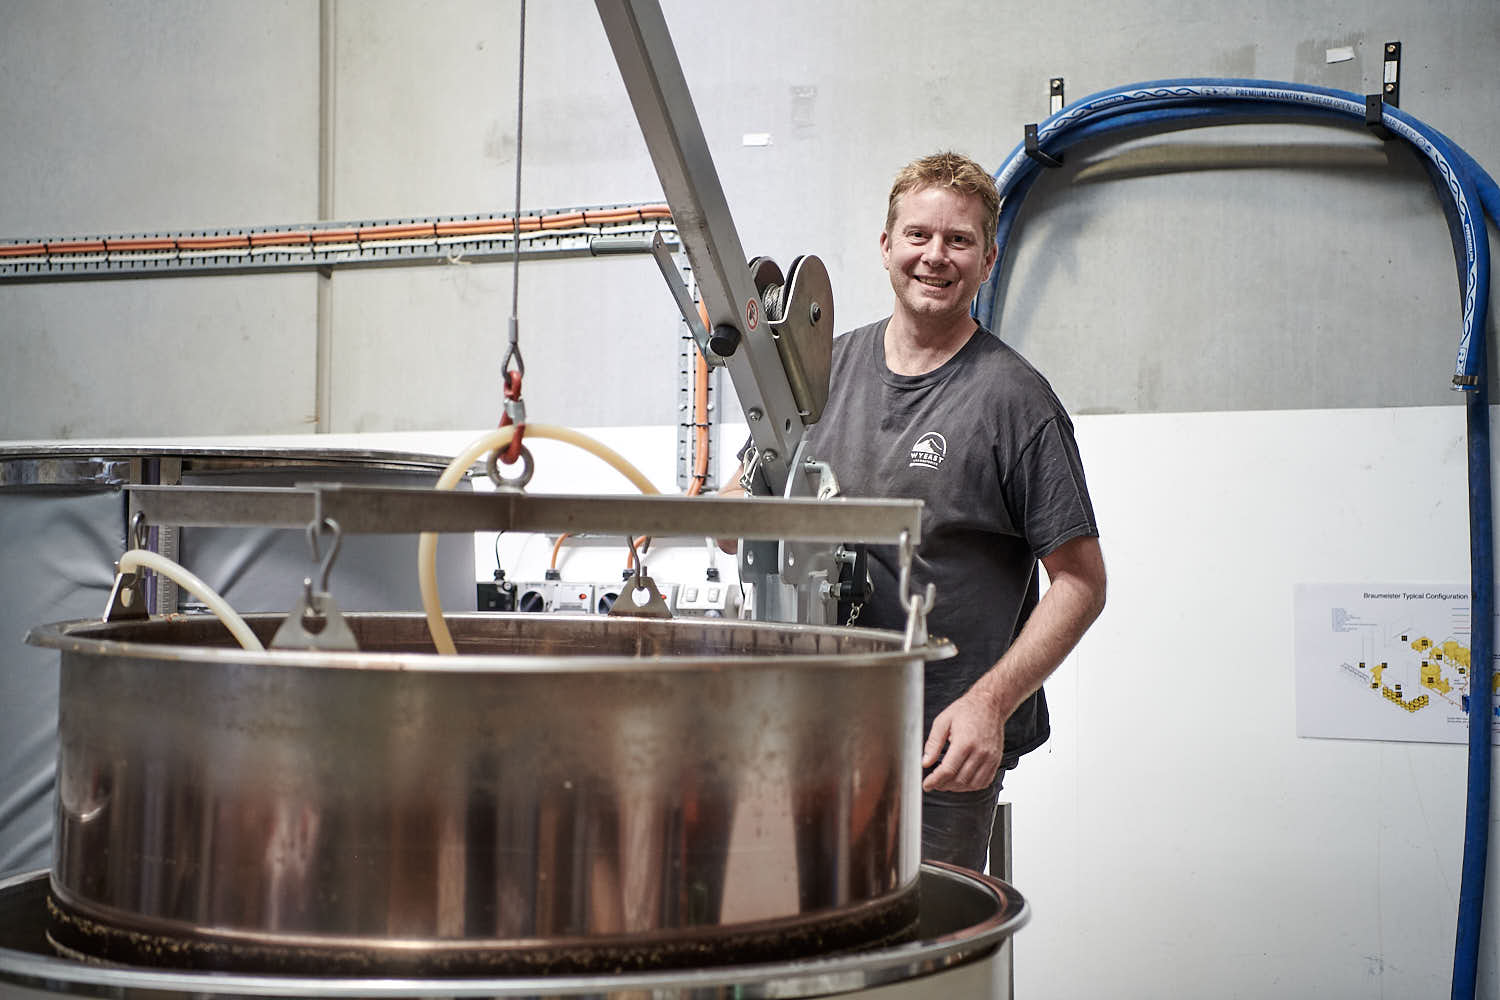 Matt Collinson


Du har väl inte missat min bok om ölbryggning? Köp den hos Humlegården!
Senaste kommentarer