Lindhs Helles (9) – Braumeister Low Oxygen Brewing Prototype Parts V2
 (For english, scroll down). Jag tänkte att det dags för mig att brygga en törstsläckande Helles såhär i sommartider. Eftersom jag även skulle till München dagen efter tyckte jag dessutom att det var lite extra passande. Skillnaden mellan en mild Pils och en Helles är inte speciellt enorma (beroende på recept) utan det är framförallt beska, humlesmak och maltsötma som är de skiljande huvudfaktorerna. Det är sällan någon större sen humlegiva i en Helles och huvudfokus är istället inställt på att framhäva och behålla de finare och elegantare maltsmakerna hela vägen till glaset. Receptet till just det här ölet är taget från min bok och den viktigaste faktorn är maltnotans sammansättning med 96% pilsnermalt (Barke) och 4 % Carahell vilket gör ölet mer likt Paulaners Helles jämfört med Weihenstephaner Original. Med lågsyrebryggning (LoDO) kan man komma undan med lite mer karmellmalt utan att smakerna blir besvärande men generellt är 10% för ljus öl mitt absoluta maximum. Humleschemat är snarlikt det i boken men med en annan humlesort på grund av mitt humleförråd i frysen. Så länge man använder nobel humle i en låghumlad tysk stil kan man experimentera med olika humlesorter och ändå få ett snarlikt slutresultat.
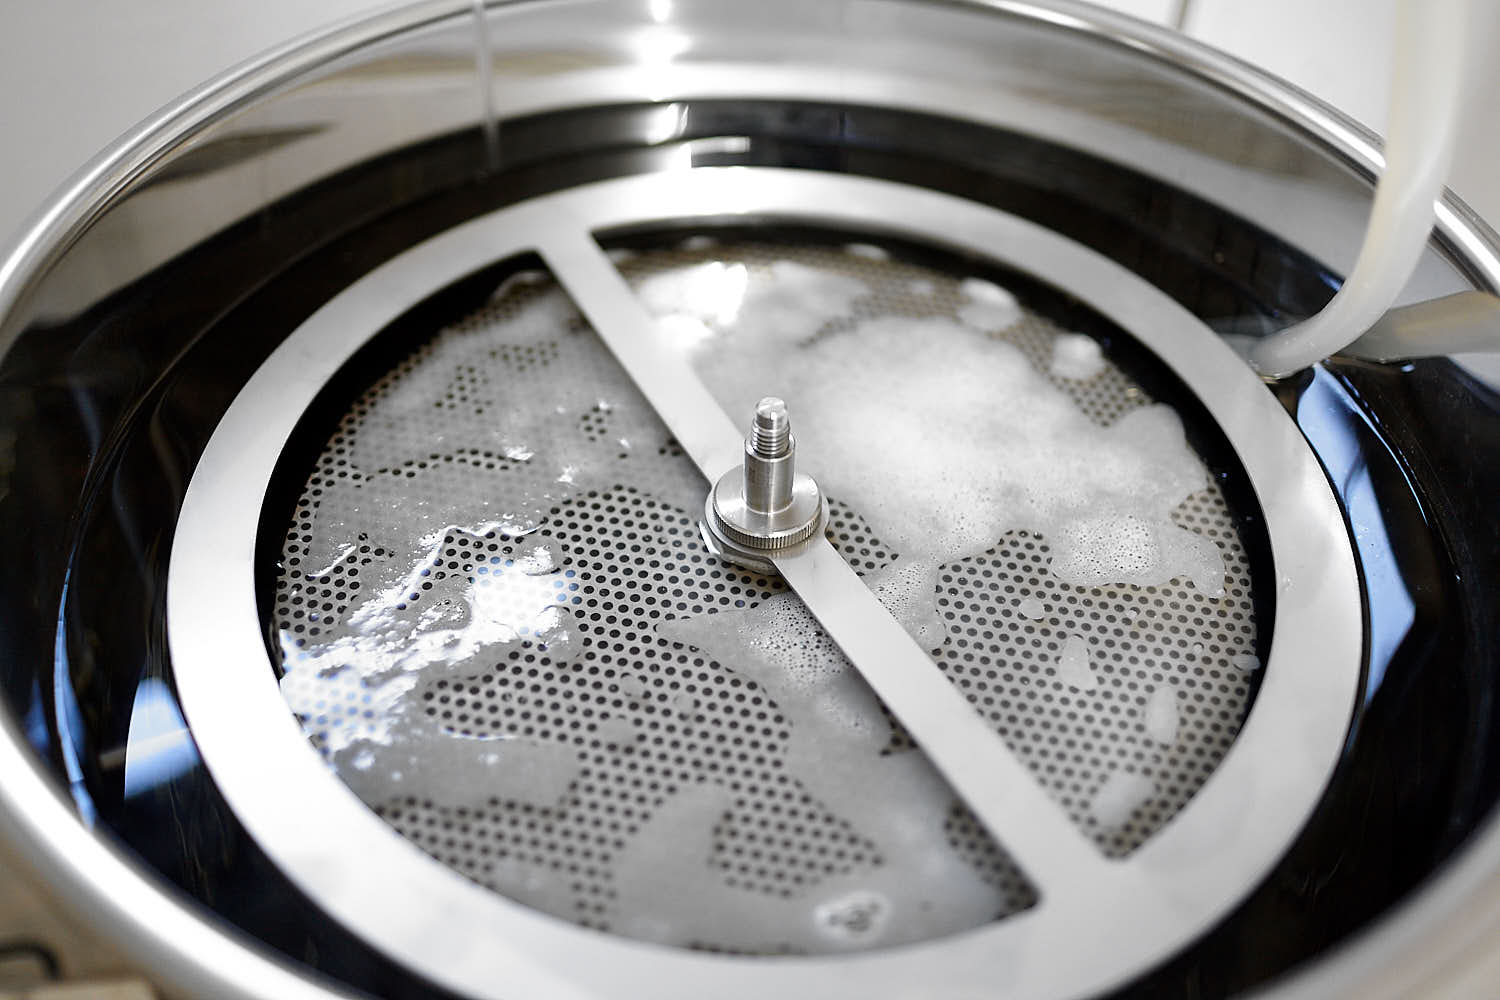
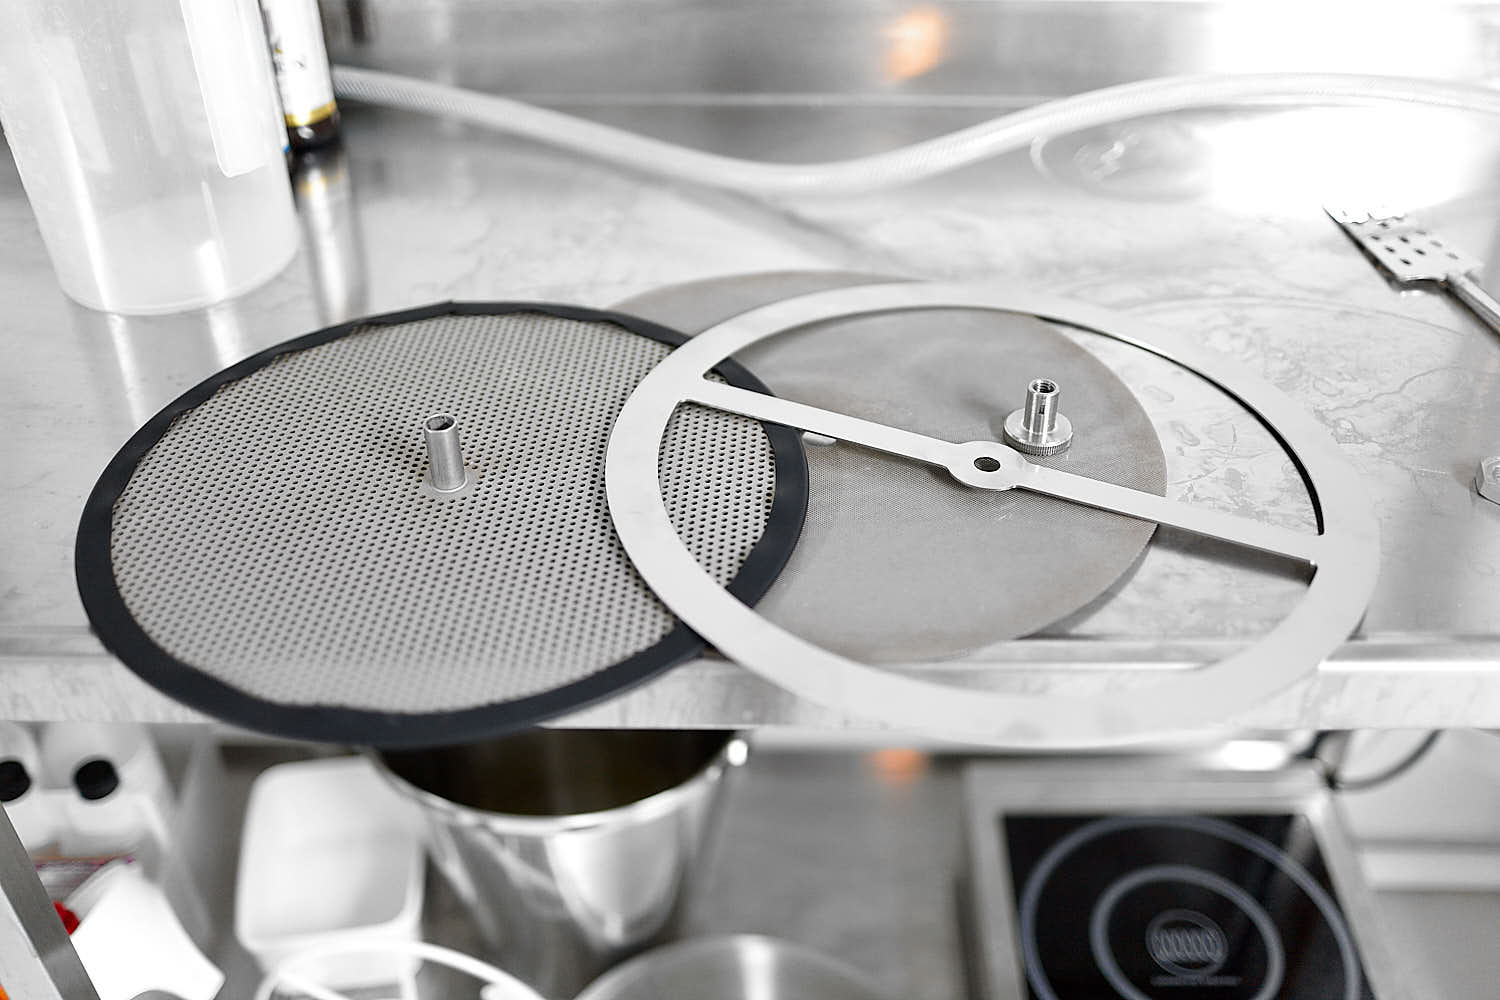
Detta bryggning handlade främst om att testa nya prototypdelar jag utvärderar åt Speidel; en ny maltrörshållare (låsplatta/skiva istället för originalröret) som är mer som Bacbrewings Yield increase disc, en ny mutter med lite annorlunda design och slutligen ett nytt flytande lock (mash cap) med ett mindre hål i mitten. Låsplattan var såklart den stora skillnaden från V1-prototypen och eftersom det är möjligt att använda den på två olika sätt måste jag brygga en gång till innan jag kan utvärdera V2-delarna ordentligt. De två sätten att addera alla delar är:
maltrör, tjockt filter, tunnt filter, mäsk, tunnt filter, tjockt filter, låsplatta, mutter, mashcap
maltrör, tjockt filter, tunnt filter, mäsk, låsplatta, tunnt filter, tjockt filter, mutter, mashcap
Som ni kan se låser den andra metoden alla filter på plats jämfört medan den första metoden är mer designad som originalmetoden metoden med filter som kan flyta upp och ner under mäskningen. Denna bryggning testade jag den första metoden eftersom det är en logisk fortsättning på mitt senaste test av prototypdelar. Låsplattan har den extra funktionen, jämfört med alla tidigare lösningar, att den förhindrar att maltdelar kan fly från maltröret och det ger även maltröret ett jämnt fördelat tryck mot botten av Braumeistern.
Precis som med nästan alla mina bryggningar började denna dagen före genom att sätta en timer för uppvärmning av mäskvatten så jag kan börja brygga så tidigt som möjligt morgonen därpå. Braumeisterns senaste firmware har en inbyggd timer för att ställa in en försenad start och min plan var att testa detta denna gång. Men när jag programmerade BM upptäckte jag att 85° C är den maximala temperaturen som går att ställa in och jag skulle vilja att det var närmre 95-98° C (mindre än 100 av säkerhetsskäl). Lite besviken på att jag inte undersökt detta tidigare använde jag min gamla metod med Speidels doppvärmare och en vanlig julgranstimer (16A-kompatibel) utan att tänka på att vattnet vanligtvis ändå hamnar omkring 85-90° C på morgonen med den metoden. Jag kunde alltså ha provat den nya timerfunktionen trots allt, så det får bli nästa gång istället.
Inmäskningen och stegmäskningsschemat gick smidigt utan avvikelser. Vörten efter utmäskningen såg ytterligare lite bättre ut än förra gången och även om det är en konstant mindre förbättring för varje gång jag brygger, kan jag inte riktigt säga exakt vad det beror på. Visst var mittenhålet i mashcap:en lite mindre än tidigare version och jag var extra försiktig när jag sänkte maltröret som simulerade en “underlet” men ger det mig verkligen mer genomskinlig vört med mindre skum i slutändan? Förmodligen spelade det senare mer roll än det första och ja, det är min arbetshypotes såhär långt. Noggrannhet i varje steg spelar roll i slutändan. Uppmätta syrehalter höll sig runt 0,9 ppm men som jag sagt tidigare är det svårt att noggrant mäta DO under mäskningen på grund av naturligt förekommande antioxidanter (AAO) i malten vilket reducerar syre med minskade maltsmaker som resultat men även att det är svårt att ta ett mätprov utan att tillför syre till mäsken eller mätprovet. Utöver förbättringarna ovan ägnade jag lite extra uppmärksamhet åt upphissandet av maltröret och med det menar jag att jag långsamt höjde upp det under cirka fem minuters tid så inget skräp skulle hastigt byta riktning och hamna i bryggverket. Resultatet var inte synligt förrän kokstart då vörten såg extra genomskinlig ut med fria proteinpartiklar som simmade omkring. När jag insåg att denna sats skulle bli lite speciell bestämde jag mig för att koka humlen i en humlekokpåse för lättare separation efter koket med eventuellt lite extra genomskinlig vört som resultat. Till min stora förvåning blev det inte riktigt så och min teori är att de, förvisso koagulerade proteinerna, slogs sönder i koket trots min medvetet låga kokintensitet. Precis som med ett ägg kan inte proteiner lösas upp igen men visst går det att att mosa ett ägg till småbitar… En sedimenteringspaus efter/under kylningen är fortfarande min bästa metod för att separera allt druv eftersom whirlpool inte fungerar så bra för mig med alla element som finns i botten på BM. I början av kylningen körde jag en lite (för stilen) okonventionell hopstand på en halvtimme då lite extra humlearom kan passa bra såhär i grilltider med en maß i handen. Jag lyckades bara kyla till 15°C innan mitt samvete tog emot. Kranvattnet är lite för varmt nu när sommaren gick till spontanattack. Det blev väldigt mycket skum vid syresättningen så min nya rostfria jästank var lite för liten denna gång. Jag fick ihop 15 liter extravört från en separat lakning och ihop med resterna från bryggverket. Den vörten fick en påse ickehydrerad US05 och lämnades åt dess icketemperaturstyrda öde i det svala bryggeriet. Rengöringen av bryggverket gick smidigare än någonsin och det hade nog räckt med enbart vatten och lite gnuggande med handen längs sidorna men eftersom jag har min pump med sprayboll så körde jag en vända med Enzybrew iallafall, vare sig det behövdes eller inte…
I thought it was time to brew some thirst quenching Helles for the summertime. Since I was going to Munich the day after, it seemed really fitting aswell. The difference from a mild pils to a Helles is not enormous depending on recipe but generally the bitterness, hop presence and malt sweetness are the key factors. There are rarely any bigger late hopping in Helles and the focus is on keeping the finer malt nuances all the way to the glass. The recipe for this Helles is taken from my book and the most important part is the malt ratio with 96% pilsnermalt (Barke) and 4% Carahell which makes it more like a Paulaner Helles and less sweet than Weihenstephaner Original. With low oxygen brewing you can get away with a bit more caramel malts without the taste becoming cloying but generally 10% for a light beer is still absolute maximum for me. The hoping schedule is the same as in the book but with a different hop due to my inventory. As long as you use noble hops in a low hopped german style you can experiment with different hops and still get a similar end result.
This brew session was primarily about new prototype parts I was evaluating for Speidel; a new malt pipe holder (locking plate instead of the original pipe) that is more like Bac brewings Yield increase disc, a new nut with a little bit different design and finally a new floating lid (mash cap) with a smaller size of the middle hole. The malt pipe locking plate was of course the big difference from the V1 prototype and since it’s possible to use it in two different ways I need to brew with it one more time before I can evaluate it properly. The two ways to add all parts is:
maltpipe, thick filter, thinn filter, mash, thinn filter, thick filter, locking disc, nut, mashcap
maltpipe, thick filter, thinn filter, mash, locking disc, thinn filter, thick filter, nut, mashcap
As you can see, the second method locks all filters in place compared to the first method which is more designed like the original method with filters being able to float up and down during the mash. This brew session I tried the first method since it’s a logical progression from my last test of prototype parts. The locking disc has the extra feature compared to all earlier solutions that it prevents stray malt to escape from the malt pipe and it gives the malt pipe even pressure towards the bottom of the Braumeister.
As with nearly all my brew sessions nowadays, this one started the day before by setting a timer for heating so I can get started with preboiling my mash water as early as possible. The latest firmware of the Braumeister has the built in ability to set a delayed start, or timer, for starting a brew session and my plan was to try it out this time. But when I was programming the BM I found out that 85°C is the maximum temperature and I would like it to be more like 95-98°C (less than 100 for saftey reasons). A bit disappointed that I hadn’t tried this before the actual brewday, I used my old setup once agan with the external Speidel heat source (3200w) and a regular Christmas tree-style timer (16A ready) without thinking about that the water usually is around 85-90°C in the morning anyway so I could have tried the new timer function. It’ll have to wait until next time…
Mash-in and the mashing program went smooth and with and deviations nor news. The wort after mashout looked even better than the last time and even if it’s a small progression every time I brew I can’t really say what’s improving from time to time. Sure the center whole in the mash cap is bit smaller and I was extra careful when lowering the malt pipe simulating an underlet but is that really giving me clearer wort with less foam in the end? Probably the latter more than the former but yes, that is my best suggestion this far. Dissolved oxygen levels stayed around 0,9 PPM but as I said before, it’s hard to accurately measure DO in the mash due to both naturally occurring antioxidants in the malt that reacts with oxygen but also due to the way we are able to take samples without adding more oxygen to the mash (removing the mashcap and taking a sample below the surface). I also paid extra attention to the removing of the malt pipe so no extra gunk would reverse from the lautering and ending up in the kettle. By extra attention I mean raising it over a period of maybe 5 minutes. The result wasn’t visible until the boil just got started when the wort looked better than I ever had before with brilliantly clear wort with dissolved protein bits floating around in it. When I realised that this batch was going to be a bit special I decided to boil the hops in a bag for easier separation and perhaps even more clear wort going into the fermenter. To my big surprise, it didn’t really turn out better than my usual clarity. My guess is that the boil, even though it is gentle, is breaking down proteins into smaller parts and just like an egg, coagulated proteins won’t dissolve again but it can be chopped up into small pieces. A prolonged rest after or during the chilling is my currently best option for removing these compounds since I failed with a big number of whirlpools in the Braumeister due to all it’s elements in the bottom and it worked pretty well this time as usual. In the middle of the chilling I added a very unconventional for the style hopstand for about 30 min at 79°C. A little extra noble hopkick in the BBQ-time seemed fitting for a 1.050 maß-session beer. The chilling down to fermentation temperature took some extra time due to the summer having arrived in record time. I only got the wort down to 15°C before deciding that I could not waste any more tap water. It would have to do… I ended up with a lot of foam in the fermenter so this time my 45L stainless fermenter (that fits about 50l) was a bit too small. I ended up with 15L spare wort, both from some outofthekettle spargeing and also from the last wort in the BM. I added a non hydrated dry yeast (US05) and let it ferment away without temperature control. Dishing of the BM went extra easy this time and I might not needed more than the first water rinse to get it clean but I used the pump with spray ball and some Enzybrew anyway.
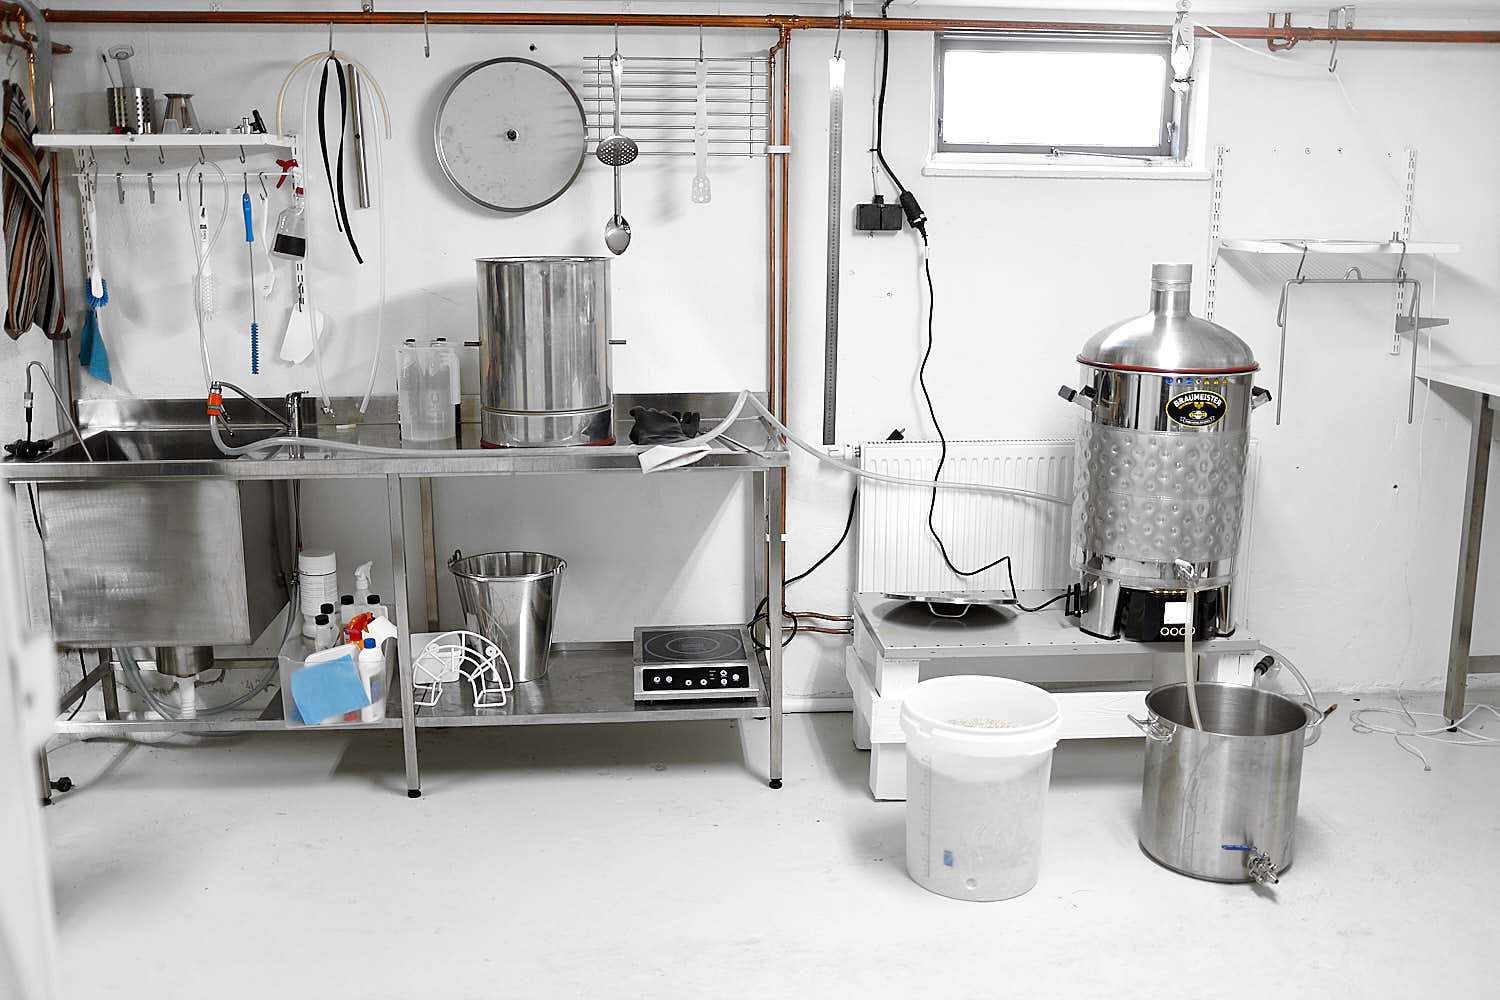 Transfer of extra mash water before mash in.
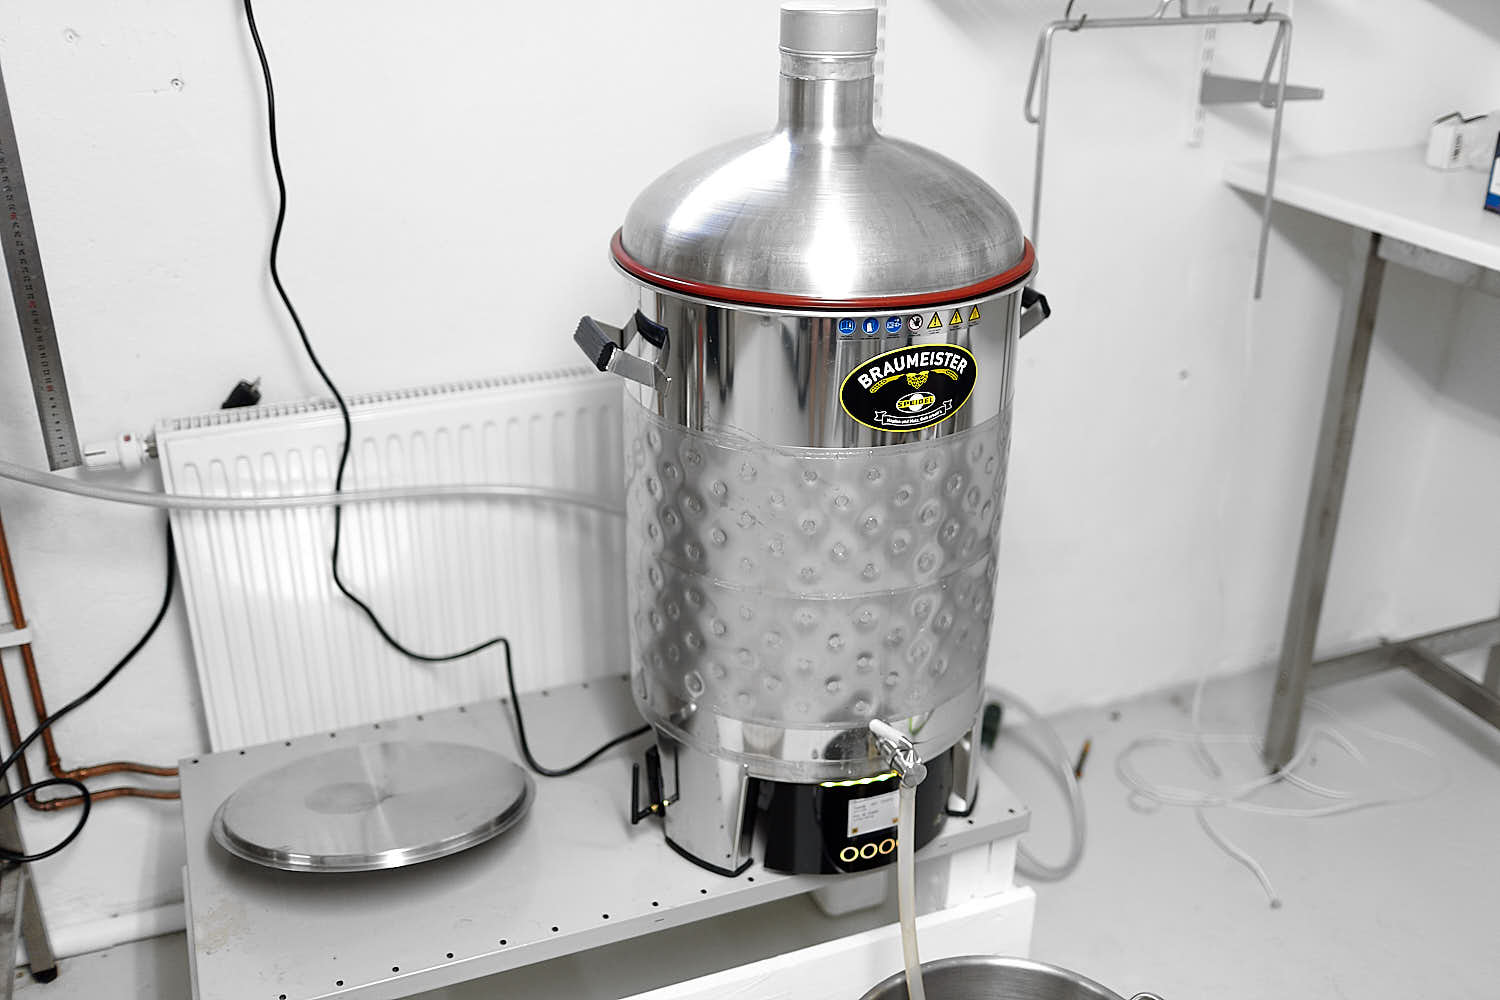
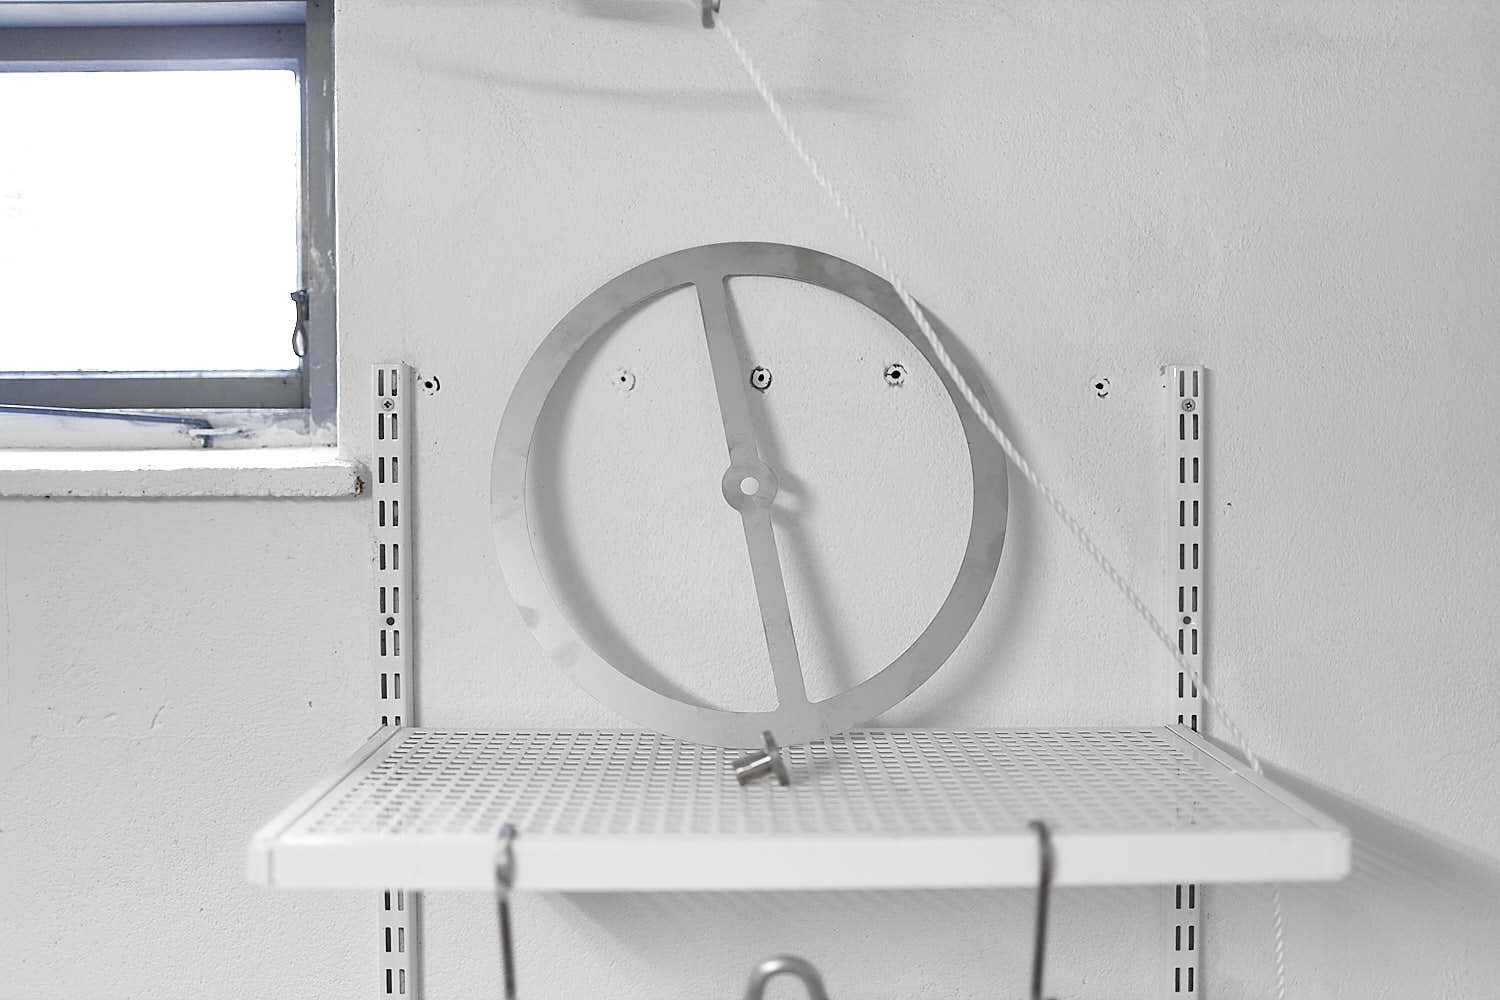 The new prototype parts besides the mashcap.
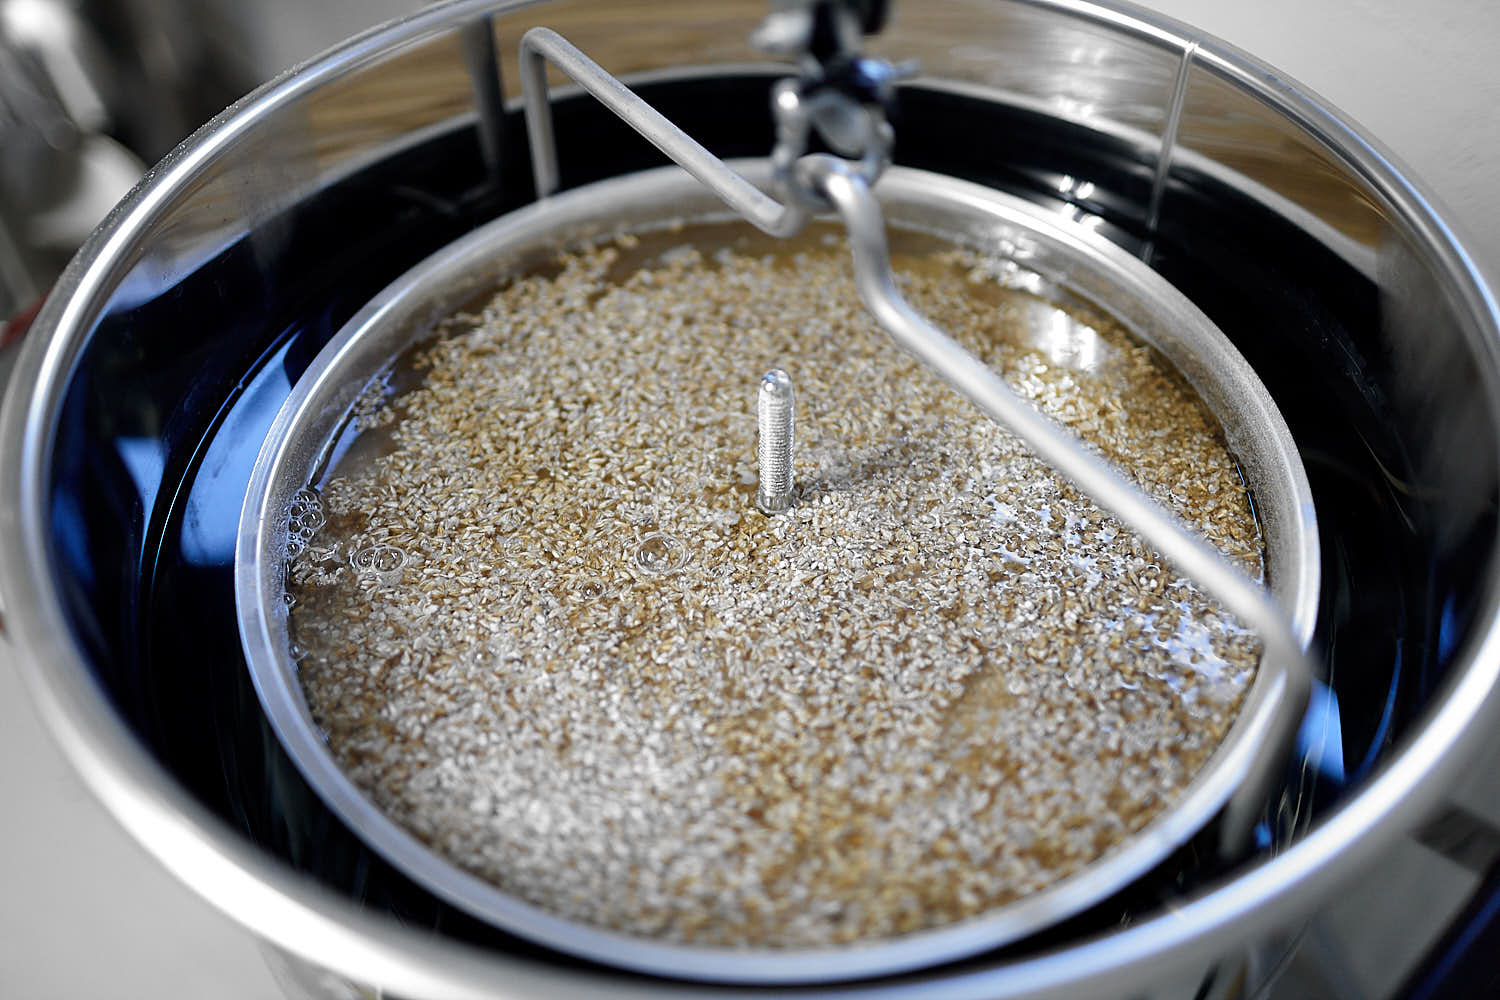
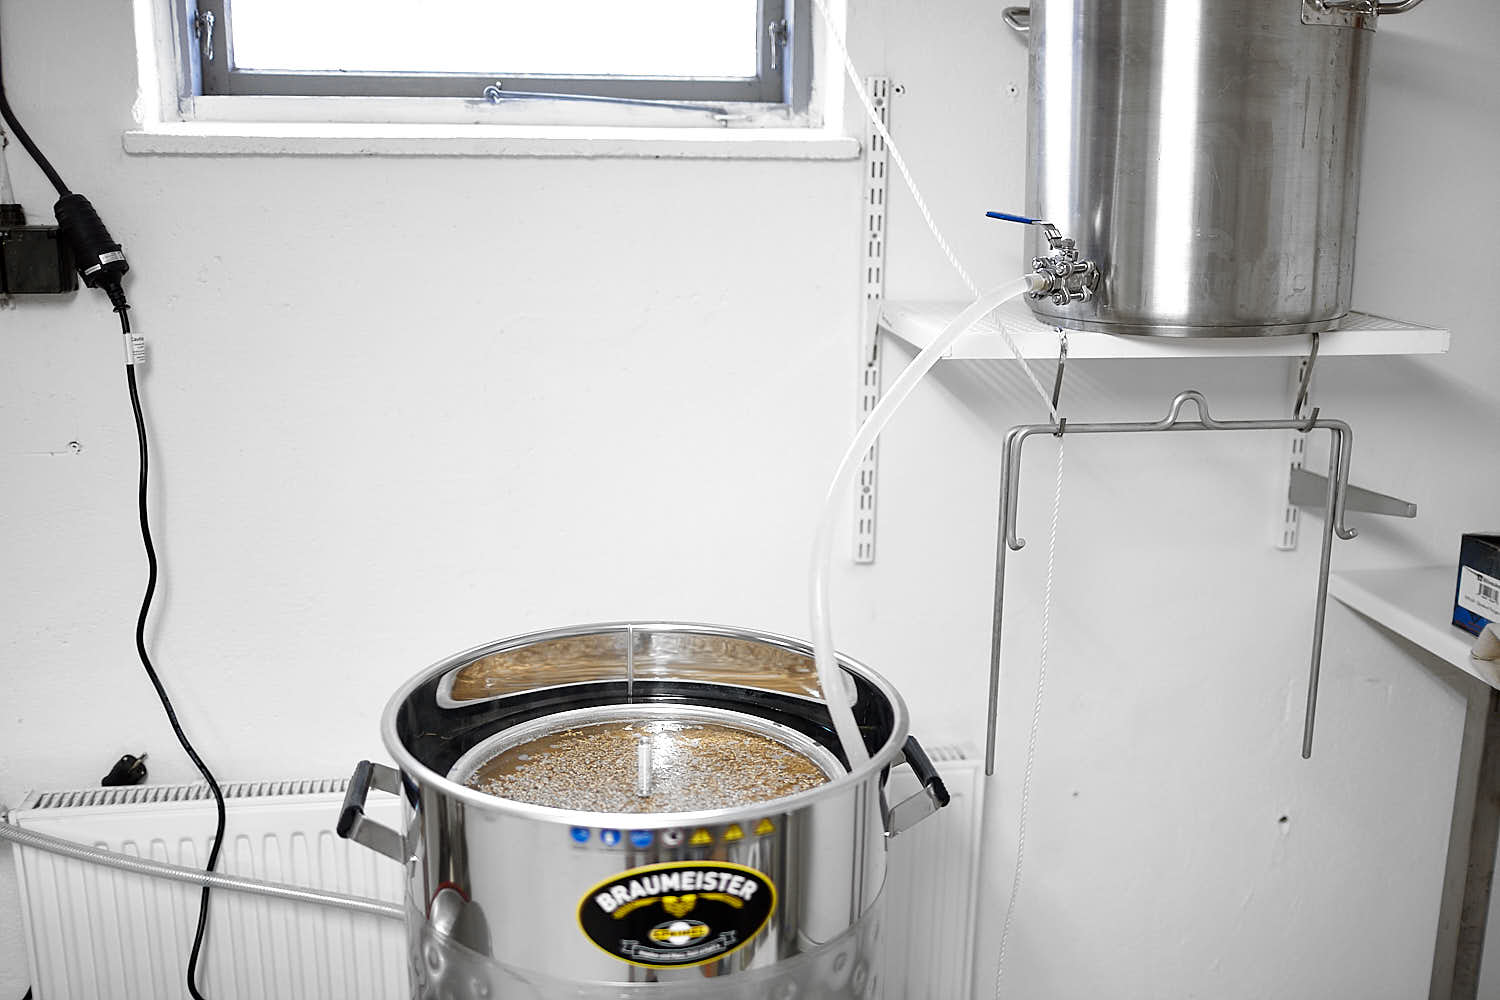 Refill och mash water to overflow/underlet the malt.
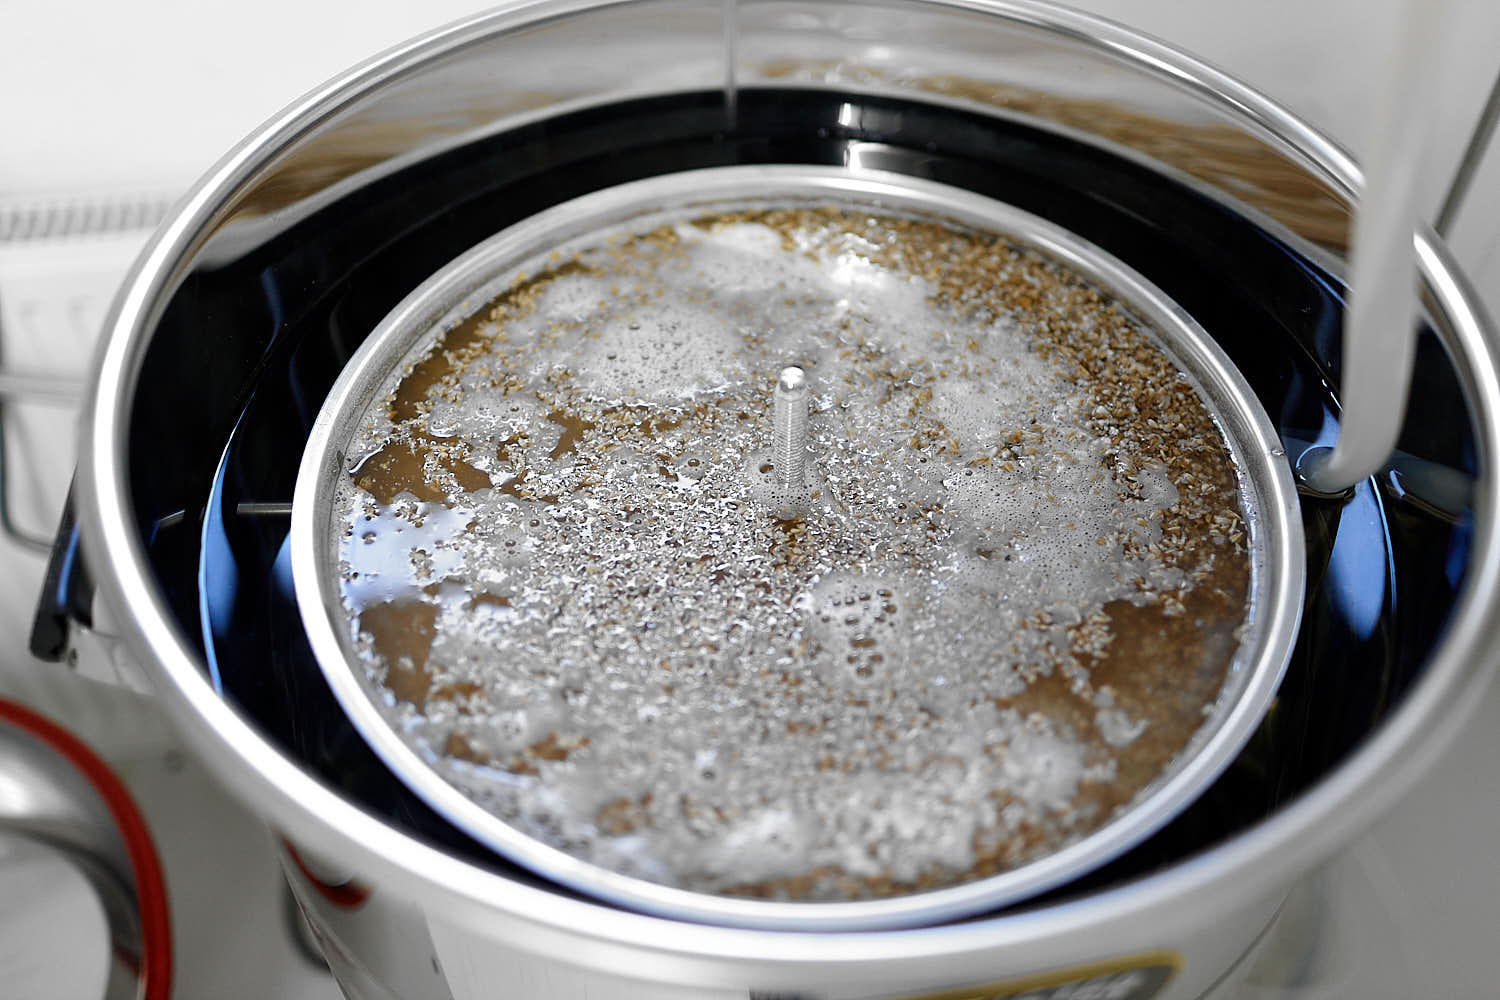
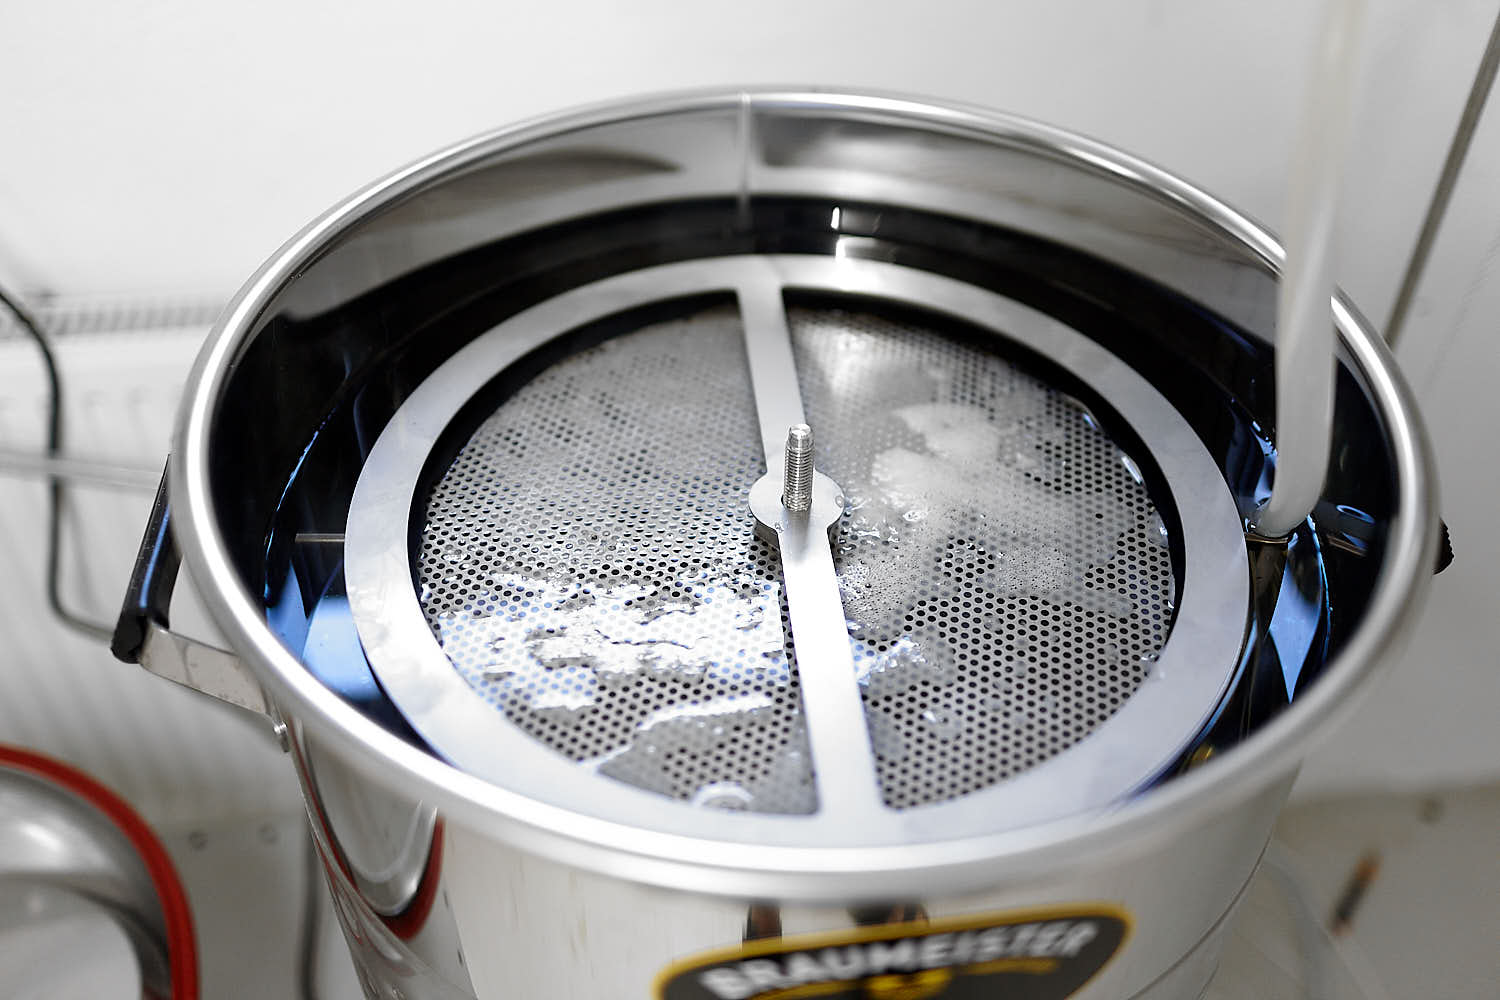 Adding of the maltpipe holder disc.
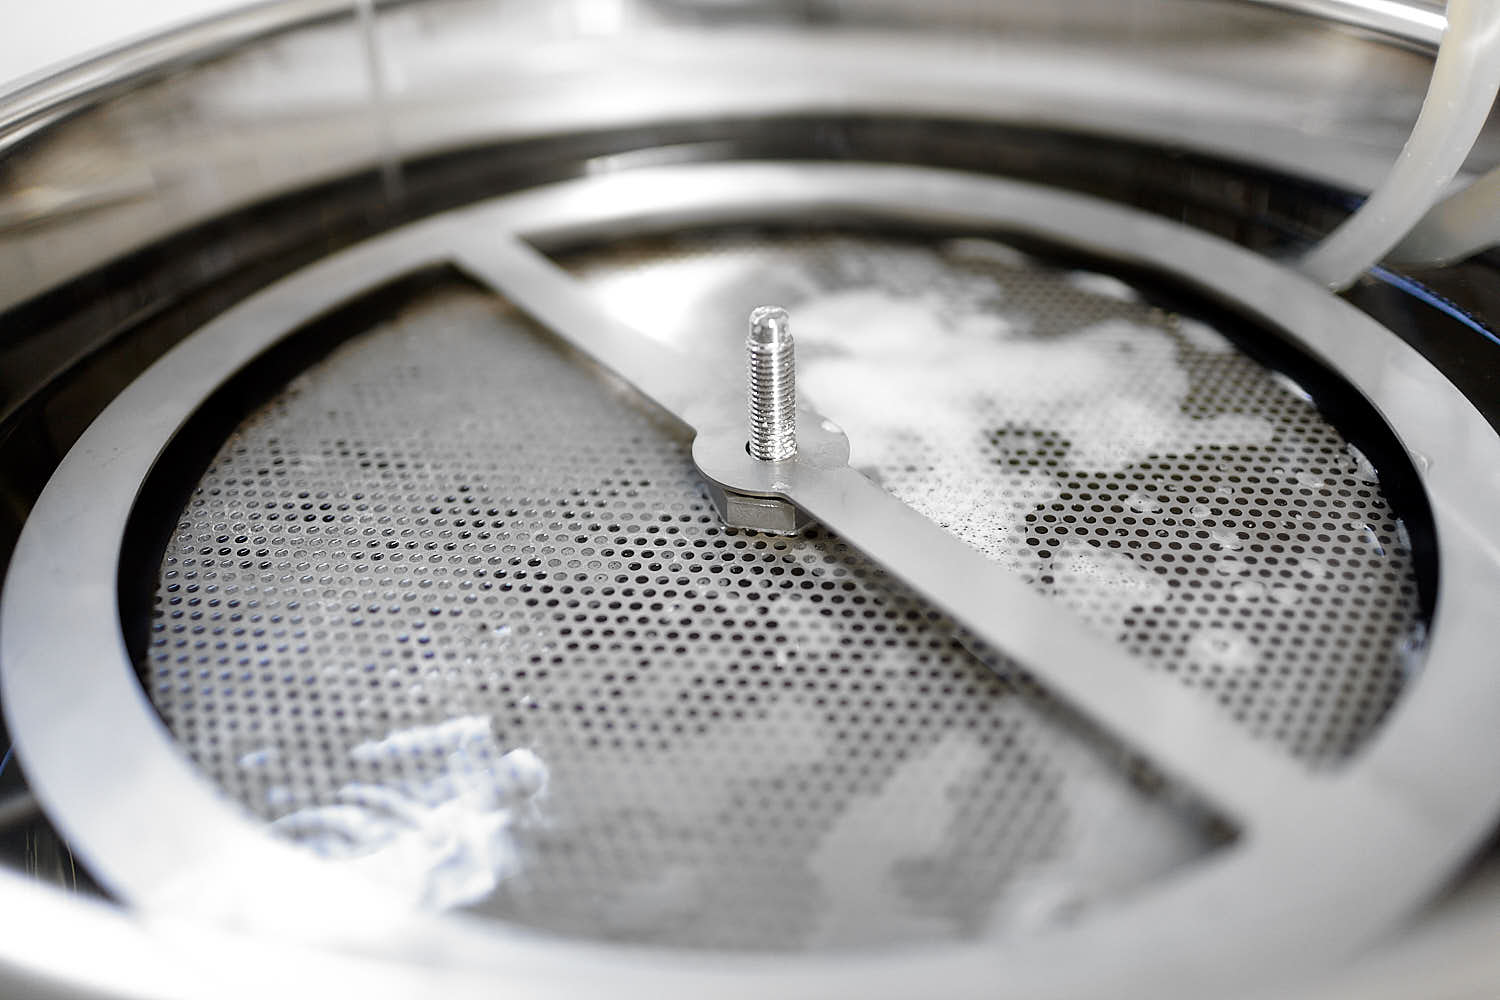 If added in this sequence, a bolt is an insurance that the filters will be kept down but probably it is unnecessary.
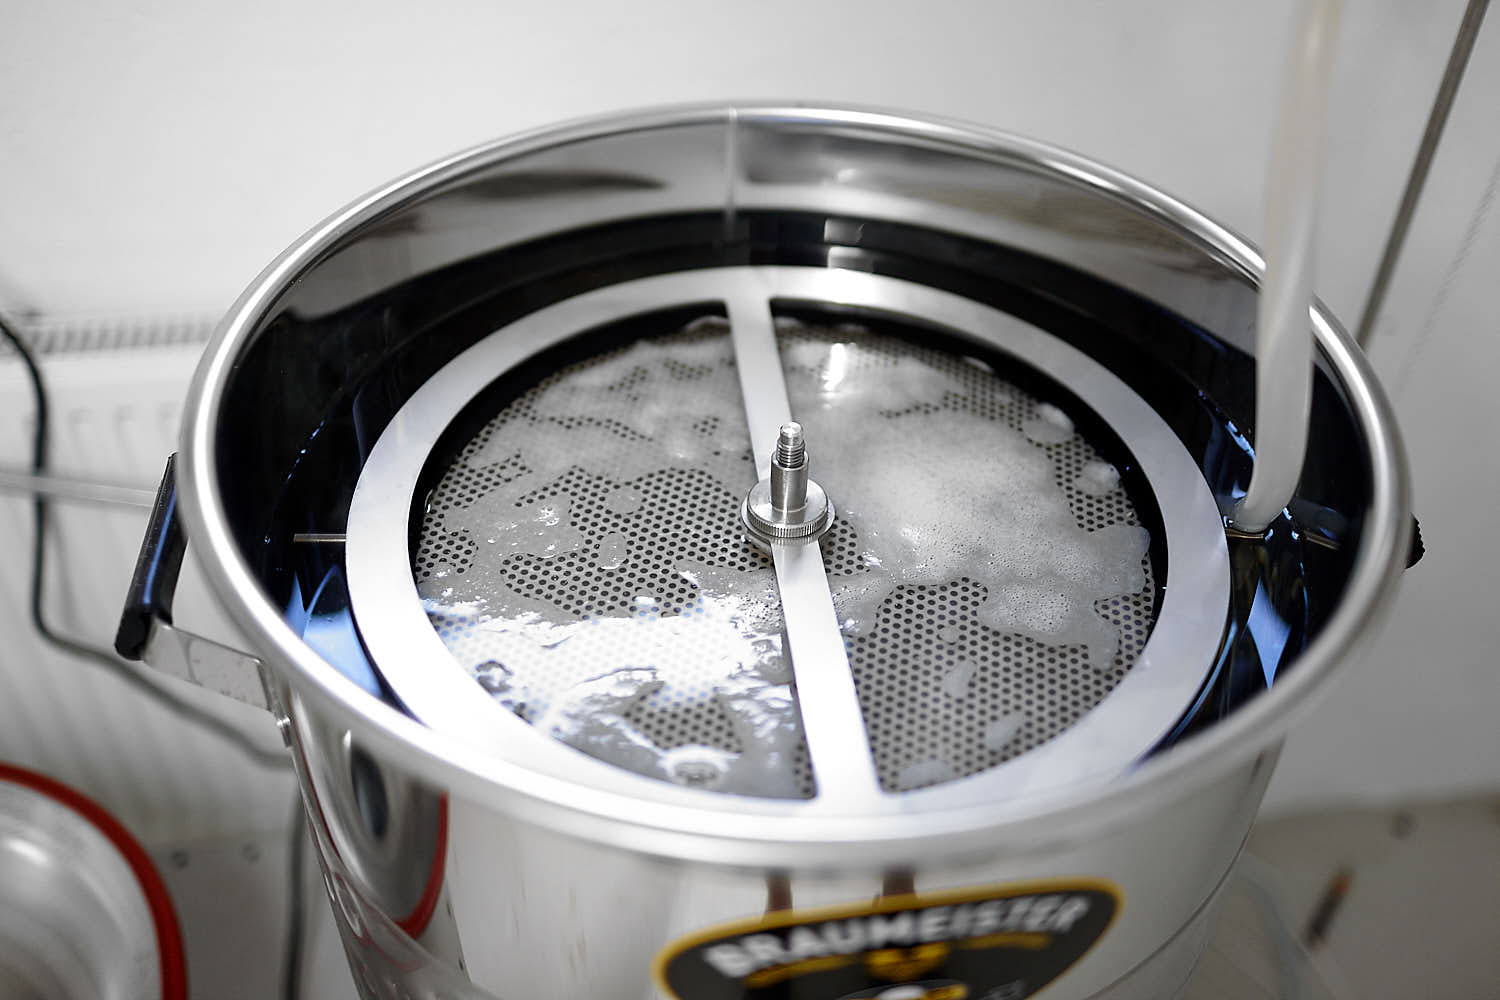 New nut in place.
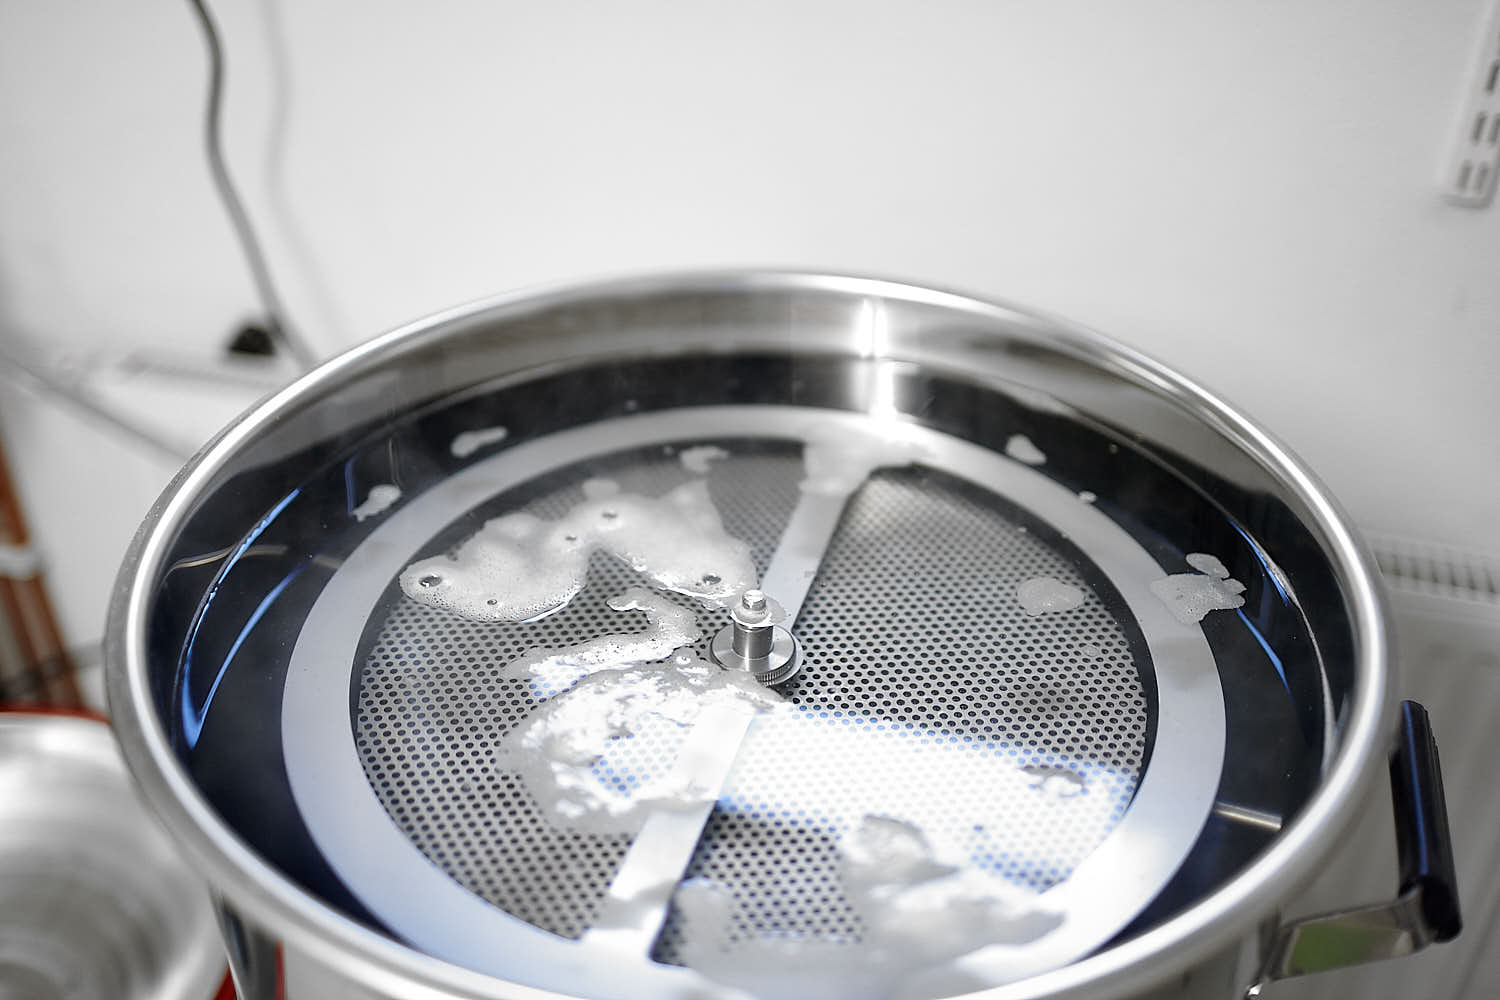 Overflow with water to ensure that the mash cap is floating.
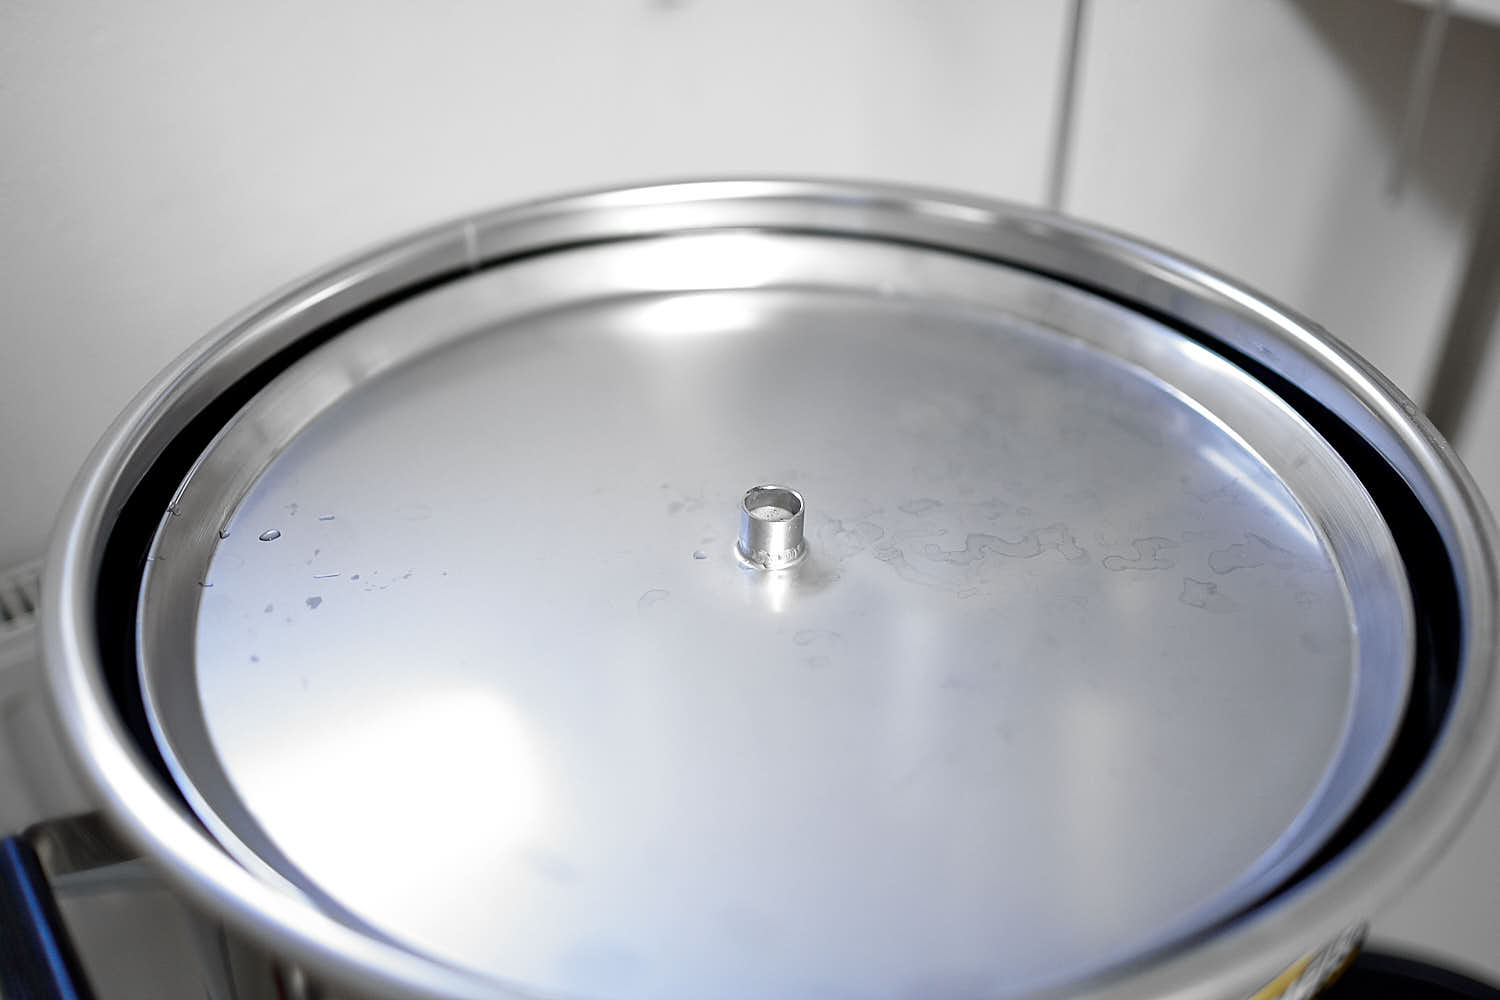 New mashcap added and mash program started.
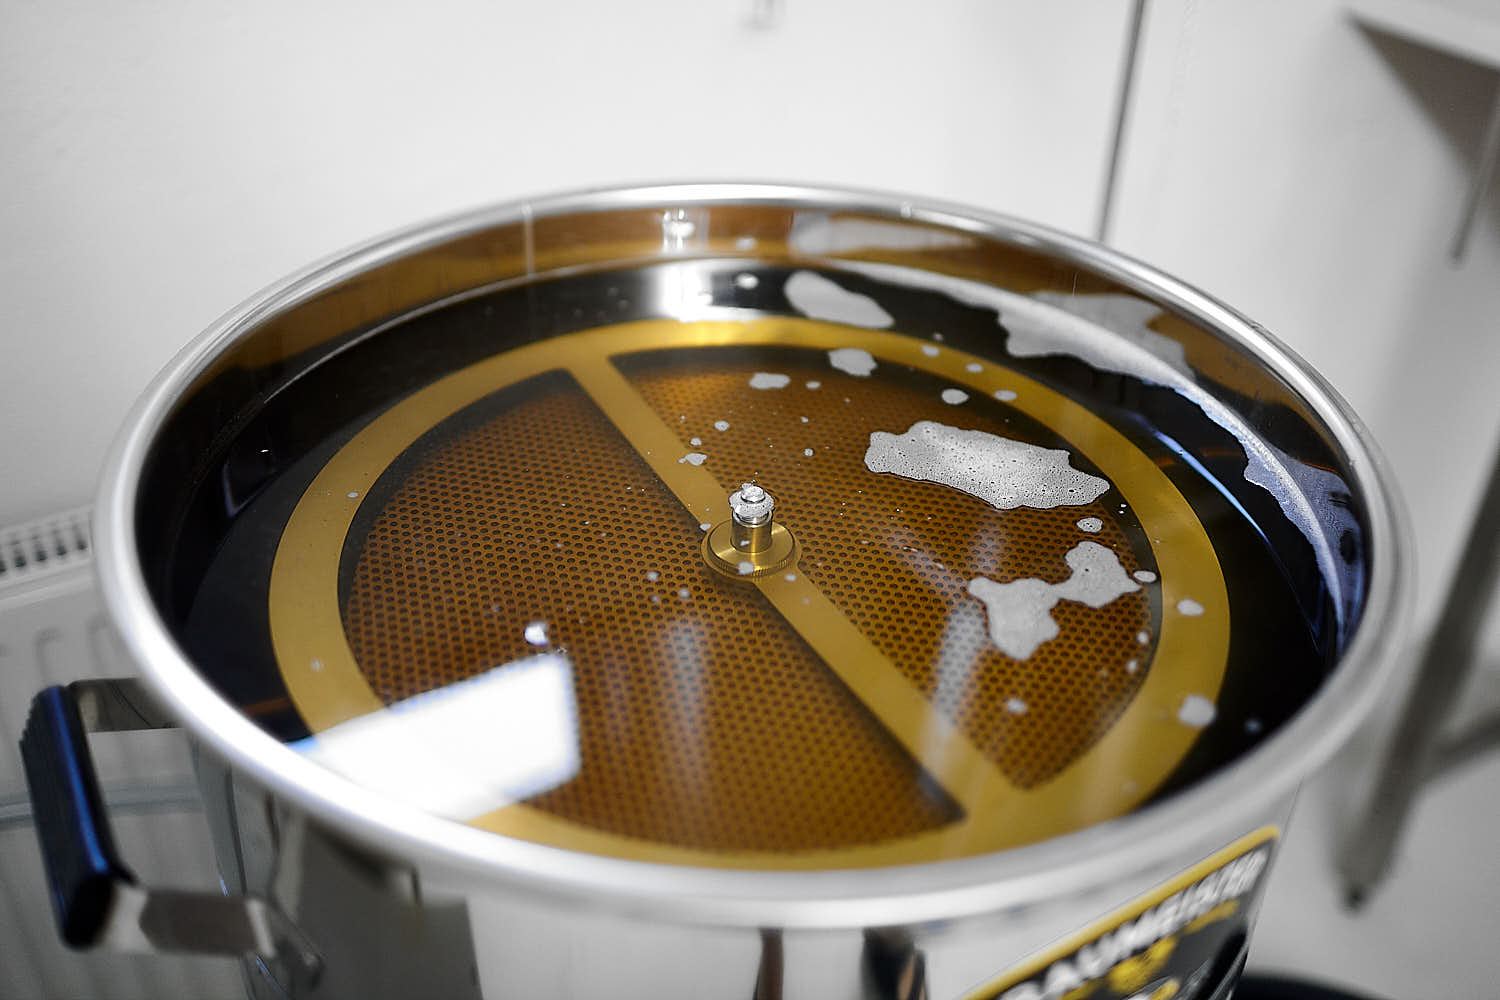 The result after the mash.
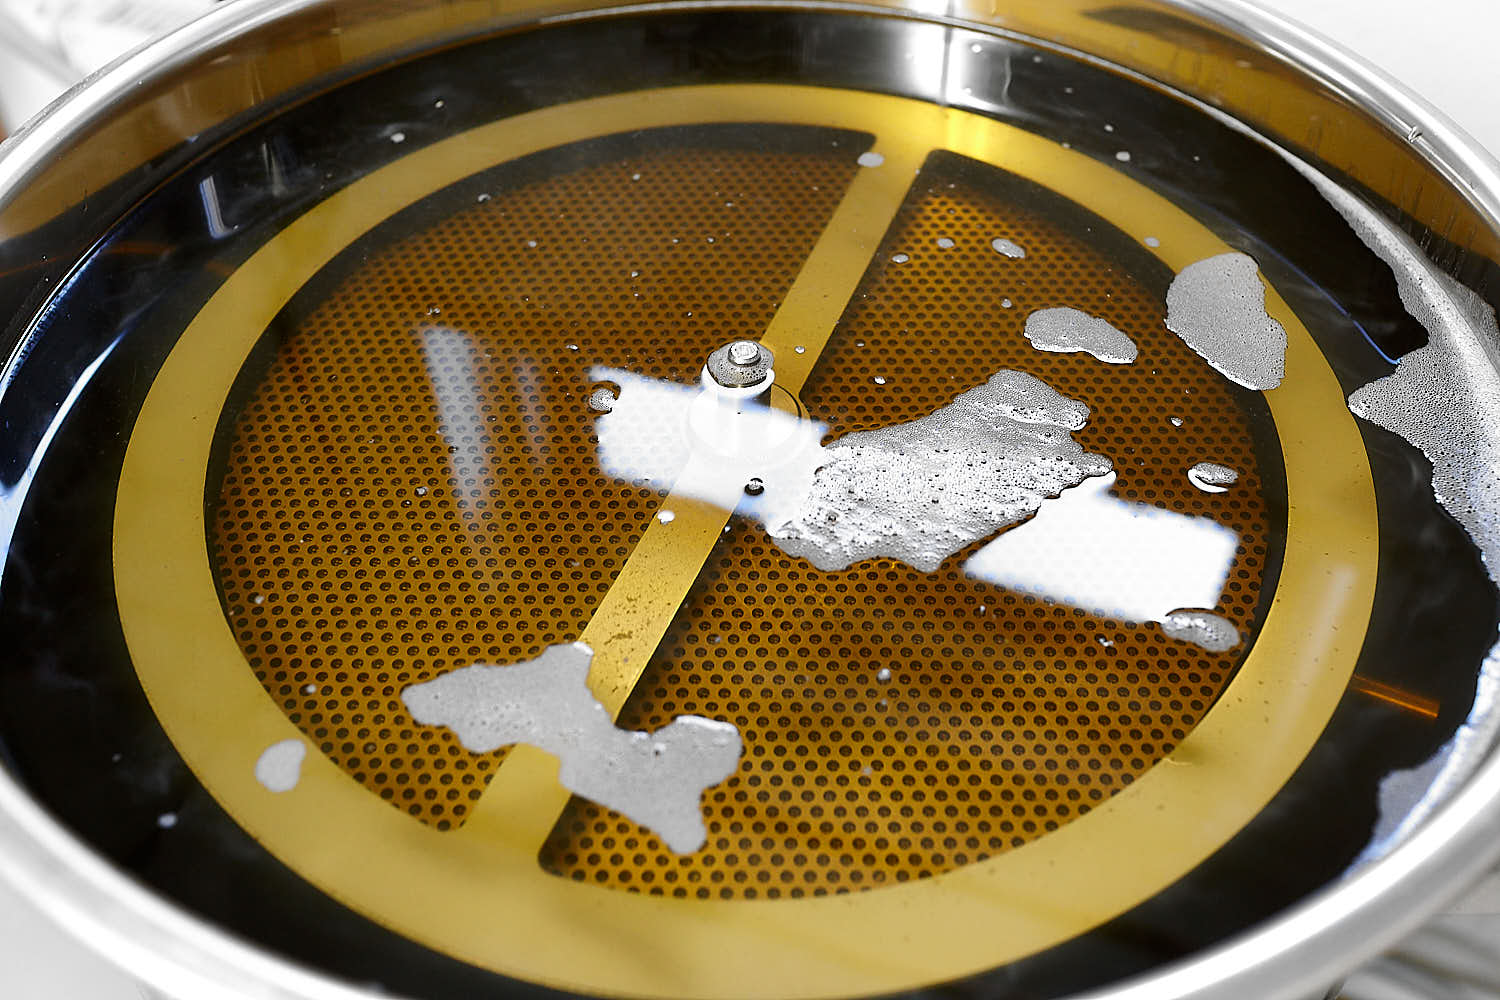 Awesome clarity and low foam.
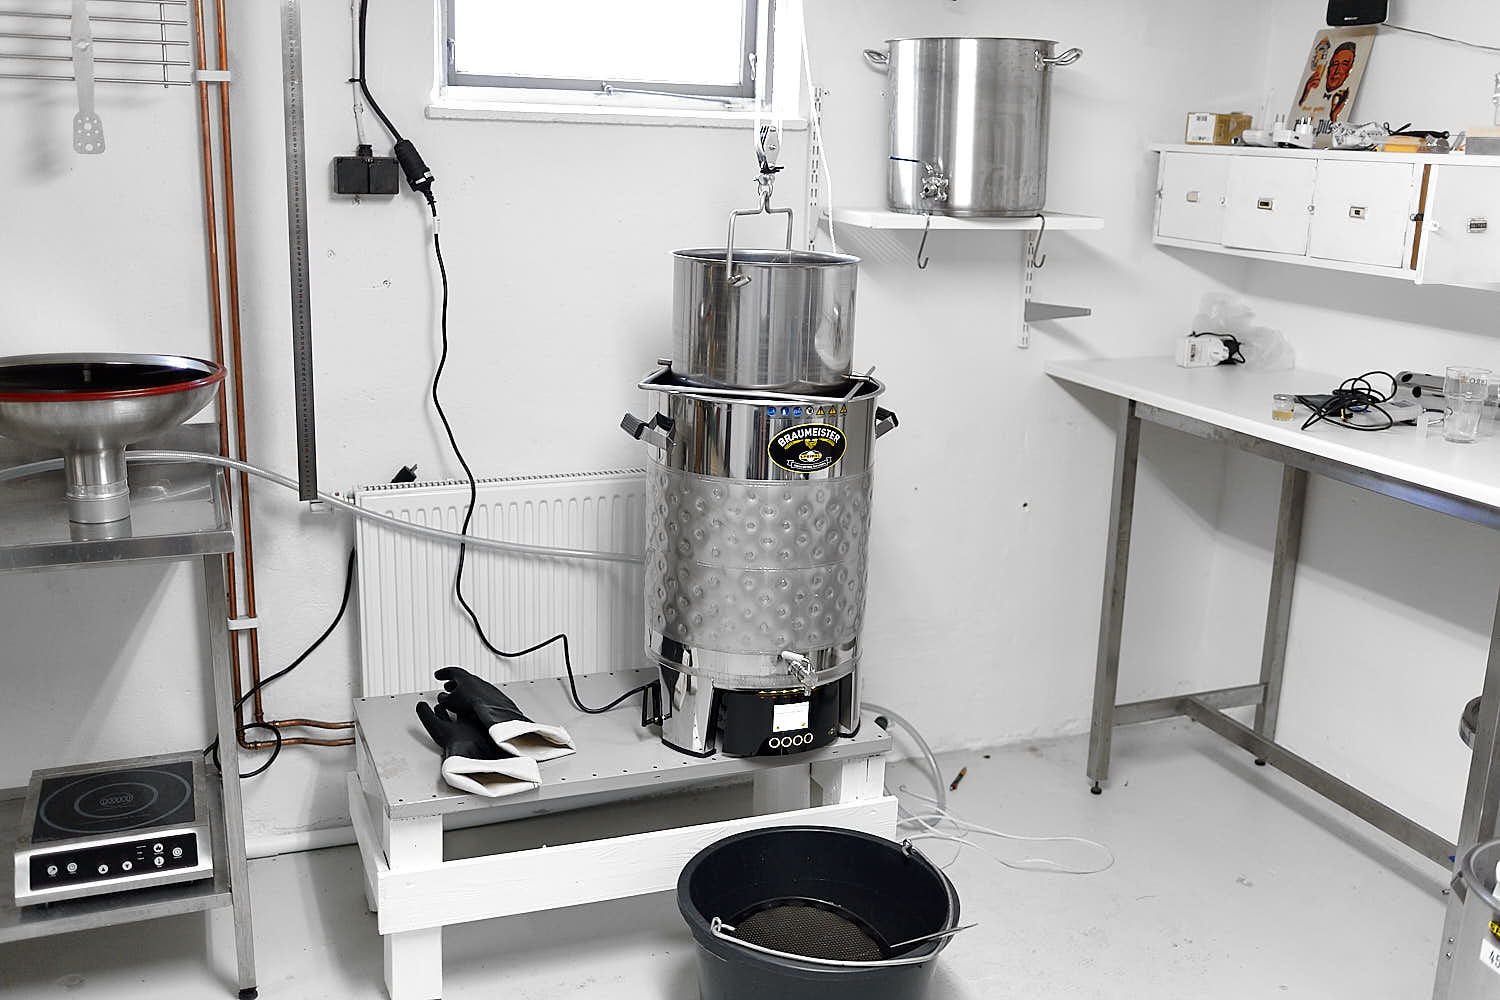 After the outdrawn lifting of the maltpipe.
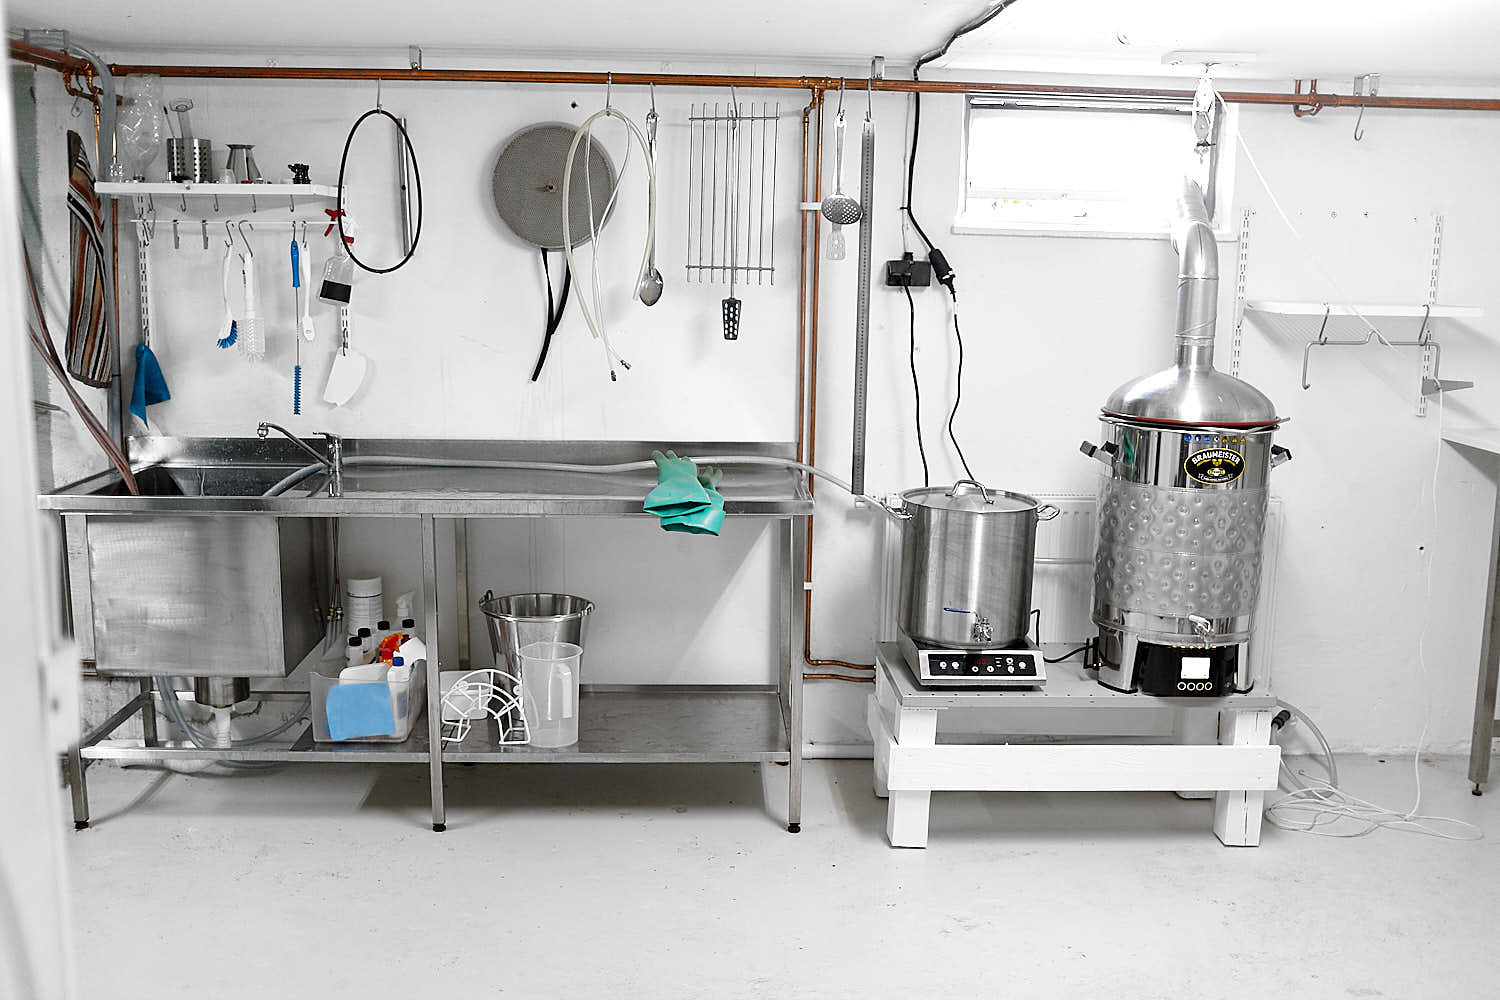 Boiling spargewort in the left kettle and boiling the main batch to the right.
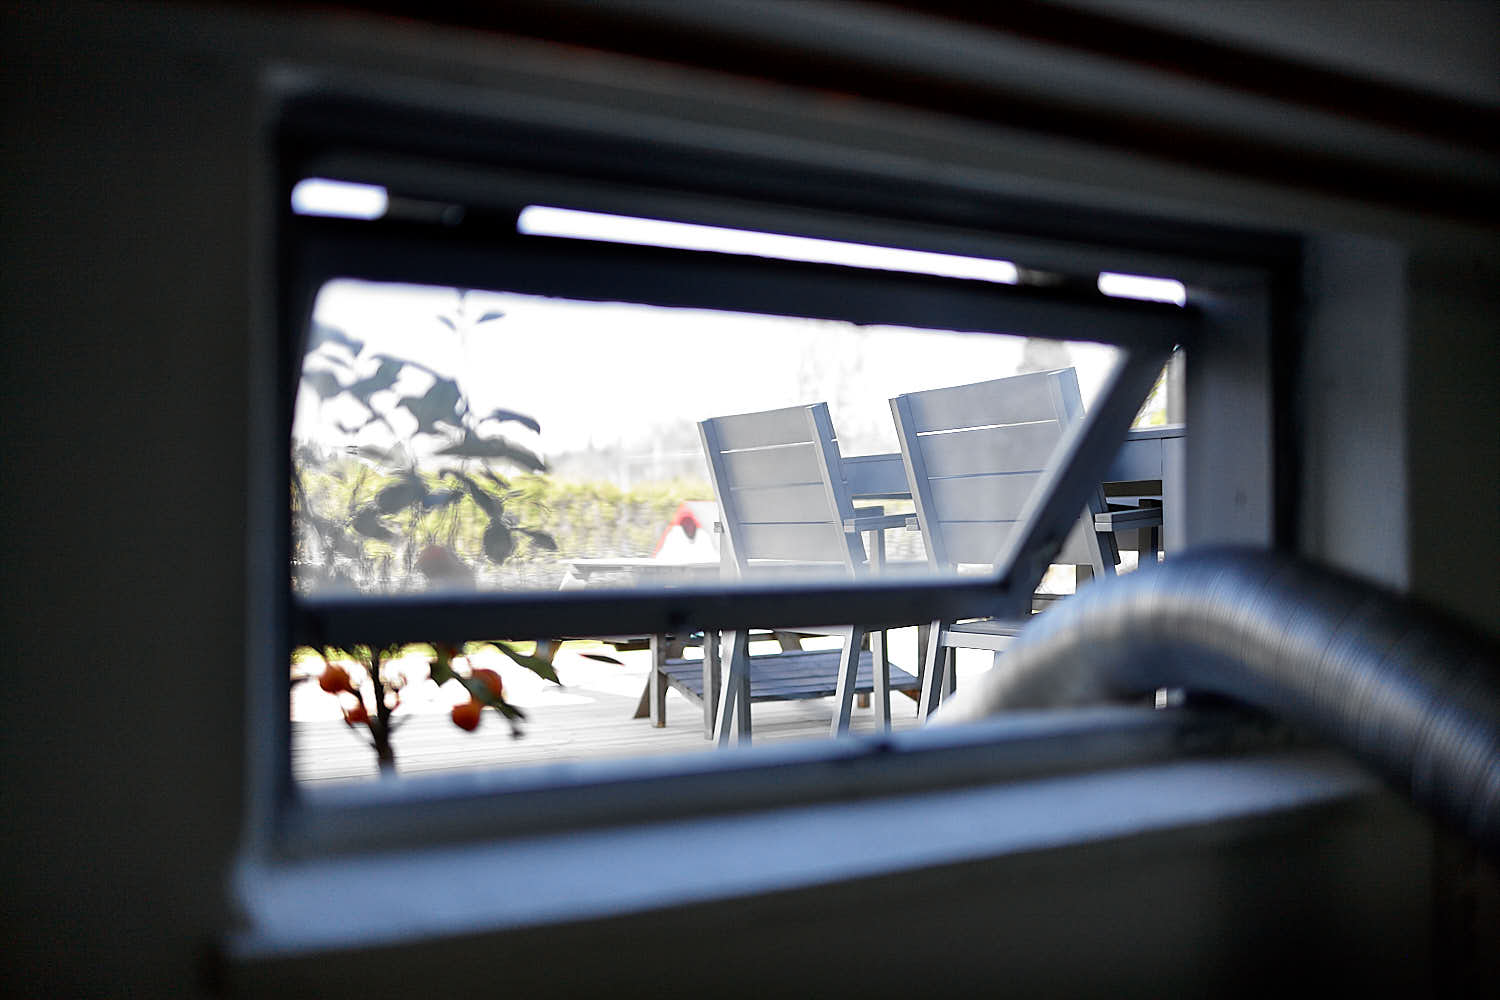 This view used to be just grass and garden. Now it’s an orangetree in the wooden biergarten instead (my wife does not have the same name on the place…).
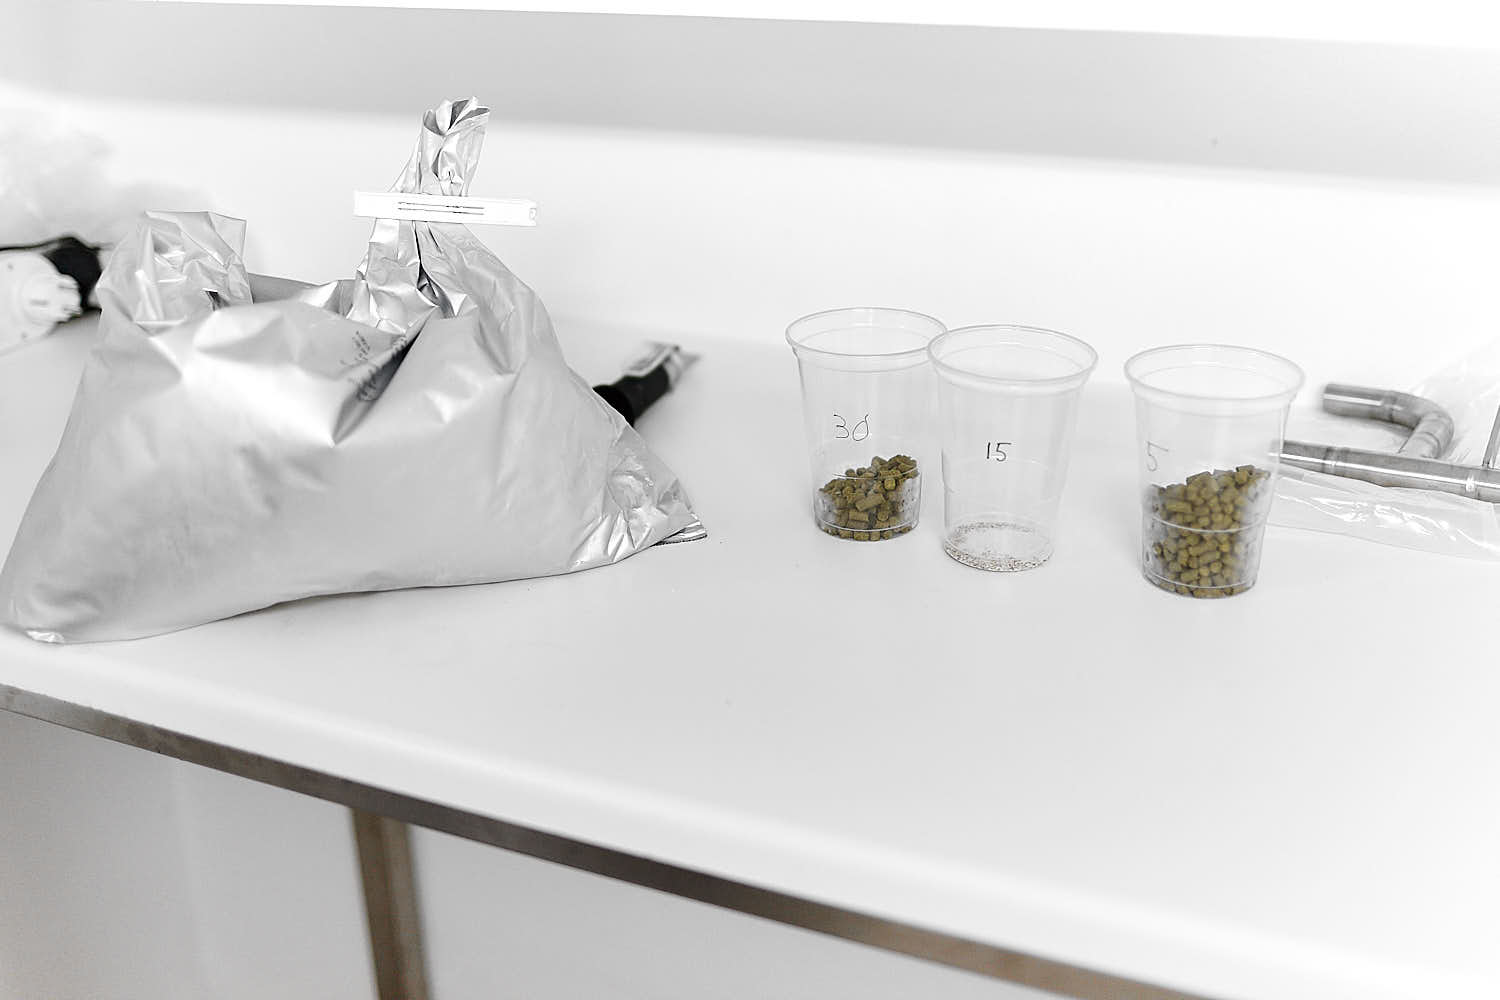 Noble hops in the form of Perle.
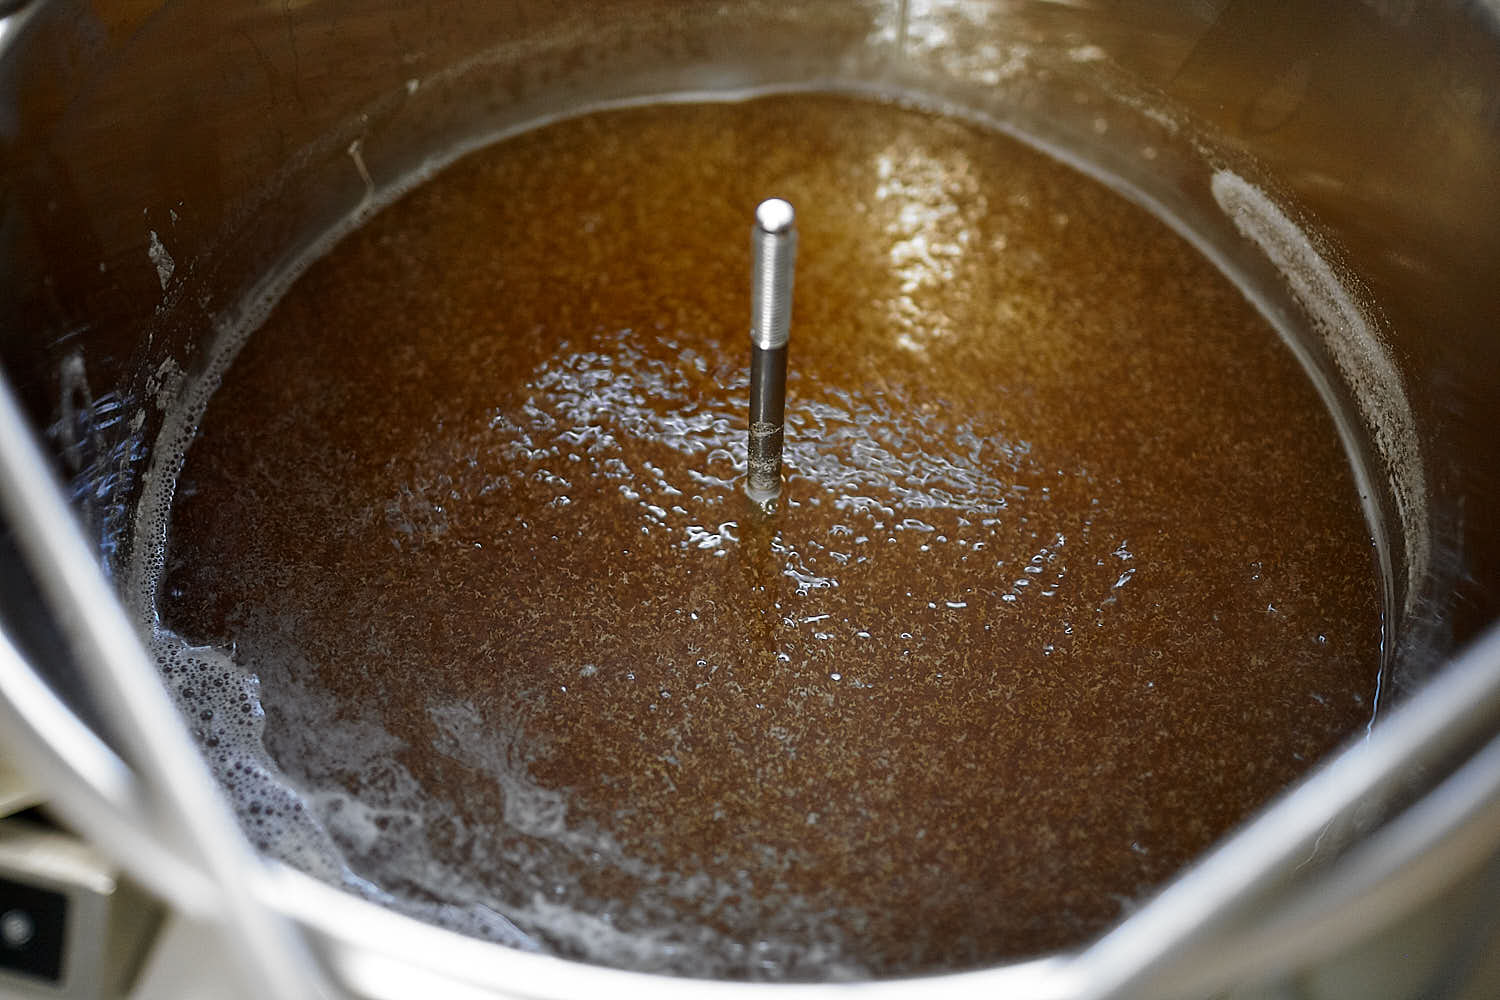 Start of the boil. Hard to see the clarity and nondissolved proteins but look at next photo:
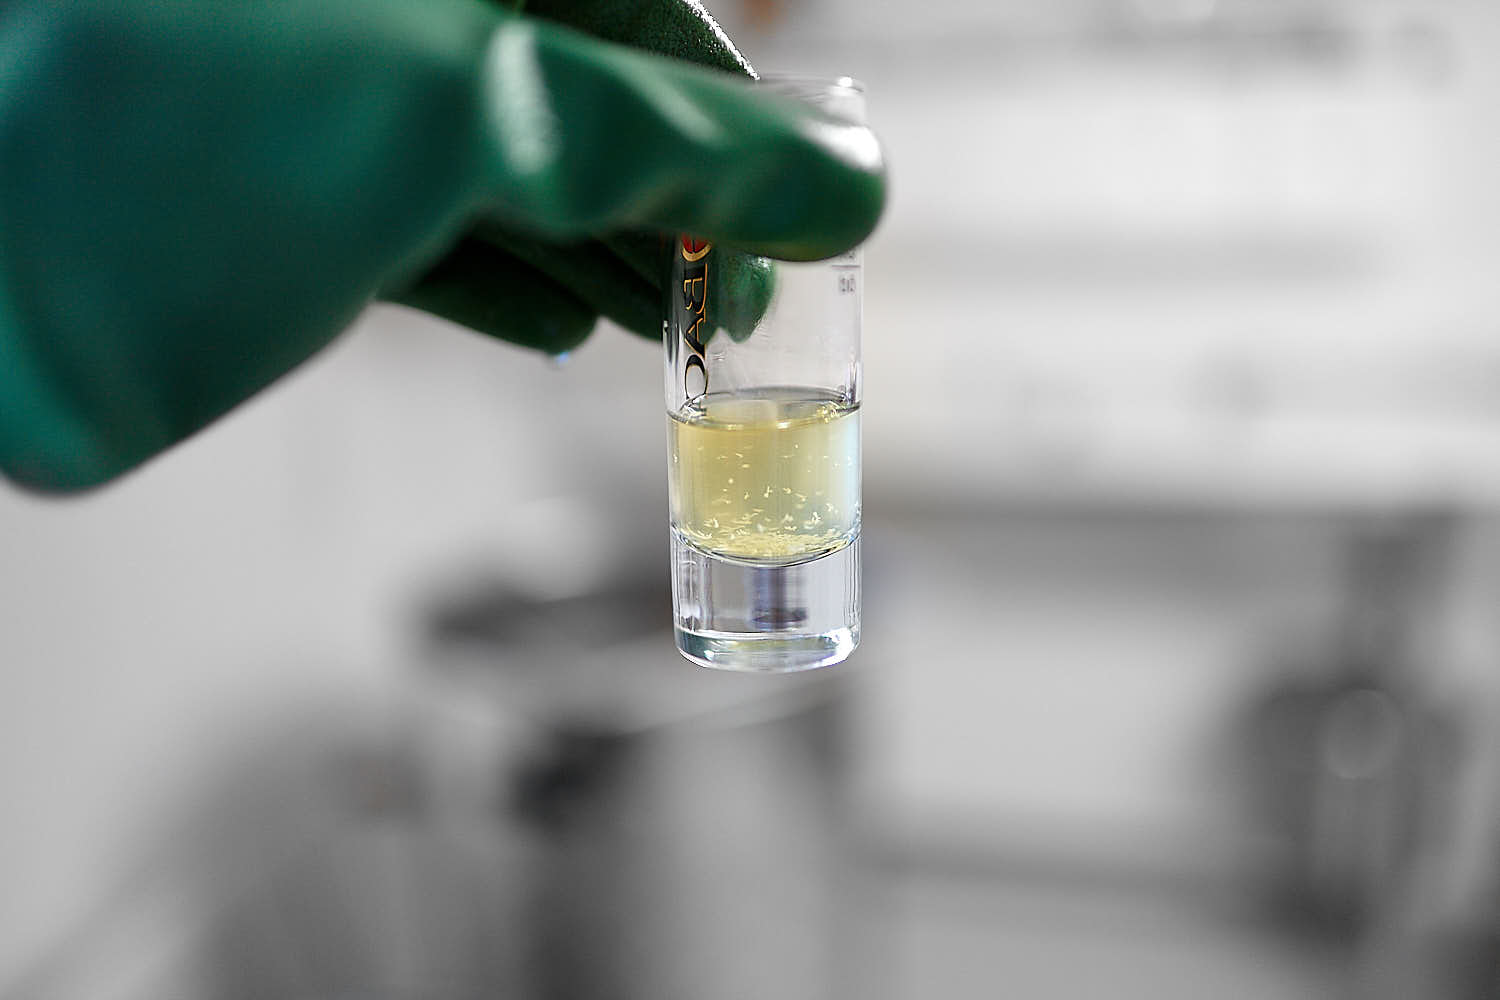 Finally I get a nice hot break in the beginning och the boil!
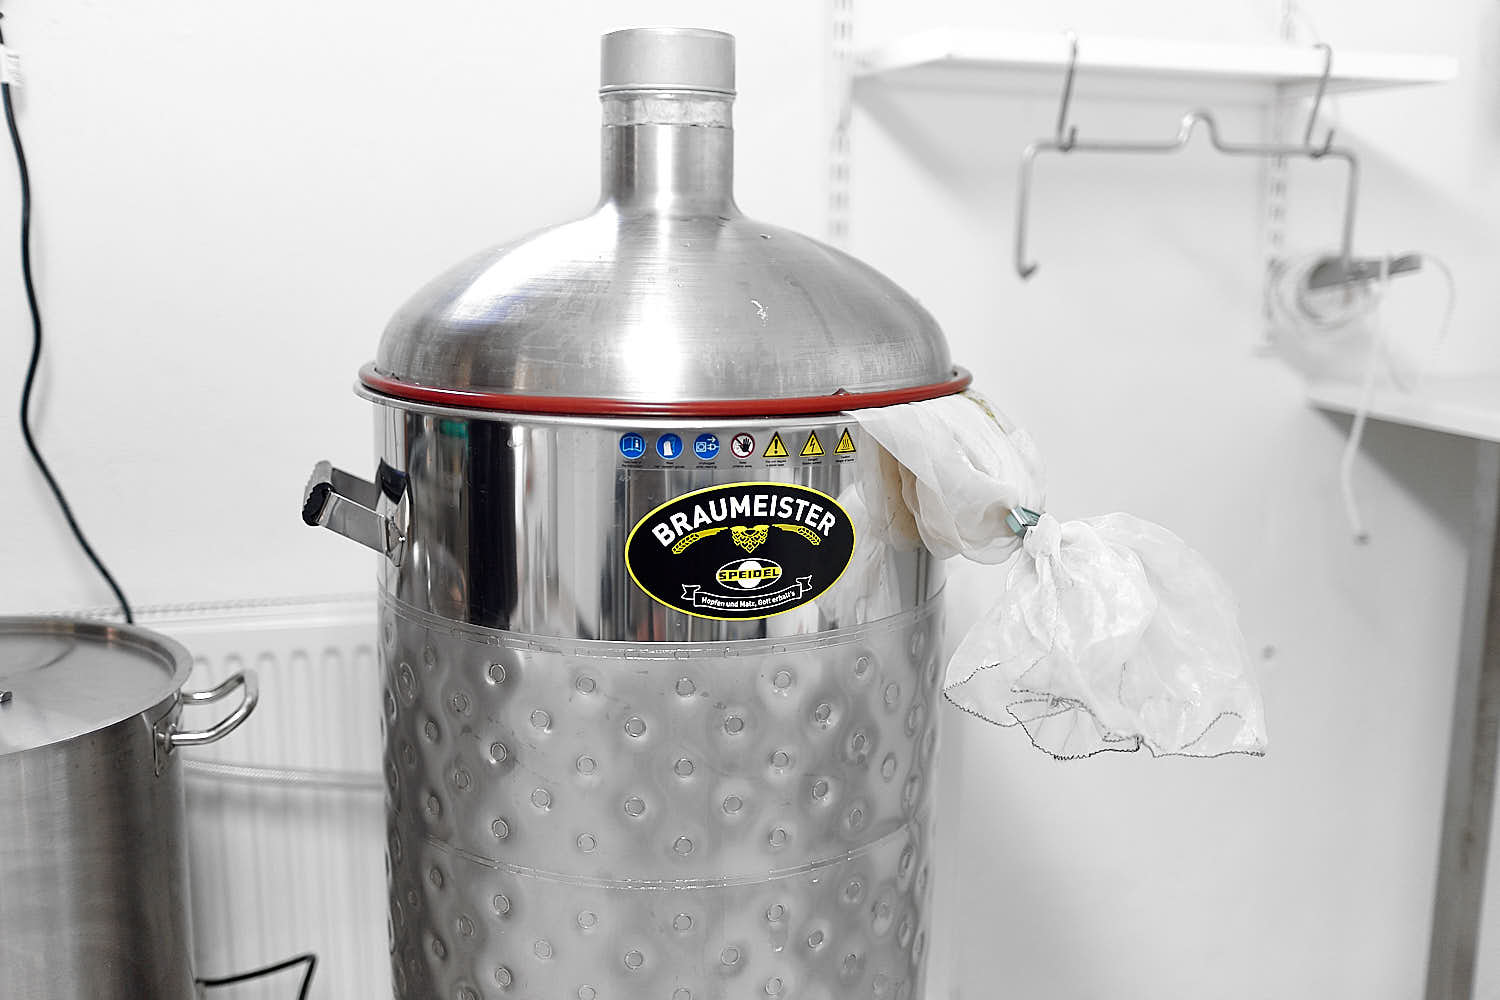 I used my BIAB-bag to boil hops in.
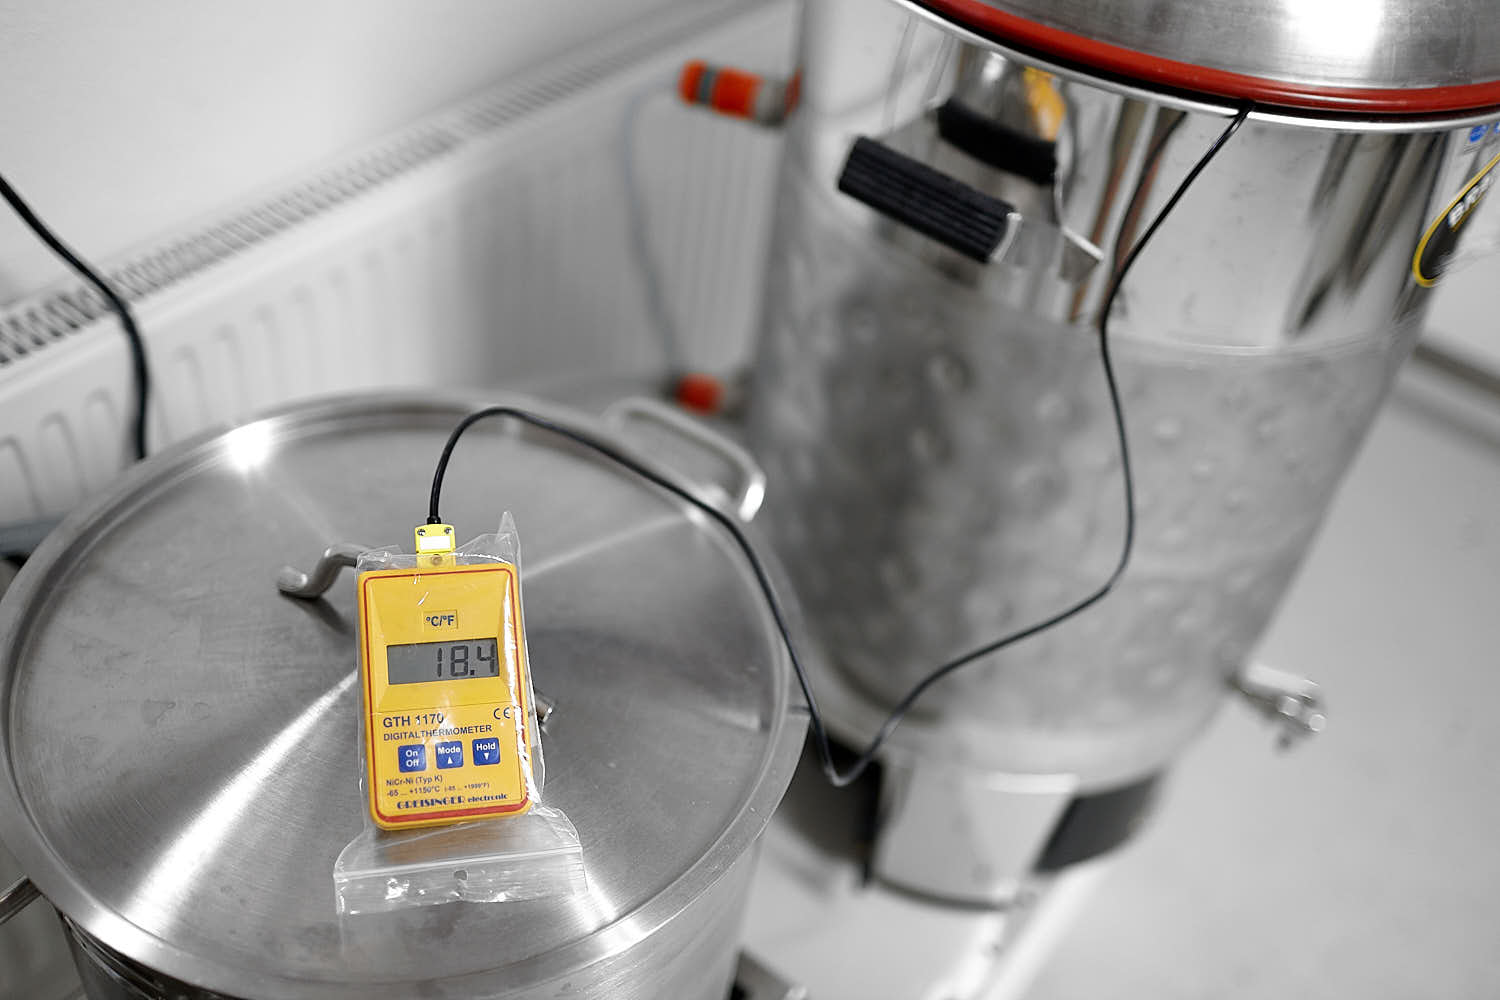
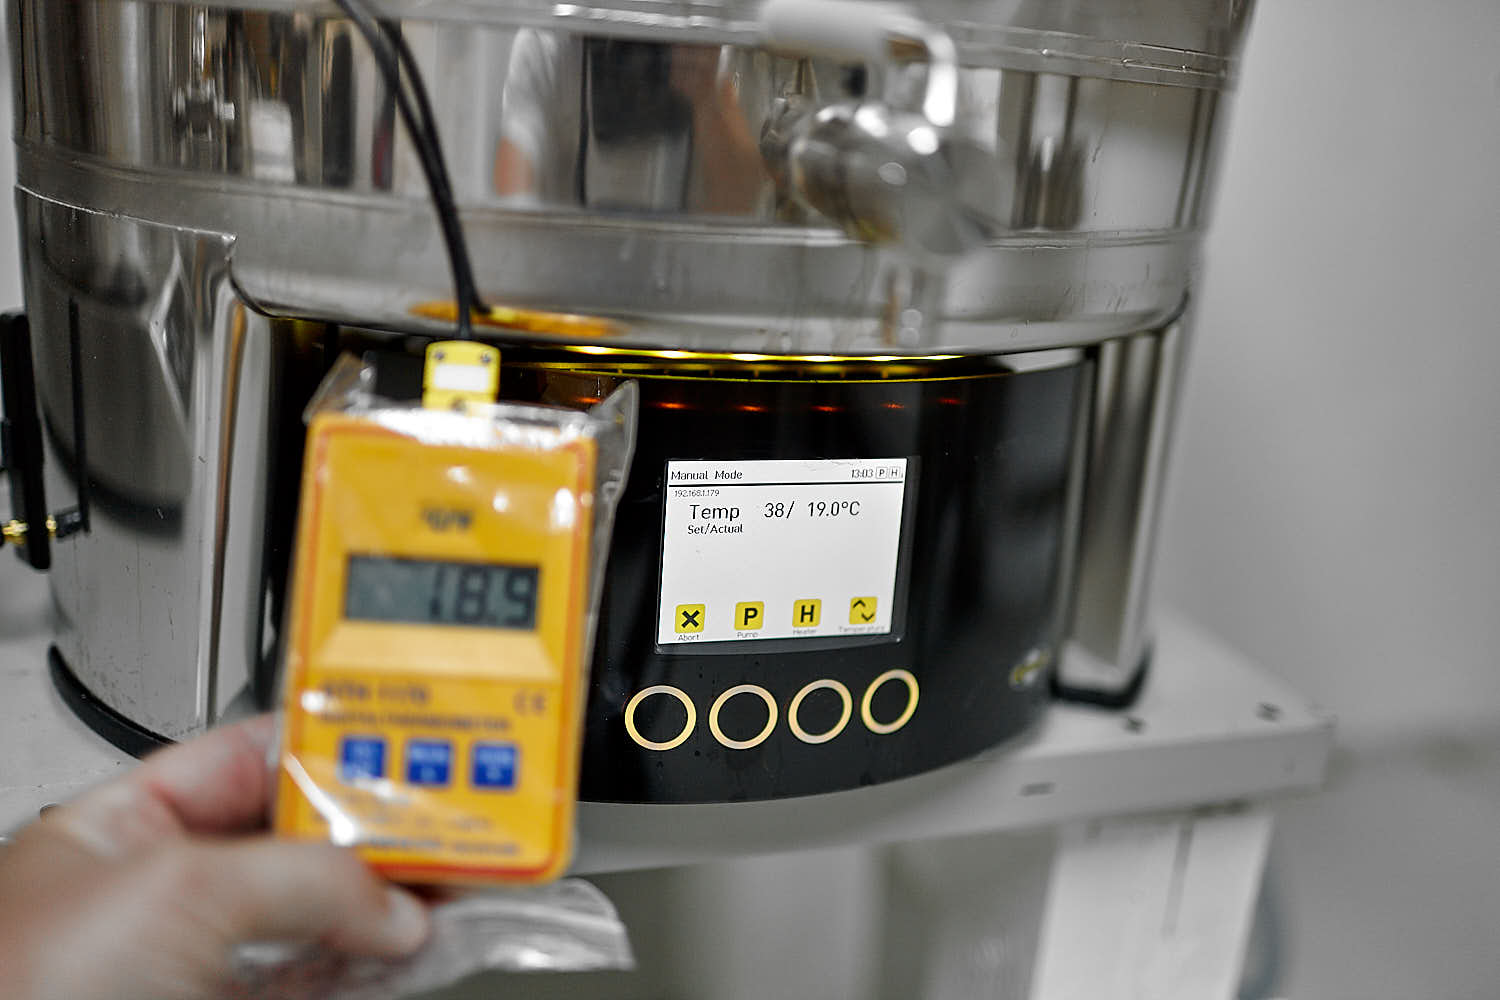 Measured the temp with my Gresinger GHT1170 and it was pretty consistent with the BM temperature.
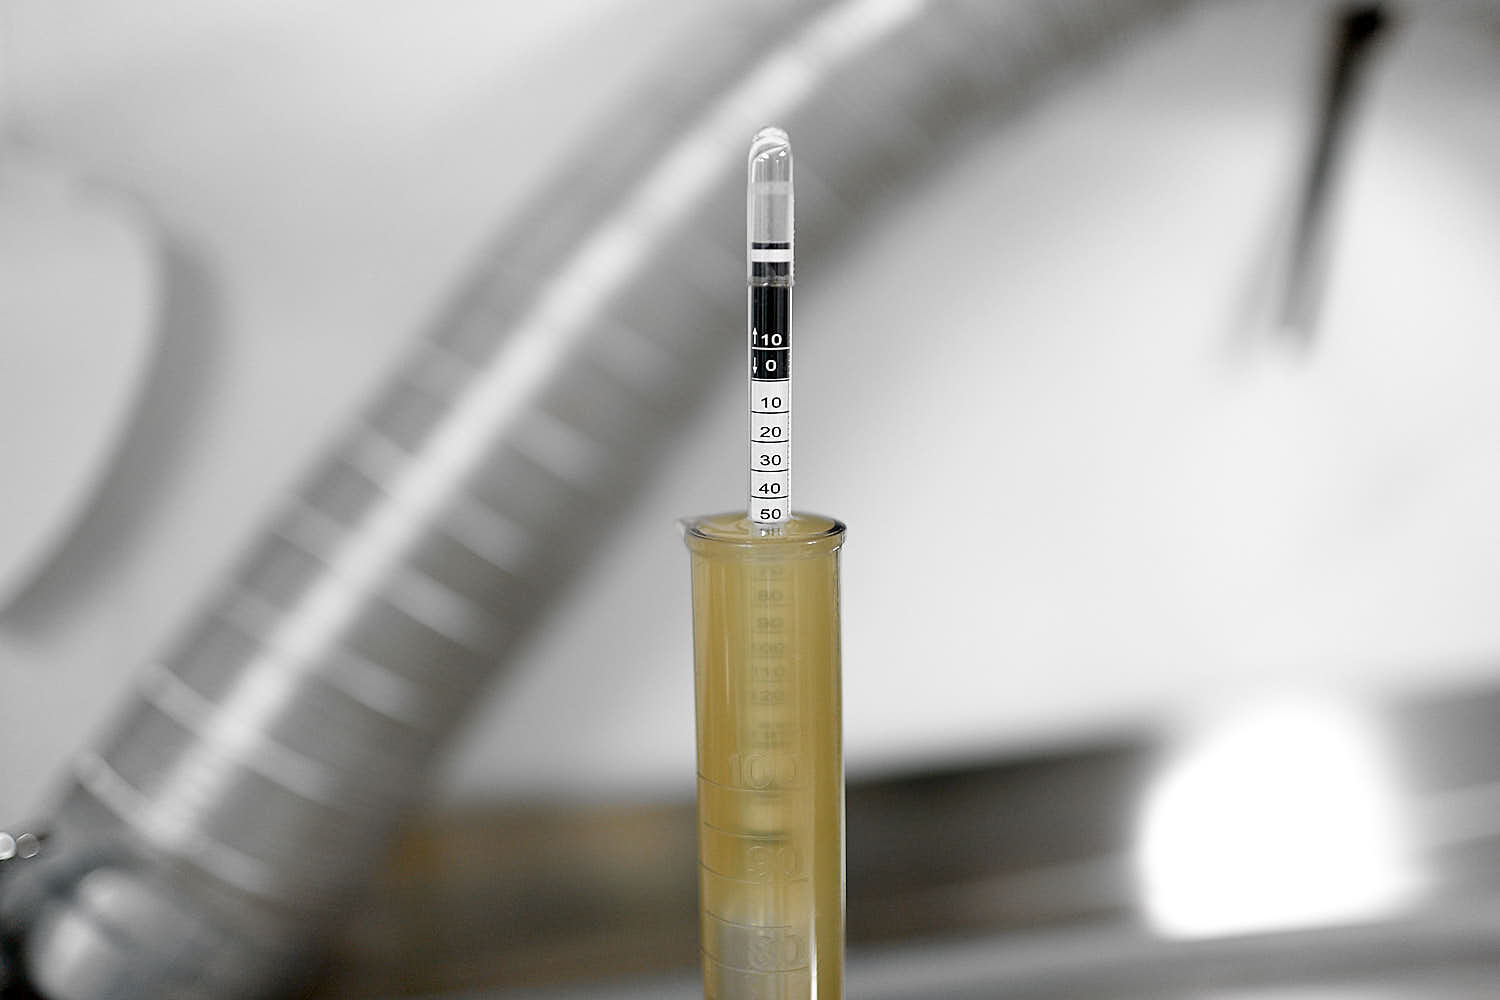
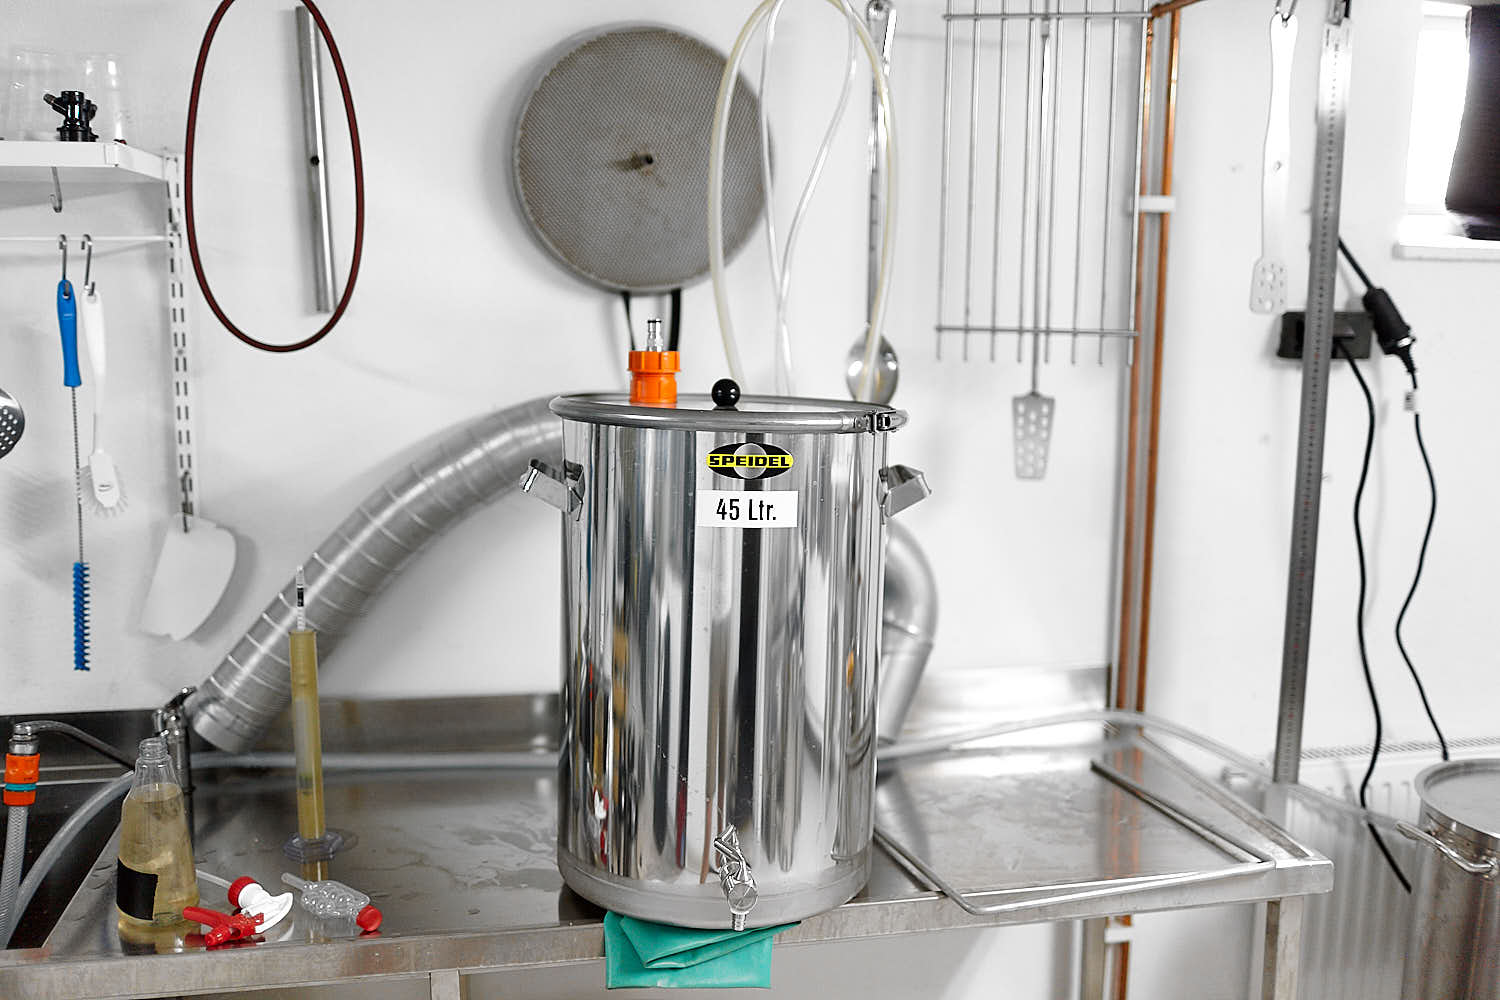
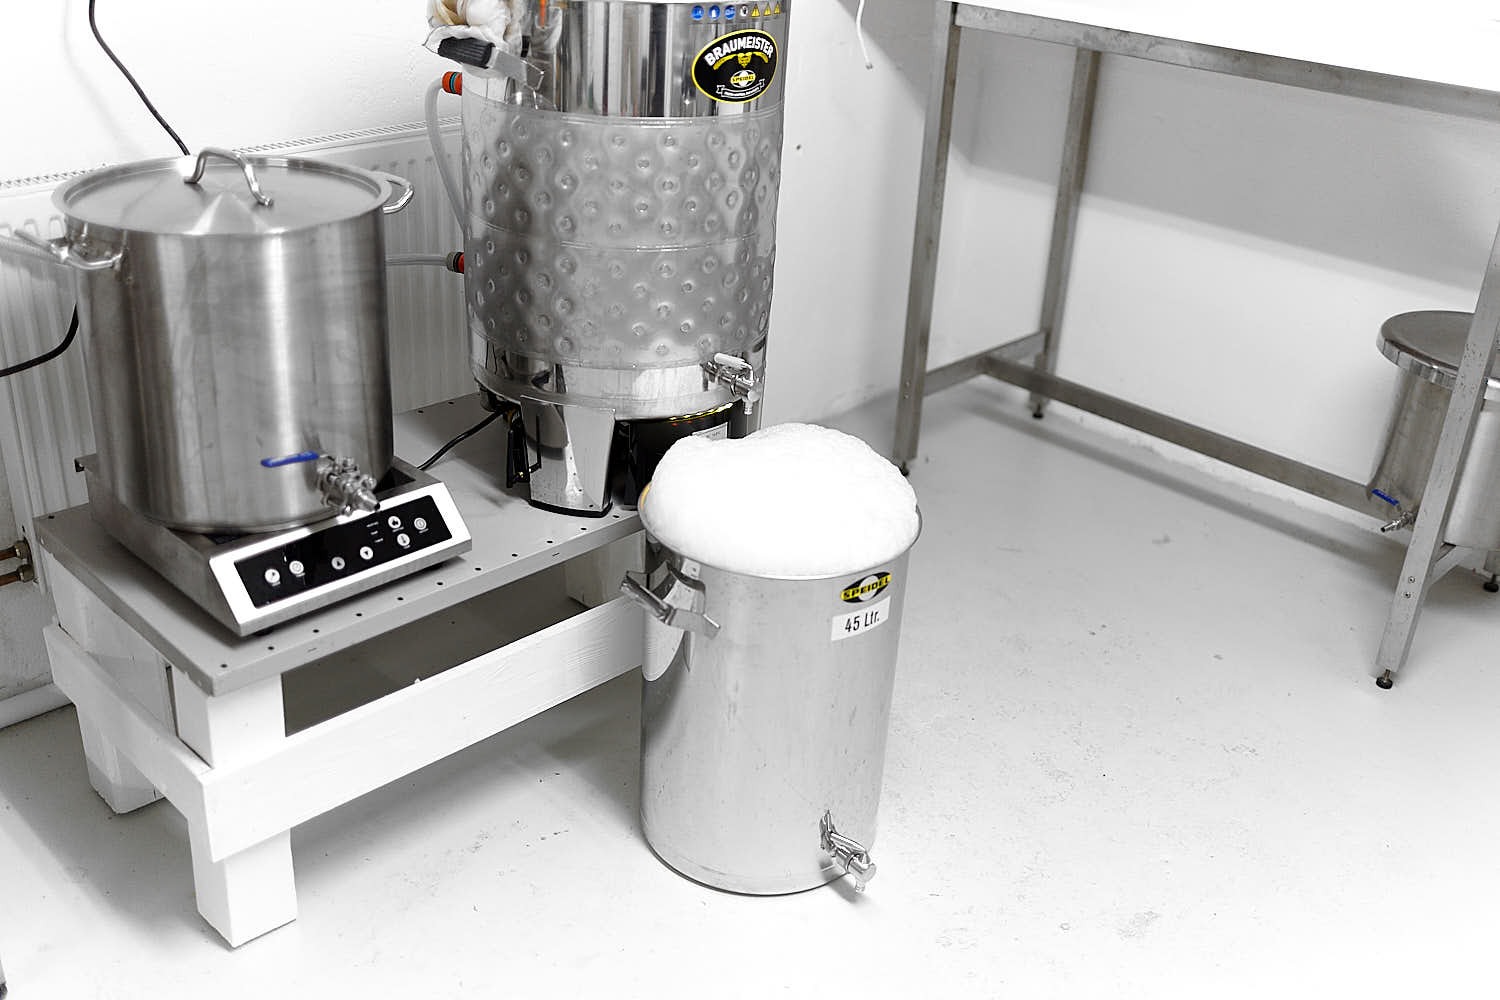
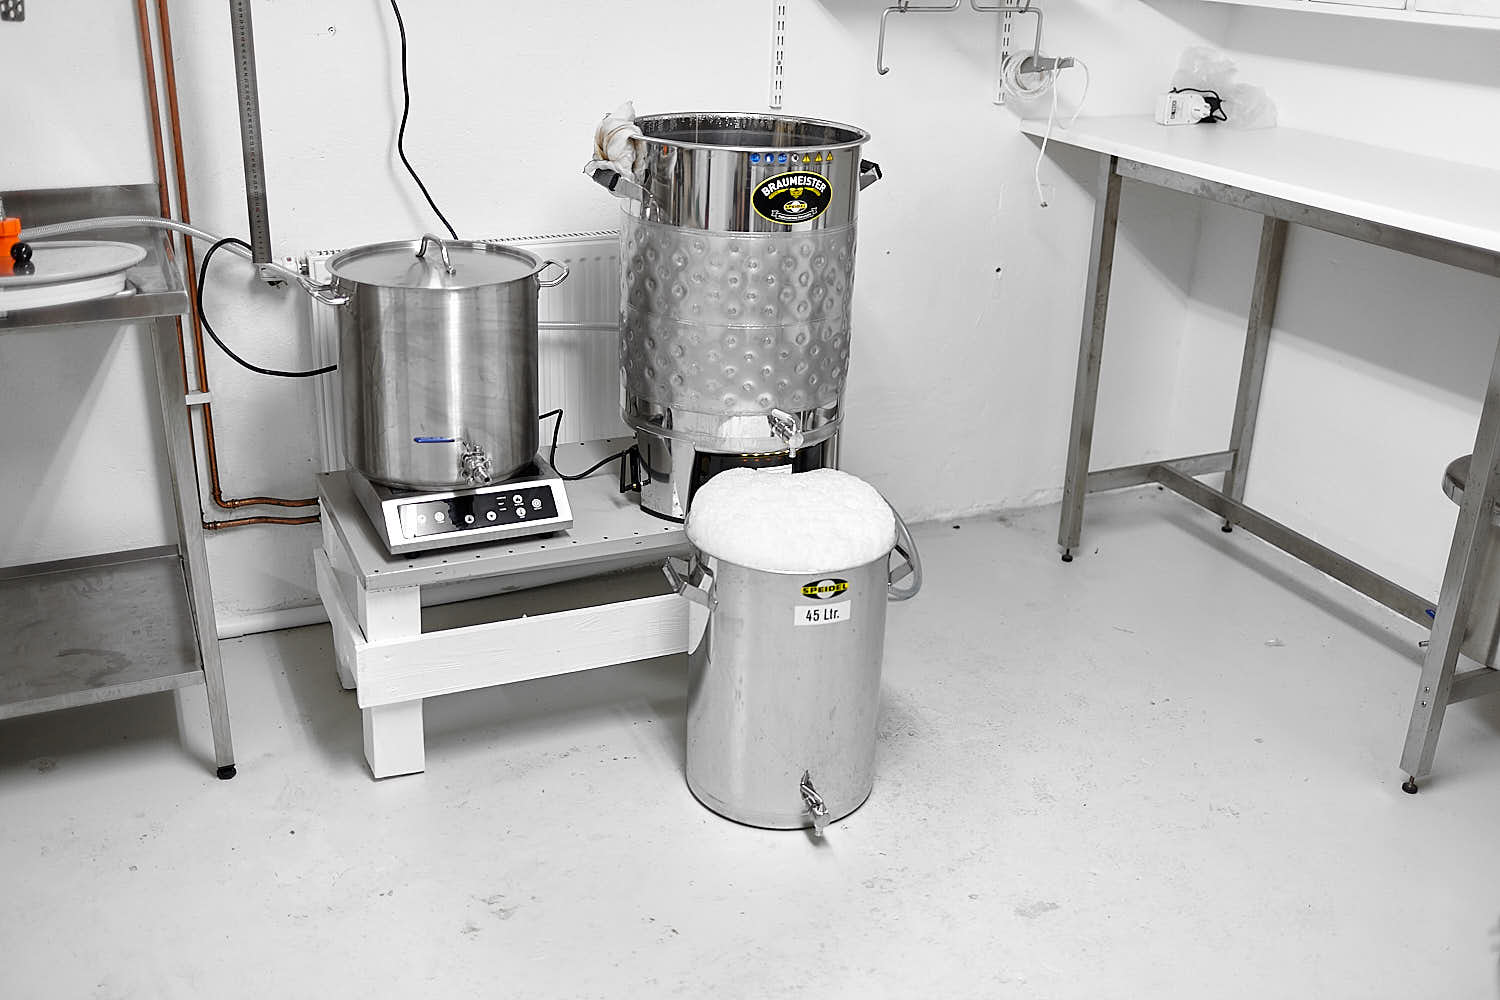 Lots and lots of foam.
| Lindhs Helles (Helles) | ||||||||||||||||||||||||||||||||||||||||||||||||||||||||||||||||||||||||||||||||||||||||||||||||||
|
Batchsize: 56.00 l
Total amount of malt: 12.00 kg
If steeping, remove grains, and prepare to boil wort
Total amount of hops: 150 g
Recommended starter size: 6.02 l / 1046.9 Billion cells. BrewNotes
|
 Du har väl inte missat min bok om ölbryggning? Köp den hos Humlegården!


Did that silicone disc gasket come from Speidel or is it one of your modifications? Have they improved the fine screen discs?
Are you using the new pump device? I just purchased one and will be testing it out soon for whirlpool and wort transfer.
Cheers
Hej
Kör med Stegmäskning genom tillsättande av kokande vatten. I mitt fall funderar jag på att slå samman 62 C och 64 C till en rast.
Vad skulle du rekommendera i så fall? 63C i 30 eller 40 minuter?
67C tänkte jag köra i 20 minuter.
Med vänlig hälsning, Jörgen
Det räcker gott med en rast på 64C då, om du inte vet just din maltsäcks gelatiniseringstemperatur vilket skiljer sig från mältning till mältning. Oftast mellan 62-65C.
The gasket is not from Speidel and I’ve used it for 5 years alteady.
The mesh disc is the same and I use Bacbrewings finer disc with great results..
I have the pump device but have not had the time to try it out yet. Next brew session probably!
I used the pump device today on a Rotbier, it works well but I changed the hose for a thicker silicone hose due to kinking. I used it for whirlpool as well as wort transfer. If you whirlpool hold the hose next to the kettle side above the wort when you first turn on the pump or you will pump a bubble of O2 into your wort! You may want to test it out prior to brewing.
Thanks for the heads up!
Hello Gustav
very nice article! I have a BM20 and also the LODO kit. Can you recommend how to convert a recipee to account for the added volumes using the LODO kit ?
Hi Rupert!
Your should not do any adjustments to your recipe because of the added volume. YOu just scale it up (or down) so all the mash volume is above the malt pipe.
There are some limitations in OG with the lodo-kit. It is very hard to go above 1.055 without destroying the lodo result.
Hej Gustav!
Gammalt inlägg jag svarar på nu men gör/gjorde du något för att höja din effektivitet när du körde LODO i braumeistern?
Jag kör i en BM20, tyvärr gamla varianten utan kylmantel och har försökt läsa mig till bästa sättet att göra på, inkl jäsa med spundventil i fat.
Har tyvärr alldeles erbarmlig effektivitet och det i kombination med att man måste mäska in med mer vatten än normalt för att locket ska flyta ger… folköl.
Rätt pH, välkrossad malt är enda tipsen tyvärr. Utan lakning får man räkna med sämre utbyte. För lodo ligger jag 73-75%. Kan inte brygga över 1.055 med lodo i bm. I stora systemet kan jag säkert göra mycket starkare men inte testat.
Jag har precis börjat med vattenbehandling, så smått. Ph 5,3 vid inmäskning så misstänker krossningen då… landade på 63% post boil och 57% brewhouse så har några pinnar upp till vad alla andra verkar ha.
Haft stor behållning av din bok! Det vore kul med en till, eller om du har något boktips med lite mer fokus på LODO/finlir.
Kul att du gillar boken! Jag har tackat nej tre gånger till en uppföljare eftersom ersättningen är så låg tyvärr.
Enda boken som beskriver lodo är Kunze, dvs läroboken för bryggmästarutbildningarna.
Jag tyckte att den var tydlig och informativ! Speciellt det där med att spara jäst även om för många rör i frysen lätt blir ett lyxproblem.
Tråkigt att de inte vill betala för sig.
Du får väl ge ut på eget förlag eller släppa som ebok om skrivlusten faller på! 😉
Kunze verkar vara en riktigt rejäl pjäs, jag får se hur långt ner i träsket jag tar mig, inte dags riktigt än kanske… men sugen blev man ju.
Annars har jag läst en del av det som finns på themodernbrewhouse men jag tycker att du är tydligare på bloggen.