
Monthly Archives: februari 2019
Festbier – Strong Helles (H14)
 Brewing Low oxygen style with the Braumeister is not an easy task. The whole single vessel approach is problematic to say the least and there is zero room for misstakes throughout the whole process, otherwise you might as well keep on brewing the regular old sloppy way. The big problem with LoDO in general is that it’s really an all or nothing method. You can’t skip or deviate one single bit from best practise, otherwise the wort gets oxidized within minutes, sometimes even seconds and by then it’s beyond repair. When you do succeed however, you’ll be awarded with the best beer you’ve ever had and one that is comparable to extremely great breweries like Bitburger, Ayinger, Weihenstephaner or Augustiner (to mention a few). Sadly these excellent breweries sometimes don’t have the high reputation they deserve since people are drinking their beers too far away from the brewery and the shipping is destroying those fine elegant flavours from the malt. Heck I’ve even bought bad bottles in the same region as the brewery so it’s not only the “export travel” that can ruin a beer, it’s also lagering improperly, for example in room temperature or in a bright area (here’s looking at you Systembolaget!).
One of the most difficult LoDO brewing steps with the Braumeister is the stirring of the mash at mash in. You want to avoid foam/bubbles at any cost but you still want to avoid dough balls, which you coincidently only get rid of by stirring. My approach to this problem is to stirr as little as I think I’ll get away with, but I’m also aware that efficiency drops fast when you have insufficient stirring because with the Braumeister the pump(s) compacts the malt bed from underneath, which can ultimately leads to channeling. So, stirr, stirr gently, stirr enough, don’t over stirr!
Speidel to the rescue
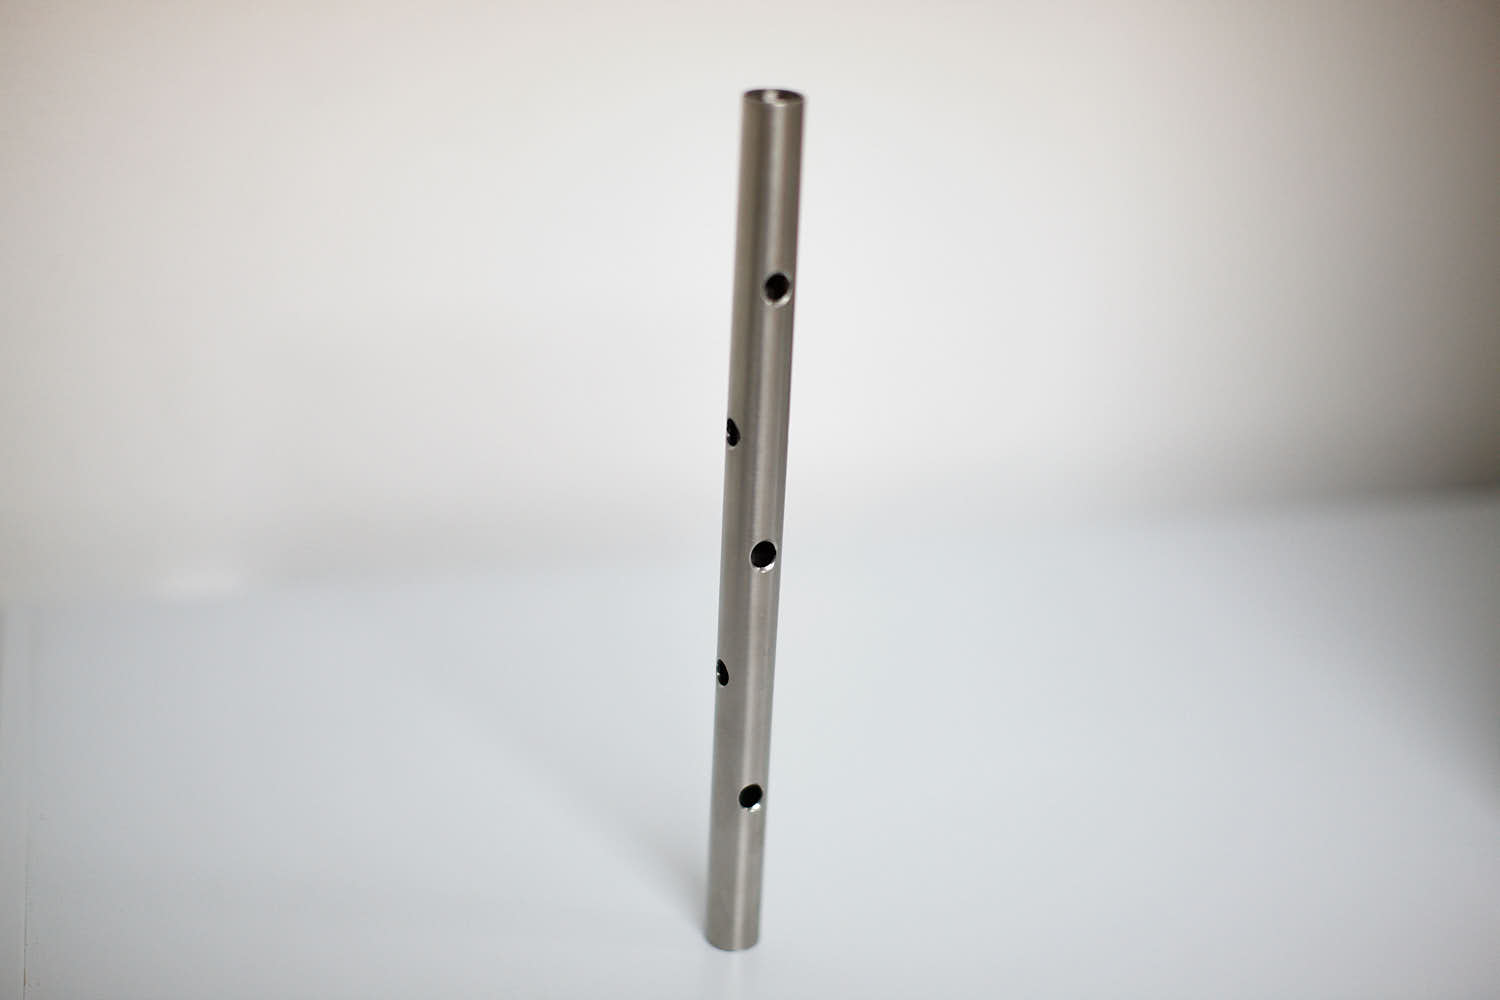
What if there can be some kind of remedy for the compacting once it occurs (or preferably before)? What if some “thing” can redistribute the wort without disturbing the grain beds filtering properties? After some discussions with Speidel they told me that they have been experimenting with a metal pipe (or rod if you prefer) just like I’ve seen some brewers add to force the two lower filter plates in place when brewing with smaller amounts of malt. The difference with Speidels prototype pipe is a couple of drilled holes all the way from the bottom to the top. The idea is that when the malt bed gets compacted by the pumps and the resistance gets higher, the wort will instead be pushed through the pipe but since it is plugged on the top by the locking bolt, the wort gets redistributed into the malt bed from the sides. Speidel have themselves done a few experiments with this pipe but haven’t reached any conclusion to if it actually works so they sent me a prototype to experiment with, which I of course have done (immediately, drop everything!) and this blog post will of course be about just that…
From the beginning
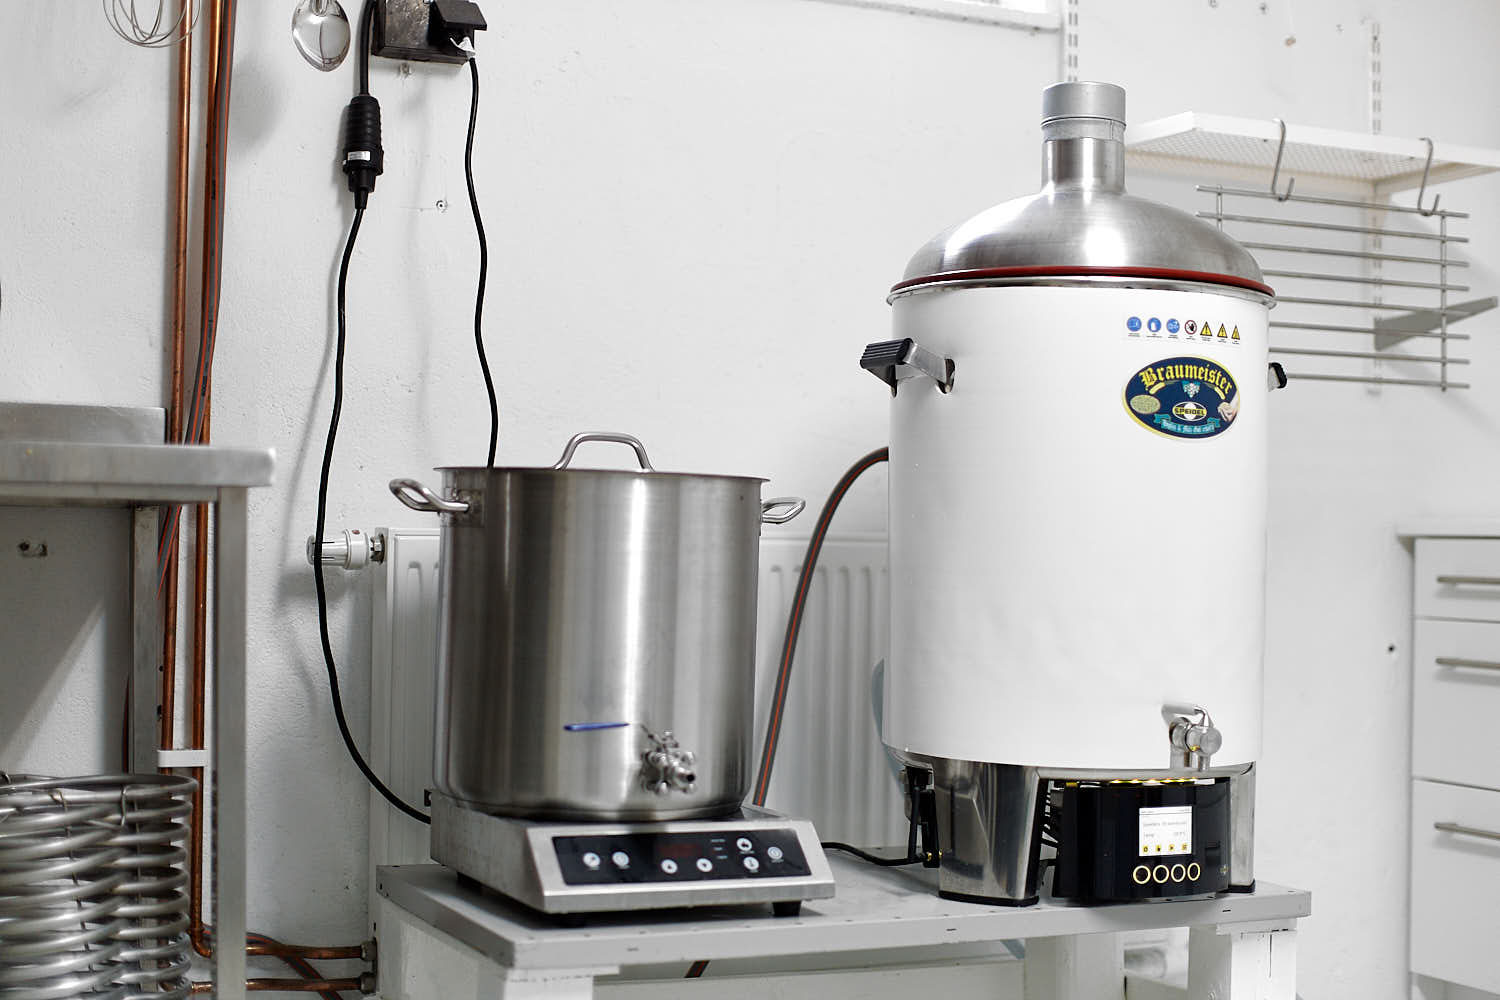
Well I can’t spoil the result of my first test run just yet now, can I? Let’s take the brew day from the beginning first. As usual my brewday started the day before by quickly washing out my Braumeister BM50 plus and filling it with about 70 l fresh tap water. 70 litres is just where the grooves on the center rod starts. I then programmed the BM to start heating the water for the pre-mashin-boil to about 04.00 o’clock which I’ve found out earlier to be a good time to be able to mash in at 06.30 for a weekday brew. I woke up half an hour early easger to try this thing out and hoped to get started but the water wasn’t up to temp yet. Next time I think I’ll need to start the heating at three o’clock instead.
**Coffee break**
I boiled the water for about 10 minutes while measuring the grain bill (96/4 pils/carahell) and then chilled the boiled water down to 62°C by using the BM Plus cooling mantle and floating lid from the LOB Kit. I was too lazy (and stilla bit tired) to also use my monstrous 29m SS chiller this time.
I then rested the malt pipe on the support bar and added the hard and soft filters, just above water level. Then it was time for the new stainless pipe. Since I don’t want to have any malt inside the pipe I couldn’t add the pipe after the malt so it had to go in there before which added the problem of inserting the malt without hitting the pipe. It was a little tricky but went ok, any strays would get pushed out quickly once the pumps got going. When the malt was in place I slowly lowered the malt pipe into the water over the course of 4-5 minutes utilising with my cheap pulley system from Biltema (femtilapp, minns någon de fortfarande?). And finally it was time to make a hard decision; too stirr or not to stirr. I ended up stirring just a little bit just to be able to see if the pipe leads to higher efficiency, and if it did, I could reduce the stirring a bit with future brews. To seal the mash I put the LOB-kit filter ring, both filters and floating lid in place and added the final water until the lid floated and mashed away with my Hoch Kurz mash regime.
**Looong coffee break**
Over tightened
My last brewday I made a huge misstake not to align the LOB-kit properly or tighten the locking bolt hard enough. Whateveritwas I made a huge mess and filled the brewery with curse words. So this time I went all in with both alignment and tightening. Well the bold got stuck so bad it took me 5 minutes to get it loose. I even contemplated bringing a wrench to the party by decided to punish my self by keep doing it by hand. I raised the malt pipe over the course of 5 minutes and let it drain for another ten minutes before removing it completely. Boil, hop additions and kettle finings was as usual but I decided to cool the wort without my SS immersion chiller yet one time. Yes the cooling mantle consumes more water but when I saw the wort out of the tap I knew it was worth it. Crystal clear after just 2-3 seconds! I think this was my best post boil clarity ever to date. That made me especially happy since I decided to start a brand new yeast culture and if I just have brilliantly clear wort in the fermenter, then it’s only yeast left to harvest (and only yeast that can make a haze).
Ok, ok, let’s spit it out
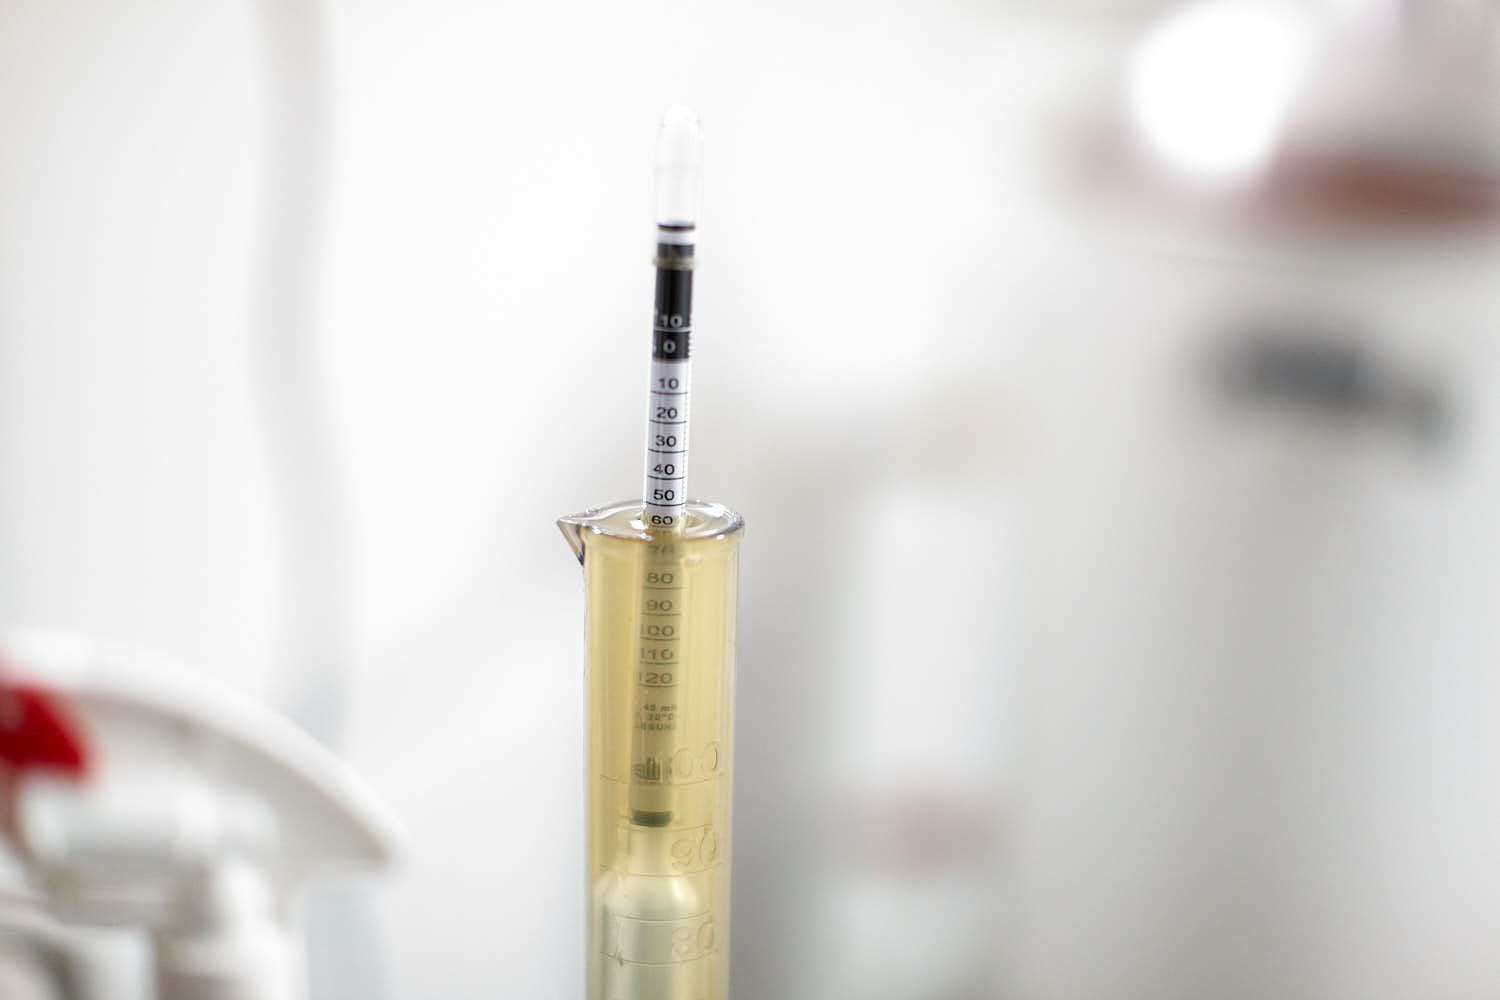
I have to disappoint you guys just a little bit. I didn’t take proper volume measures for postboil so I don’t have exact figues to share with you but my preboil was about 56l and I usually boil off 4l for a 60 minute boil. So how did I do efficiency wise then? I’m happy to say I got an OG of 1.057 which is 4 SG points higher than I’ve ever got from a similar grainbill since I started brewing LoDO. I will have to brew a few more times with the metal pipe to be sure if it helps with efficiency and I guess I can never be sure if the holes in the pipe does any differece or if it’s just the positioning of the filters. Anyway I will certainly keep you guys updated along the way!
ps. I call this Helles a Festbier because of strength but it has too low bitterness and a bit too low OG to qualify.
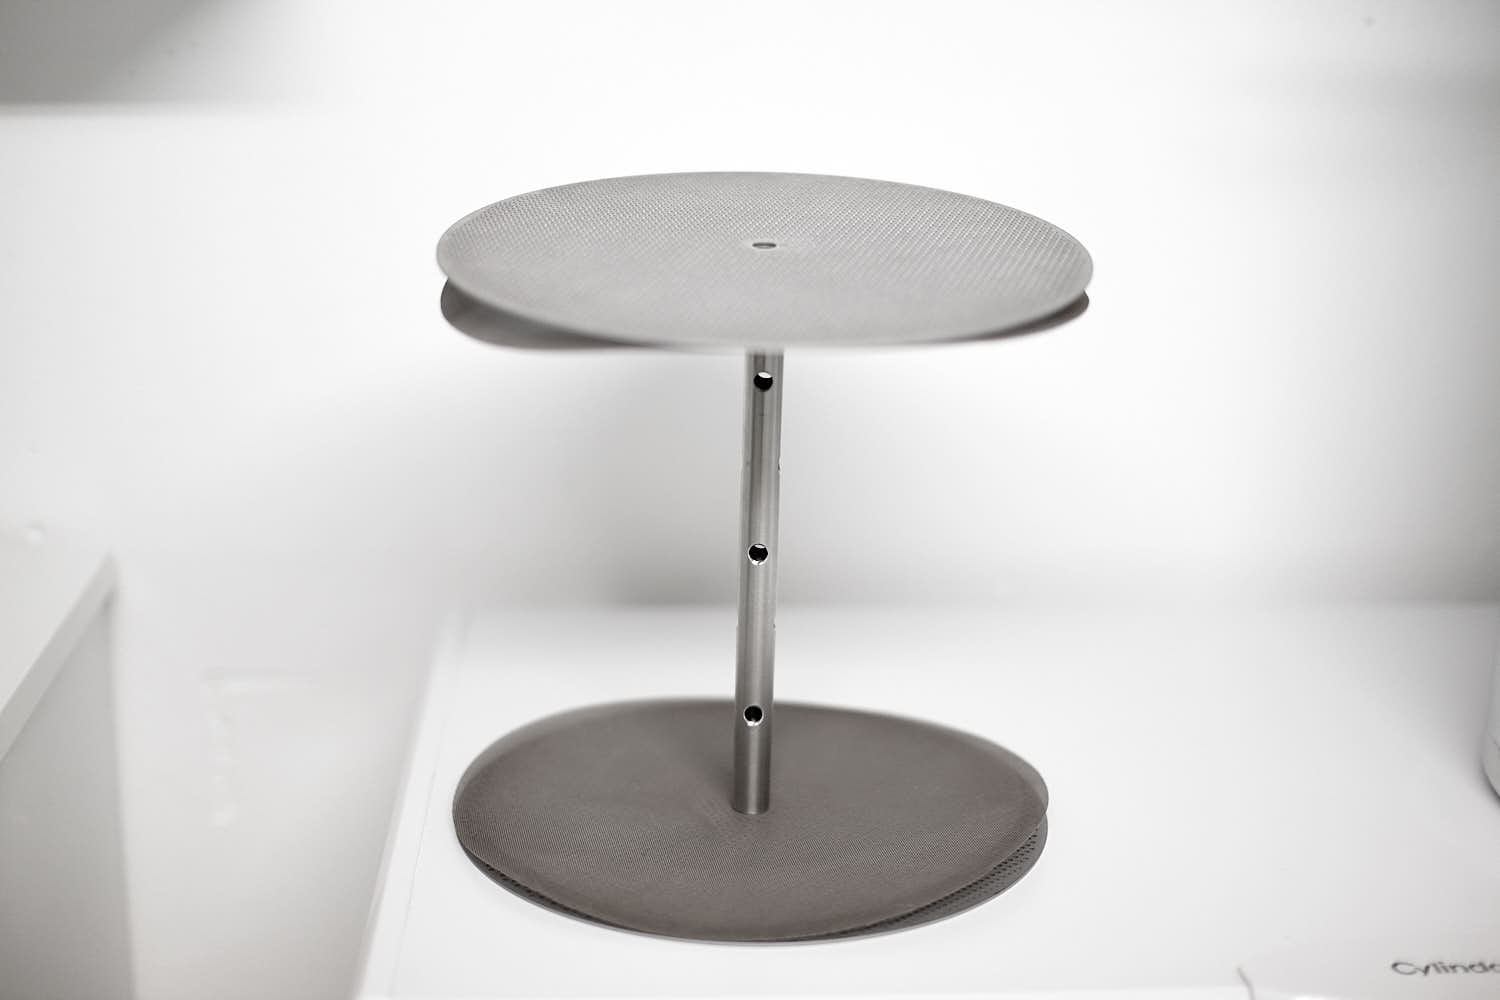 Positioning of the metal pipe in between all the filters to better explain to you how it’s ment to sit in the malt pipe.
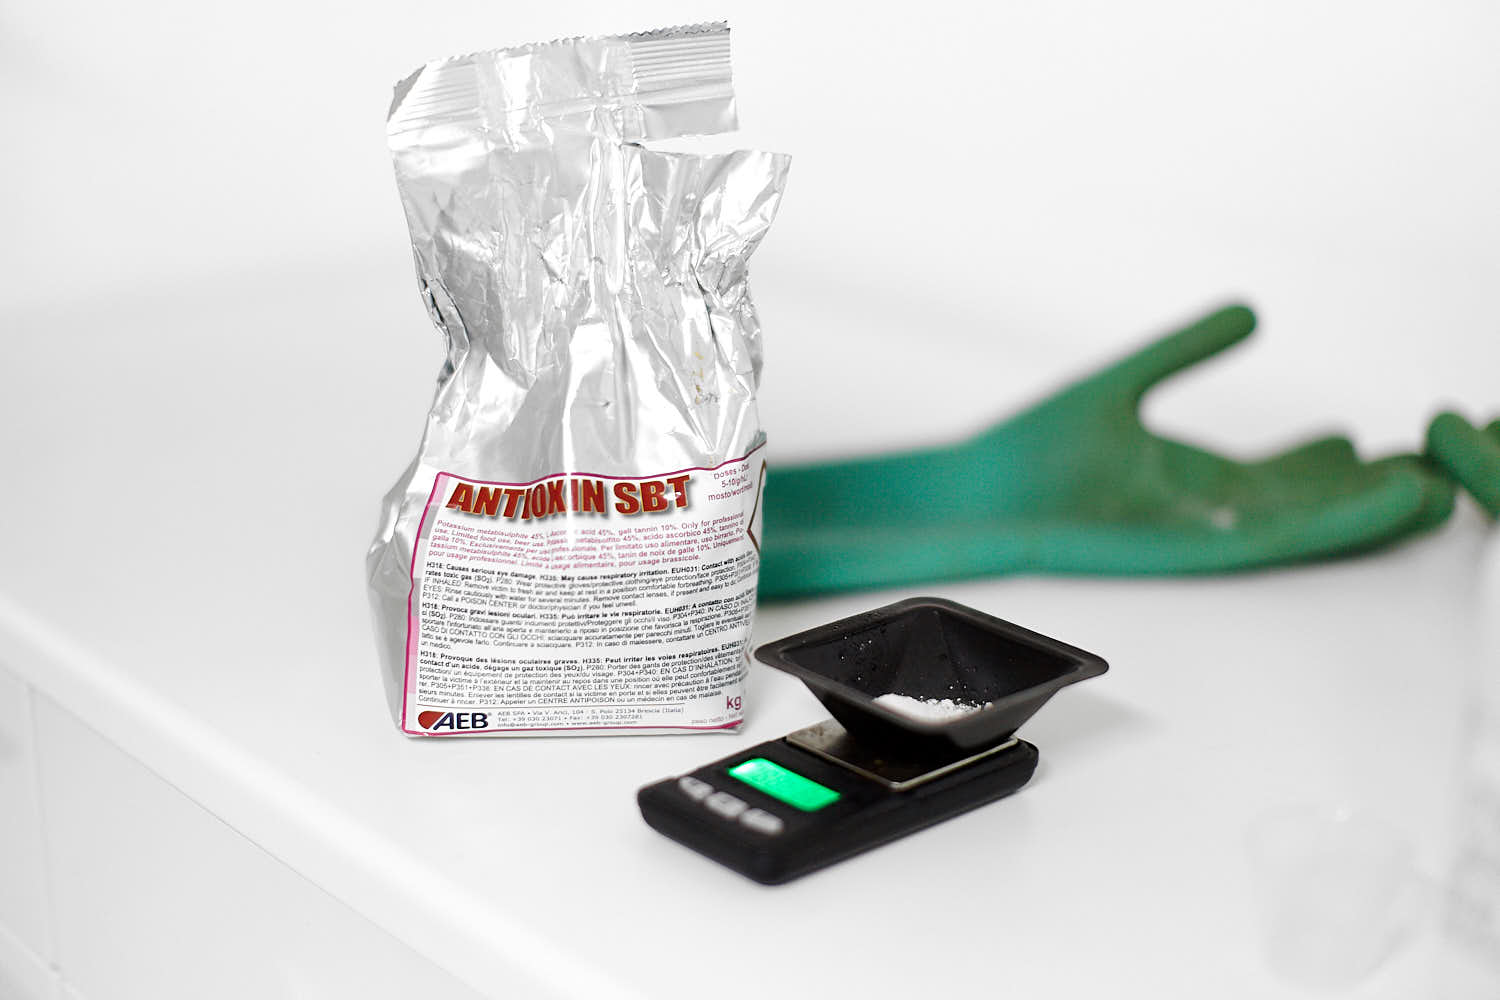
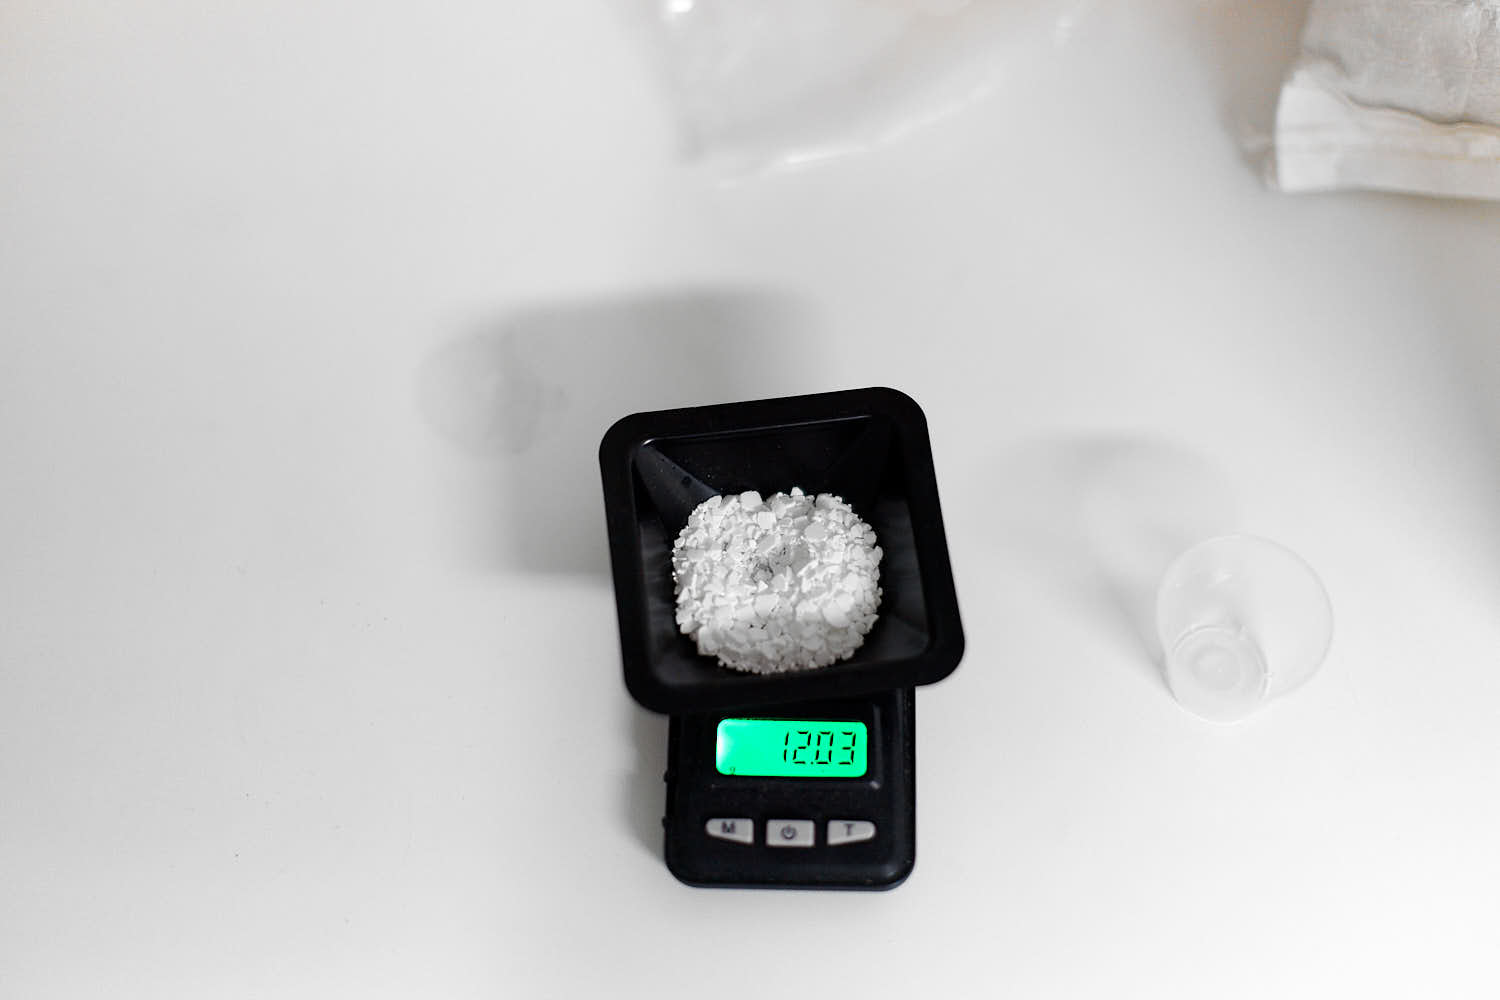 CaCl2
CaCl2
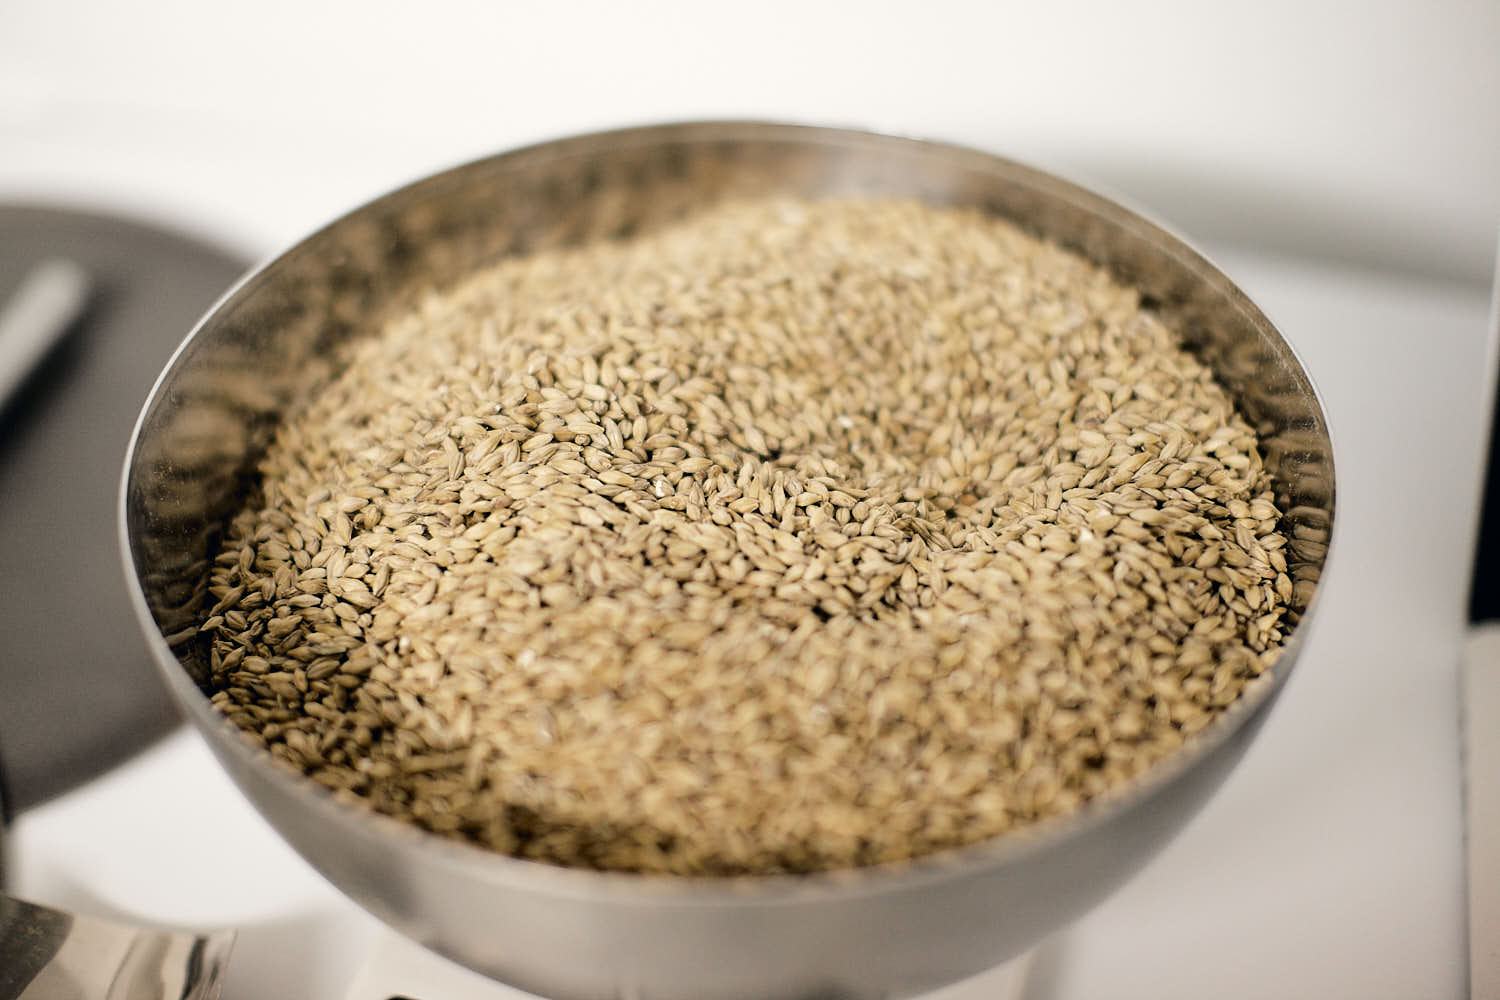
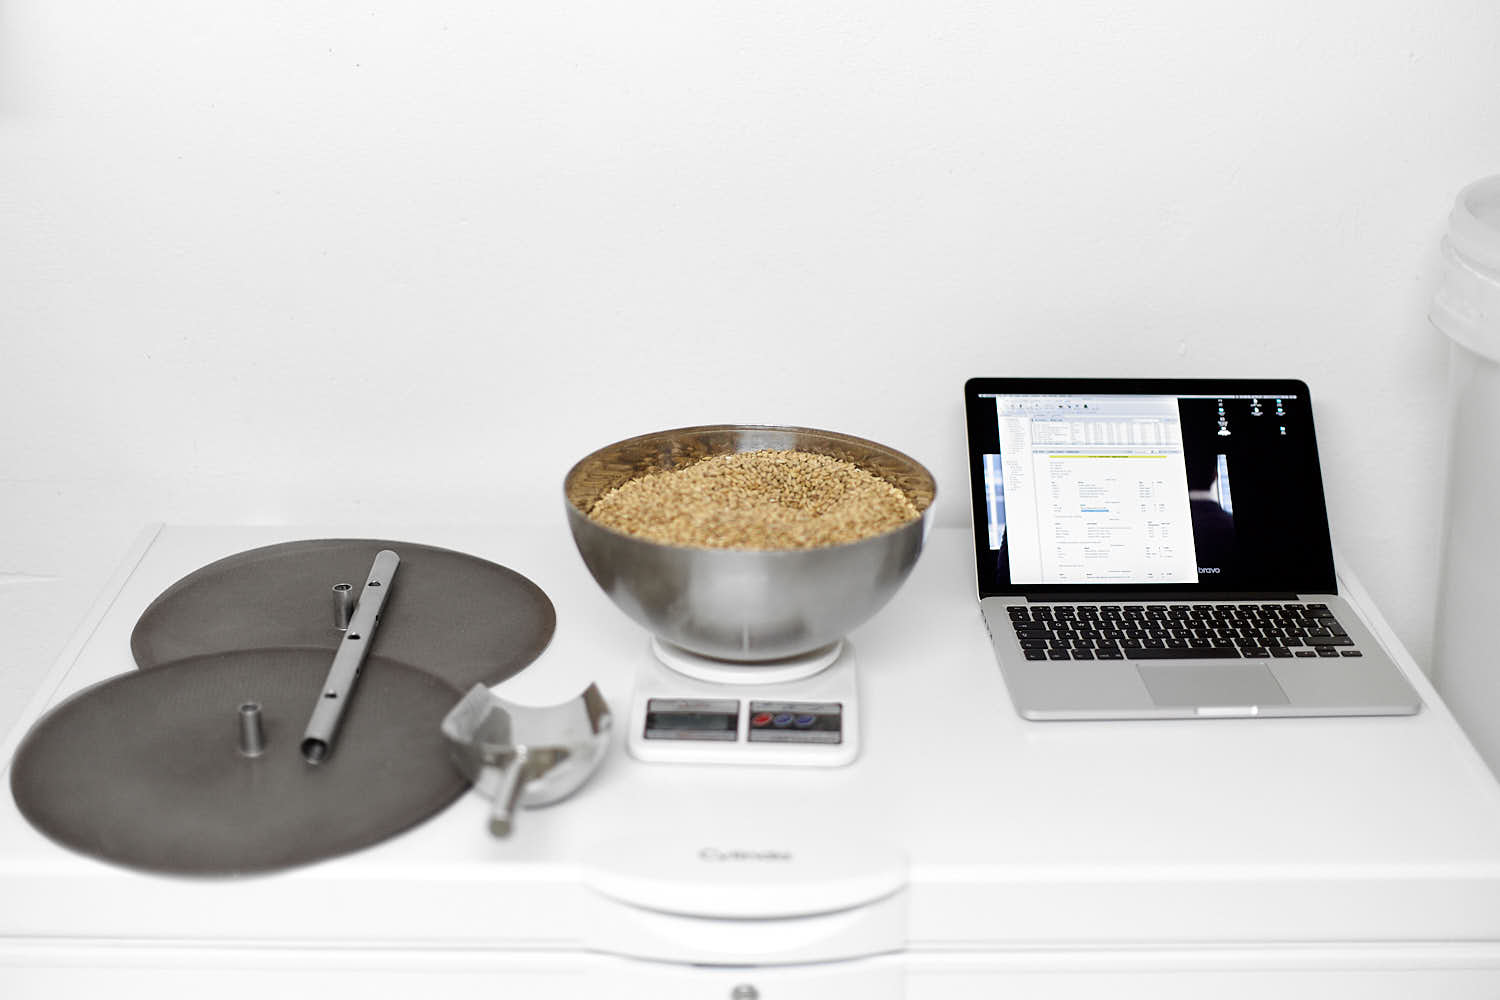 Weighing my malt in a new spot since I’ve lost the other side of the garage to things that are more appropriate to keep there.
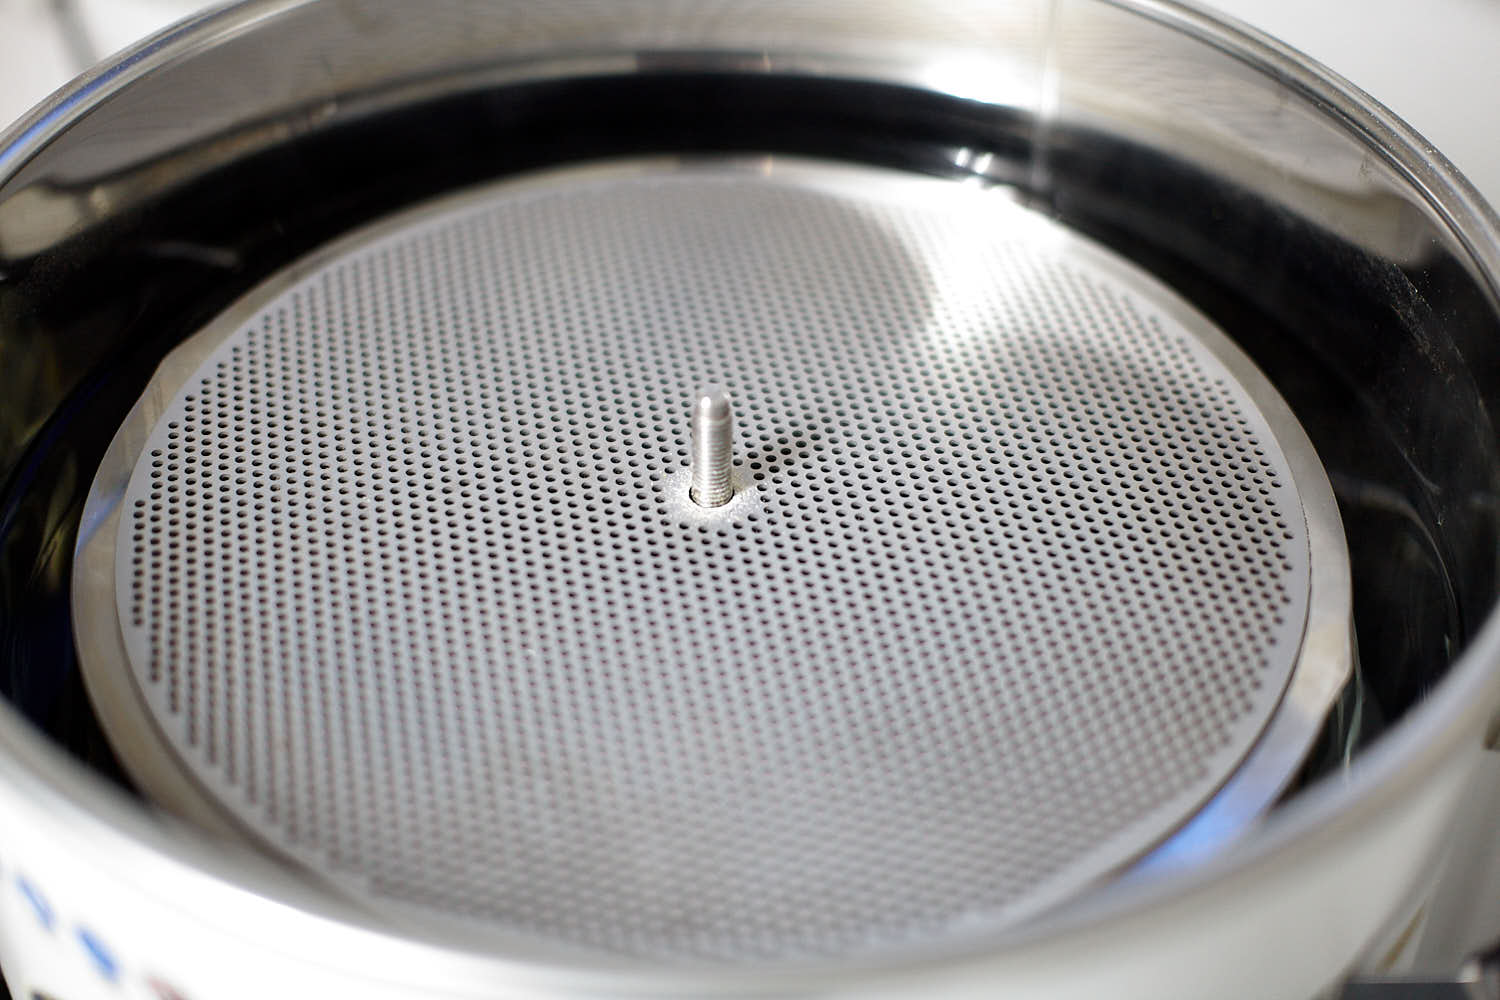
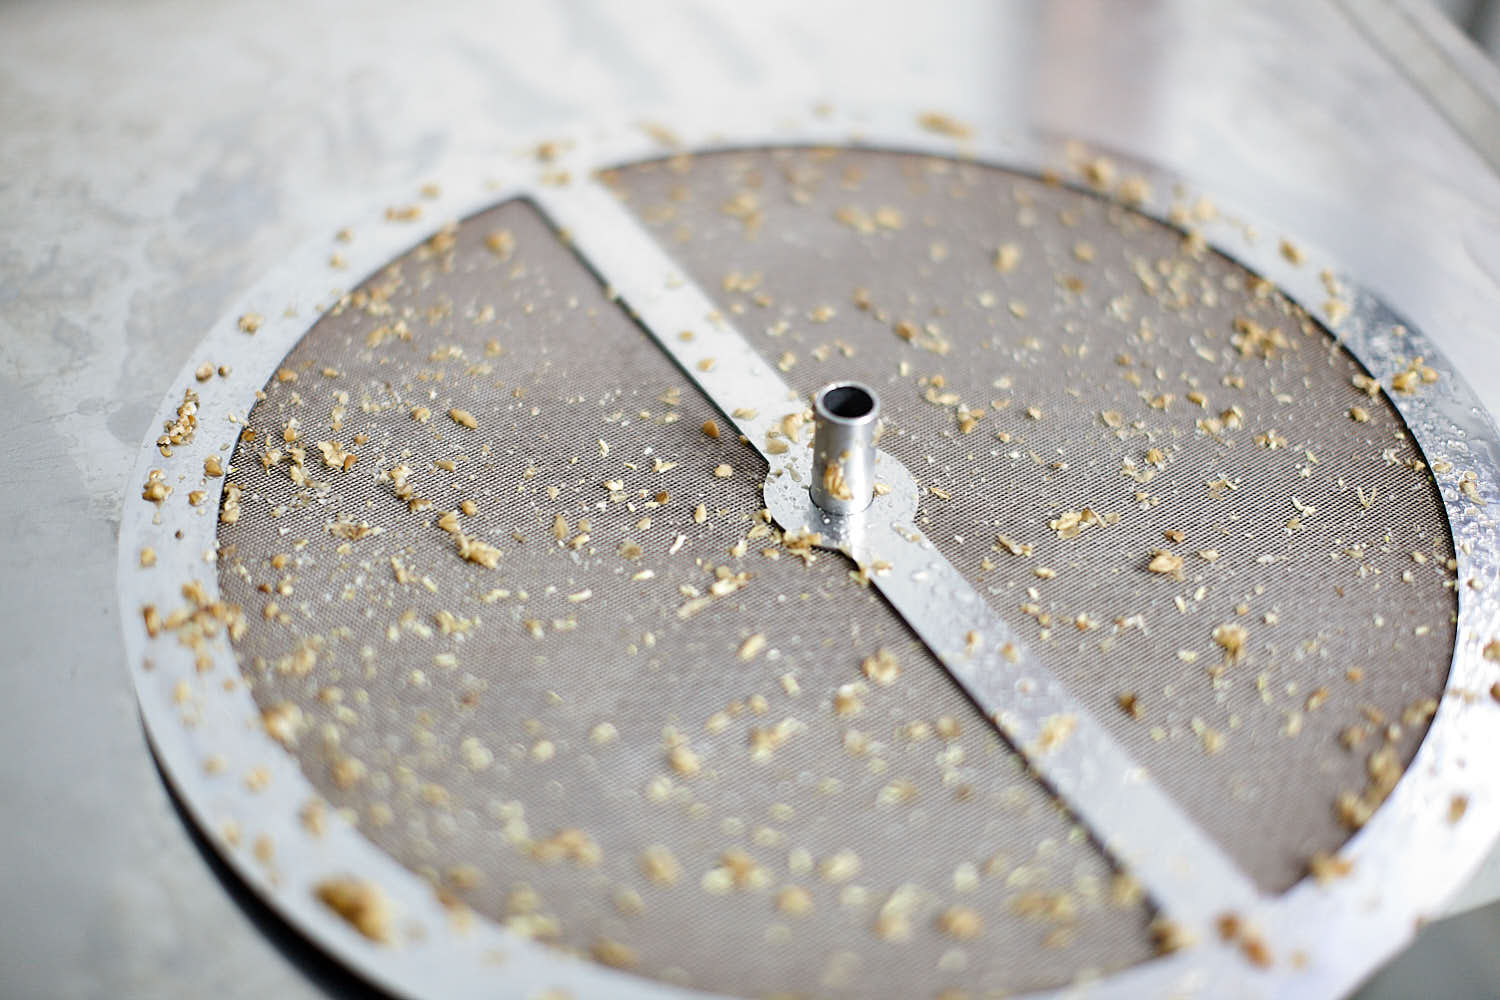
 Begin with the hard and soft filter.
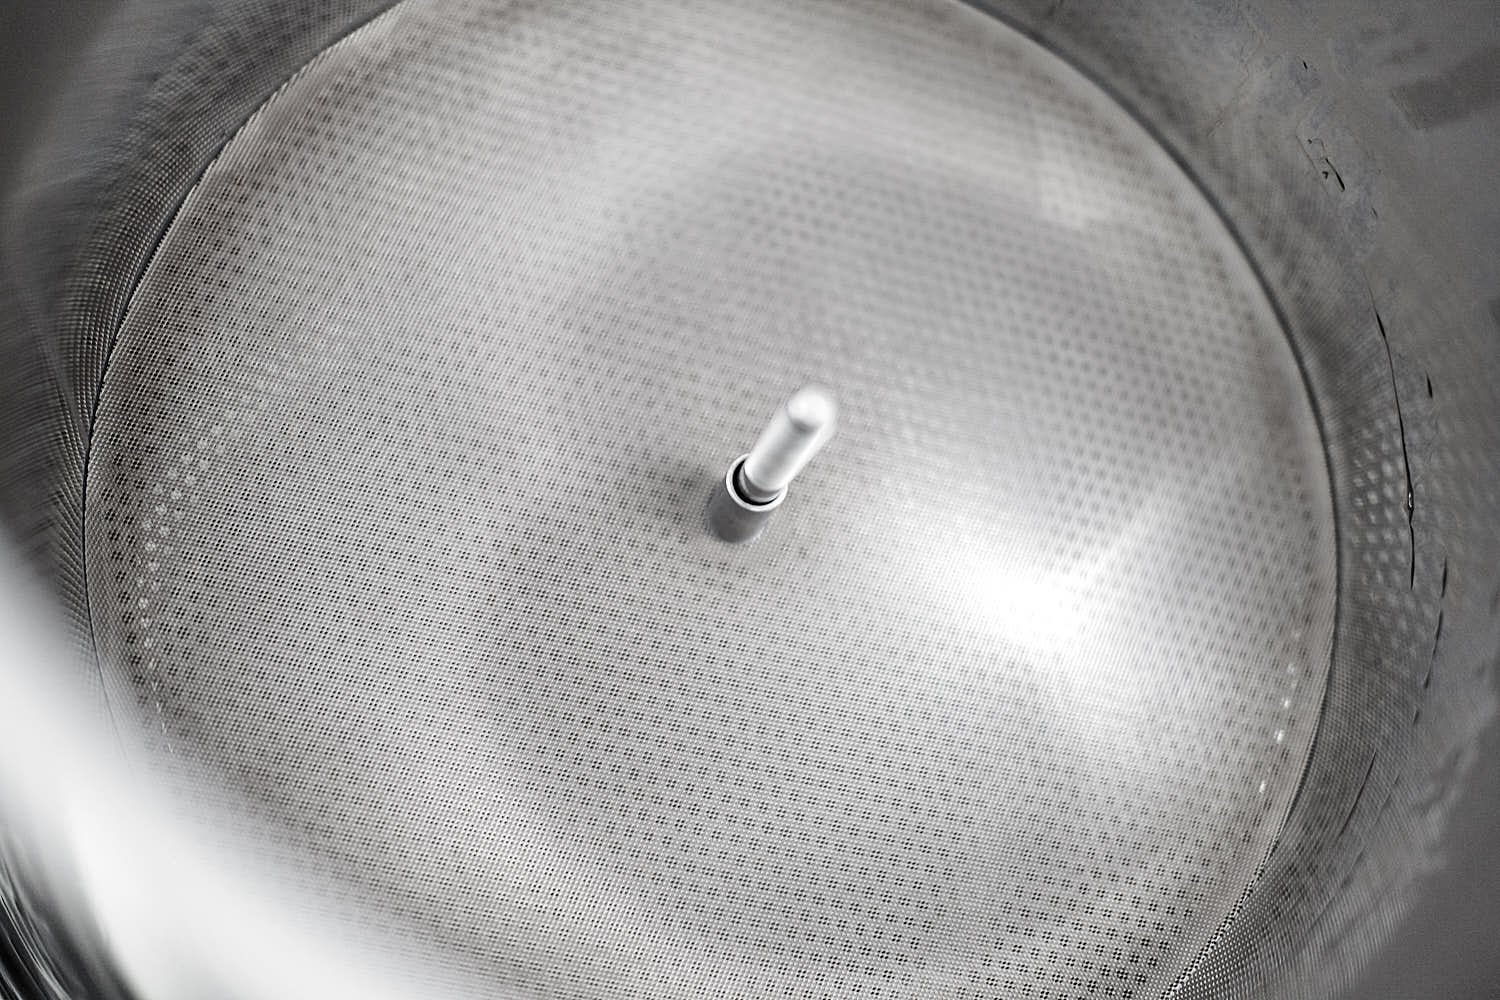
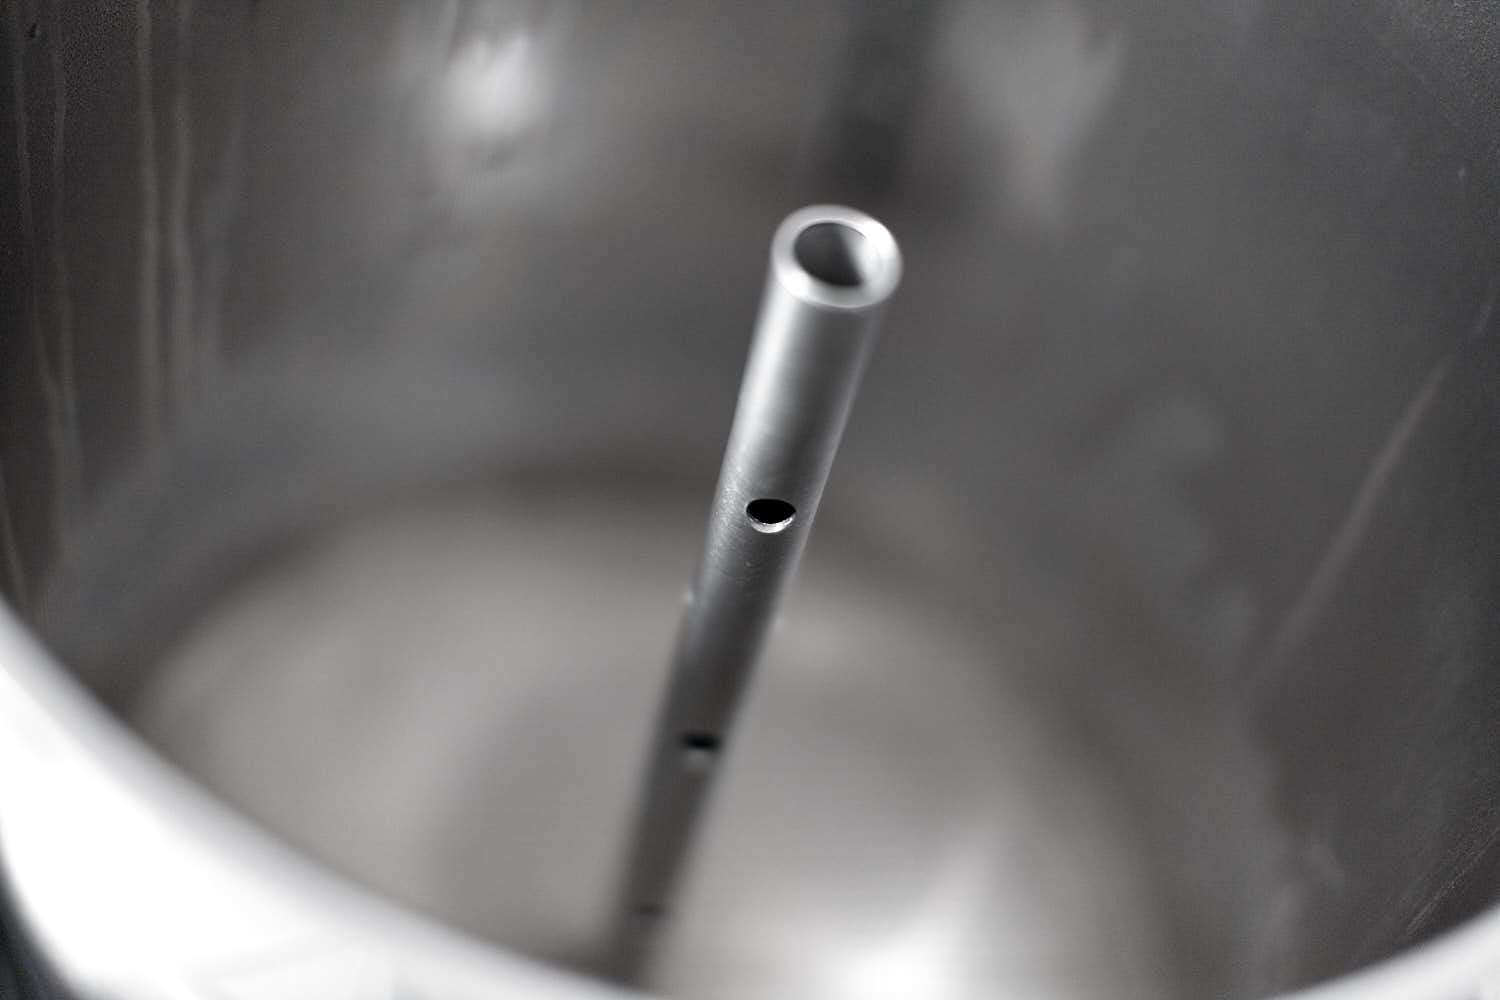 Then add the new metal pipe.
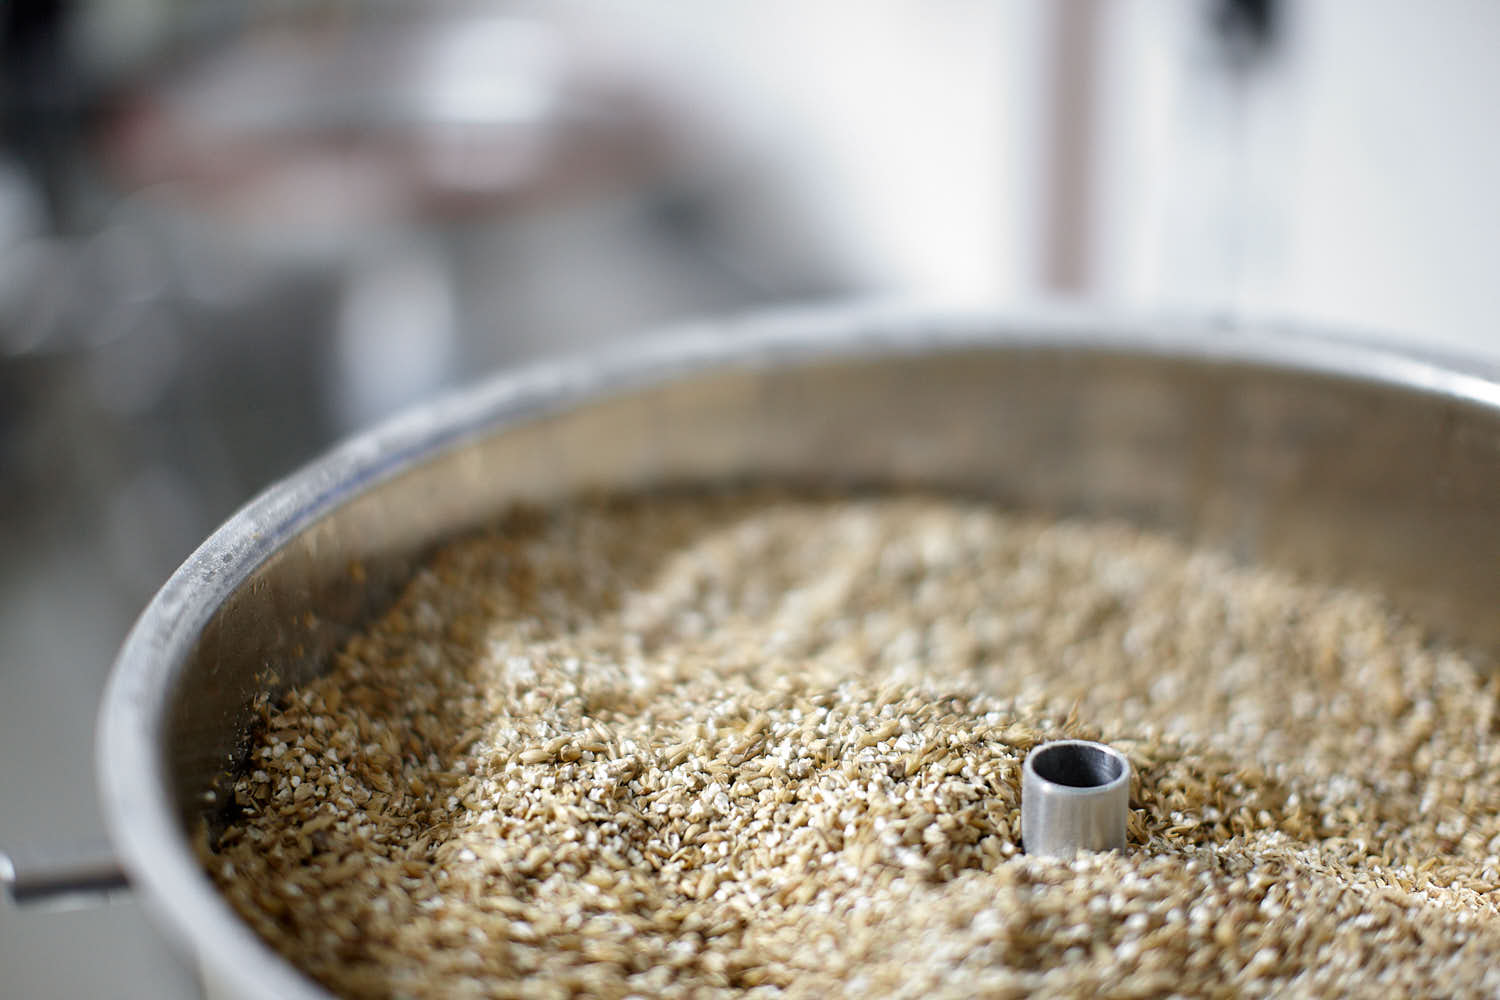 Add malt.
 Sloooowly lower the malt pipe into the water, simulating an underlet.
 LOB-kit plate.
 Soft filter.
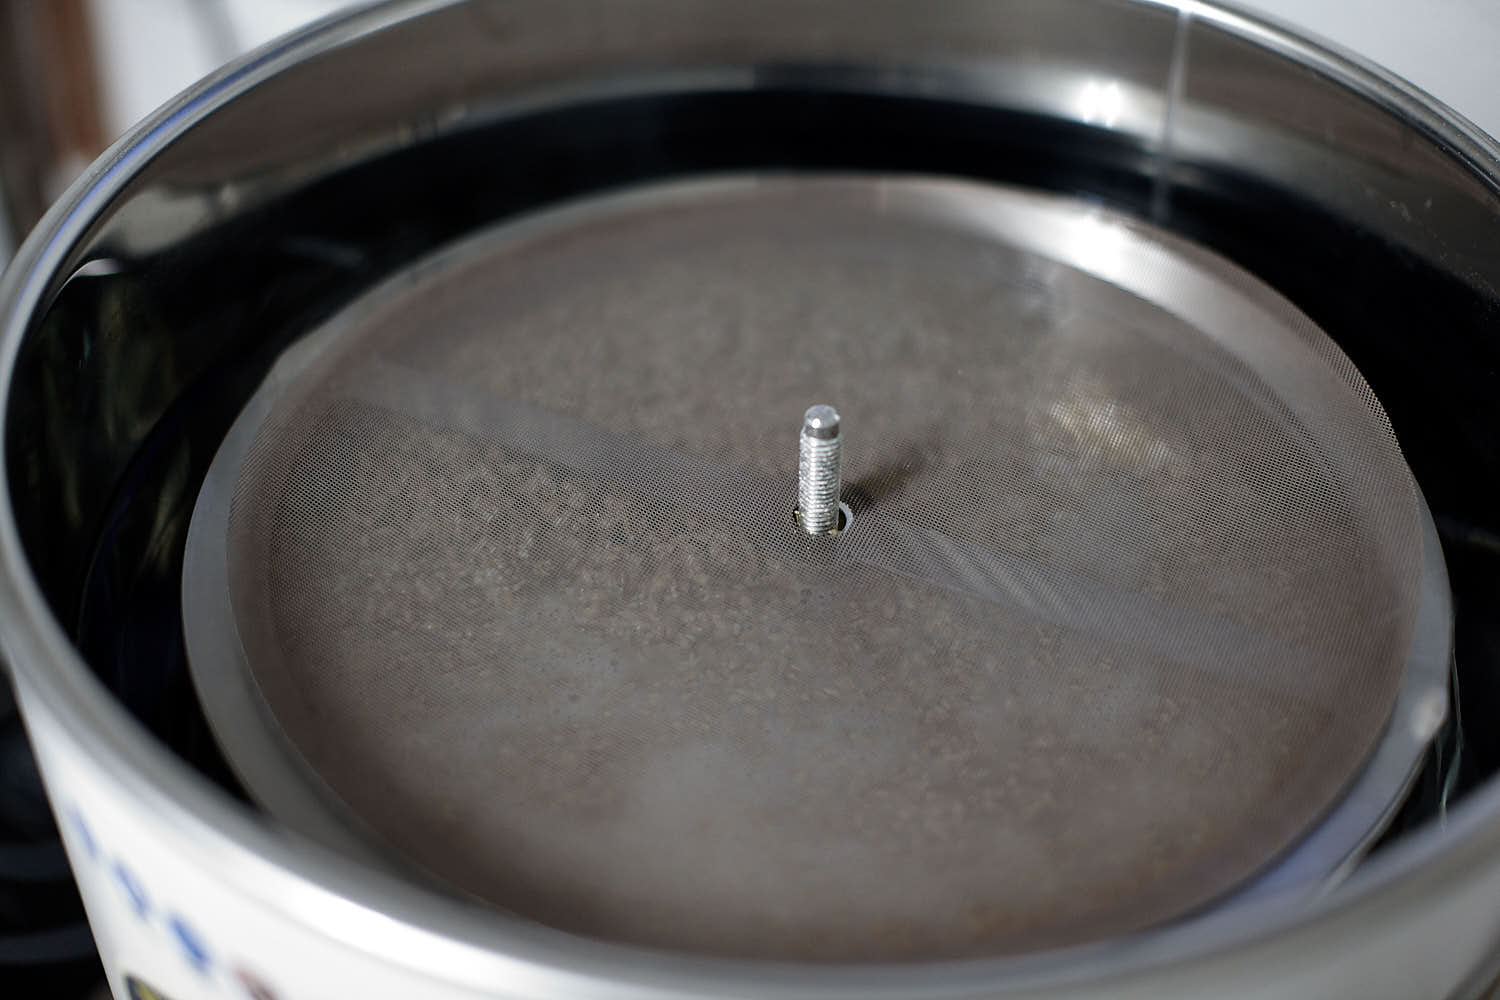
 Hard filter upside down.
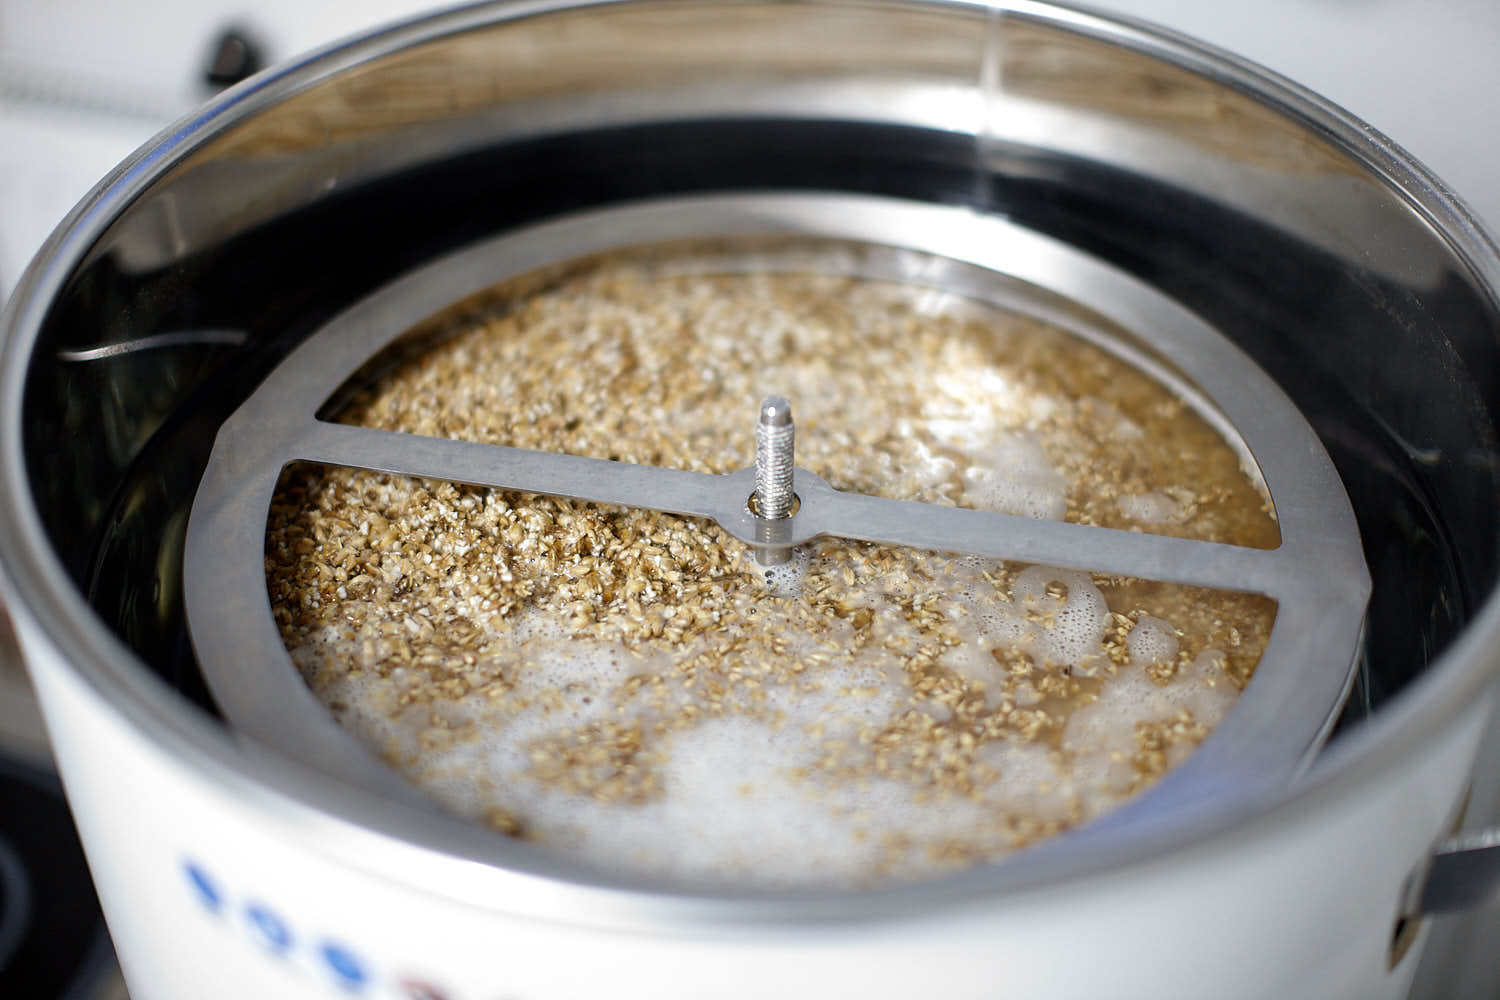
 Locking bolt and add a bit more water. Then the floating lid.
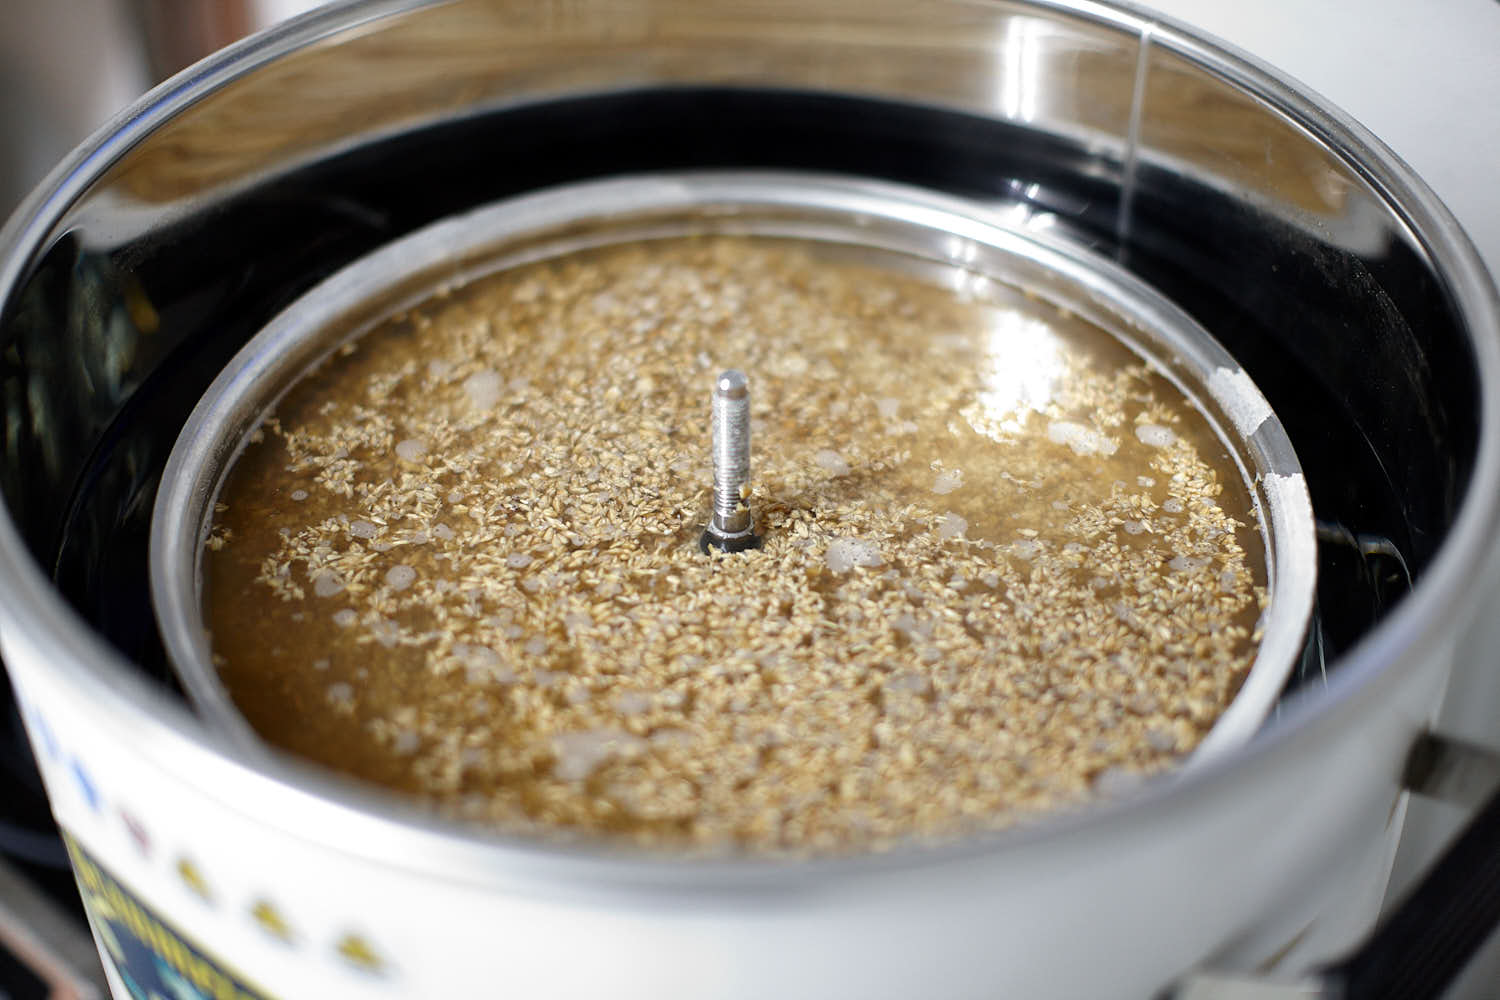
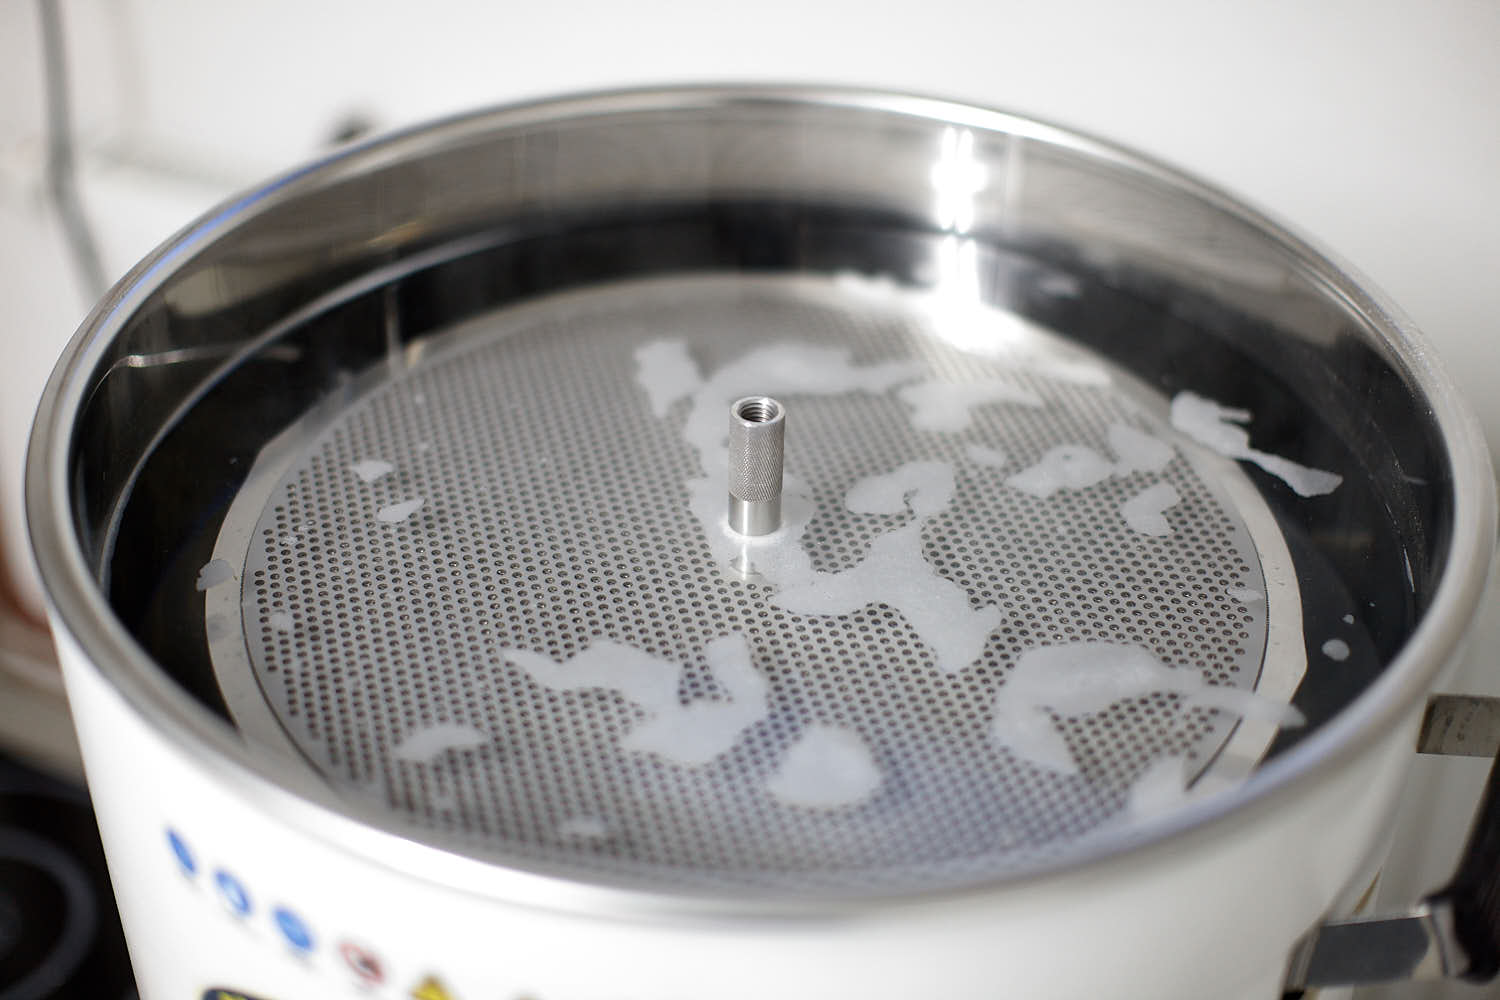
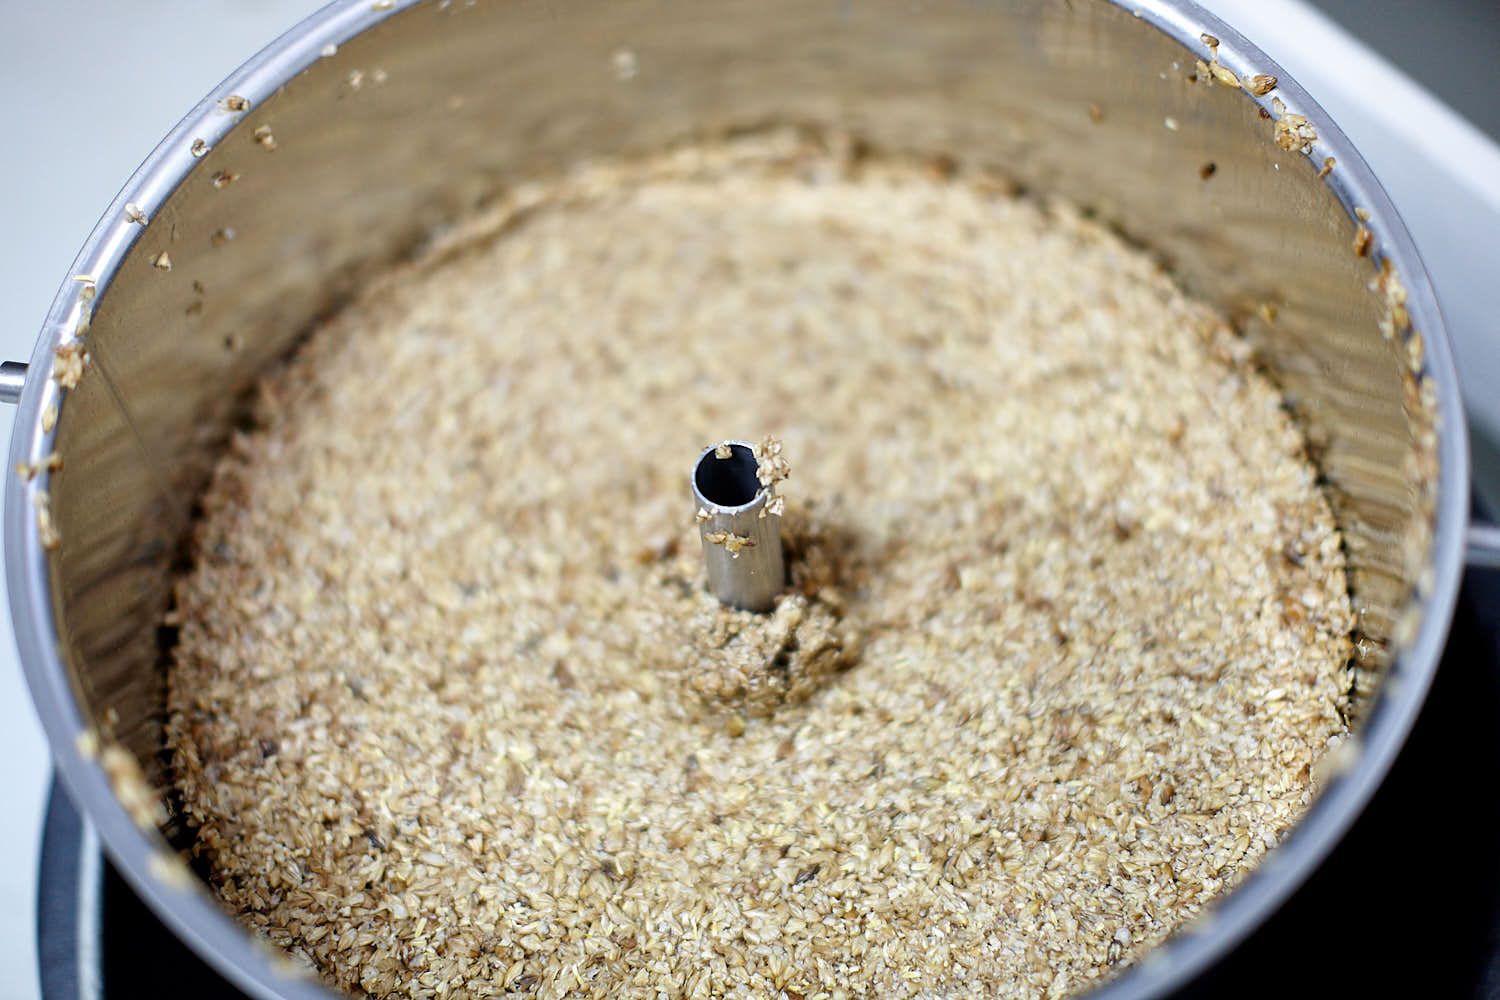
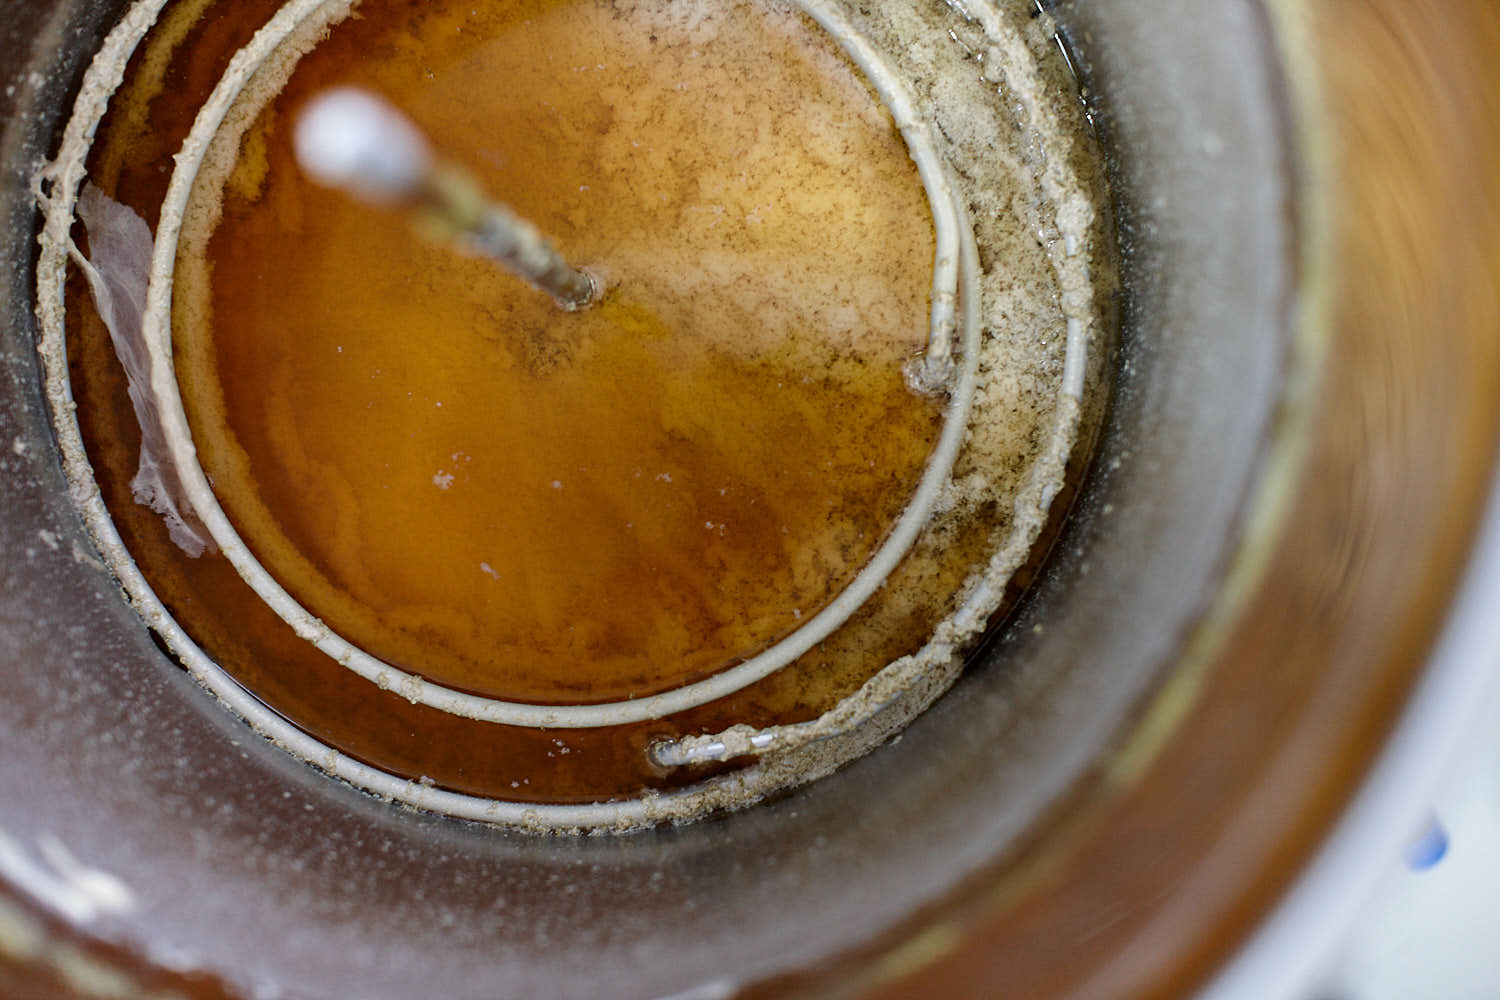
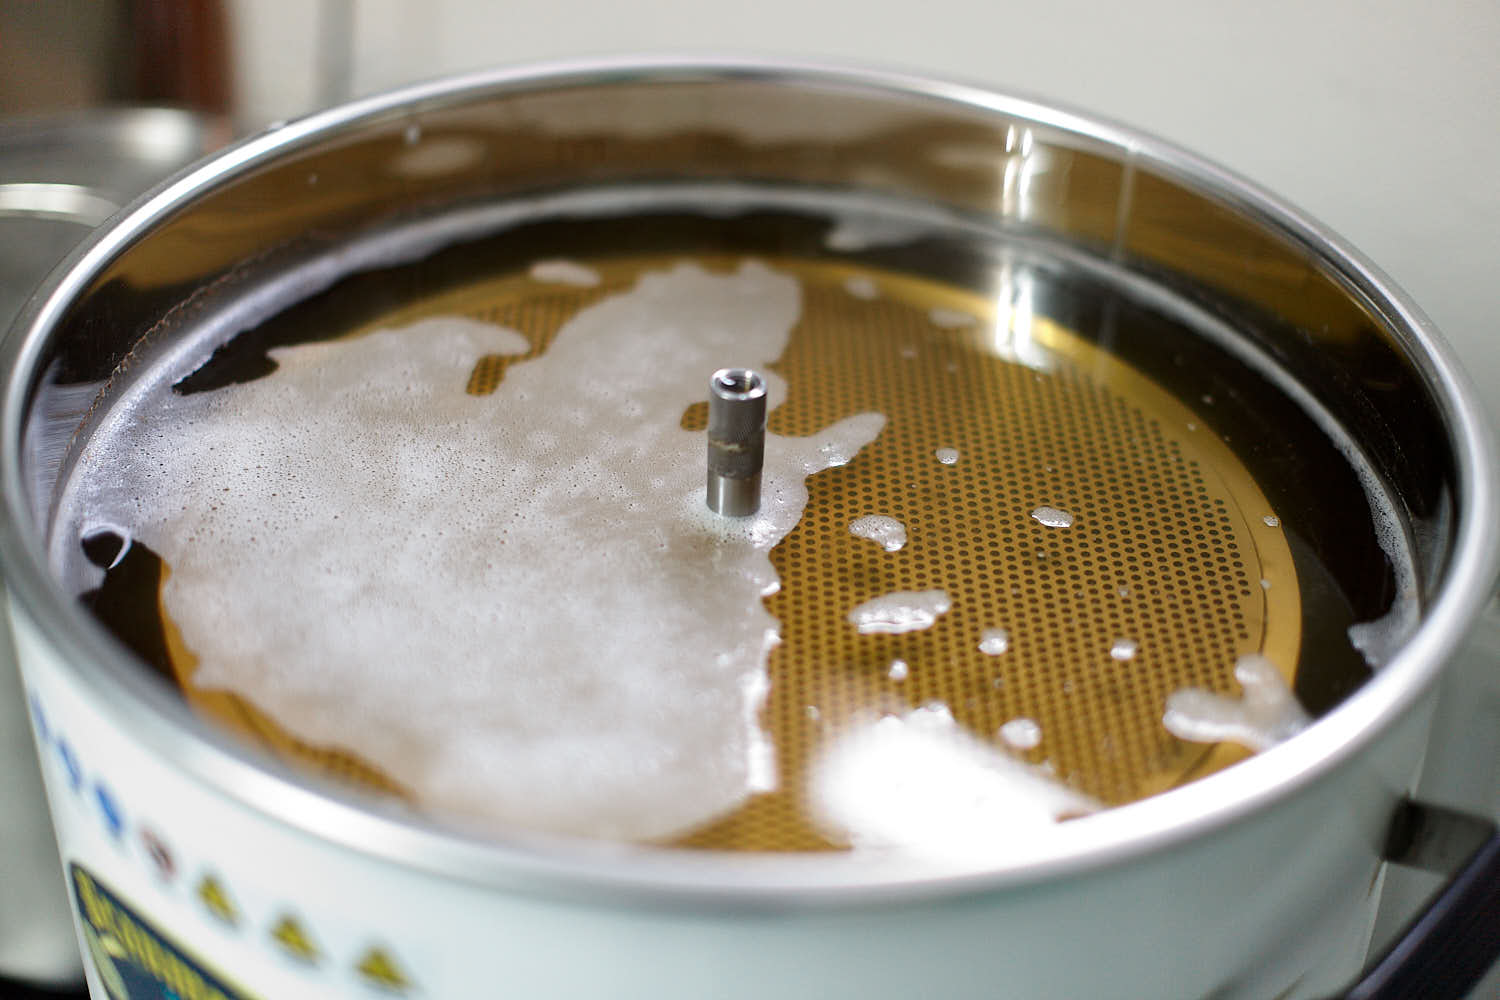 This is after the mash sequence.
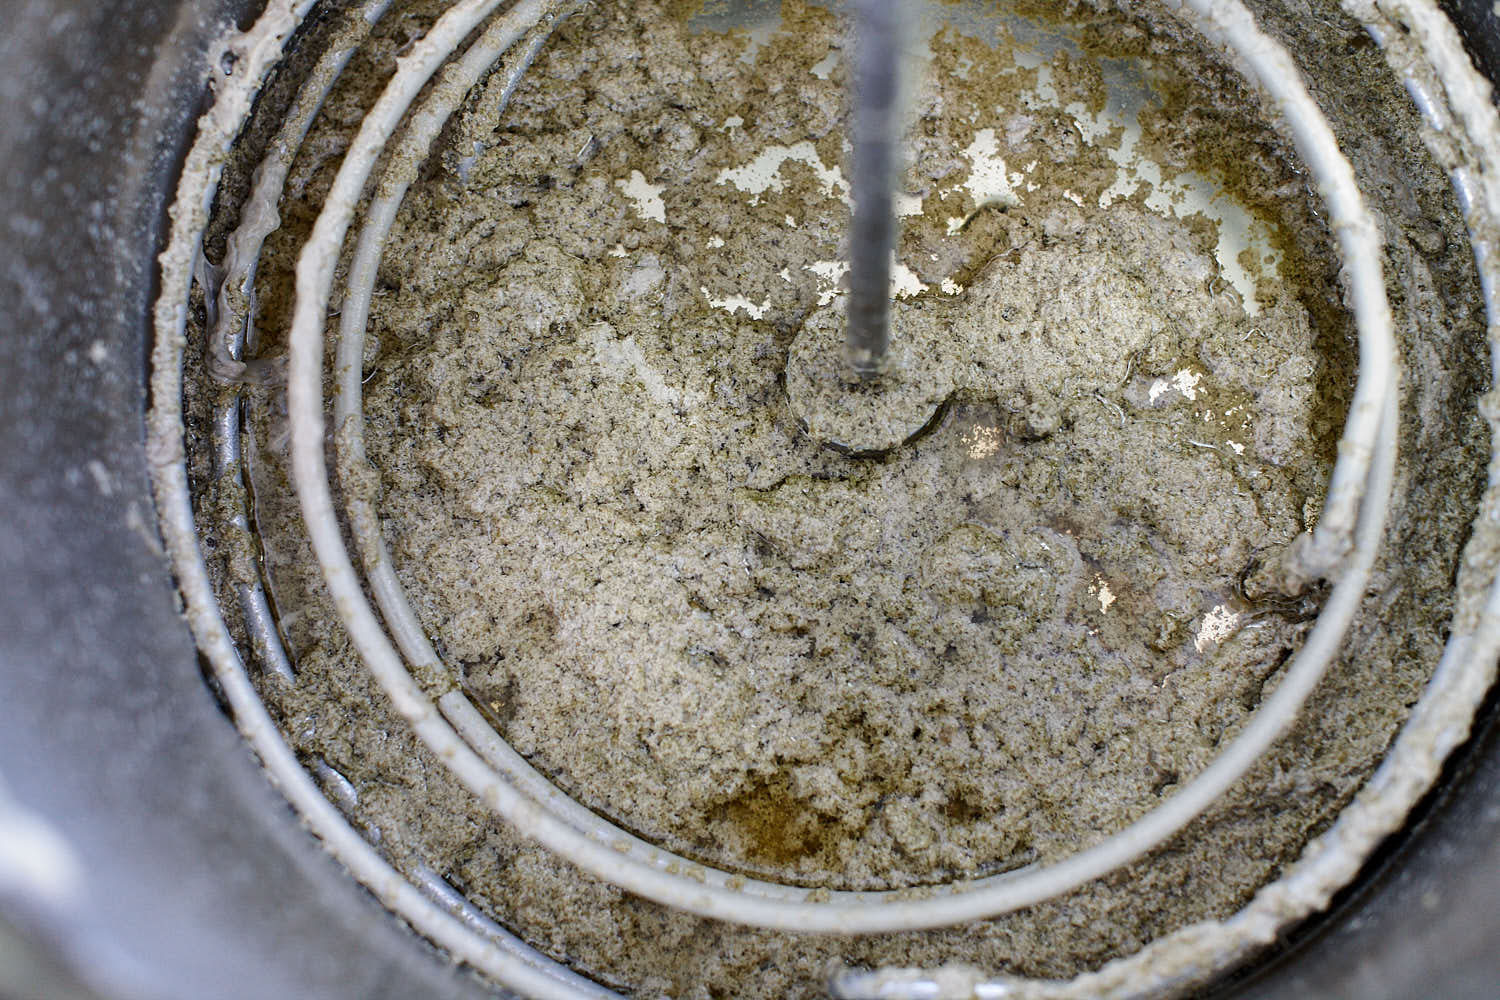
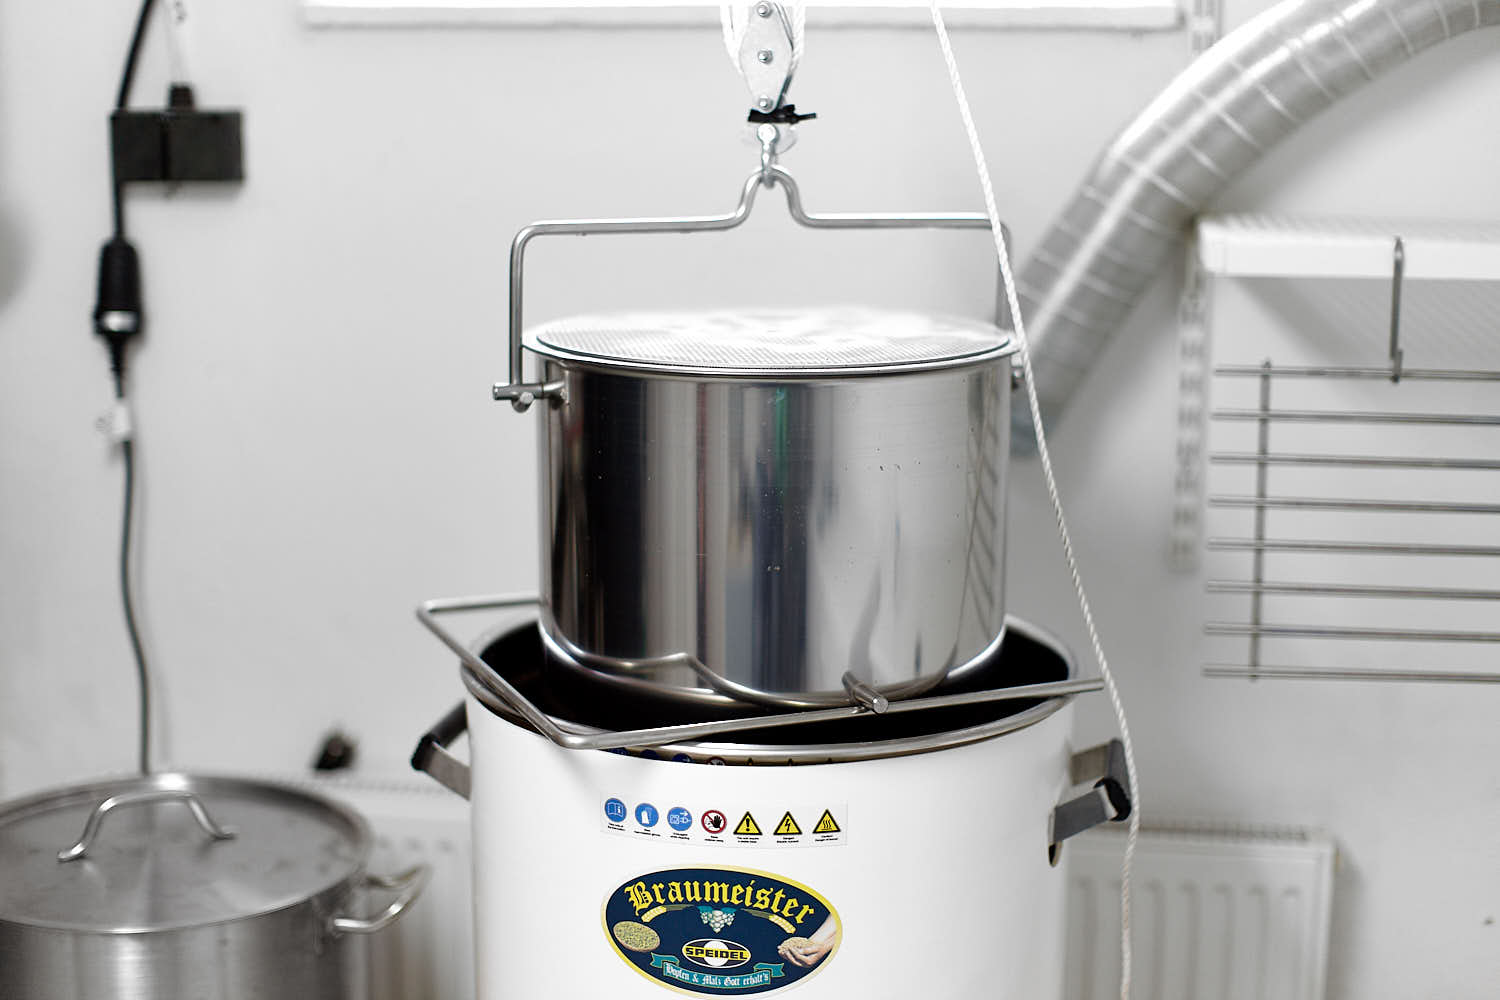 SLowly raised malt pipe in resting position.
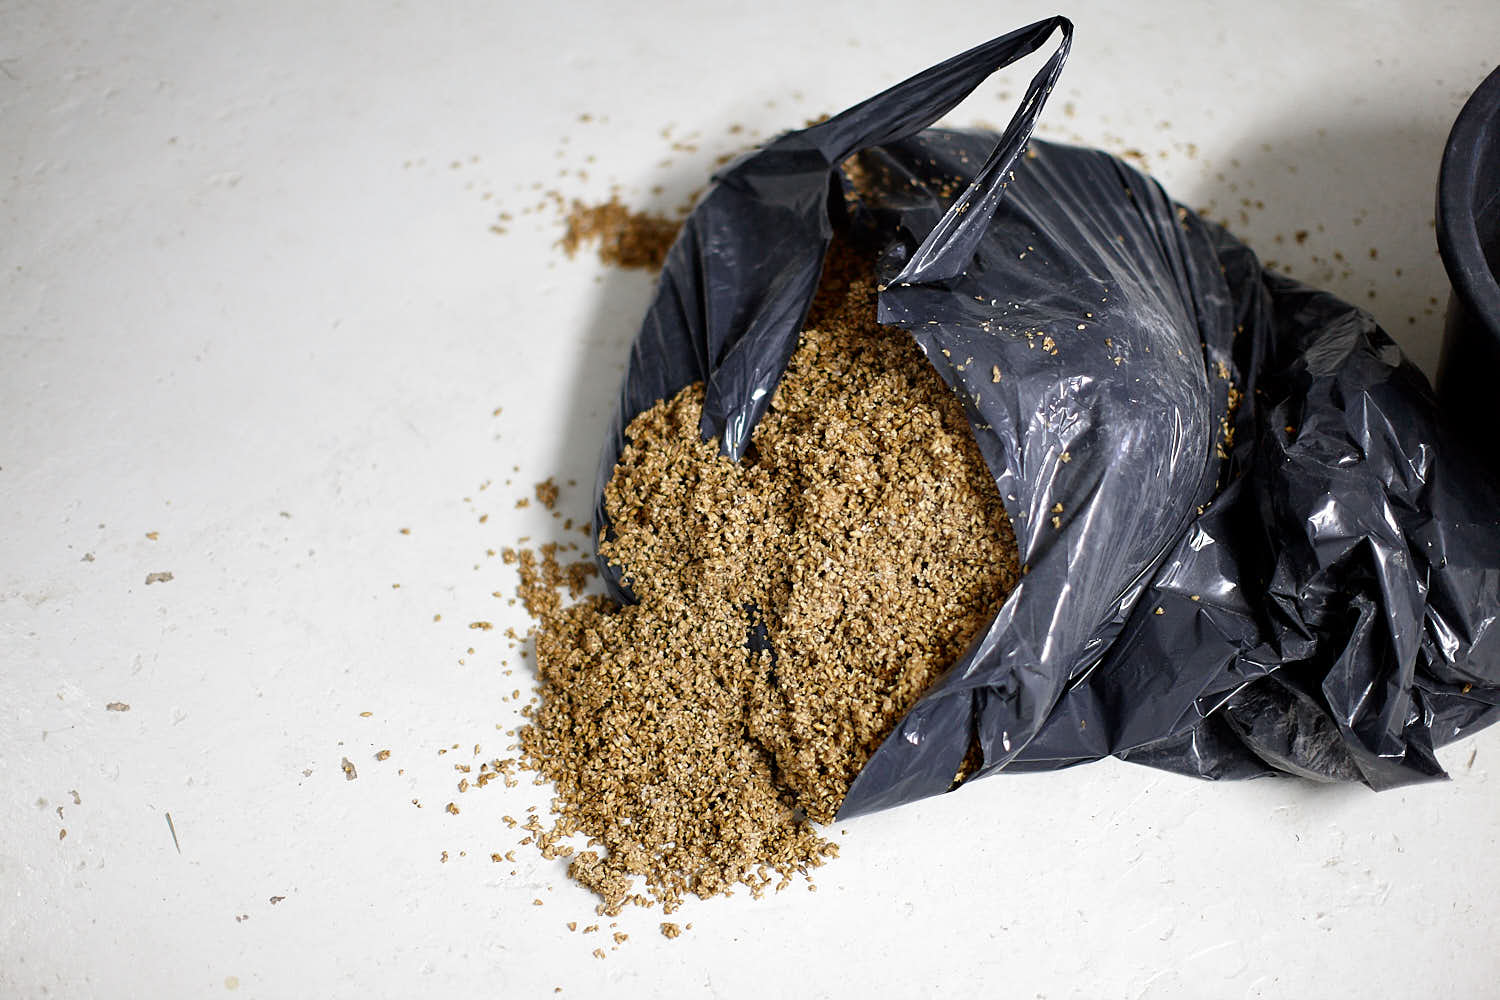 Whoops. I hate to empty the malt pipe and this happens far too often!
 Waiting for the boil.
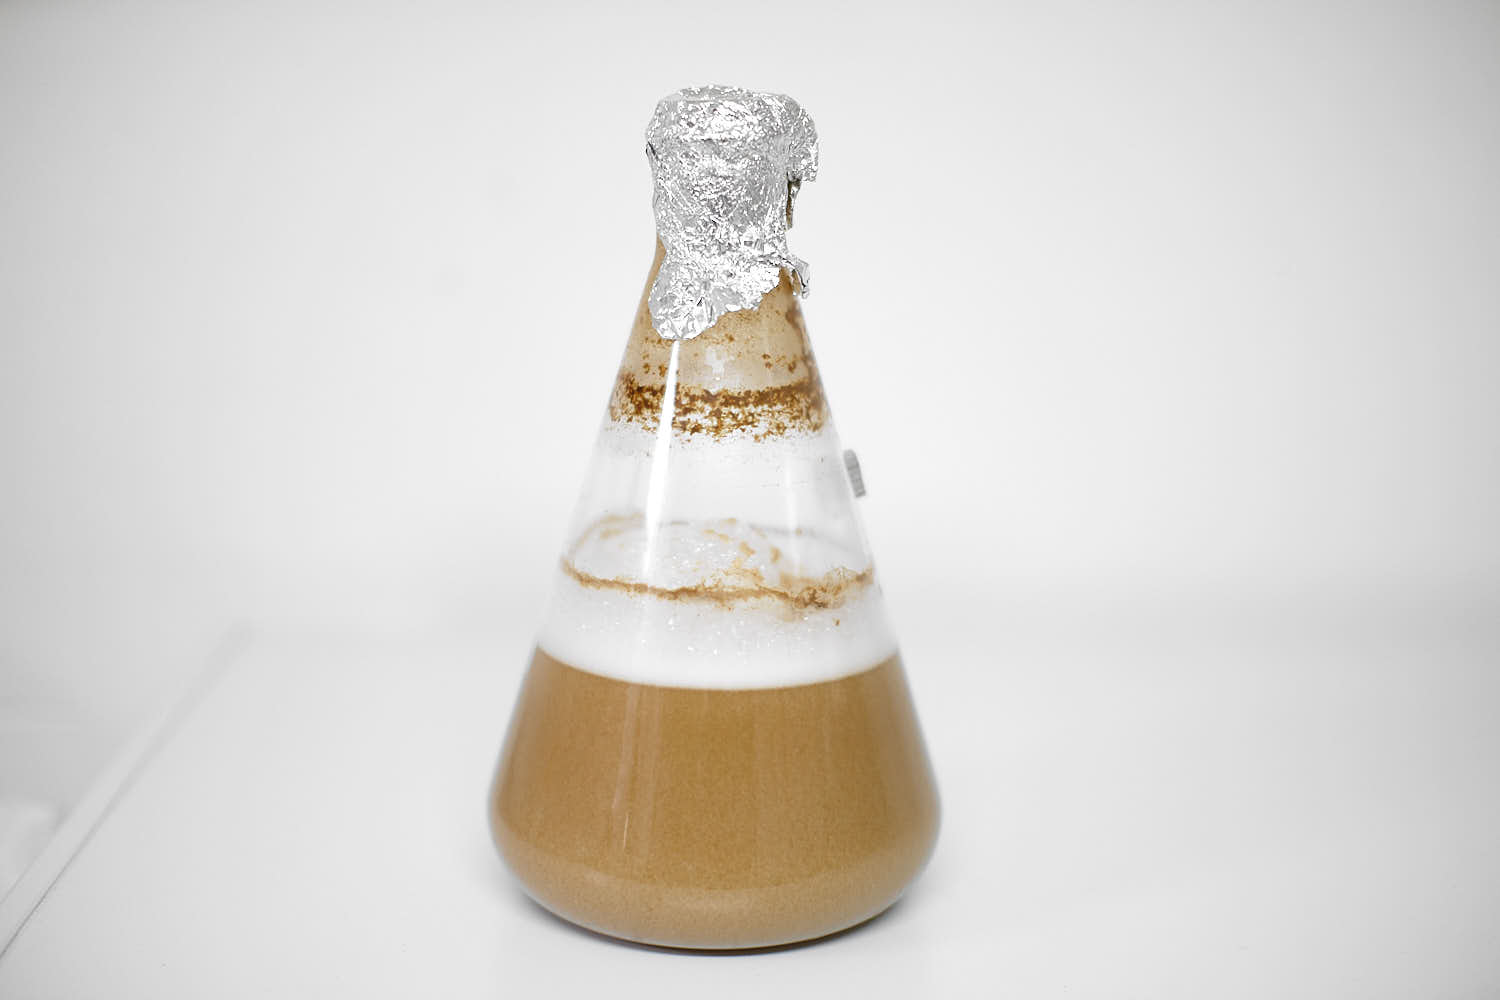 My starter that’s just been taken of the stir plate.
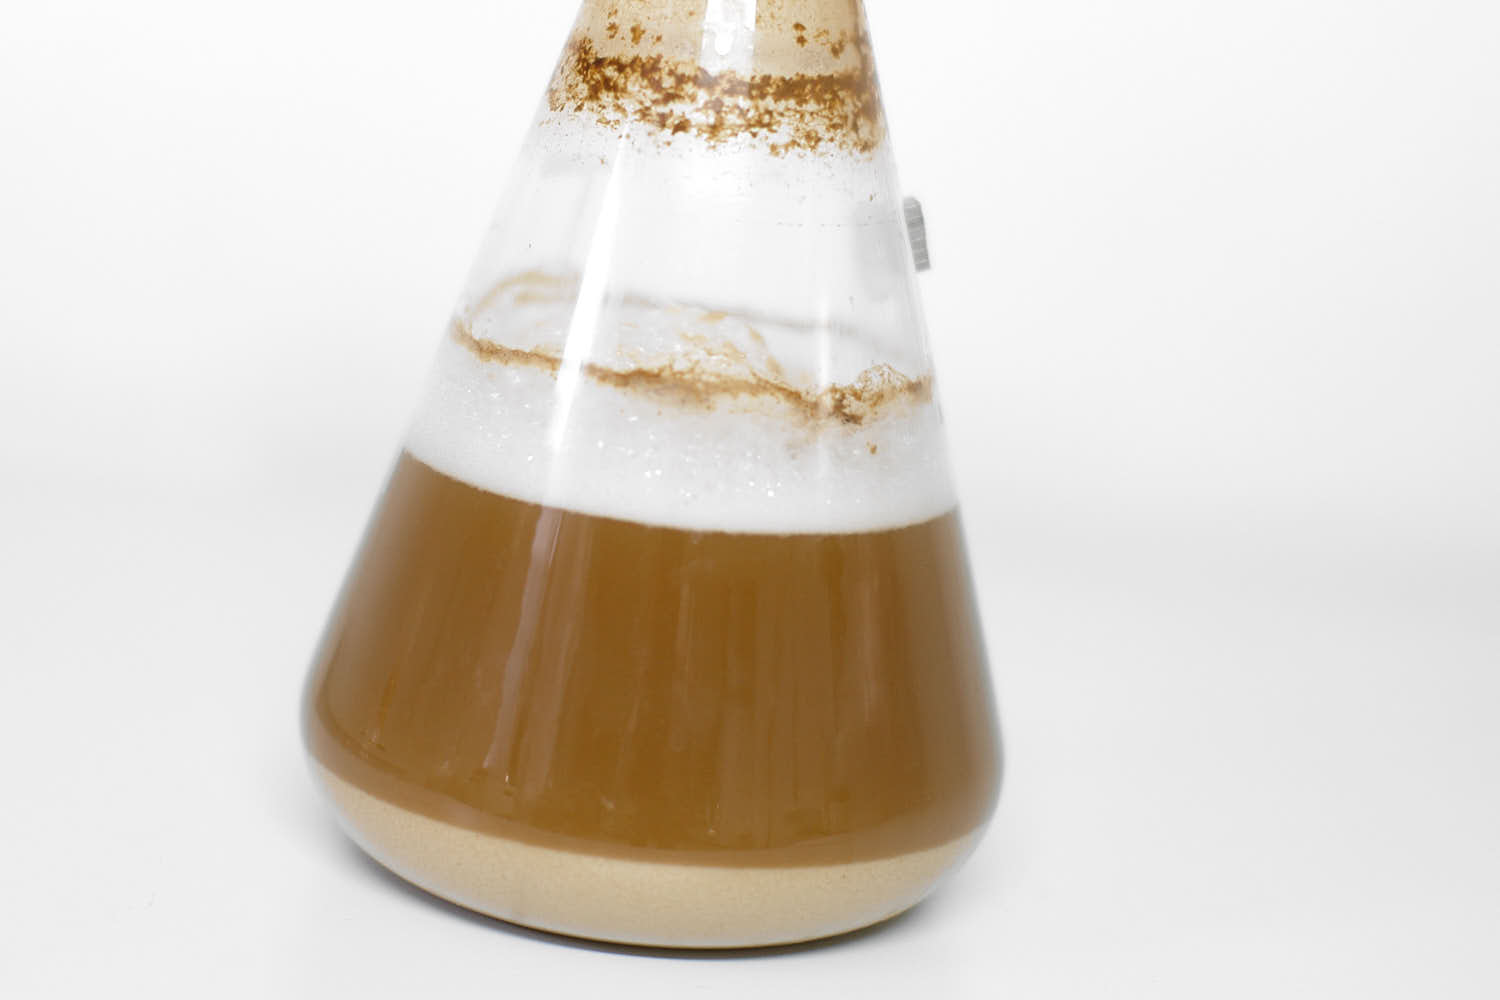 The minutes later! Look at that sedimentation! And this is very alive yeast since fermentation at 9°C started within just a few hours!
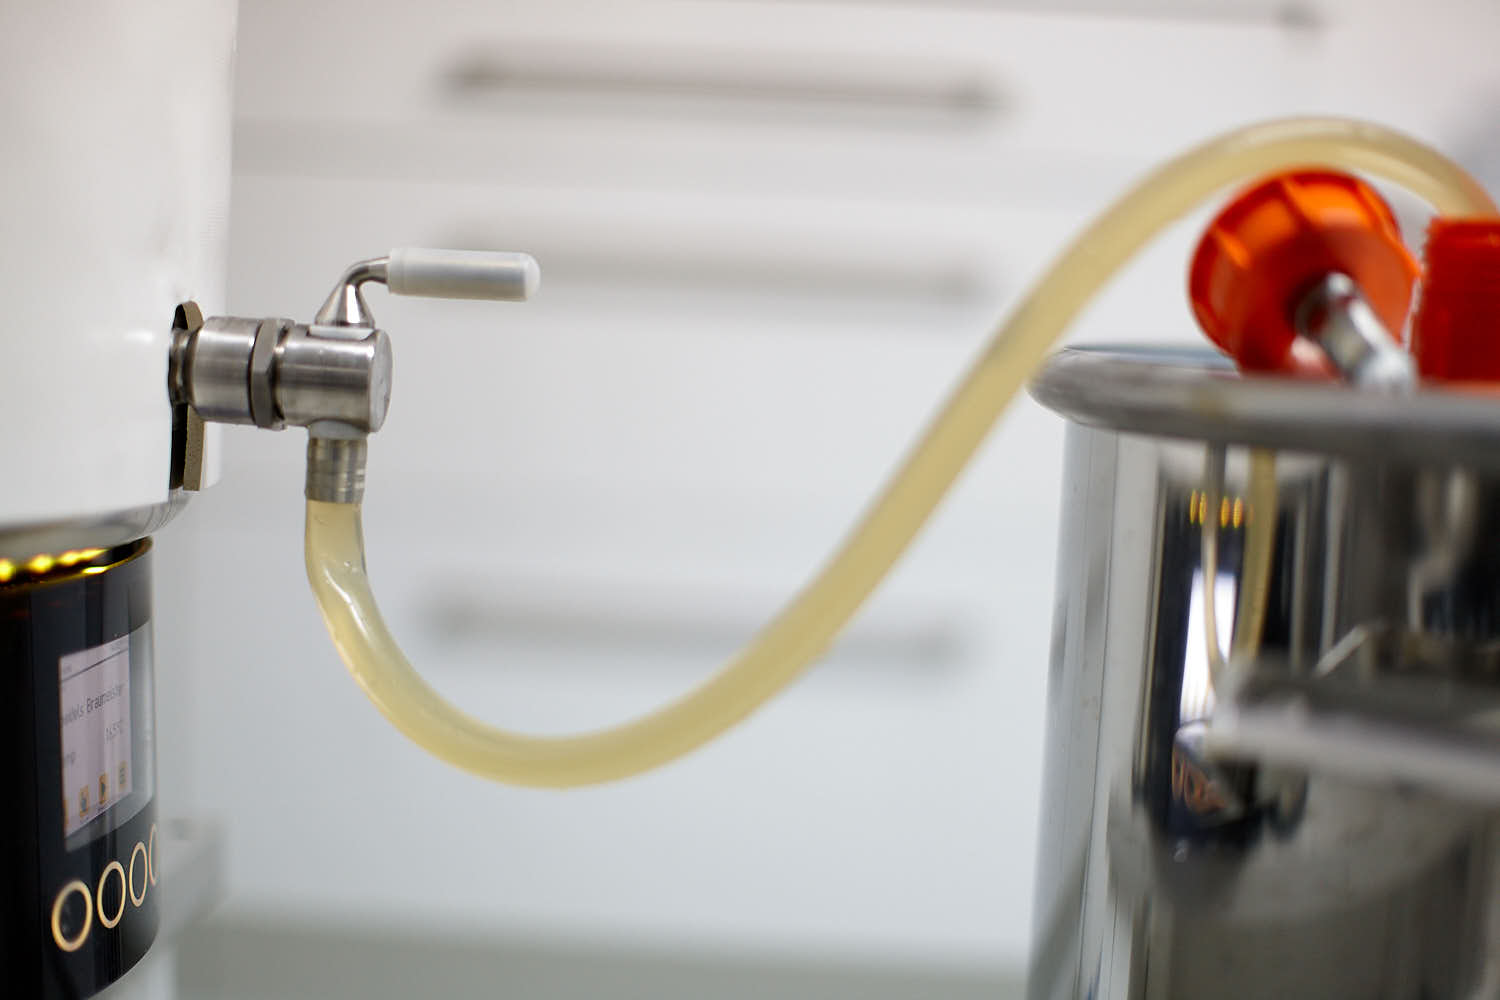
 Final wort getting transfered to fermenter.
 This is what’s left behind, trub and hops…
| H14 – Lindhs Maibock strong helles | ||||||||||||||||||||||||||||||||||||||||||||||||||||||||||||||||||||||||||||||||||||||||||
|
Batchsize: 57.00 l
Total amount of malt: 12.84 kg
If steeping, remove grains, and prepare to boil wort
Total amount of hops: 40 g
 Du har väl inte missat min bok om ölbryggning? Köp den hos Humlegården!
Annons:

|
Senaste kommentarer