
Lindhs Pils (13)
 I’m thought my long vacation would let me brew many times to fill up my empty kegs but I only got around to three brewdays and this being the third. I have a few beers planned that I want to try to brew but right now I need to fill up with pils and hefe so I have a decent supply for the autumn. The recipe this time is the same as the last but I have some Maris Otter that I won at the Swedish Homebrew Championship that I want to get rid of so a 40/60 blend with Balder pilsnermalt was the rather odd base malt blend this time. I want my basemalt to be around 4 EBC like Weyermanns Barke and a blend can contribute to a fuller spectrum of tastes. Since the last time I have adjusted my 3-roller mill from 0.8mm to 1.0mm to see if it affects my efficiency that I would like a bit higher and it sure did. With the exact same amount of malt (12.o kg) as last time I got 4 SG points more and that’s a decent improvement for such a simple adjustment. The higher efficiency comes from less channeling in the malt bed because a coarser crush should in fact give you lower efficiency and not the other way around.
LOB Kit
This was my first time with the final version of the low oxygen brewing kit from Speidel and I tried to brew without any gasket on the top disc since all the plates are resting above the maltpipe and not inside as the original design is intended to do. It worked very well with no malt particles or husks in the boil wort so I will brew without the gasket from now on. One bonus effect that I hadn’t thought about before is that since discs are fixed on top and not moving anymore so I will not get splashed in the face during the lifting of the maltpipe after the mash. I raise my pipe very slow to reduce oxygen intake, demote channeling and to avoid the ”suck back” when the maltpipe is just about to leave the liquid level. Somewhere in the middle of this 3-4 min process, the filters will float a bit above the malt bed (which is contracting when the liquid leaves) and it is being held in place by the gasket. But when everything cools down and shrinks, the filter will fall down and hit the surface and give me a reminder of what a foul language I can fill my brewery with, and how sticky wort in your face can be. That’s all in the past now and while it will not improve my beers, it will make for a little better brewday for sure…
LQ Saison
This being a LoDO brewsession (as 95% of my ”real” brews are), I did not sparge the main batch. ”Main batch”, as I did a second batch by sparging the malt pipe above a separate kettle, both to take care of some precious malt sugars but also to fill up akegs with easy drinking beer with less alcohol. It kind of bothers me a little that some of these side batches, parti gyles or spargebeers (call the what you like) turns out as good as they do. I have abused the hell out of them (in proper brewing technique terms) by boiling for just 5-10 minutes and sometimes done no chill or ”bad chill”. And still they have came out quite good and quaffable. This time I did a Saison or rather a pilsner, fermented with Saison yeast, since I had some I needed to use up. I did chill it by daisy chaining my cooling jacket on the Braumeister to my 29m monsterhuge SS chiller but the boil time was just ”a while” (I didn’t measured it). I even added some sugar to raise the OG to around 1.040-ish/10°P and since a Saison can handle it. I’m guessing this will be the last time you hear about this ”Low Quality Saison” but I wouldn’t be surprised if it turns out drinkable.
Back to the main batch
The German pilsner got an OG of 1.051 which is on the high side for the style but not by much. The only thing I did different from my usual pilsner brews was the late hops that I instead added at flameout together with my mash cap. Then I started a slow cooling to avoid too much bitterness from the hopstand and it took about 20 minutes before I was below isomerisation temps. Since I only used a 60m and flame out addition and not my usual hop schedule, I forgot to add my 10m lactic acid addition that I’ve been using for a while now. Even without that, I got a very nice hot- and cold break and I feel no need to start using protafloc again and the 10m lactic to lower the pH to the 5.0-5.2 is actually the only thing that makes me not beeing Reinheitsgebot. I’ve slowly removed all the ”extras” like gelatin, protafloc, yeast nutrients and foam reducers and I’ve found out I don’t really need them like before. Proper brewing techniques and quality control will make up for most of these additives (except maybe for zinc from the yeast nutrients) and even though following Reinheitsgebot will absolutely not make your beers better (and most of it has a bigger historic value than anything else), adding unnecessary things to your beers feels, you know, unnecessary. The RHG would never have survived without the ability to lower pH with workarounds like Sauergut or acid malt and most bigger breweries are working hard to come up with sneaky solutions like that. For instance, some breweries have installed a zinc pipe that the mash water goes thru to add zinc ”without adding it” which I feel is a bit silly.
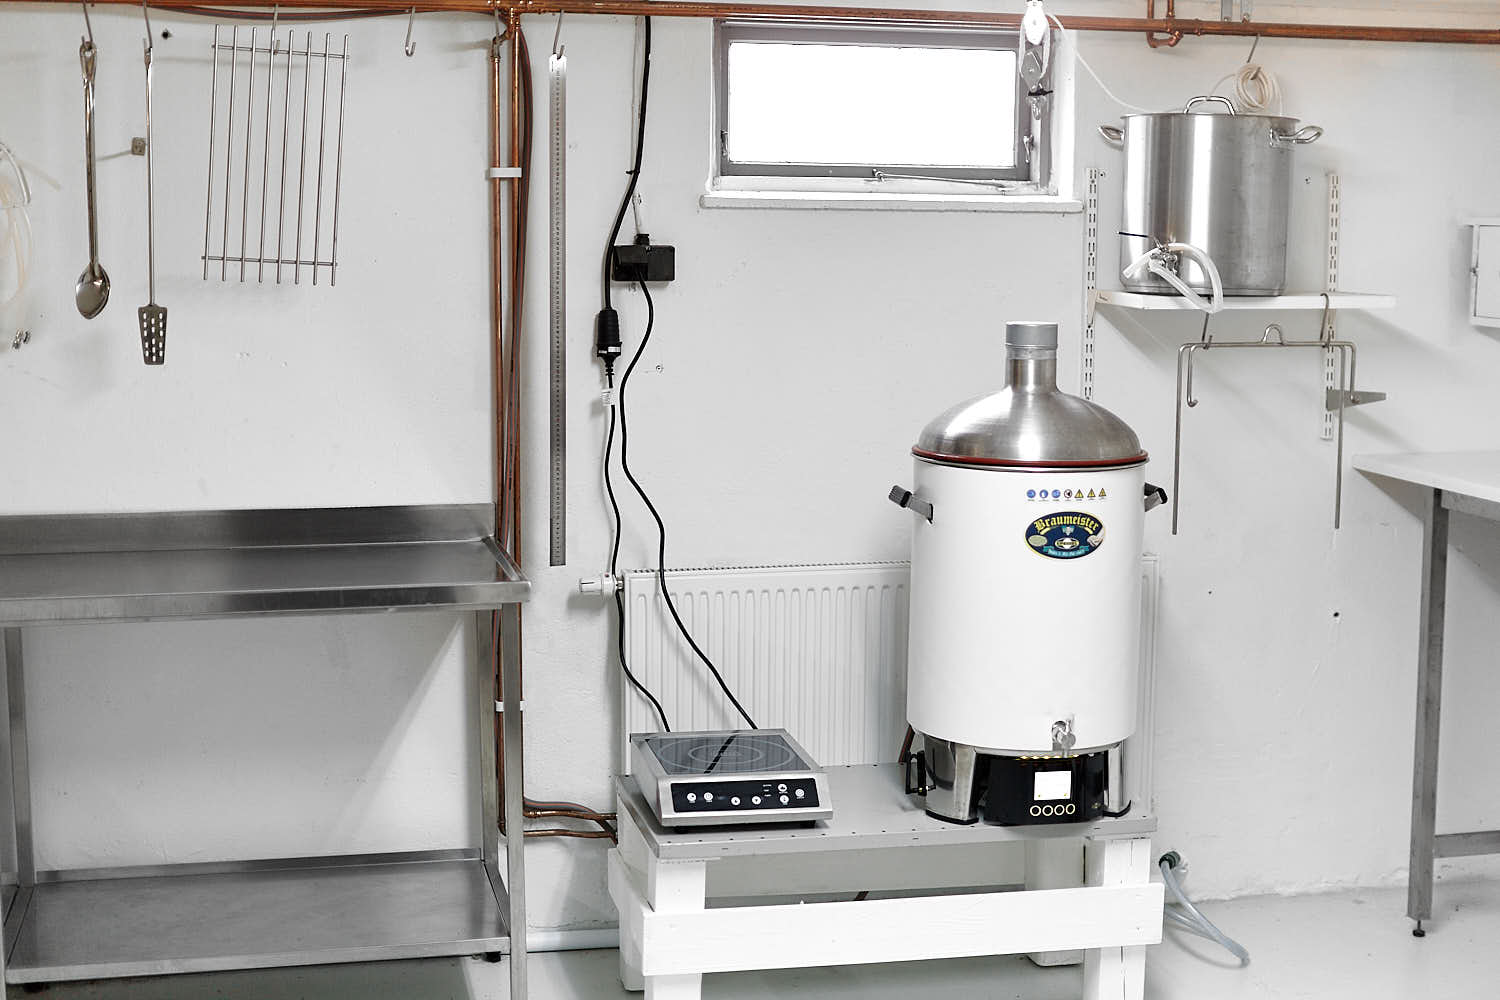
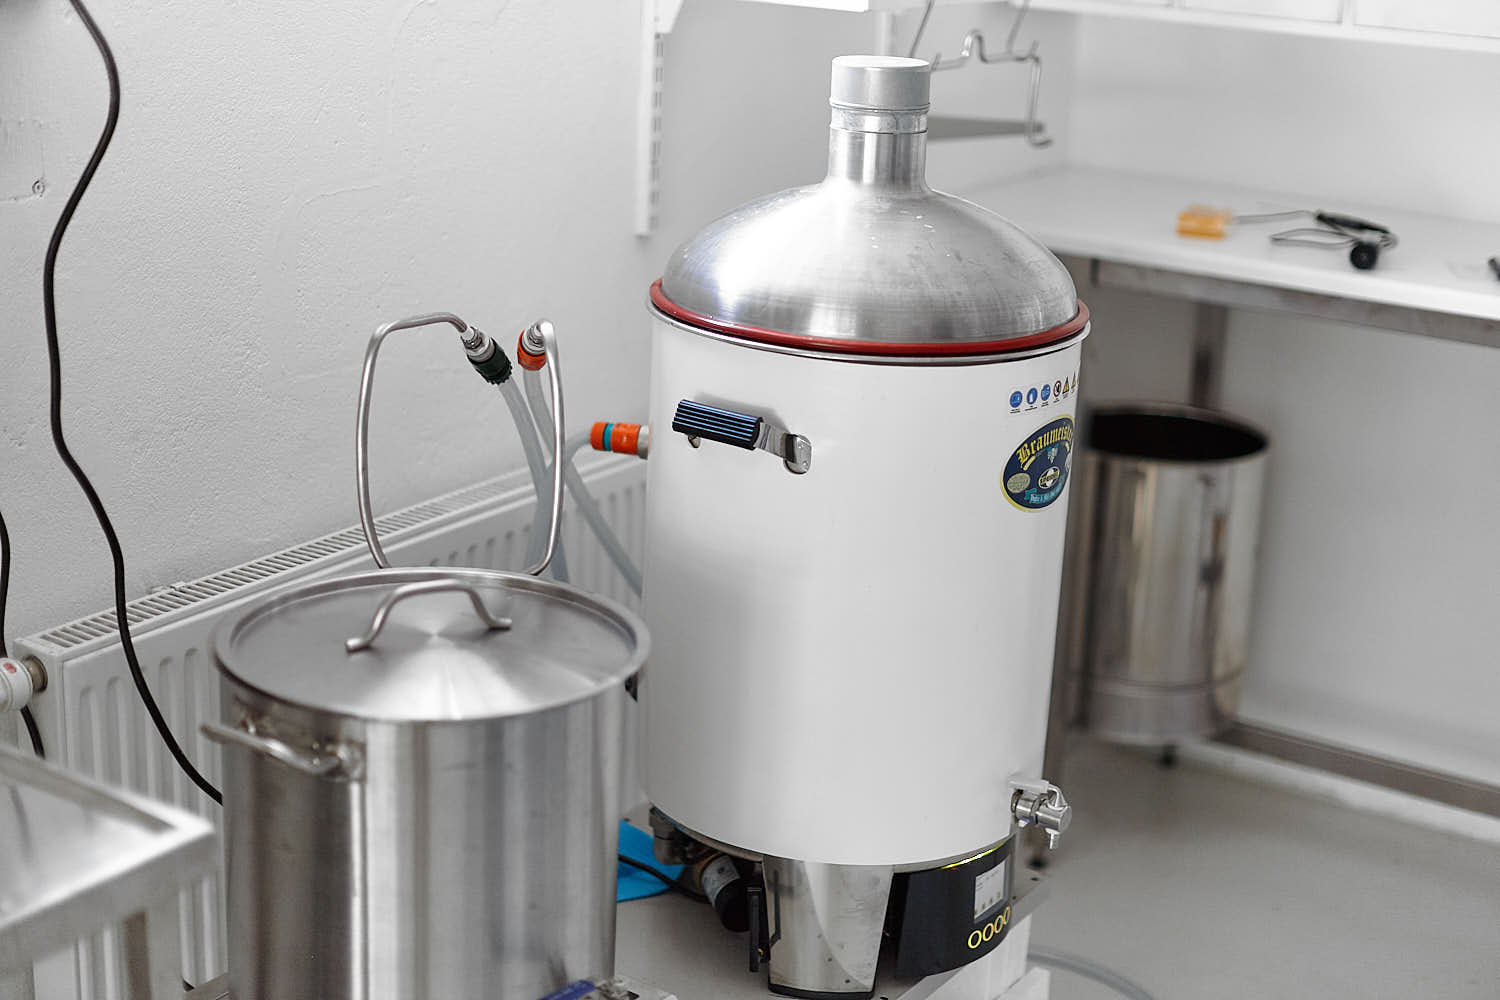
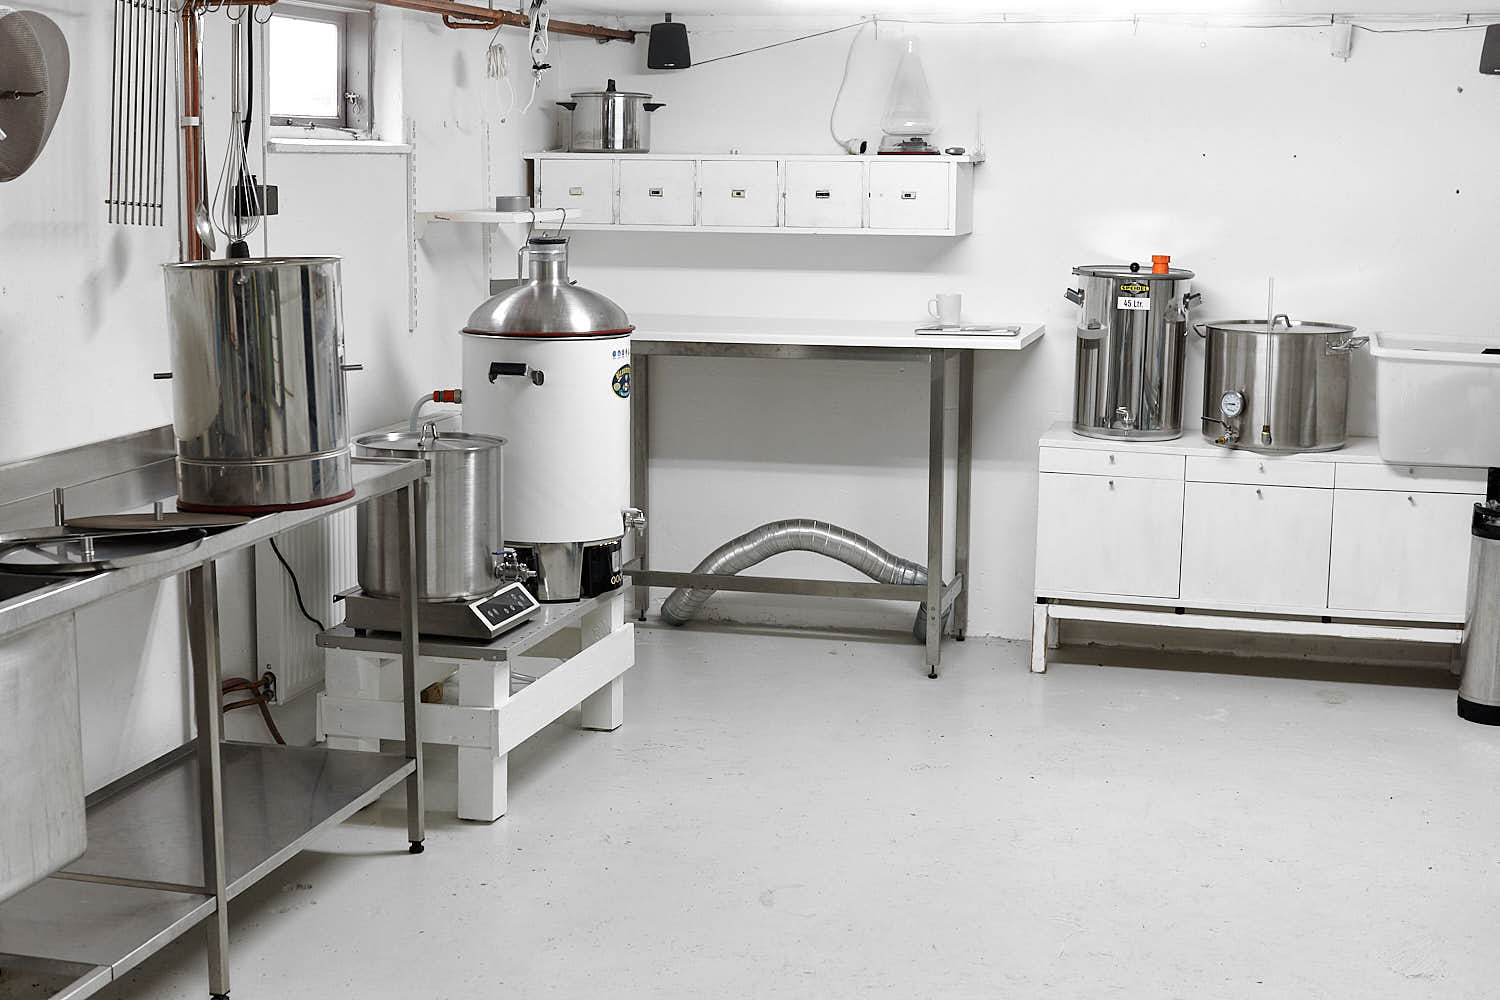 It’s hard to see in this photo but there was a nice fog in the ceiling from preboiling the water without using my vent pipe (it’s under the table as you can see).

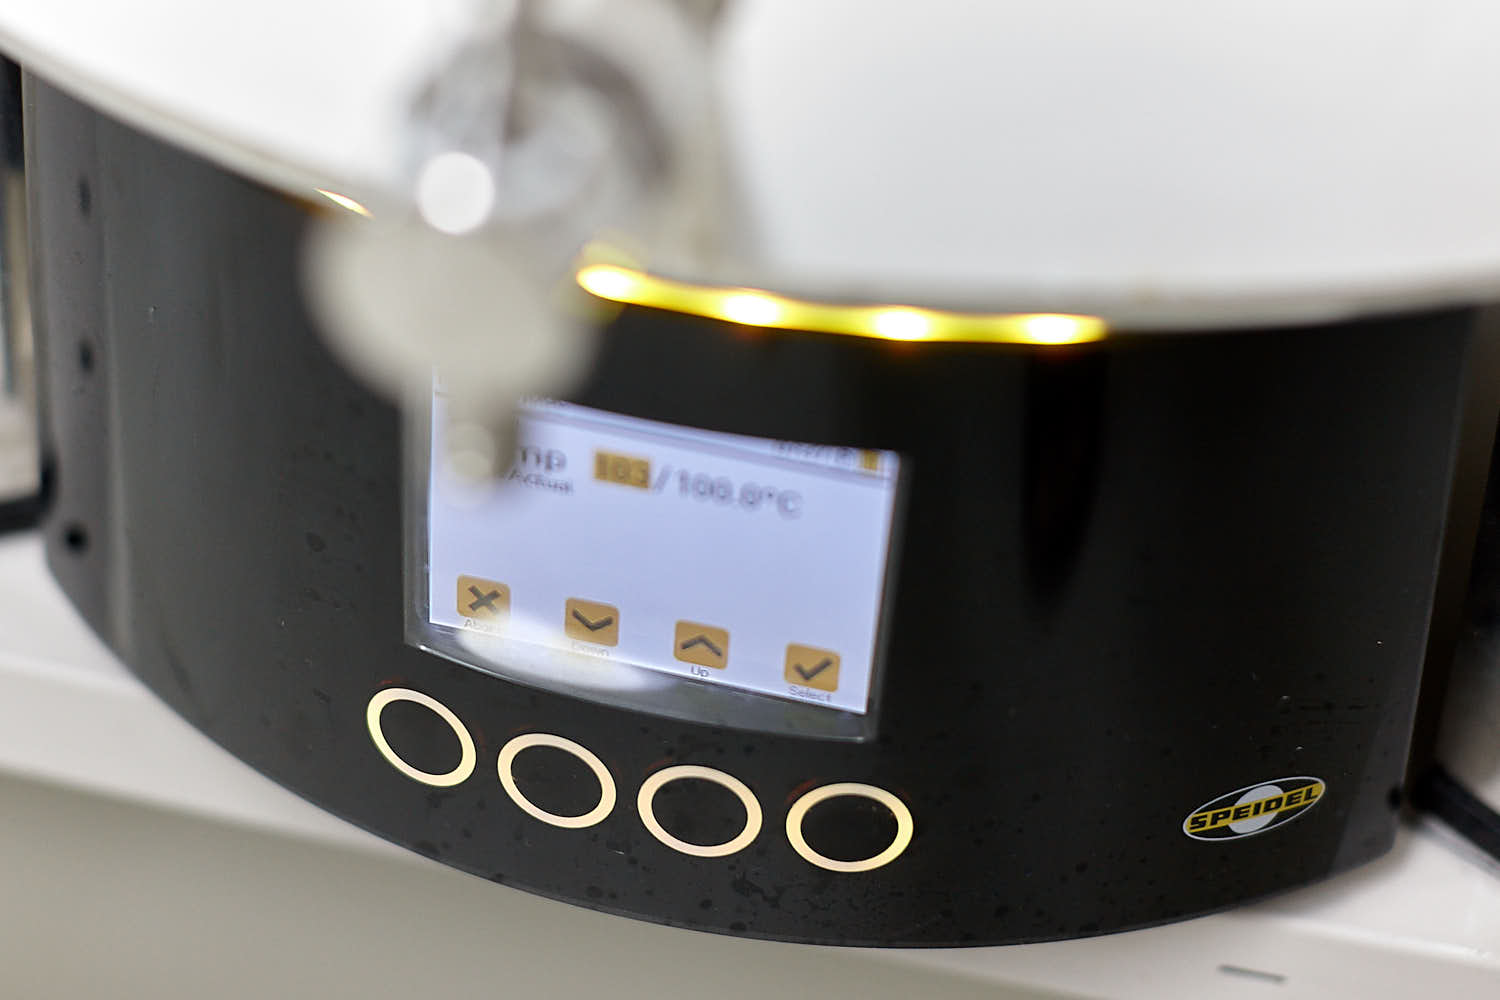 I got some moisture in the control panel this time as well and I’m not too fond of the combination of water and electronics. Hopefully the humidity will get lower as the autumn comes…
 Look at this, I made it! I have no idea why it sometimes works and sometimes not but the feeling of opening a grain bag the right way is awesome.
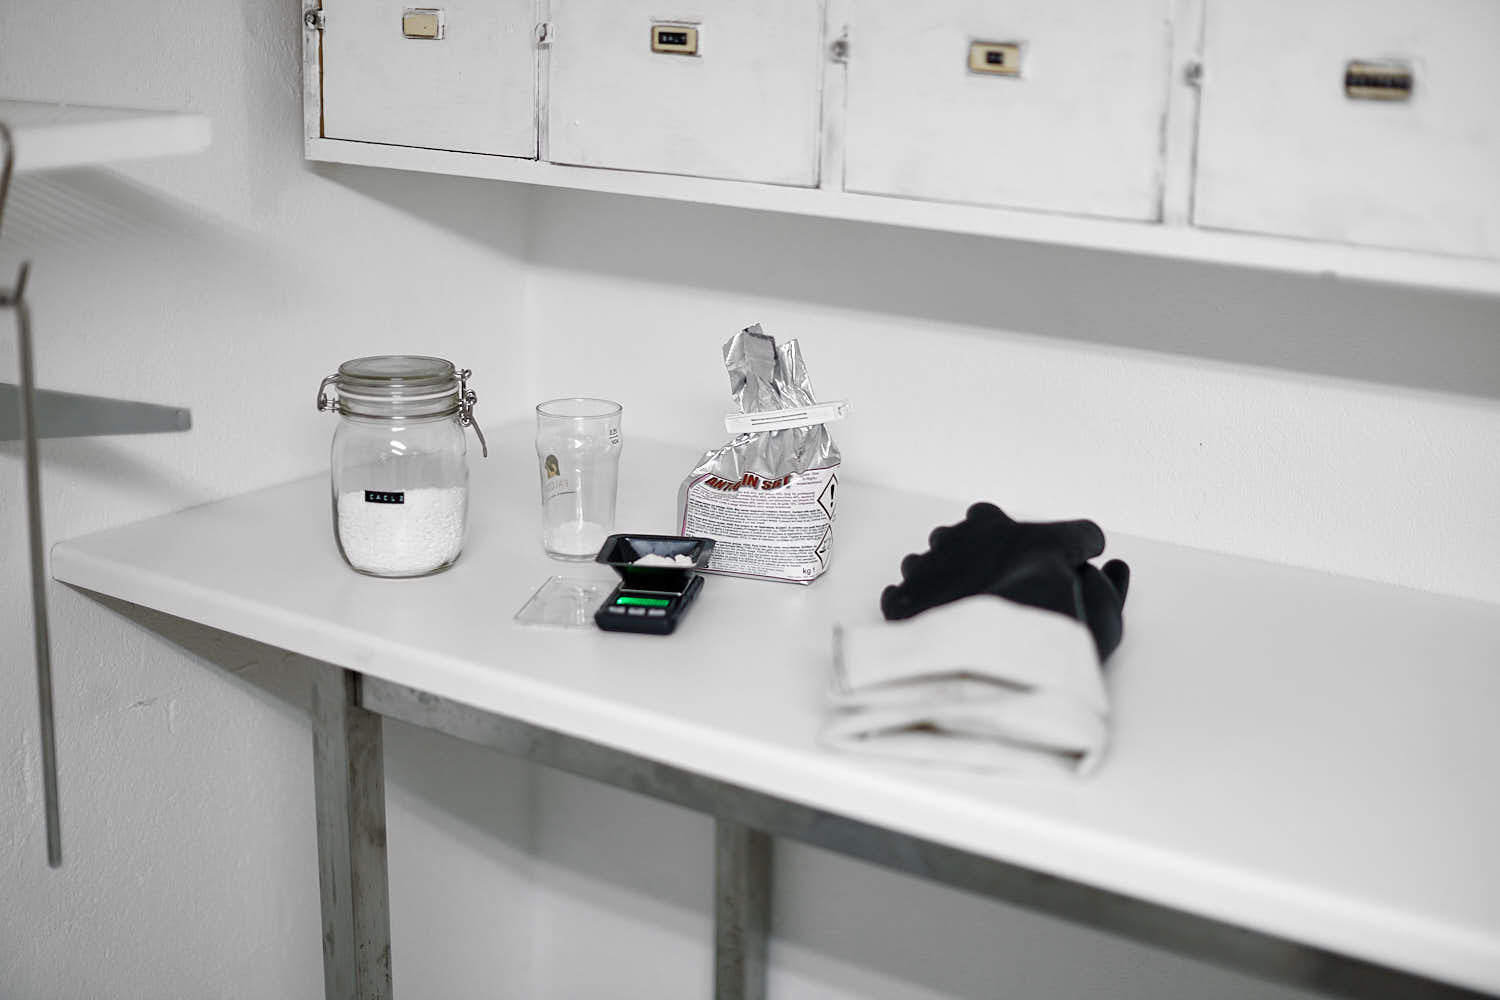 Measuring salts.
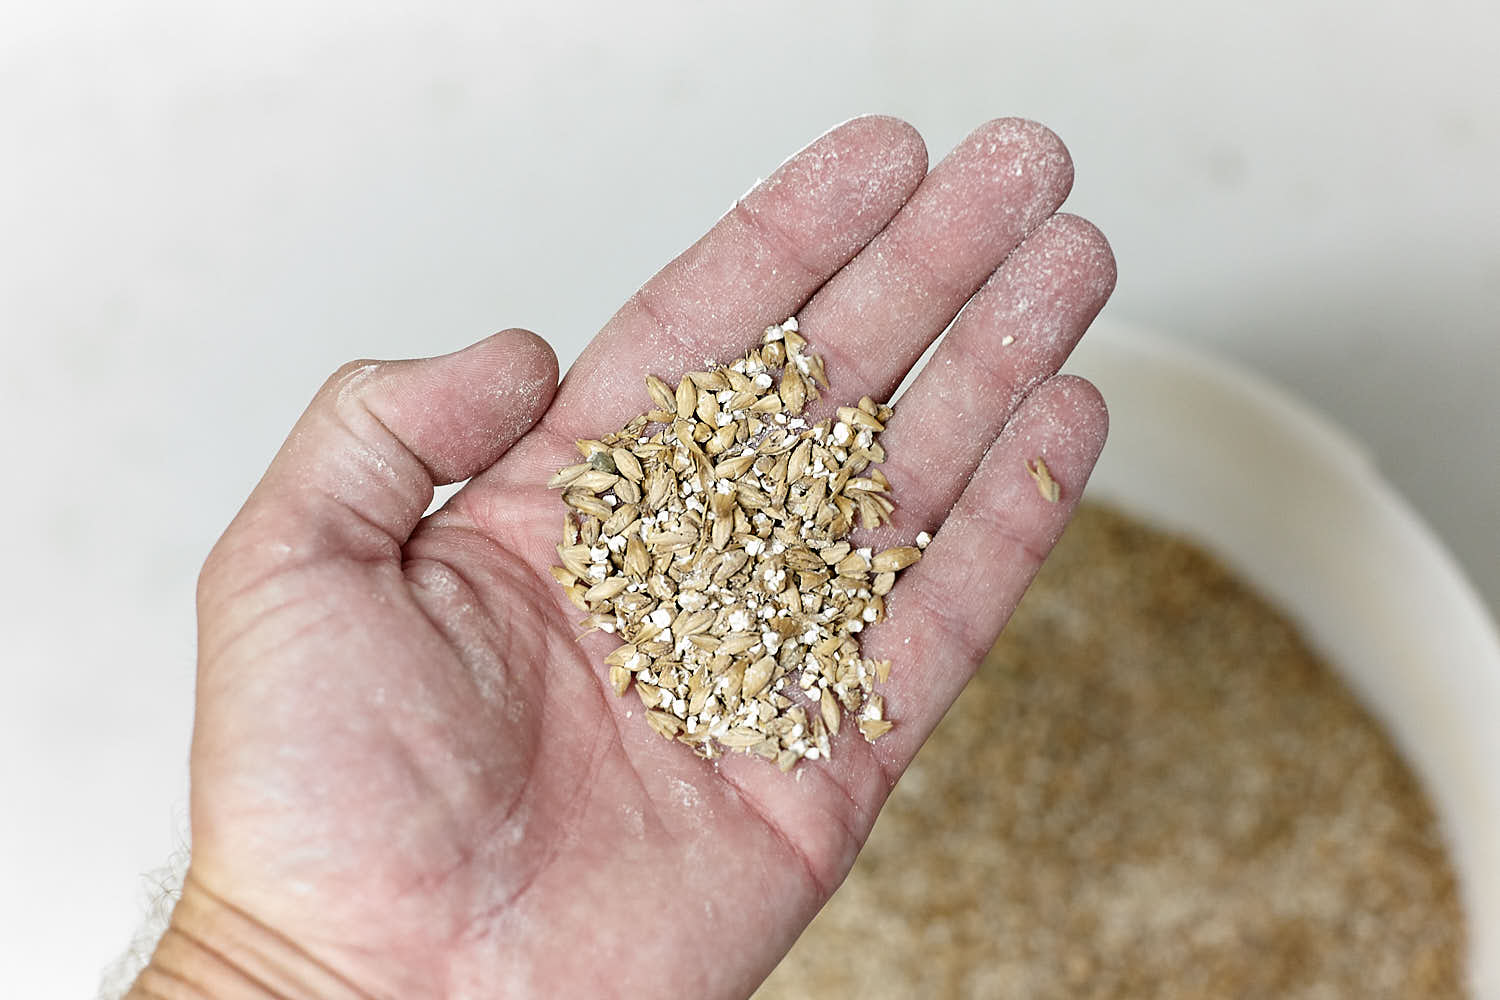
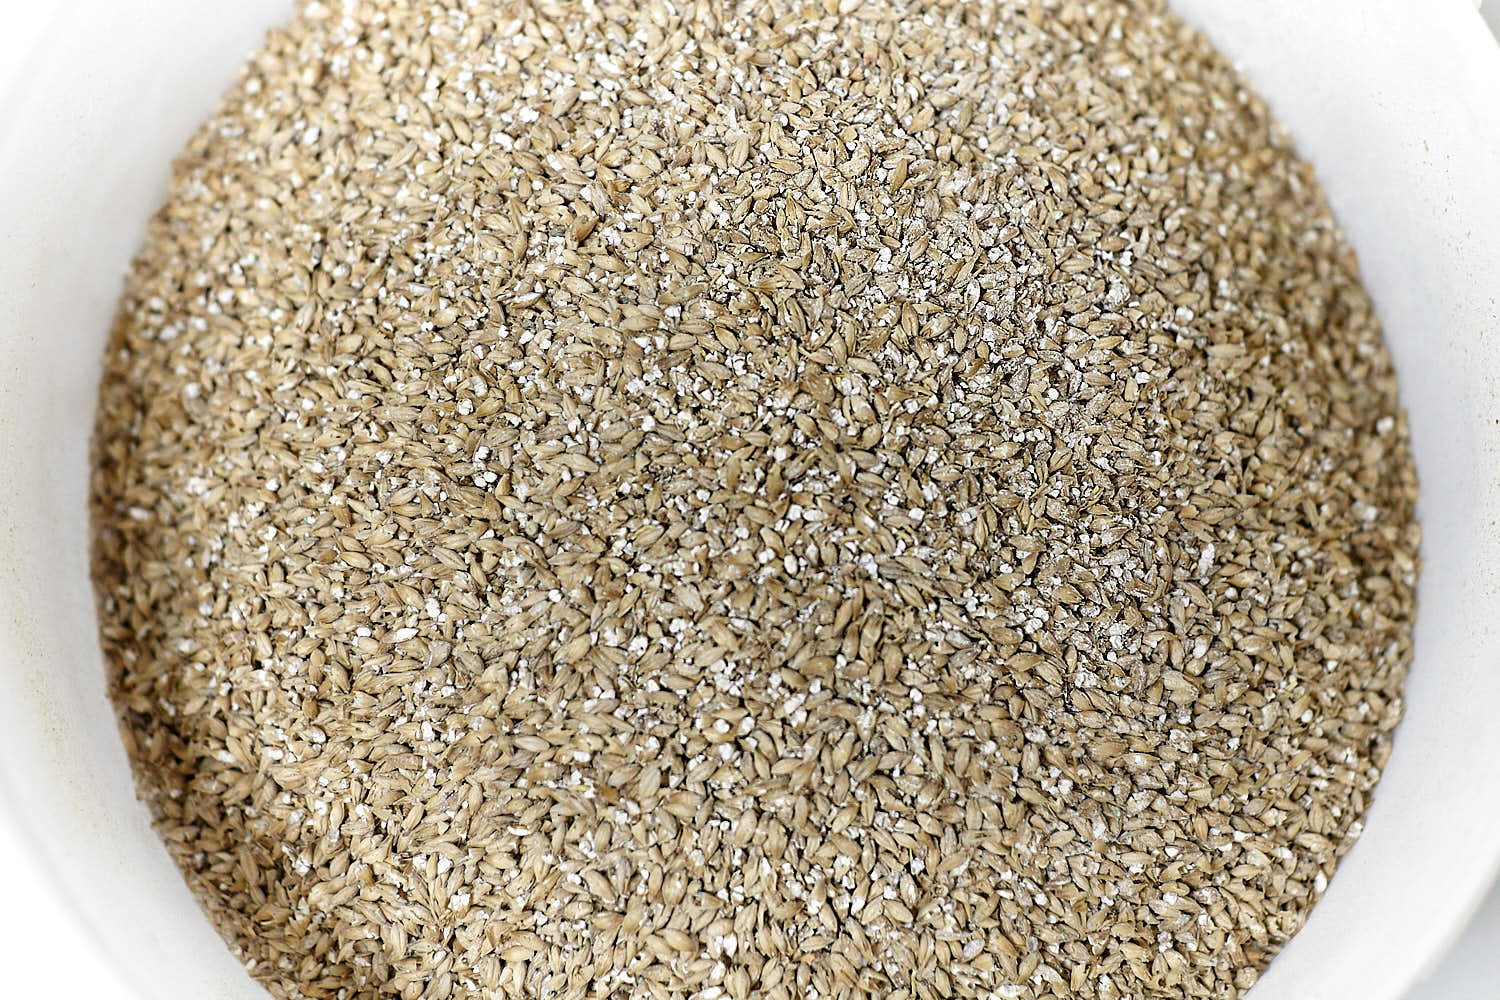 The 1.0mm crush in a closeup.

 Mash in after the stirr.
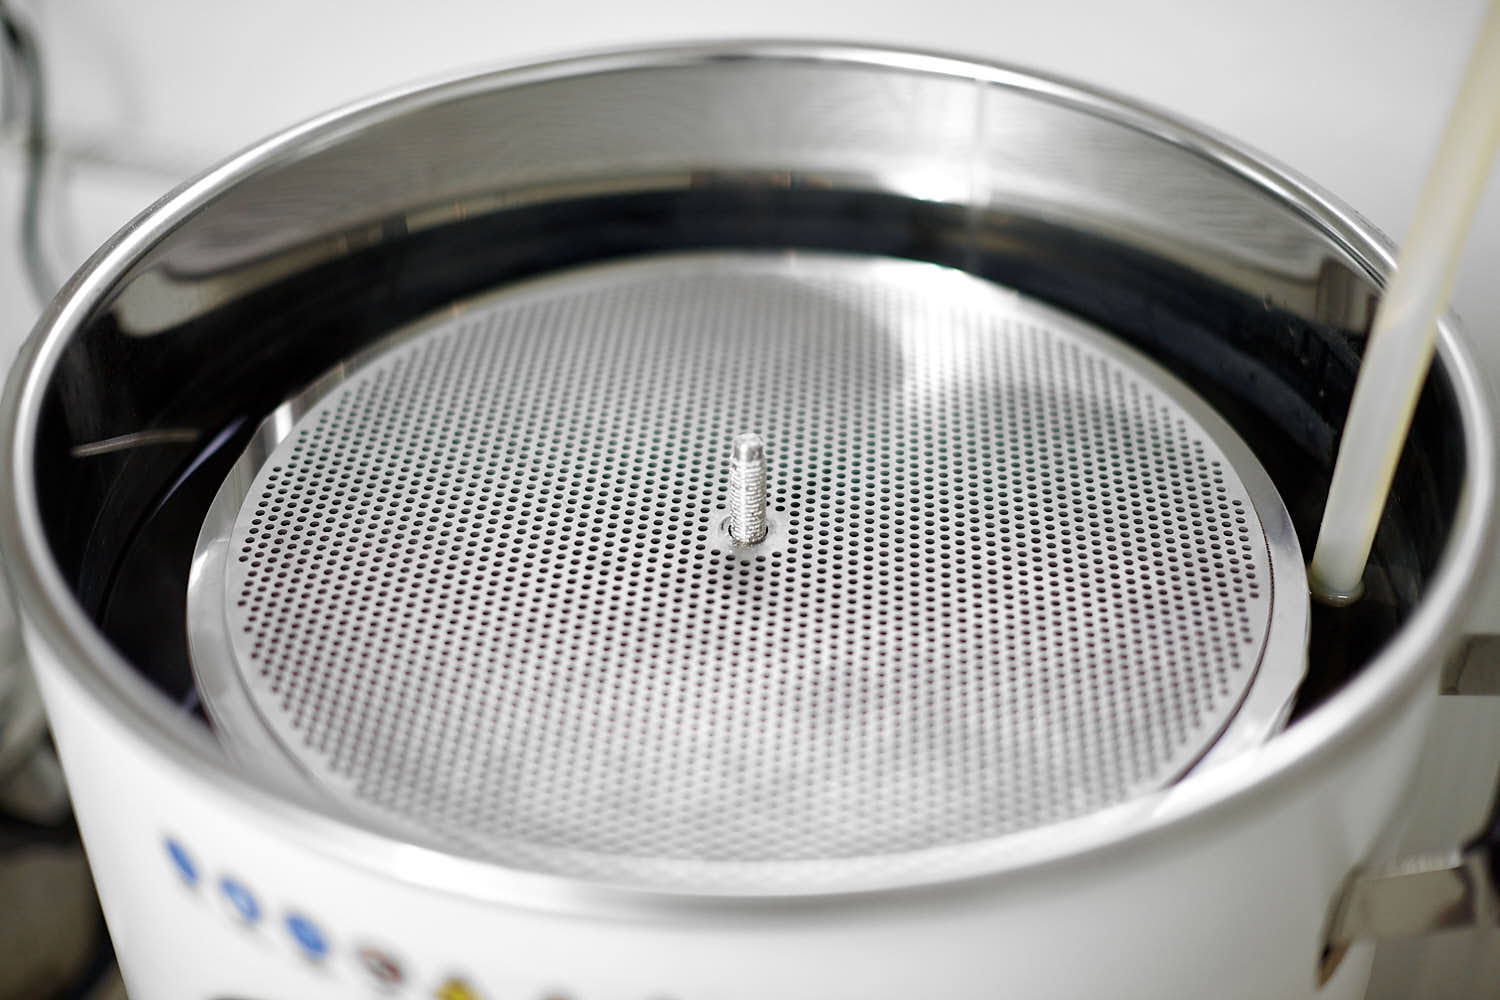
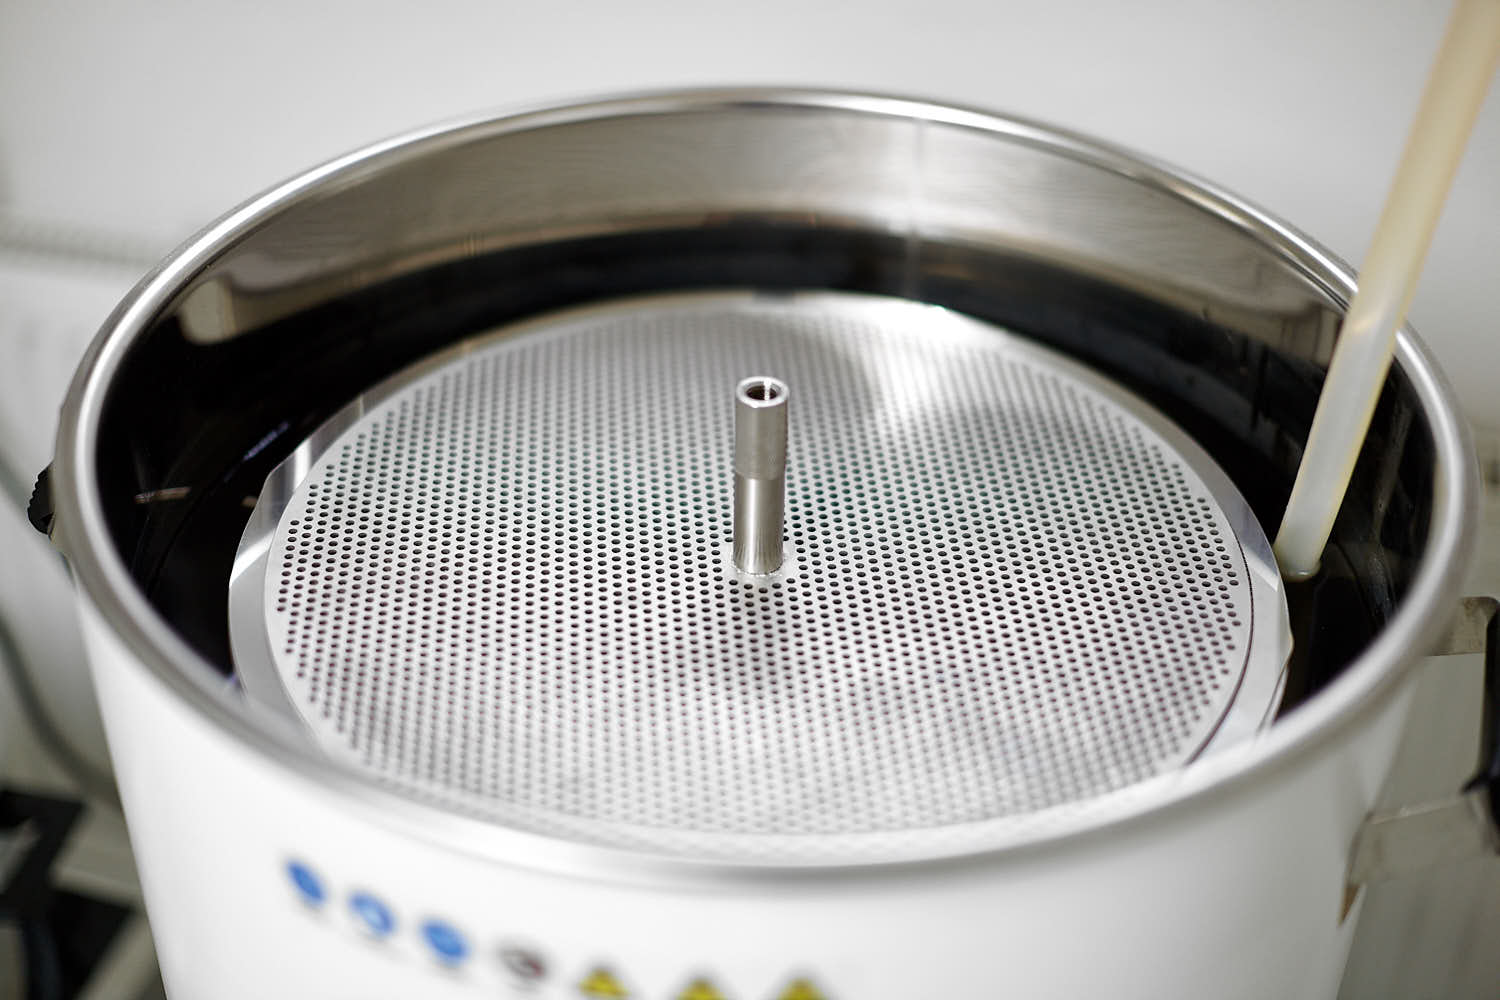
 First the open disc.
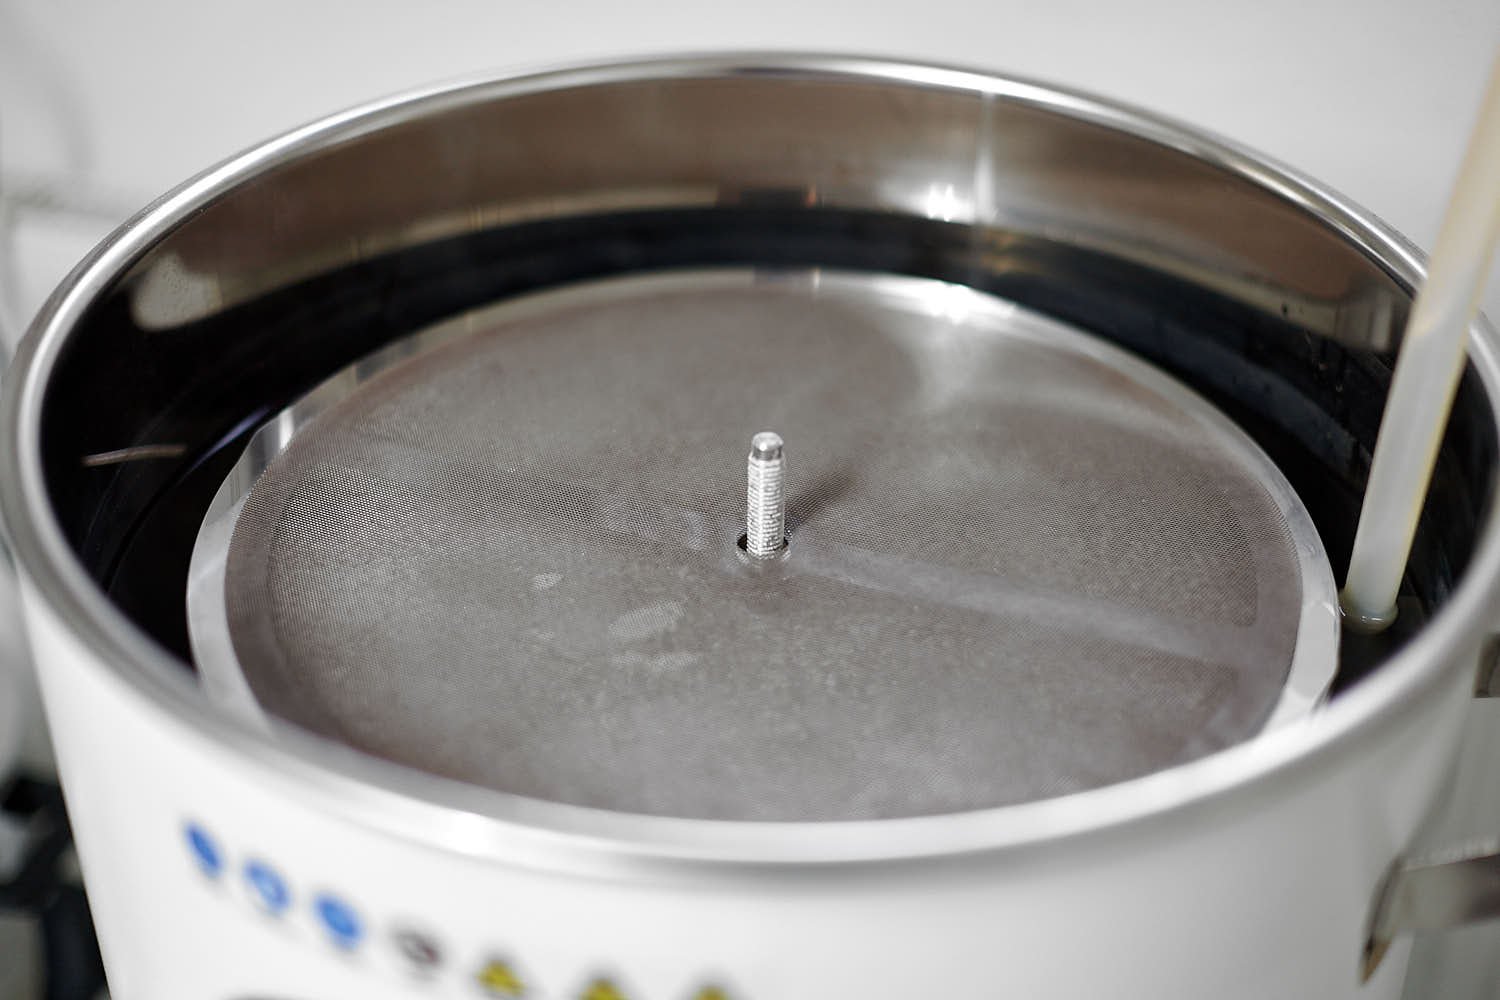 Then the soft filter.
 Hard filter.
 Locking screw.
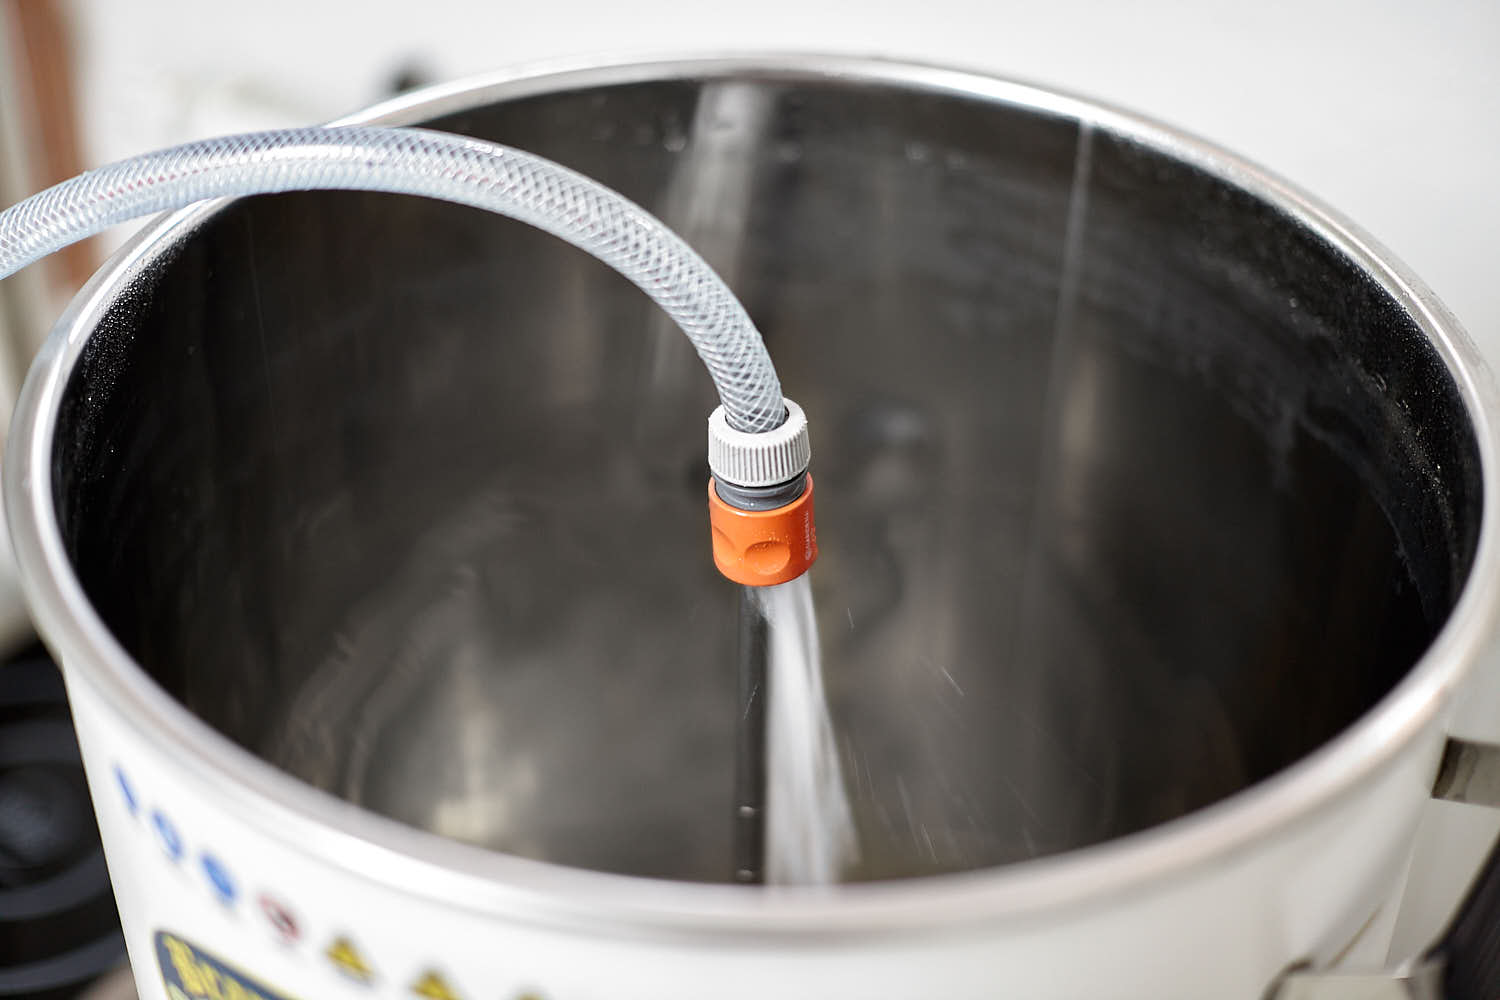
 Add water above the maltpipe level.
 This is how I do that in a slow and controlled way.
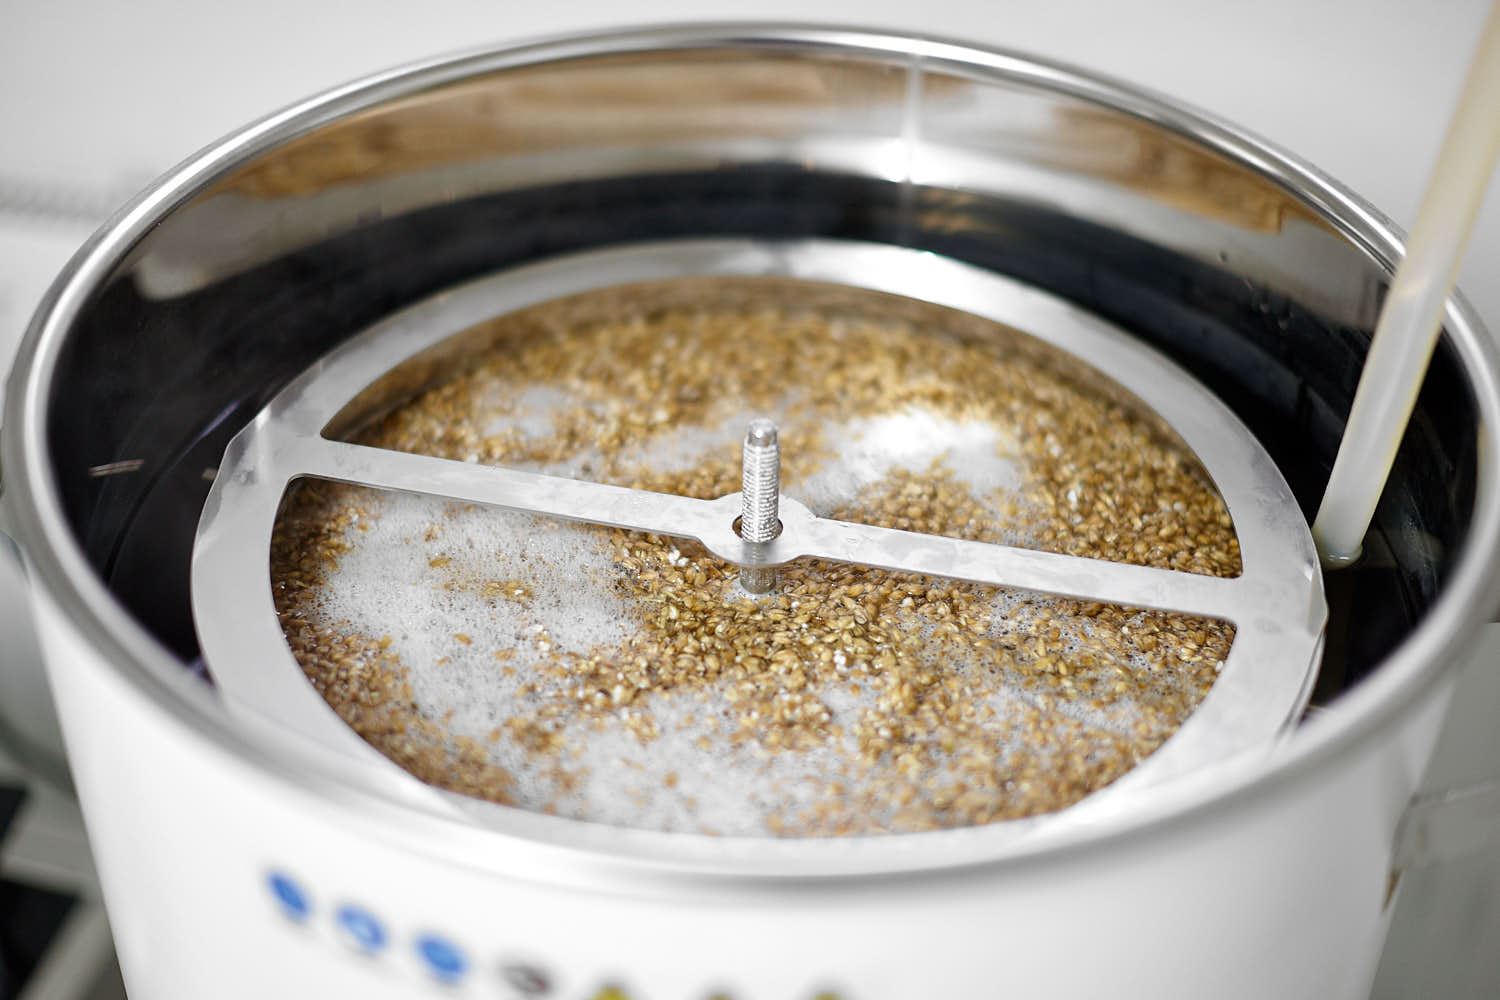
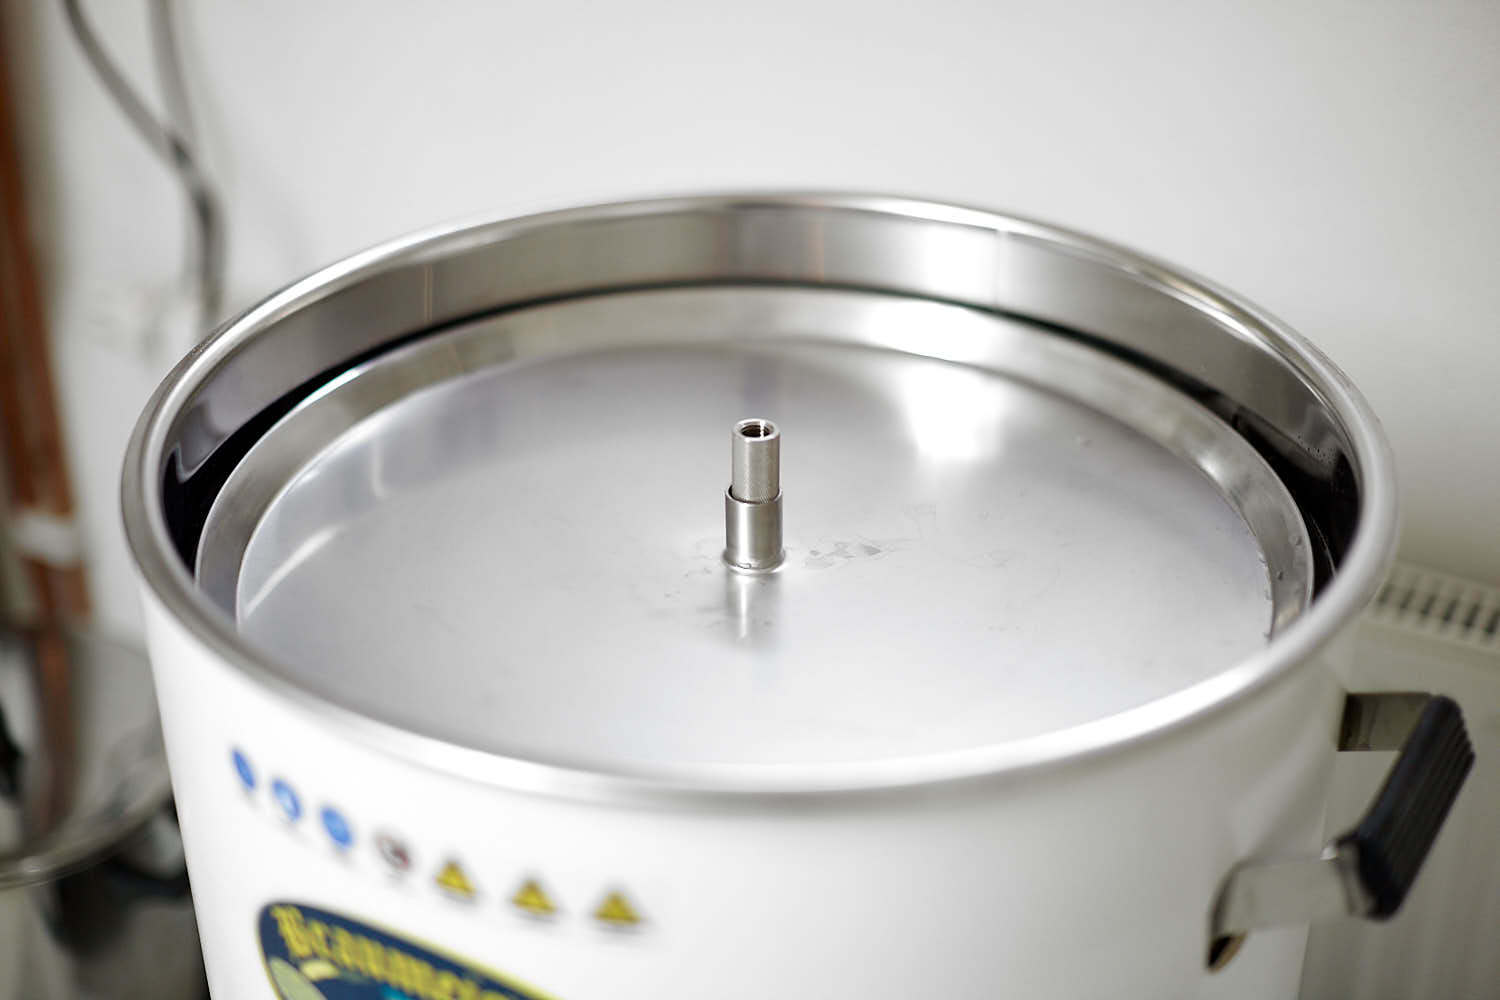 And finally the floating mash cap.
 Press continue and leave the Braumeister alone for about 2 hours.
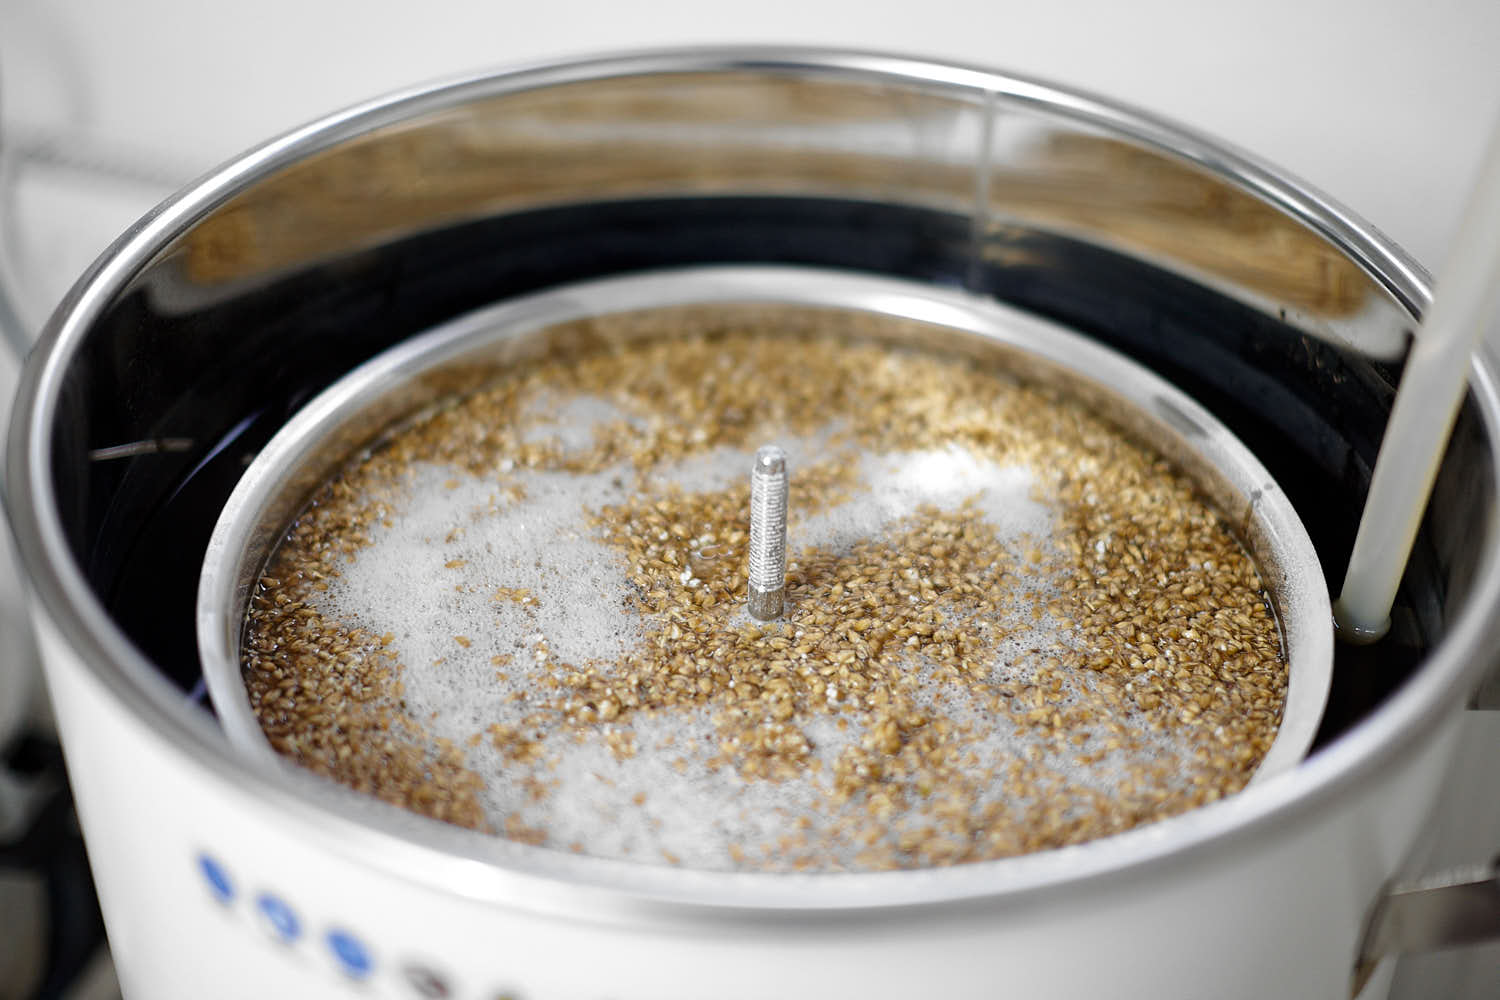
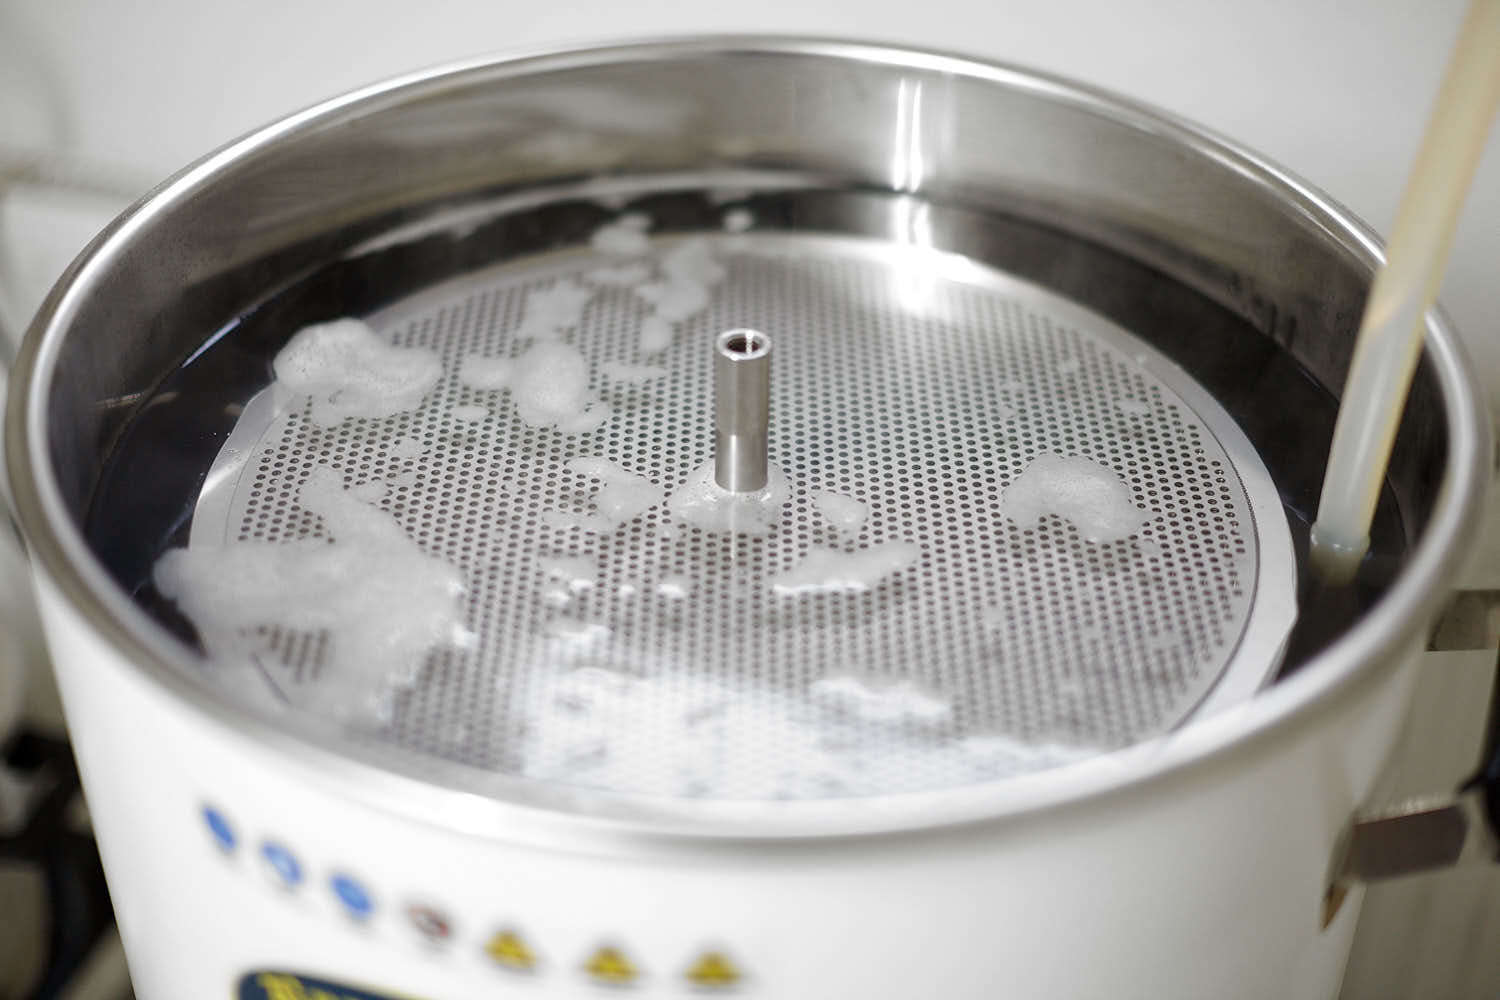
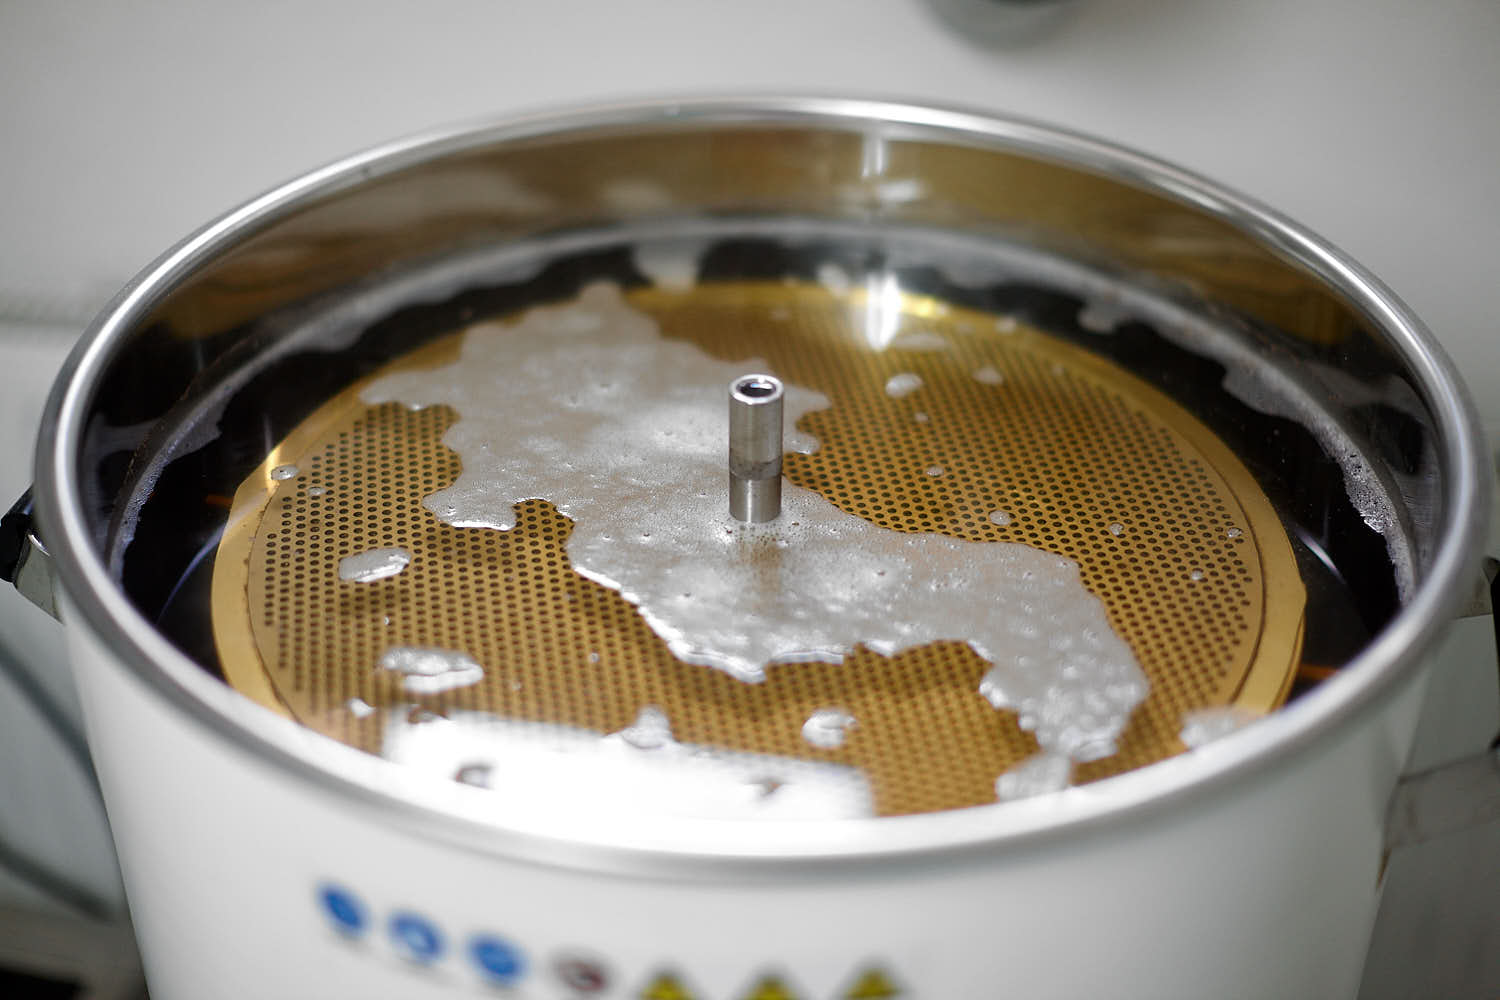 This was the clarity and foam level this time.
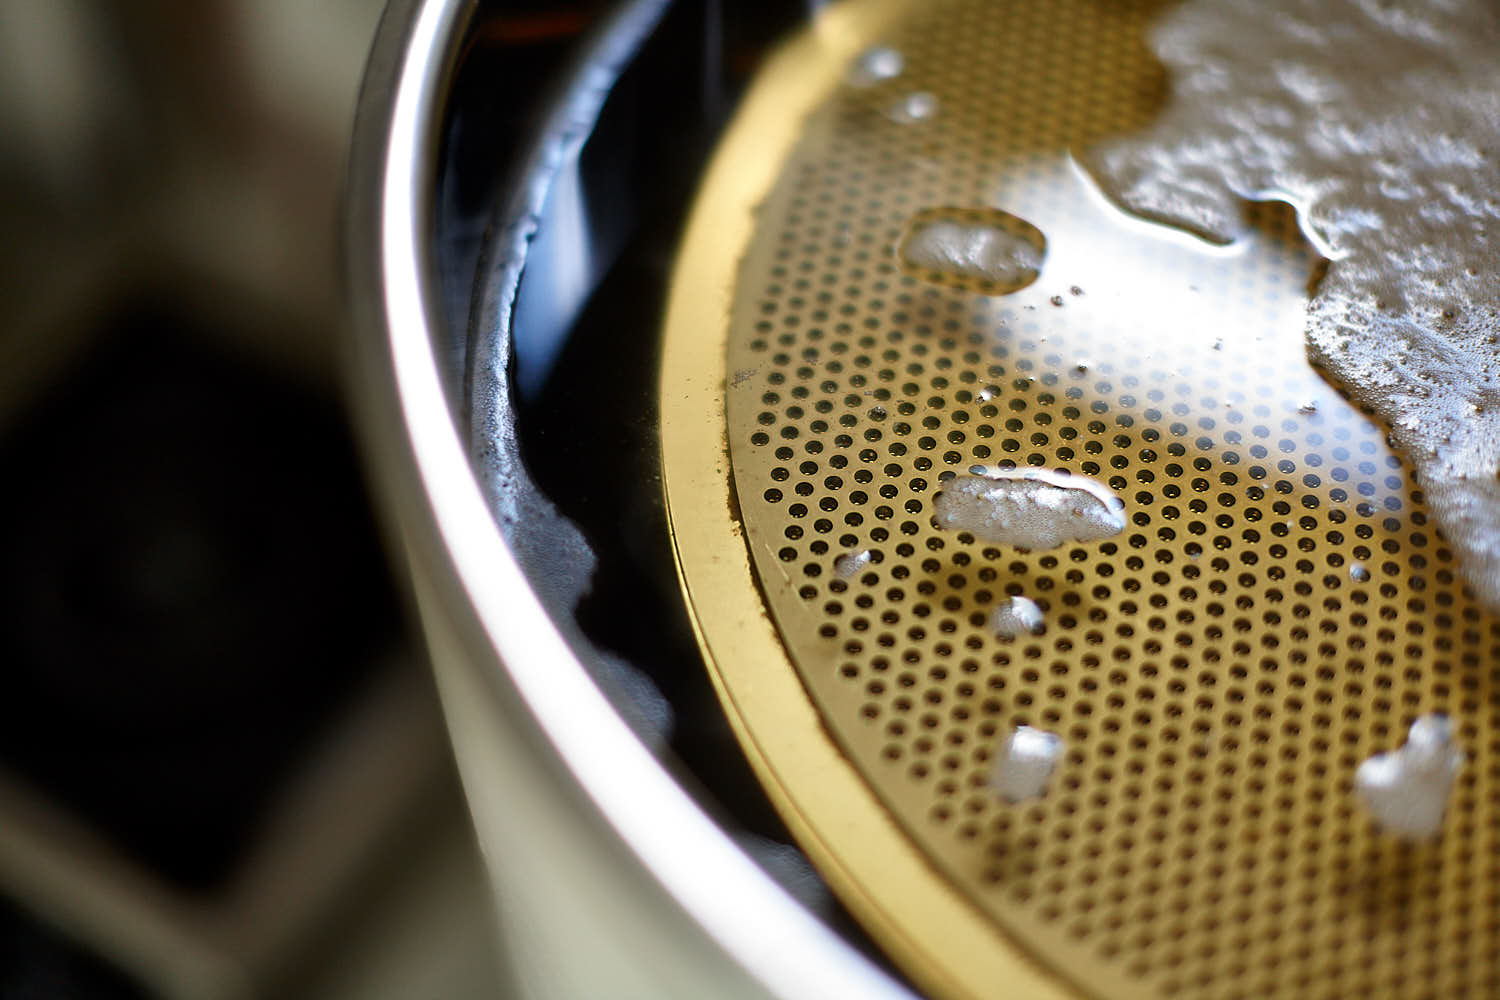 No ”fugitives” in form of kernels or husks.
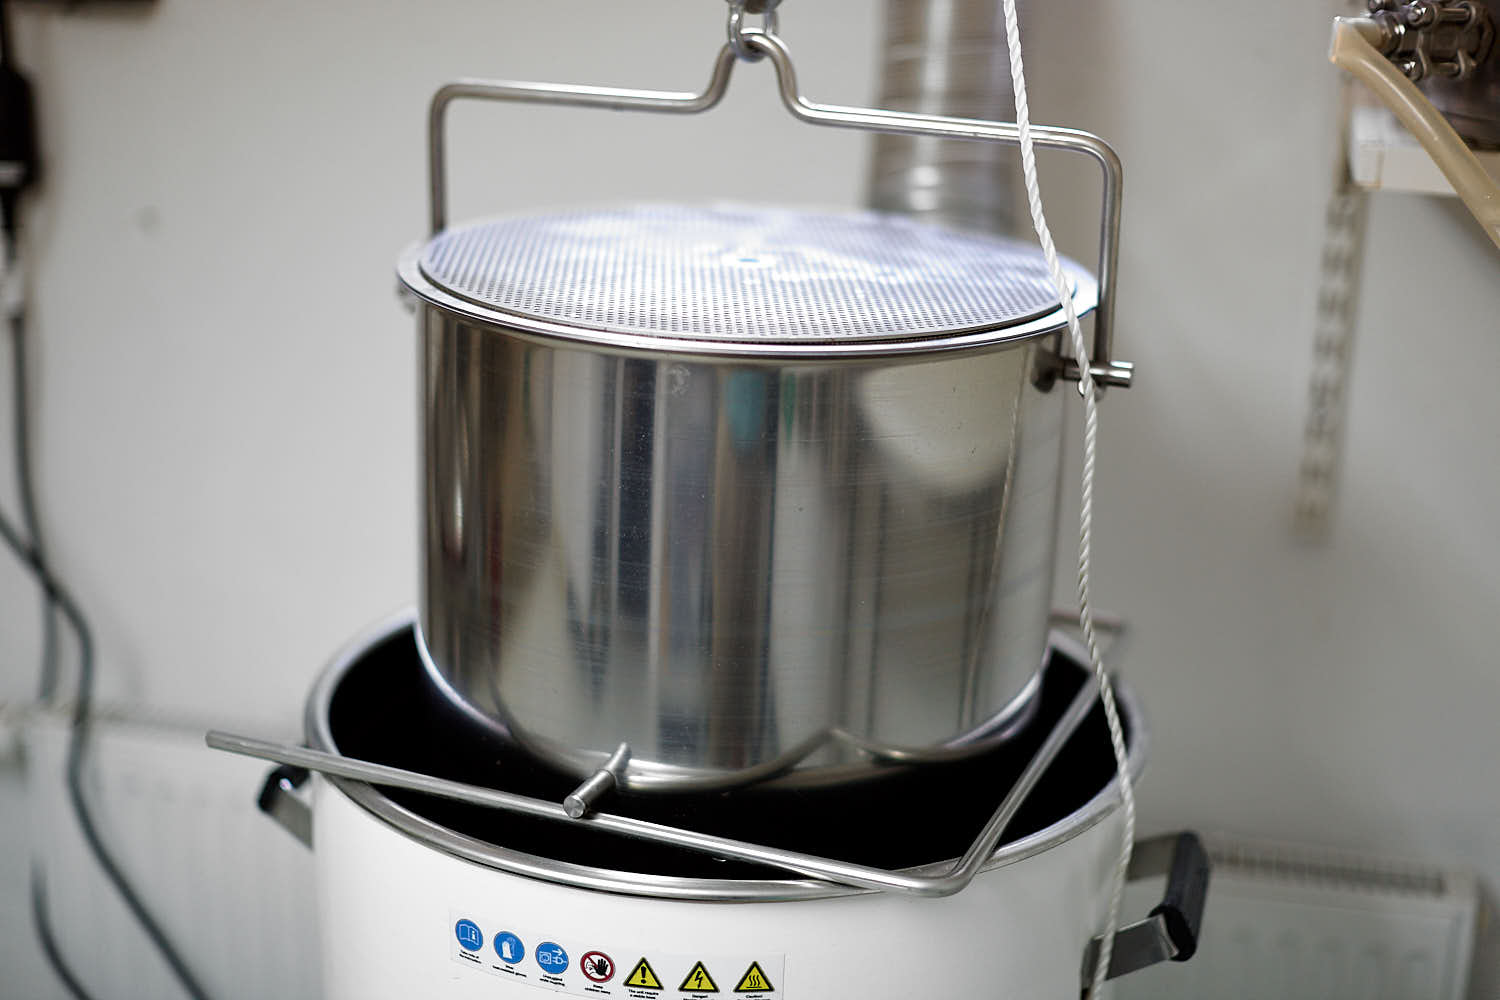 It’s hard to take selfies while raising the malt pipe so here it’s already in resting position. All the filters are resting above the maltpipe and are very easy to remove.
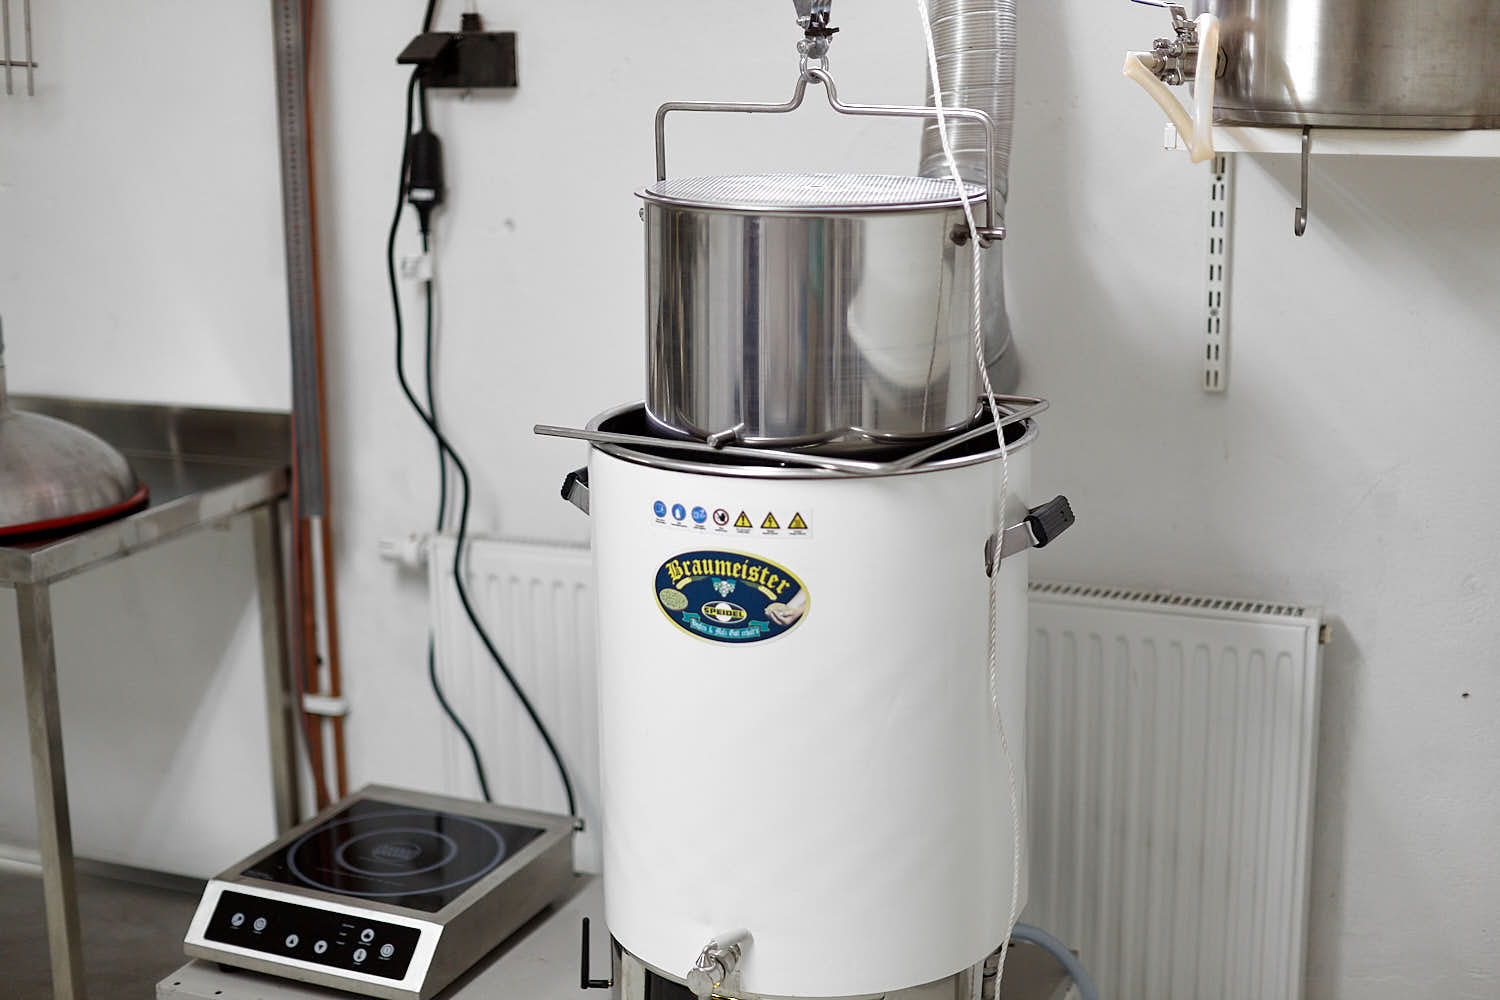 I do rest the malt pipe like this for about 10 minutes and by that, I leave very little wort behind.
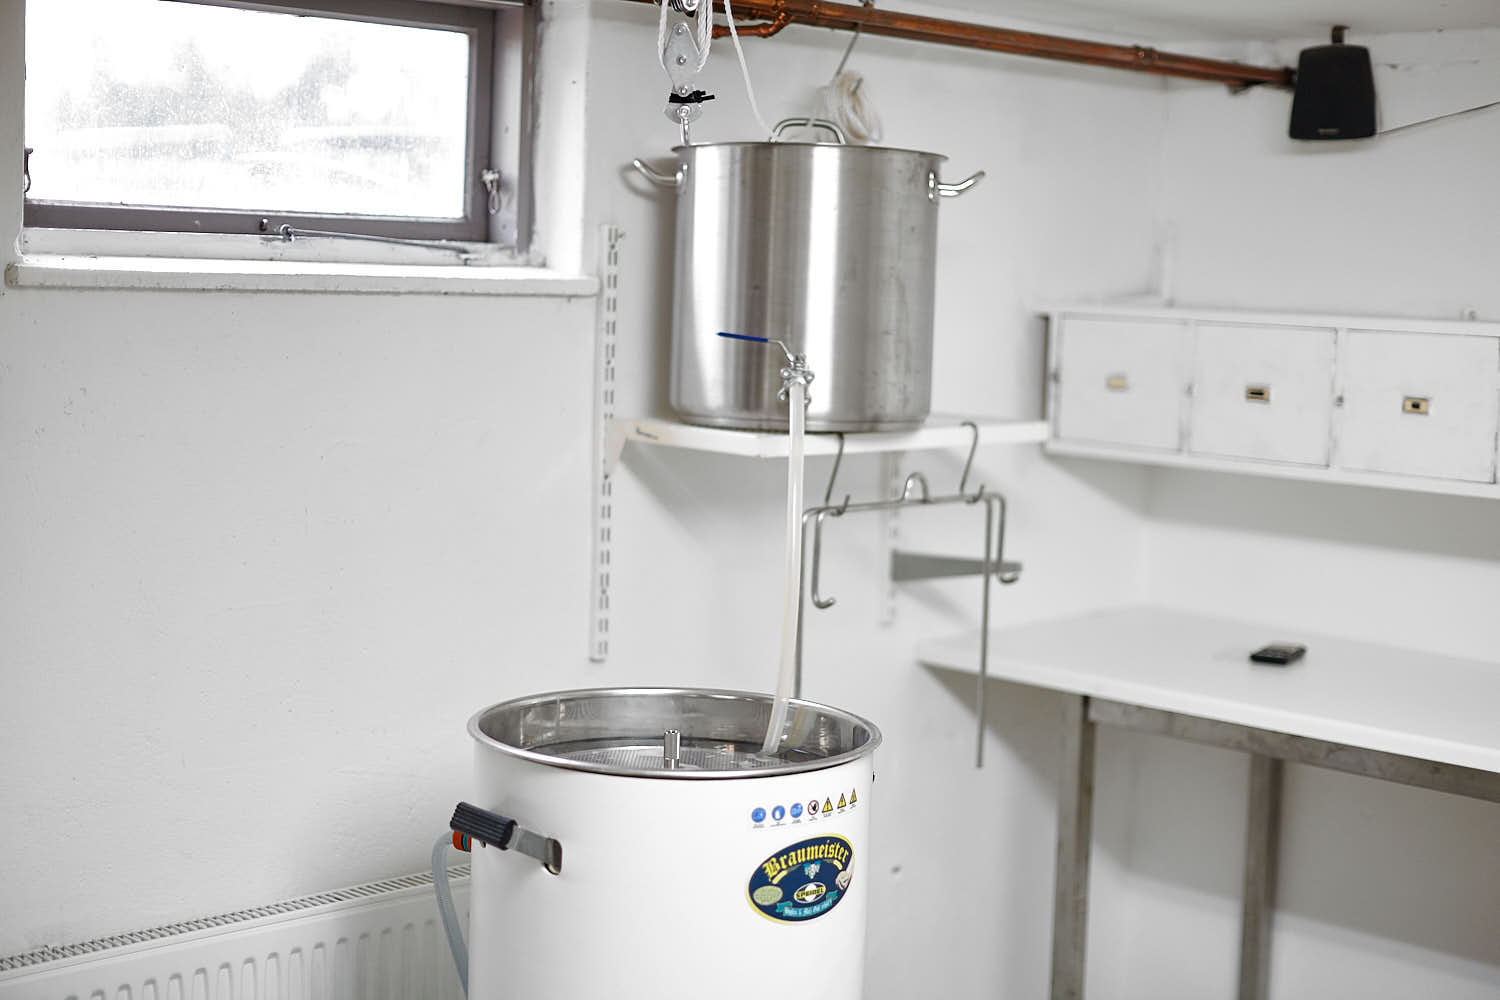
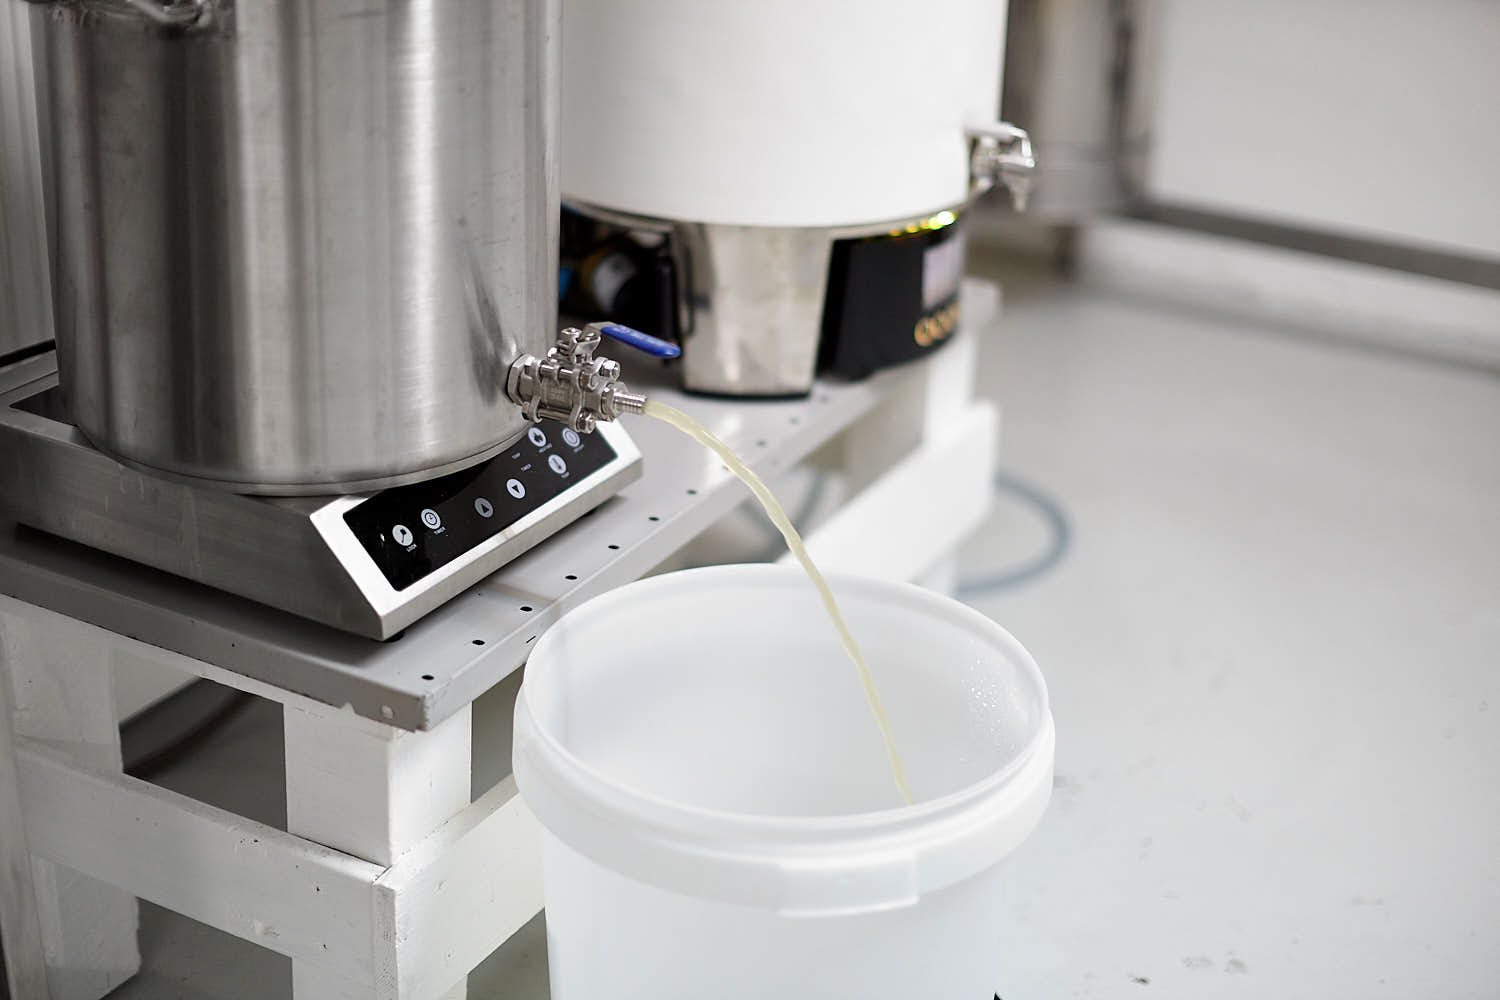
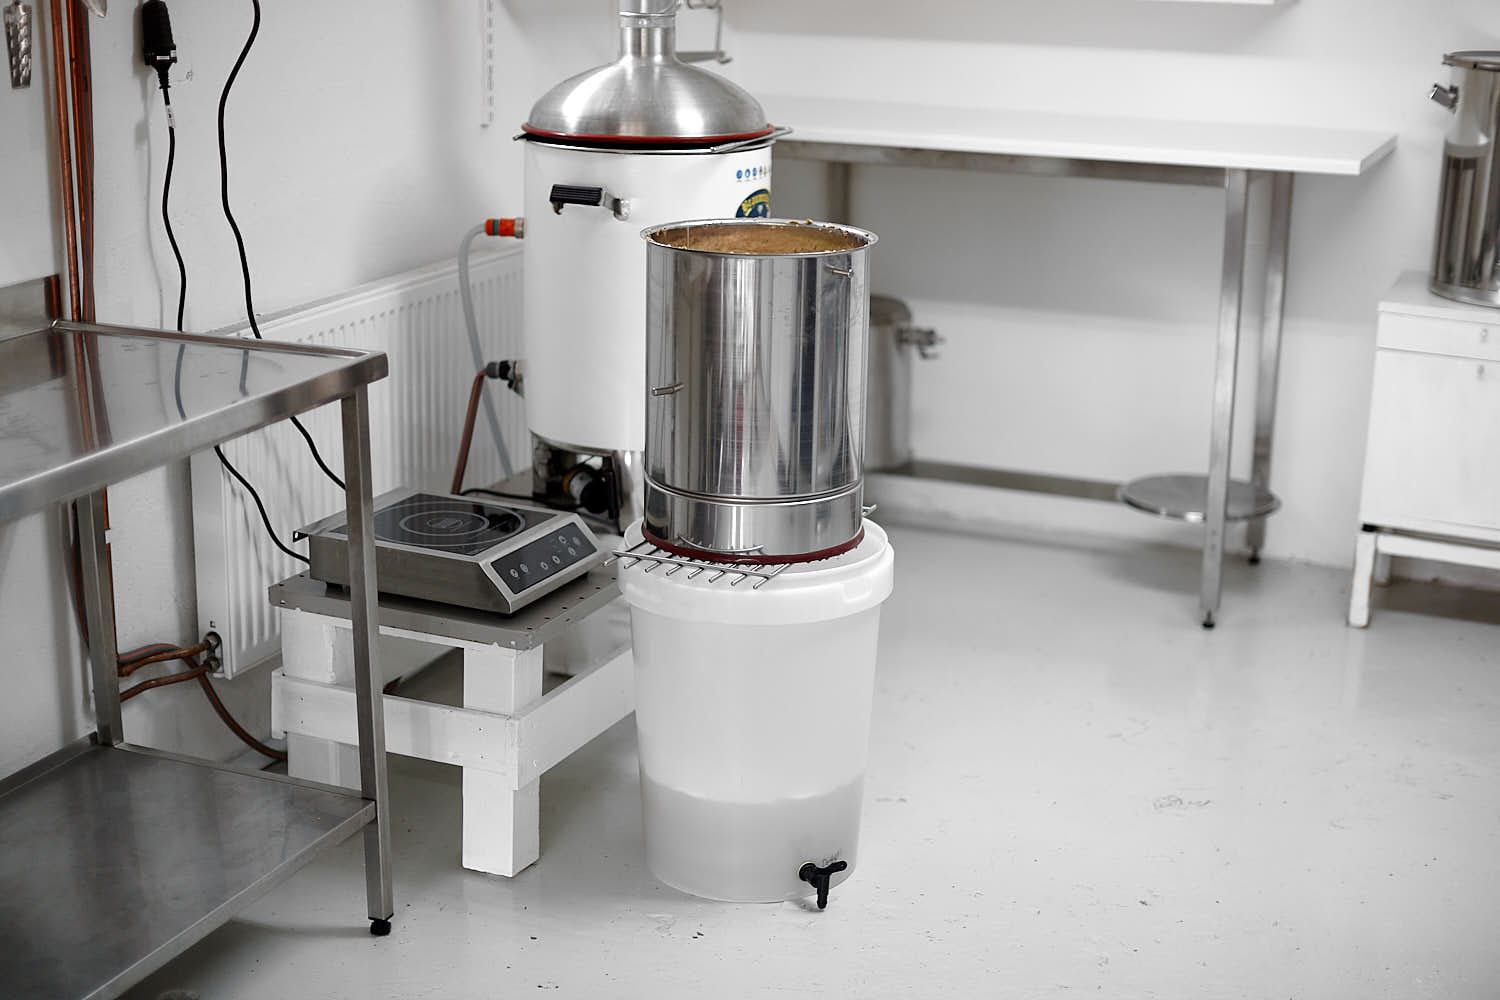 The ”LoDO-killer-sparge”. It’s almost painful to see.
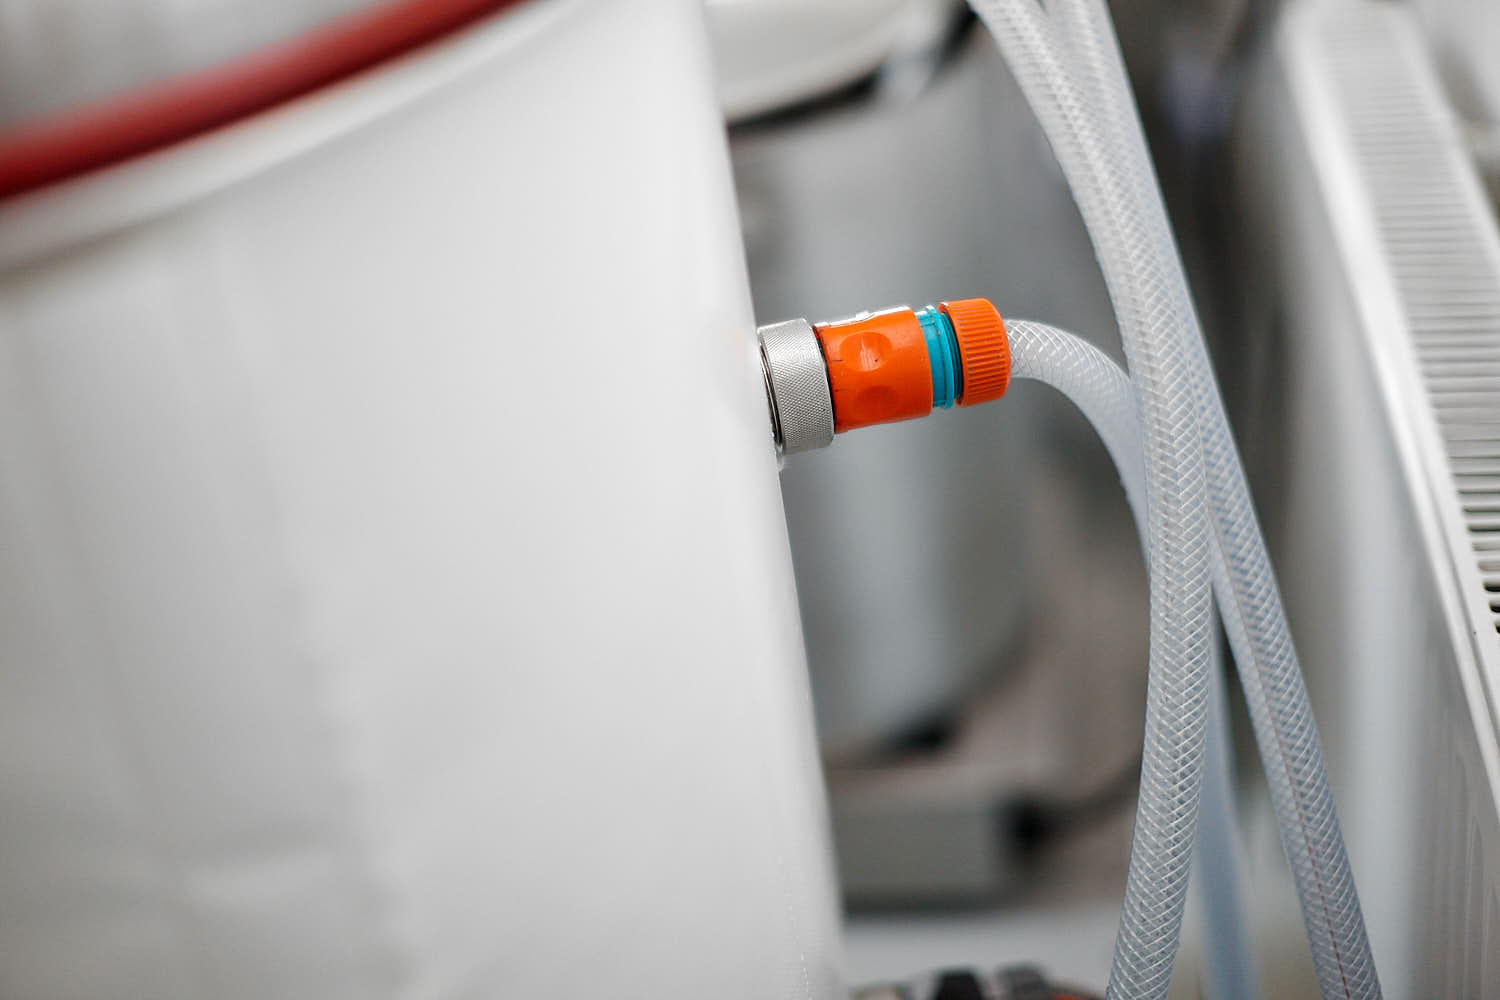
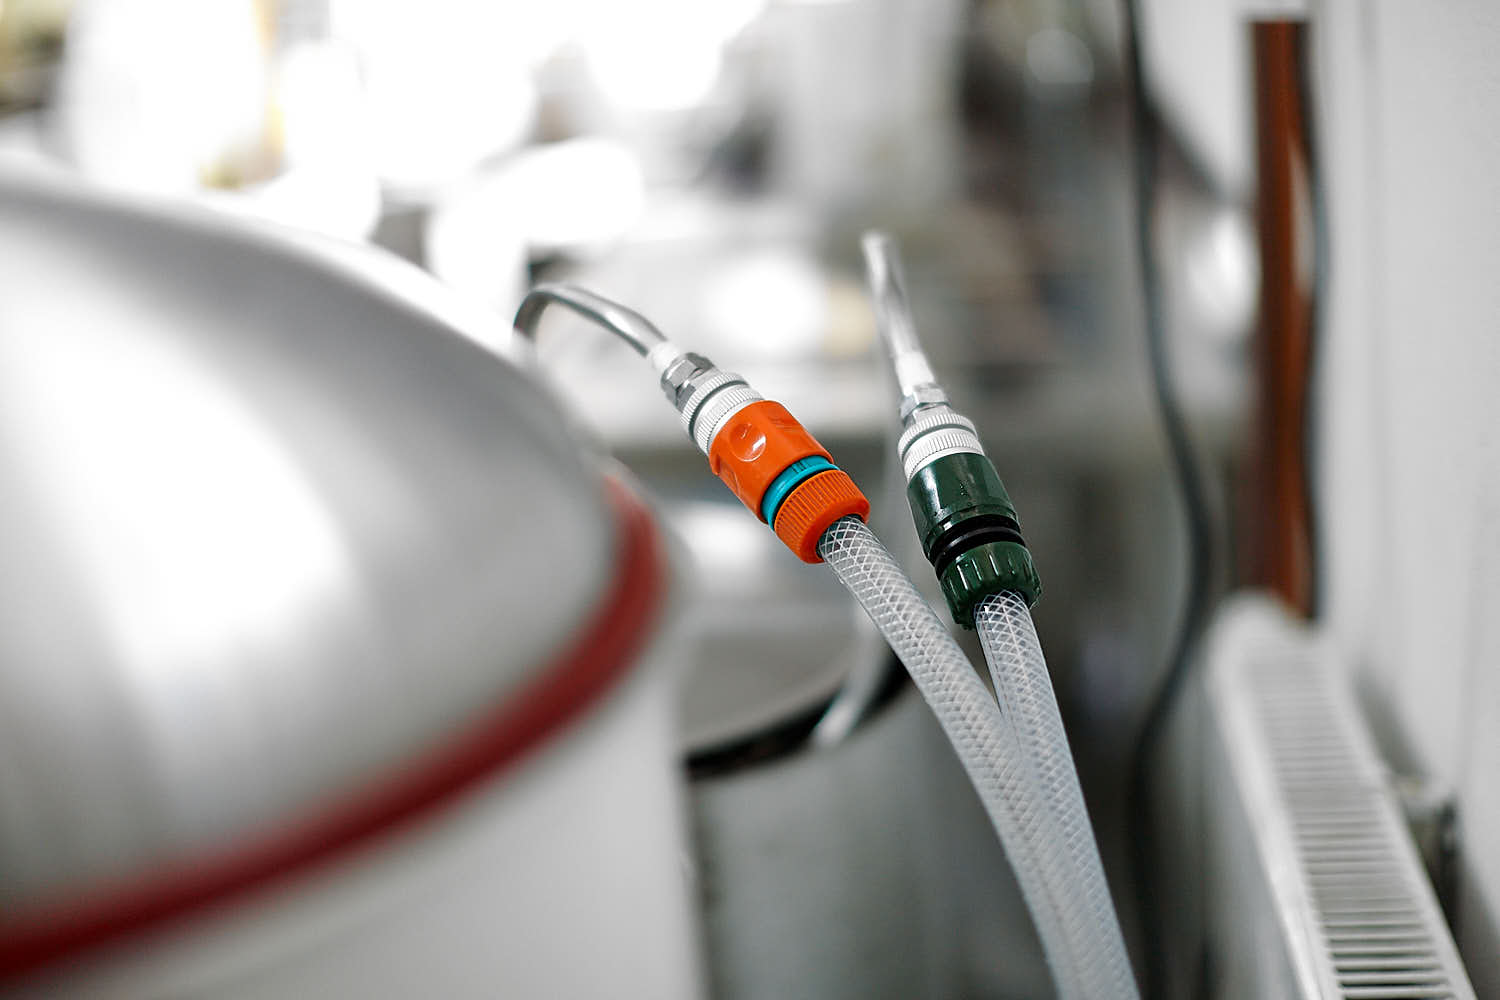
 Chilling both batches at the same time with the same water. Not a bad way to utilise water and get the main batch to lager temperatures and the side batch to ale pitching temp.
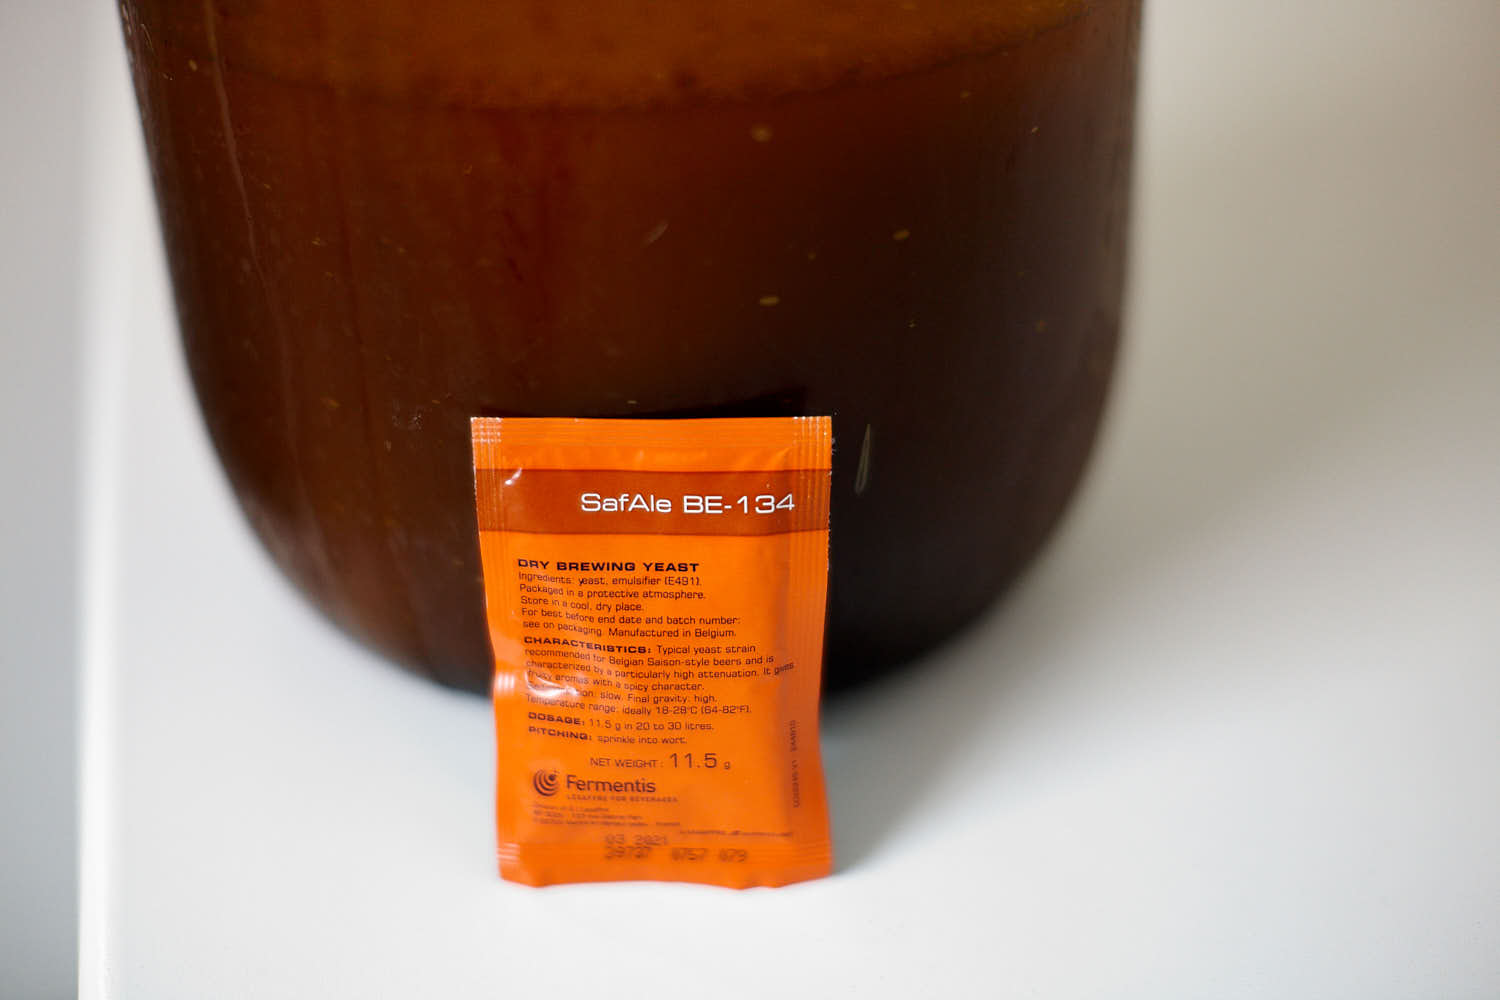 The yeast slurry in a demijohn bottle in the background and the Saison yeast.
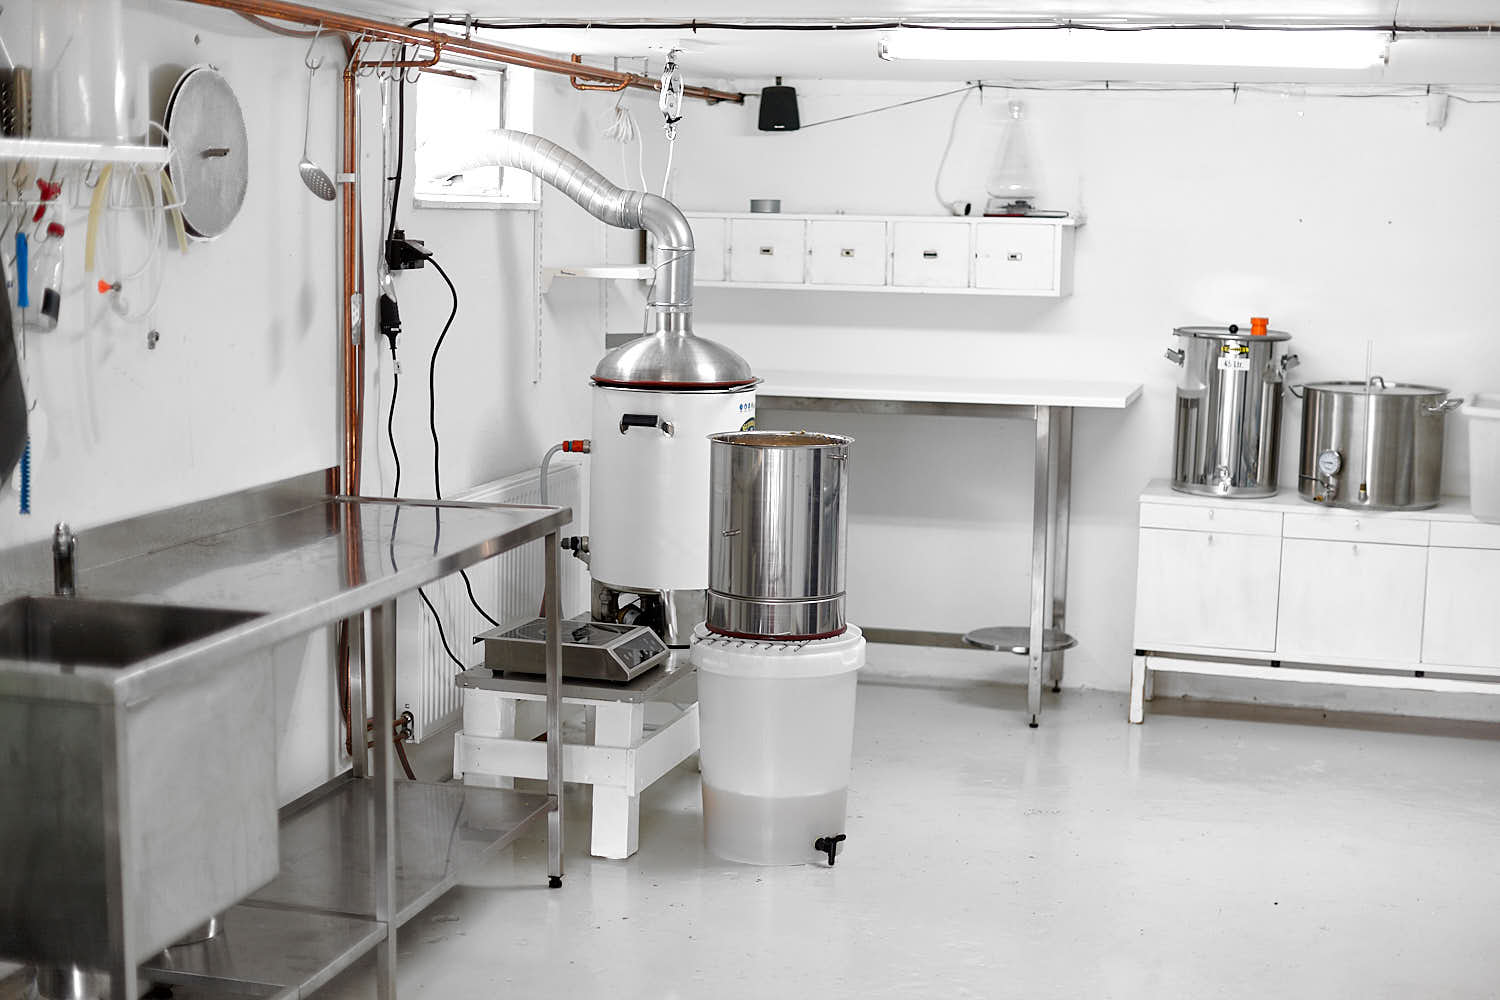
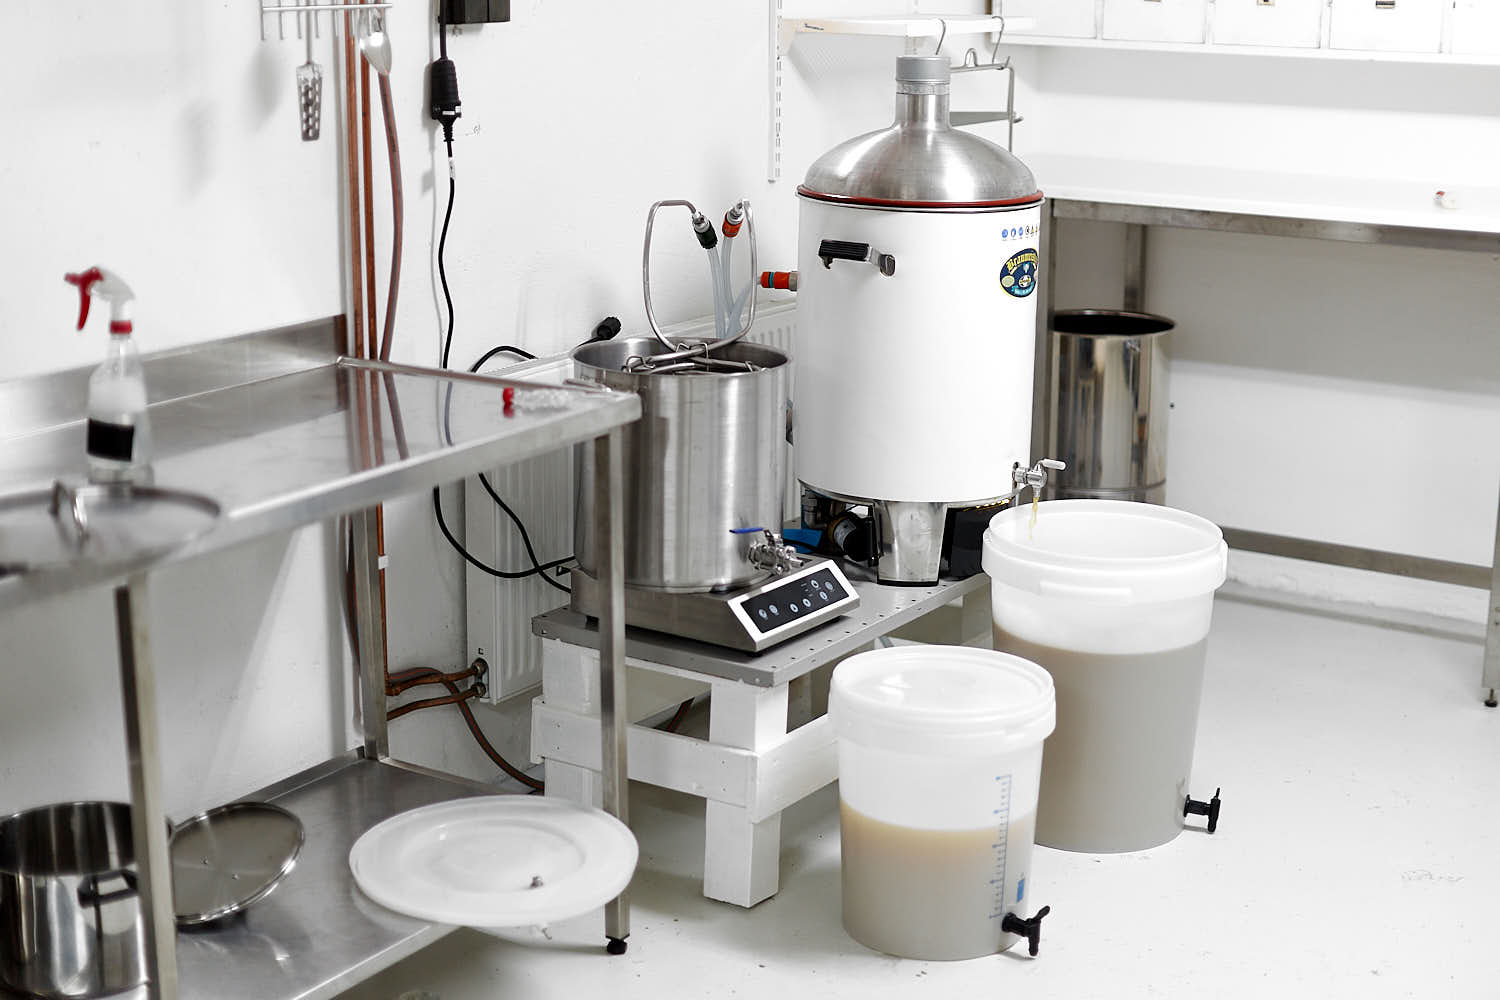 About 70 litres of wort on their way to become beer.
 Du har väl inte missat min bok om ölbryggning? Köp den hos Humlegården!

Interesting your efficiency went up 4 points with a coarser crush. I’ve also read where others see the same but then others don’t. I guess there’s lots of variables. Im currently at 1.1mm with my cheap 2 roller mill, i condition my grain and I’ve seen a drop in efficiency of about 2 points from a .9mm crush but i also see less grain bits passing through the screens so ill take it.